How to Decorate Free Standing Lace Easter Eggs

How to Decorate Free Standing Lace Easter Eggs Embroidery Project

By   Jayne Monsipapa   on   March 02, 2015
  • SKILL LEVELBeginner
  • TIME REQUIRED00:20
  • FINISHED SIZE4 x 4 inches
Description

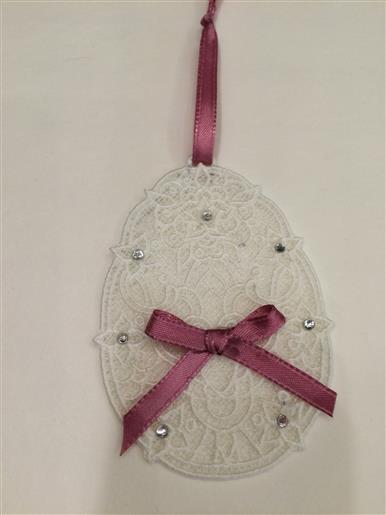
Decorate Free Standing Lace Easter Eggs created with Kinship Kreations LLC Free Standing Lace Easter Egg designs.

Step of

Materials

Project Preview Video

Materials
  • Woven Water Soluble Stabilizer
  • Fray Check
  • 1/8" or 1/4" ribbon
  • Aleene's Clear Jewel It Glue
  • Tweezers
  • Nail polish remover
  • Cotton Swabs
  • Rhinestones (I used SS10 and SS32)
  • White Polyester embroidery thread Do Not Use Rayon (or any other color you choose). You can make your Easter Eggs any color just make sure your bobbin has same color polyester thread too.

  • Designs used in this project
  • https://www.embroiderydesigns.com/productdetails/kinship-kreations/designs/1/KK2895
  • https://www.embroiderydesigns.com/productdetails/kinship-kreations/designs/1/KK2896
  • https://www.embroiderydesigns.com/productdetails/kinship-kreations/designs/1/KK2897
  • https://www.embroiderydesigns.com/productdetails/kinship-kreations/designs/1/KK2898
  • https://www.embroiderydesigns.com/productdetails/kinship-kreations/designs/1/KK2899
  • https://www.embroiderydesigns.com/productdetails/kinship-kreations/designs/1/KK2900
  • https://www.embroiderydesigns.com/productdetails/kinship-kreations/designs/1/KK2901
  • https://www.embroiderydesigns.com/productdetails/kinship-kreations/designs/1/KK2902
  • https://www.embroiderydesigns.com/productdetails/kinship-kreations/designs/1/KK2903
  • https://www.embroiderydesigns.com/productdetails/kinship-kreations/designs/1/KK2904


  • Step 1:
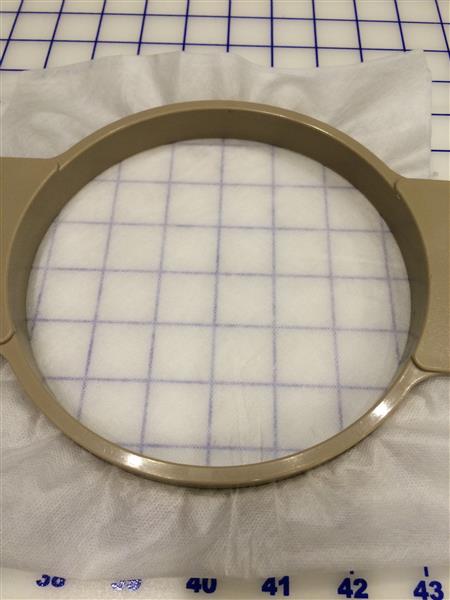
    Hoop the woven water soluble stabilizer. Make sure it is doubled as it needs this extra stabilizer. Thread your machine with white or any color Polyester thread. Do Not use Rayon as it will not sew as good. You can make the egg in any color, but use Polyester thread and use same thread color in bobbin.  

    (Click Image to Enlarge)


    Step 2:
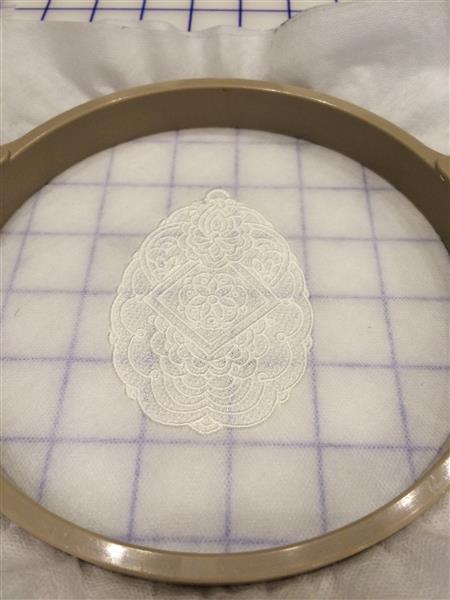
    Select your favorite Kinship Kreations Easter Egg FSL file and sew onto the woven water stabilizer.

    (Click Image to Enlarge)


    Step 3:
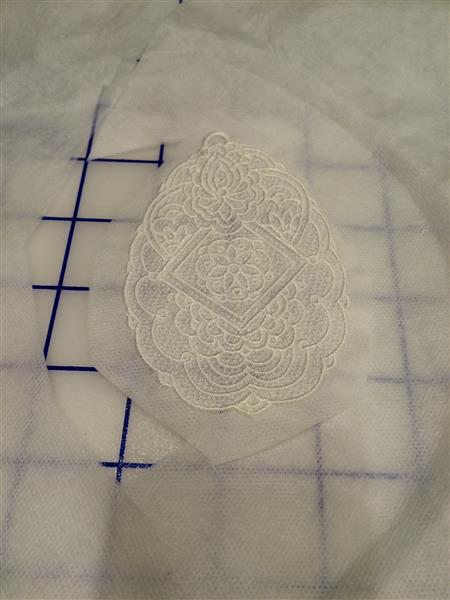
    After it is sewn out carefully cut around the design leaving a good 1/2" to 1" of stabilizer around the edge. Do not cut into any threads.

    (Click Image to Enlarge)


    Step 4:
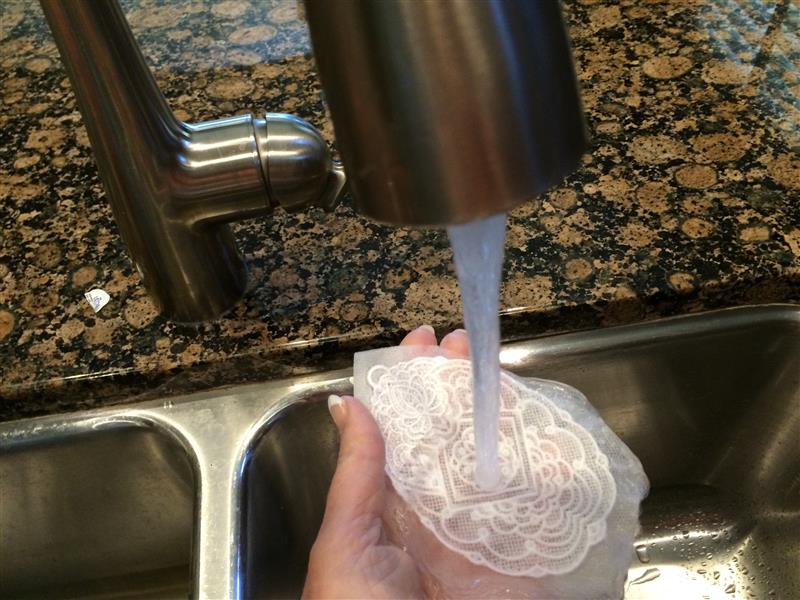
    Very carefully run under water. I usually get it wet and let it sit in my hand for a minute or two. The stabilizer starts to dissolve and you can take your fingers and remover the rest. This is one time you want to leave some on your design.

    (Click Image to Enlarge)


    Step 5:
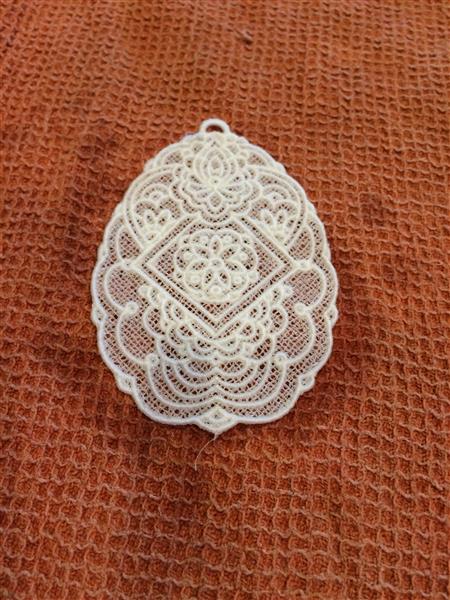
    Take the design and put in between a linen dish towel or low nap towel and pat. Gently lip off the top of the towel leaving your design on the bottom. This is the hard part. Do Not Touch Until Dry. Yes, it is tempting, but you can easily distort the design as it is very fragile at this point. Once it is dry (couple hours) you can pull up. Make sure it is completely dry before you try to add the stones or your ribbon.

    (Click Image to Enlarge)


    Step 6:
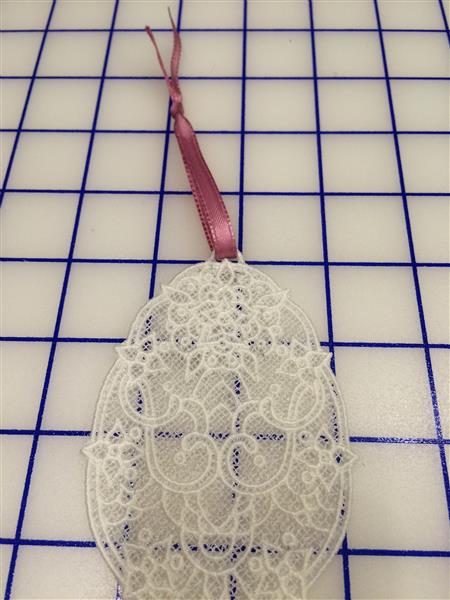
    After the design is completely dry you can start adding rhinestones and ribbon. Cut your 1/8" ribbon any length, tie in knot at the top. Make sure to put fray check on the edges of your ribbon.

    (Click Image to Enlarge)


    Step 7:
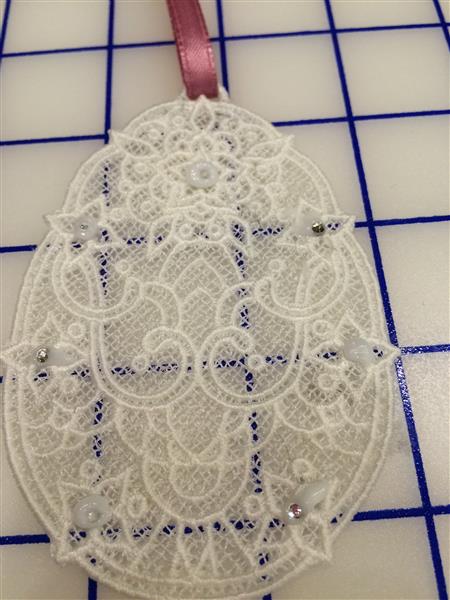
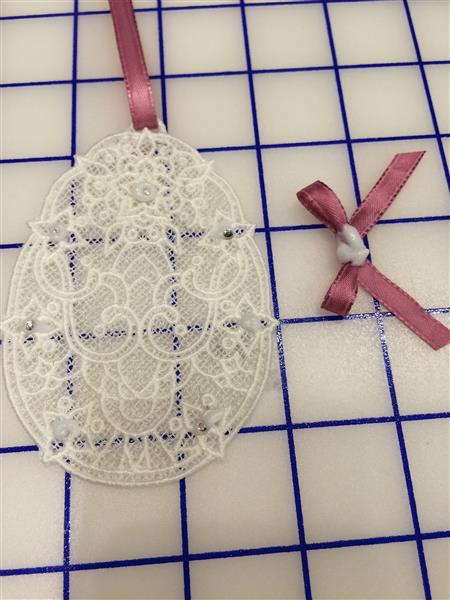
    Start adding rhinestones by putting a drop, very small drop, where you want the rhinestone. Take a toothpick or tweezers and push down on top of the stone. The glue will come up around the stone. It dries clear so do not touch or if you have too much take a tip and gently wipe off. You can clean with nail polish remover when dry.

    (Click Image to Enlarge)


    Step 8:
    Add a bow. Make a small bow, turn it over and add a drop of clear glue. I let mine completely dry before adding. Make sure to put fray check on the edges of your ribbon.

    (Click Image to Enlarge)


    Step 9:
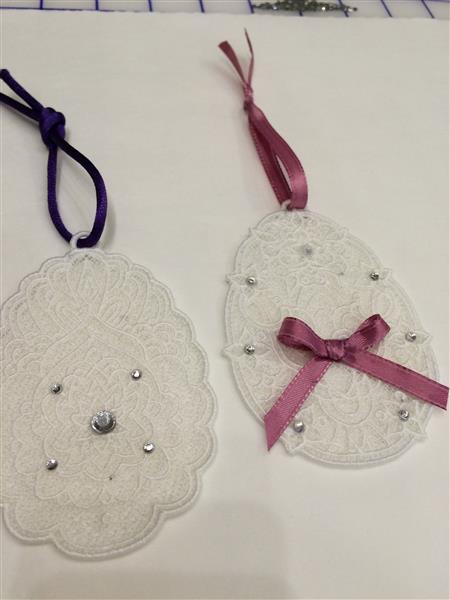
    After glue is dry add the bow by gluing anywhere on your egg.

    (Click Image to Enlarge)


    Step 10:
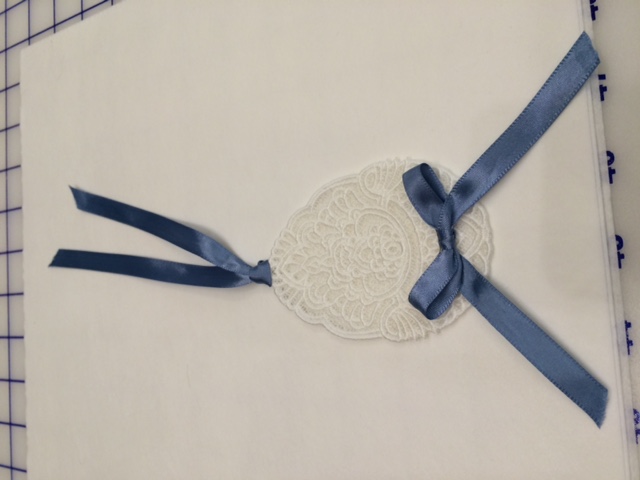
    Another option is to use 1/4" ribbon. This one is using just ribbon. Make sure to put fray check on the edges of your ribbon.

    (Click Image to Enlarge)


    Step 11:
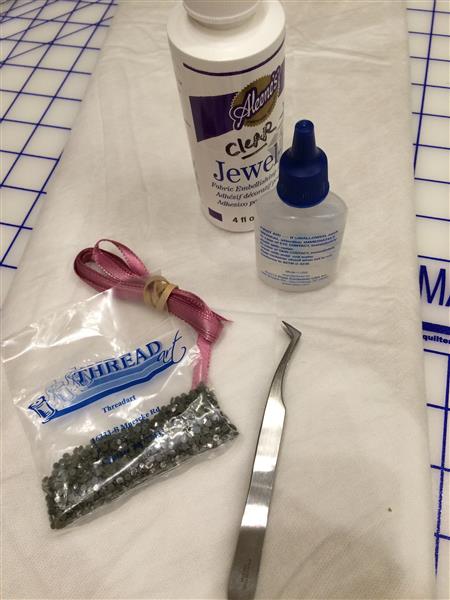
    Here are the item's I used.

    (Click Image to Enlarge)

    Meet the Author: Jayne Monsipapa
    Jayne Monsipapa
    Jayne Monsipapa has been digitizing for 24 years. It all started after walking into a sewing store in 1993 to buy a couple spools of thread and there was a sewing machine hooked up to a computer! Embroidering the designs were fun at first, but it did not take much to get hooked on digitizing. From 1993 until 1999 she worked on her digitizing skills and found her designs sewed out very good. With her husband’s encouragement Kinship Kreations LLC began in 1999 selling designs online. In those early years she took classes with both Walt Floriani and Lee Caroselli (Balboa Embroidery) who are both very talented and successful digitizers. Jayne joined the EmbroideryDesigns team in 2008.
    More From This Author
    Link is Broken, Please check the URL
    Exclusive Embroidery Offers!
    Copyright © {{ currentDate | date:'yyyy'}} - EmbroideryDesigns.com
    GET 50% OFF! ×