Border OptionsHugging border, circle, square, or rectangle — with a 3mm satin stitch.
Backing OptionsAvailable with iron-on, sew-on, or velcro backing.
Fast ShippingShipped quickly from the USA.
Free Online Tools
Powerful embroidery utilities that save time and prevent costly mistakes.
Stitch AssistantRECOMMENDED
Get the exact stabilizer, machine settings, needle, and thread color sequence for every embroidery design you purchase — based on that design's stitch density, dimensions, and color count.
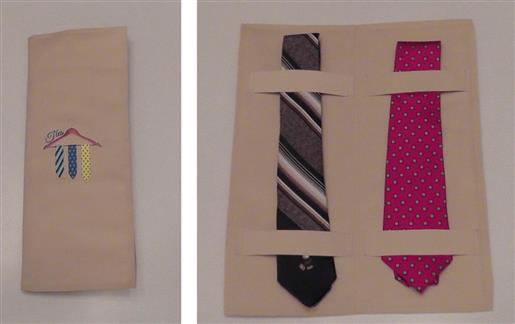
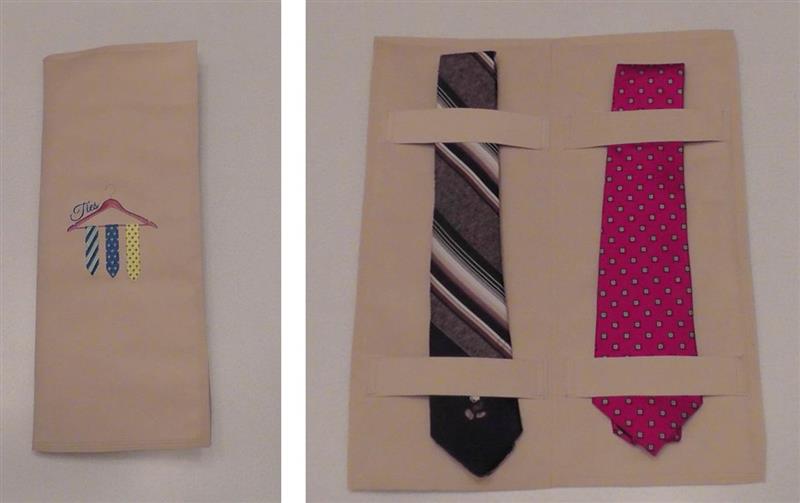
This Tie Keeper is perfect for organizing and keeping ties neat during travel. It fits comfortably in a suitcase or drawer, ensuring your ties remain wrinkle-free and tidy. Step-by-step instructions are included.
Create a “Tie Keeper” for traveling or just to keep ties neatly tucked in a drawer. This project is simple enough for a beginner because it only requires straight stitching. The fabrics are cut, the embroidery done, and then the straps sewn on the inside fabric. The project is completed with stitching down the center and around the edges to sandwich the batting between the fabrics. This would be a most welcomed gift for Father’s Day or a gentleman’s birthday.
Step 1:
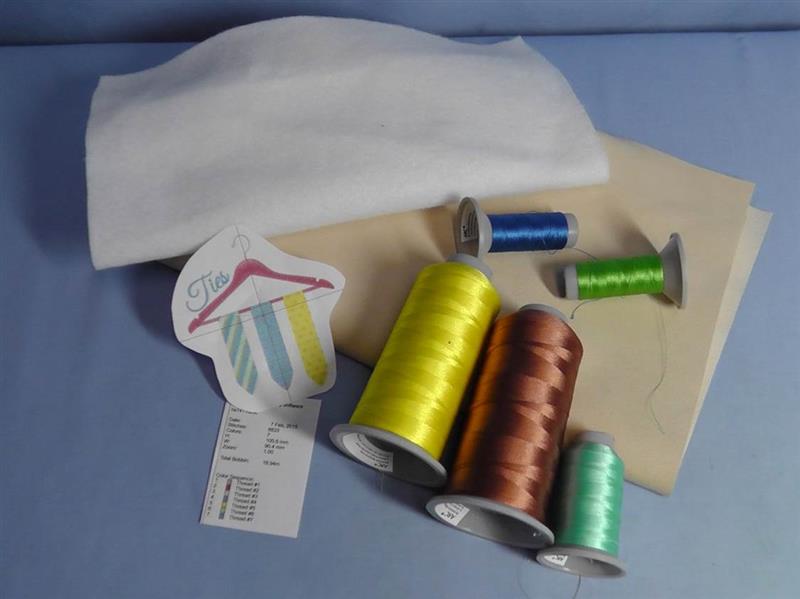
Gather the supplies, print the paper template of the design, and read through all the instructions before beginning.
(Click Image to Enlarge)
Step 2:
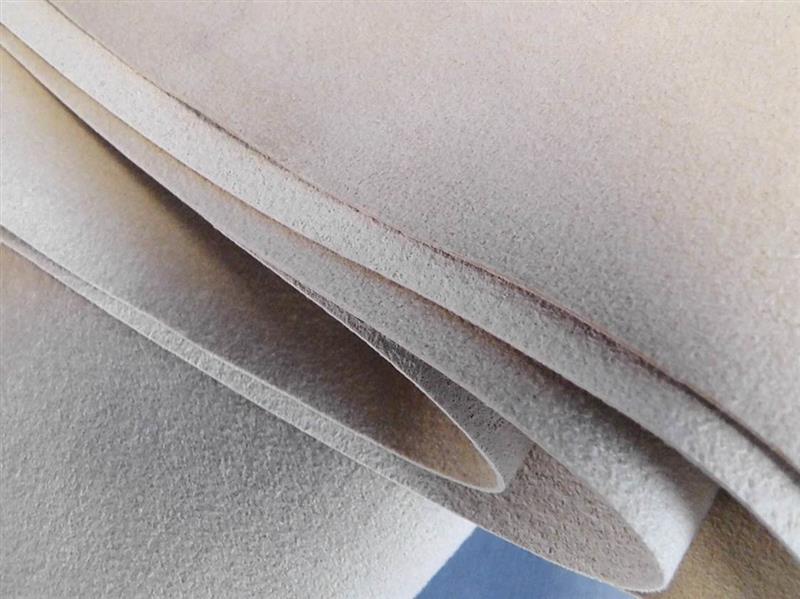
The fabric used for the project was purchased at a fabric store that sells quality upholstery; the sales clerk called it “faux leather”. It has a nice back on it, the front of the fabric has a slight nap and it does not ravel making it perfect for this project.
(Click Image to Enlarge)
Step 3:
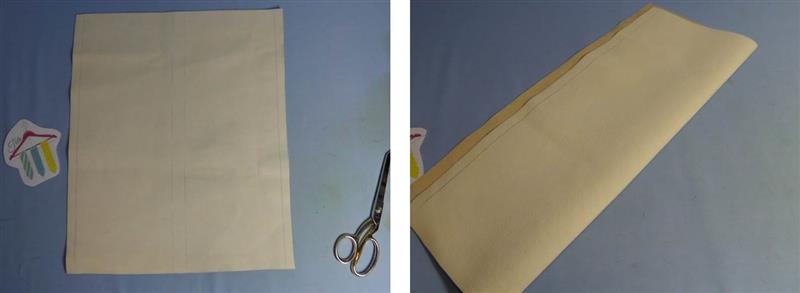
Measure and cut the fabrics. Fold the outer fabric lengthwise and crease gently. The crease will show the two halves of the “Tie Keeper”, the front and the back.
(Click Image to Enlarge)
Step 4:
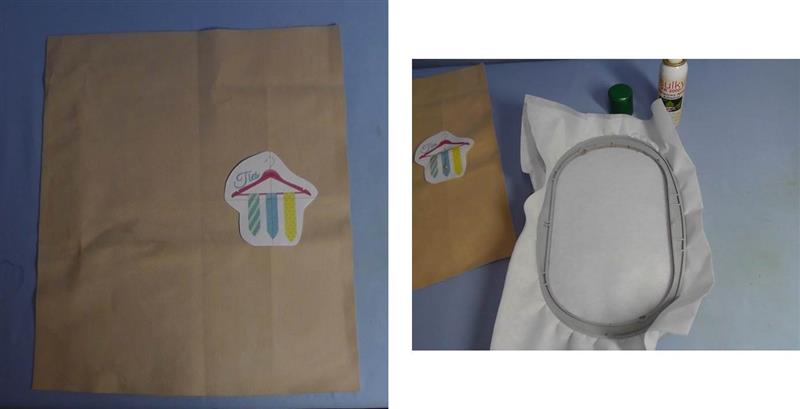
Center the paper template of the design at the center front of the “Tie Keeper”. Hoop two layers of tearaway stabilizer and following the manufacturers’ directions spray the stabilizer with temporary spray adhesive.
(Click Image to Enlarge)
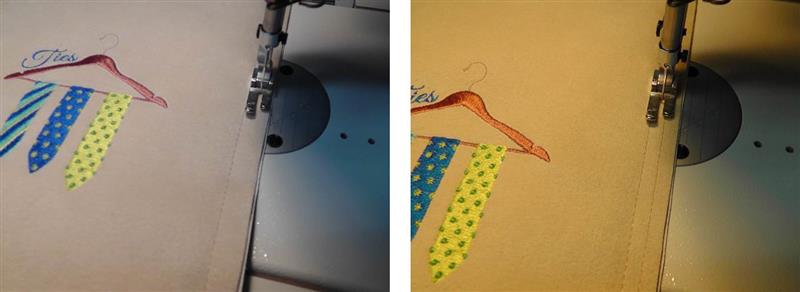
Step 5:
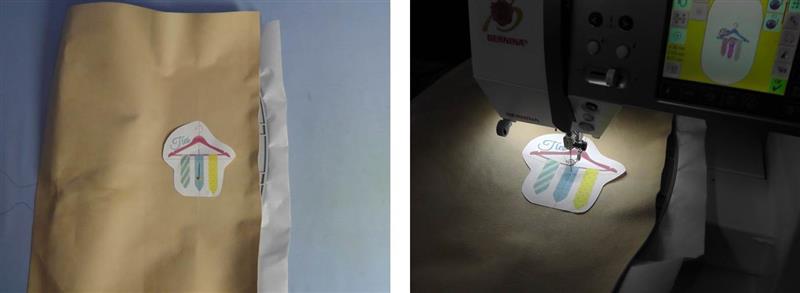
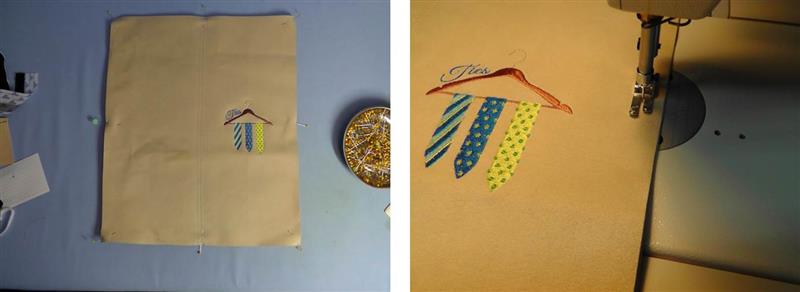
Firmly press the fabric in the hoop centering the paper template. Load the “Travel Tie” design in the machine and align the needle to the center of the template.
(Click Image to Enlarge)
Step 6:
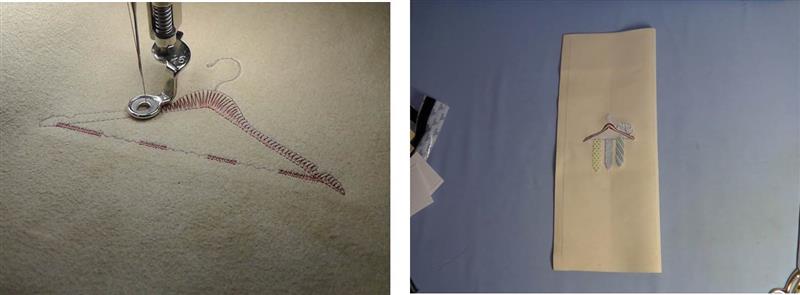
Stitch the design following the color sequence. When the fabric is finished stitching, remove it from the hoop and remove the excess stabilizer.
(Click Image to Enlarge)
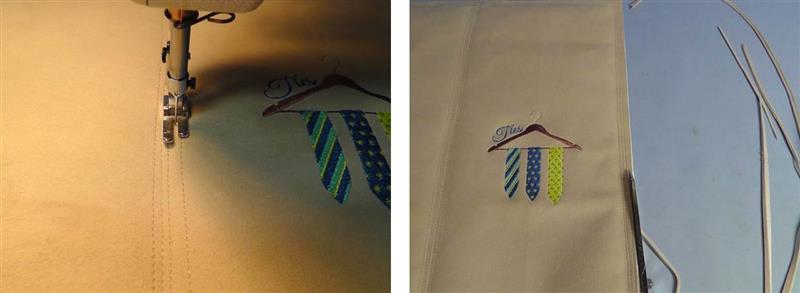
Step 7:
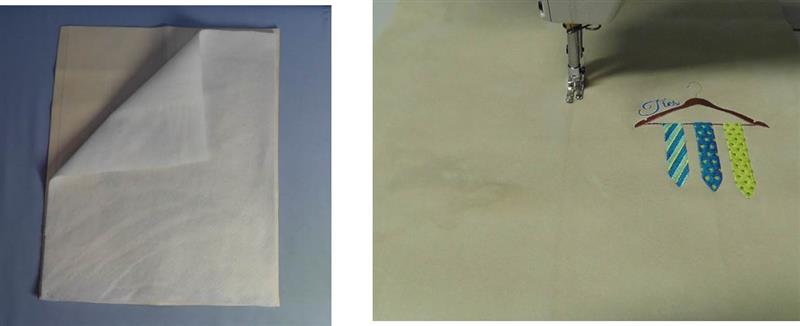
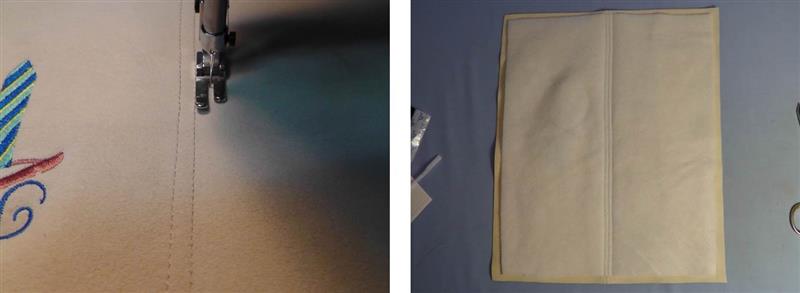
Place and center the batting to the back side of the embroidered fabric. Following the creased line as a guide, Stitch three rows of stitching through the fabric and batting. Stitch the first row along the center crease line.
(Click Image to Enlarge)
Step 8:
Stitch two more rows, each one ¼” away from the first row on each side.
(Click Image to Enlarge)
Step 9:
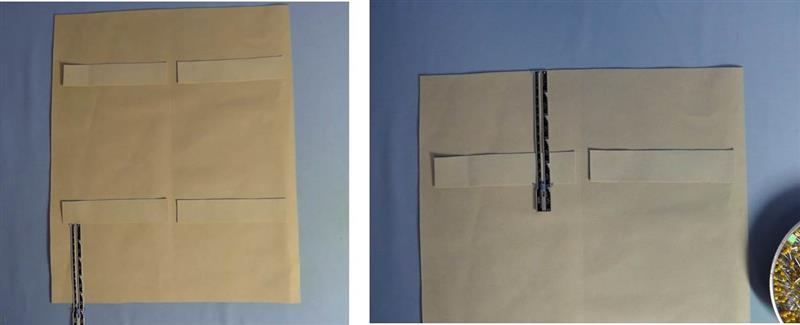
On the remaining piece of fabric, center the tie tab pieces as shown. The bottom tabs are placed 4 ½” from the bottom of the cut edge of the fabric and the top ones are placed down 3 ½” from the top edge. The outside cut edges of the tabs are placed in ¾” from the long cut edges of the fabric.
(Click Image to Enlarge)
Step 10:
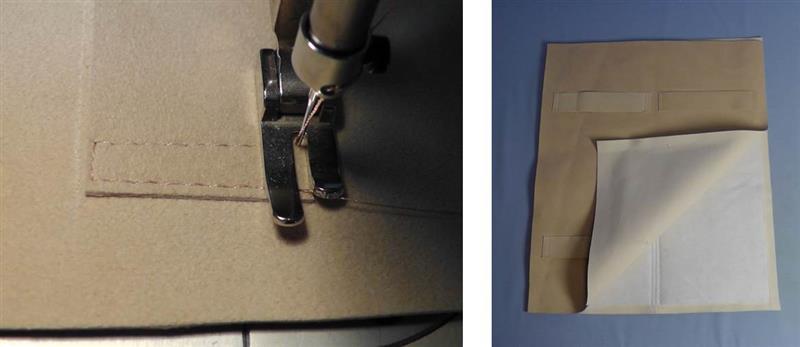
On the ends of each tab, top stitch in place as shown. Place this fabric over the batting meeting cut edges.
(Click Image to Enlarge)
Step 11:
Pin all the layers together. Top stitch ½” inch from the outer edge of the “Tie Keeper” through all the layers.
(Click Image to Enlarge)
Step 12:
Stitch again ¼” away from the first and then stitch a third line of top stitching between the first two.
(Click Image to Enlarge)
Step 13:
To further secure all the layers together, Stitch two rows of stitching between the three middle rows through all the layers.
(Click Image to Enlarge)
Step 14:
Neatly fold the ties and slip them under the tabs for safe keeping during travels.
Ramona Baird has been in the embroidery industry for over 23 years. She and her husband owned a commercial and retail embroidery store in Arizona for many years. She is an experienced digitizer having been mentored by award-winners Pat Williams and Lindee Goodall. Ramona is a contributor to “Creative Machine Embroidery” magazine having 5 covers to her credit. Ramona has worked for Wilcom America and served many years as Education Director for the American Sewing Guild. With a degree in fashion design, she is able to design and execute patterns which Pat Williams says are “out of the box” in creativity and application. Ramona likes to challenge the boundaries of embroidery and bring new and exciting designs, ideas, and projects to EmbroideryDesigns.com. She wants embroiderers of all levels to increase their skills and enjoyment in using their embroidery machine for gift-making and personal pleasure.