Border OptionsHugging border, circle, square, or rectangle — with a 3mm satin stitch.
Backing OptionsAvailable with iron-on, sew-on, or velcro backing.
Fast ShippingShipped quickly from the USA.
Free Online Tools
Powerful embroidery utilities that save time and prevent costly mistakes.
Stitch AssistantRECOMMENDED
Get the exact stabilizer, machine settings, needle, and thread color sequence for every embroidery design you purchase — based on that design's stitch density, dimensions, and color count.
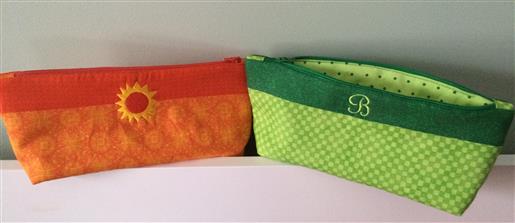
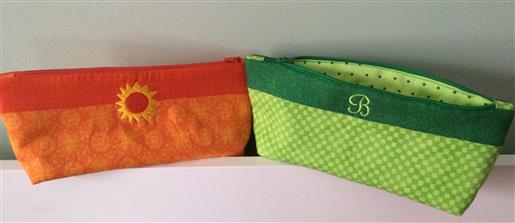
Create a small lined bag with a zipper using your leftover scraps of fabric. You can use these instructions to make larger bags as well. This bag is great for travelers!
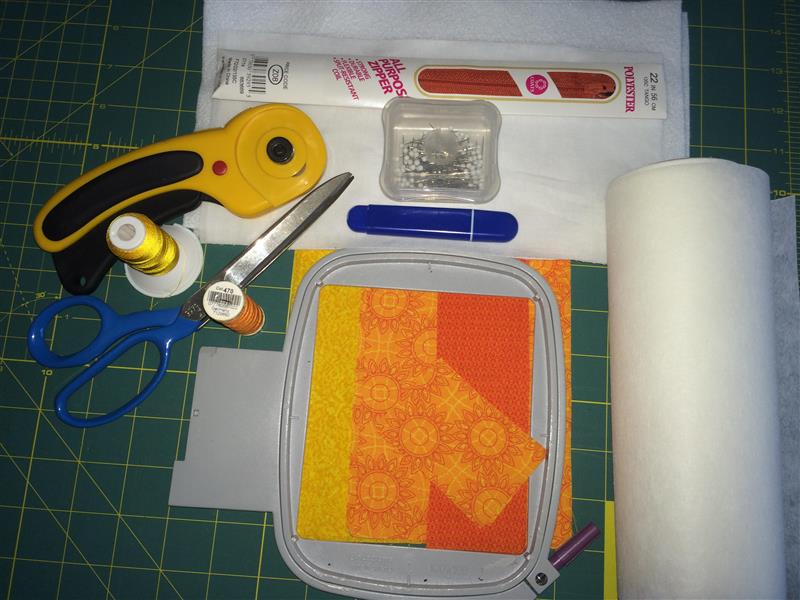
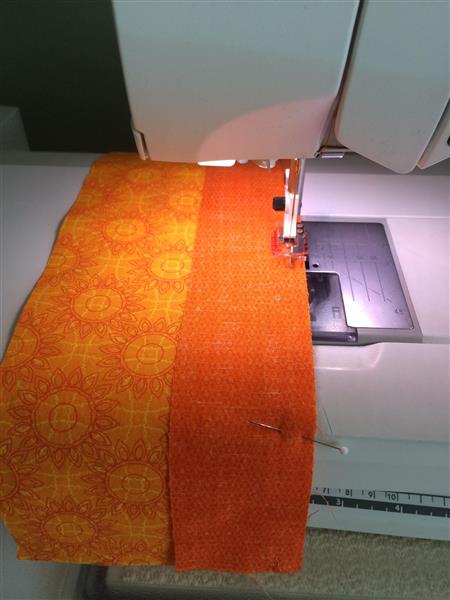
With right sides together using the 2” x 11” and the 4 ½” x 11” pieces, sew a 1/4” seam along the 11” side. Sew the other 2 pieces the same way. Press the seams open.
(Click Image to Enlarge)
Step 3:
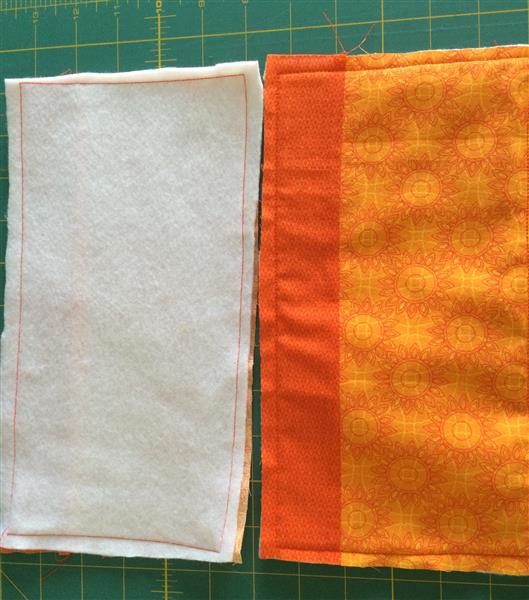
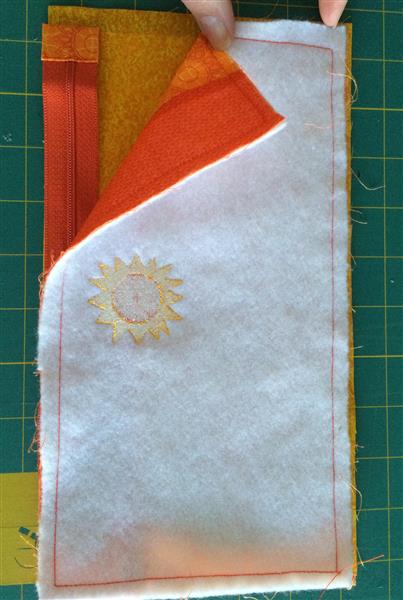
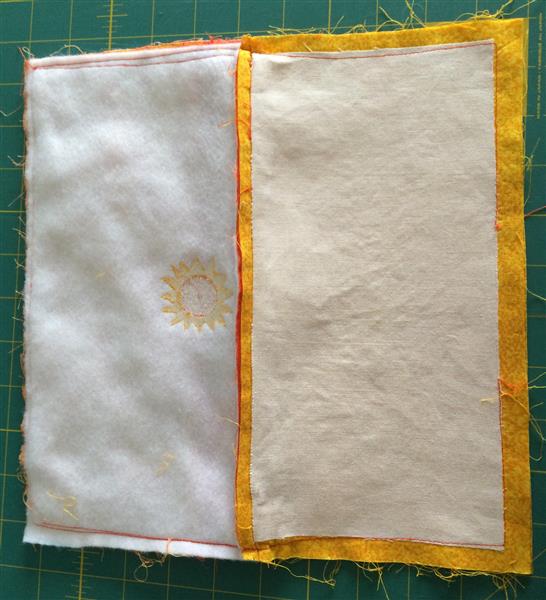
Sew the Thermalam or batting to the wrong side of the 2 pieces you have just sewn together along all 4 sides using a 3/8” seam.
Step 4:
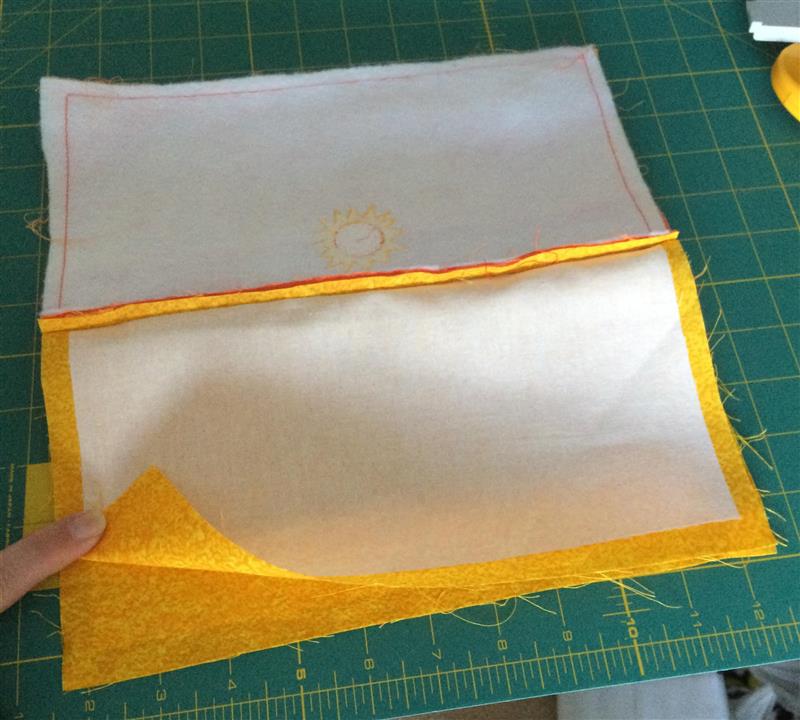
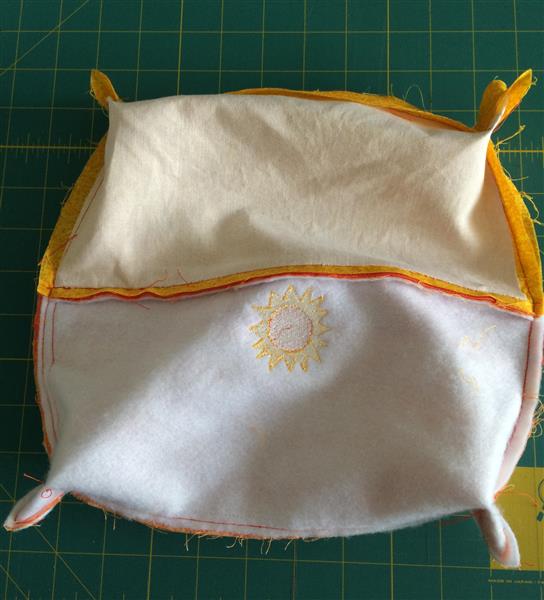
The 2 outer pieces of the bag should now look like this on the inside and the outside.
(Click Image to Enlarge)
Step 5:
Adding The Embroidery
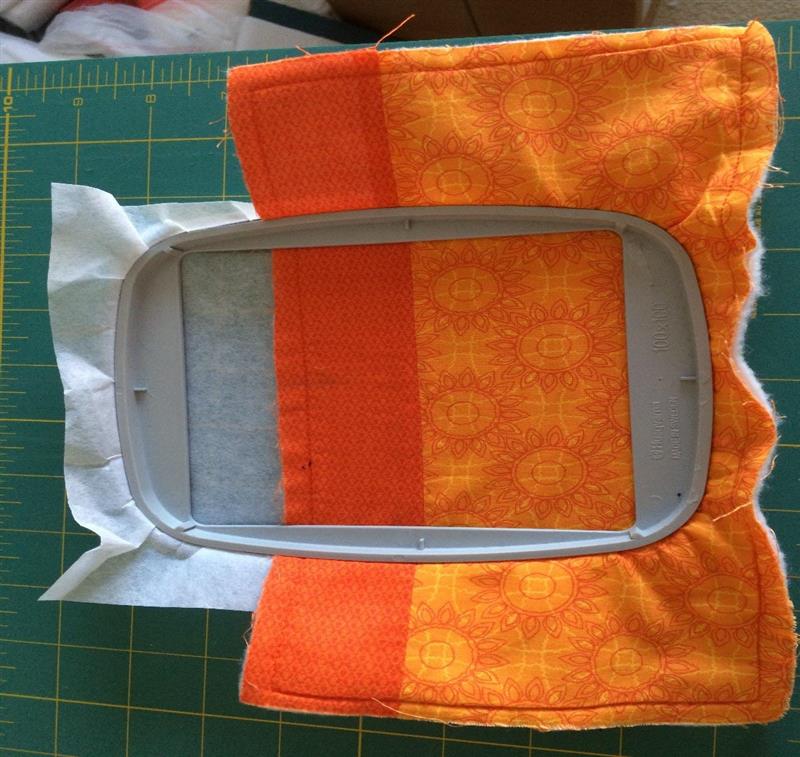
Mark the middle of the top of one of the outside pieces along the 11” side with a pin or fabric marker. Line up your center horizontal line with the seam line and the vertical center line with your mark. Note: If you are using a 1” or smaller design such as an initial, you can embroider that on the top band if you wish (like the green bag). To find the center of the top band measure down 1 1/8” from the top of the band and that will be the horizontal center of your band.
(Click Image to Enlarge)
Step 6:
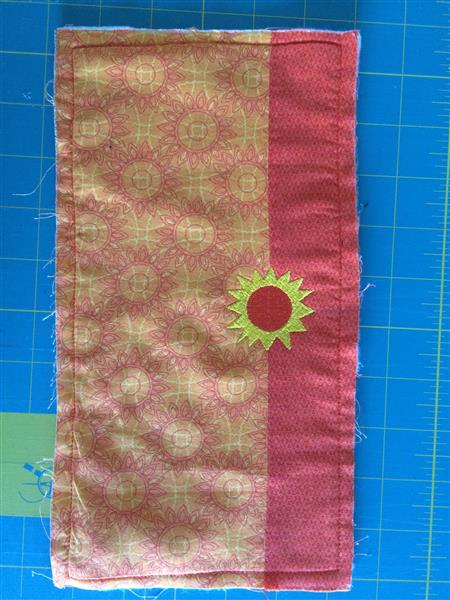
Load the Two Color Sun design from Satin Stitch into your machine, hoop the stabilizer and fabric and stitch out the design.
(Click Image to Enlarge)
Step 7:
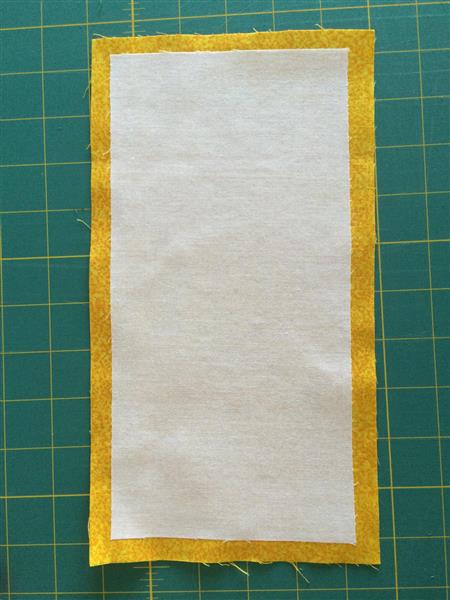
Iron the fusible Shapeflex to the wrong side of both pieces of the bag lining.
(Click Image to Enlarge)
Step 8:
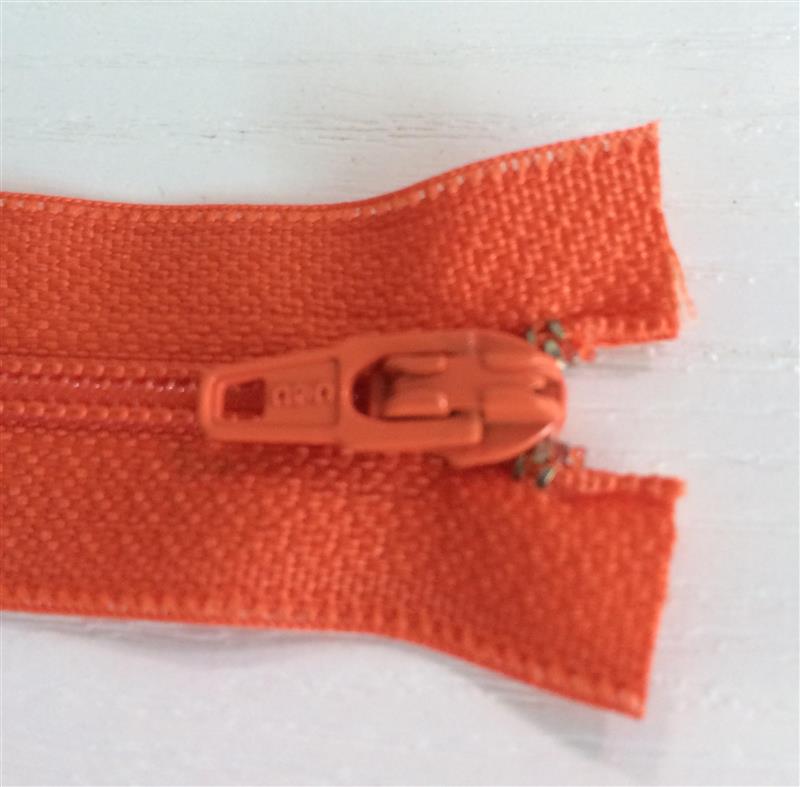
Cut down the top of your zipper to ¼”.
(Click Image to Enlarge)
Step 9:
(Click Image to Enlarge)
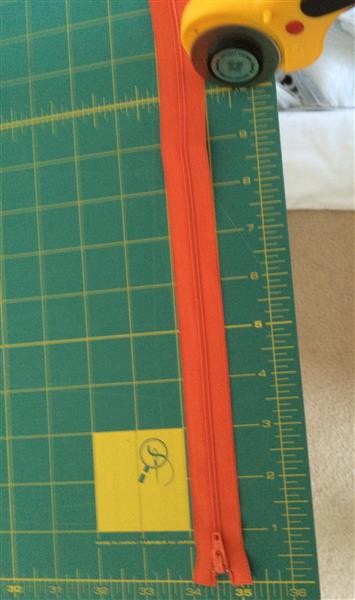
Using your rotary cutter, cut the zipper 10” in length. Start the measurement from the end of the tabs that you cut down to ¼”.
Step 10:
Making The Zipper Tabs
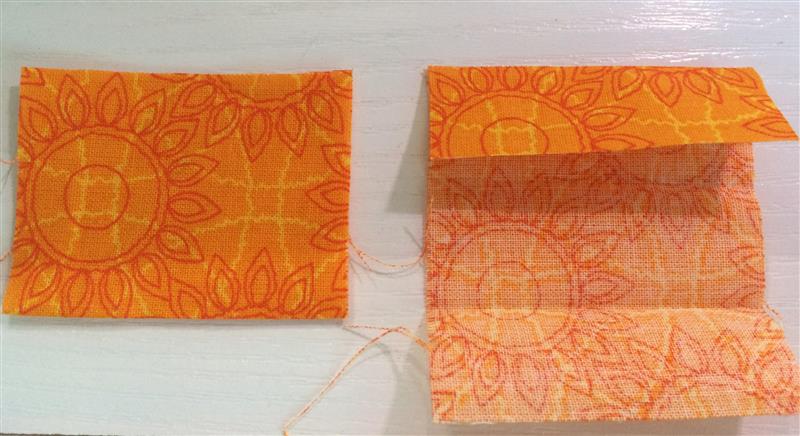
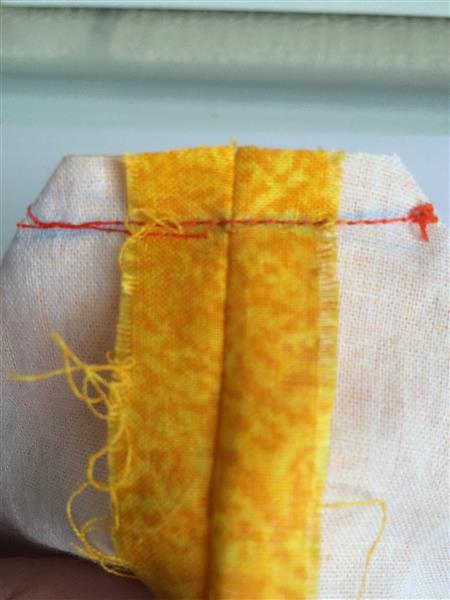
Fold the tab in half along the 3” length, wrong sides together. Open up the tab and fold the 2 ends in half so that the edges meet the middle fold.
(Click Image to Enlarge)
Step 11:
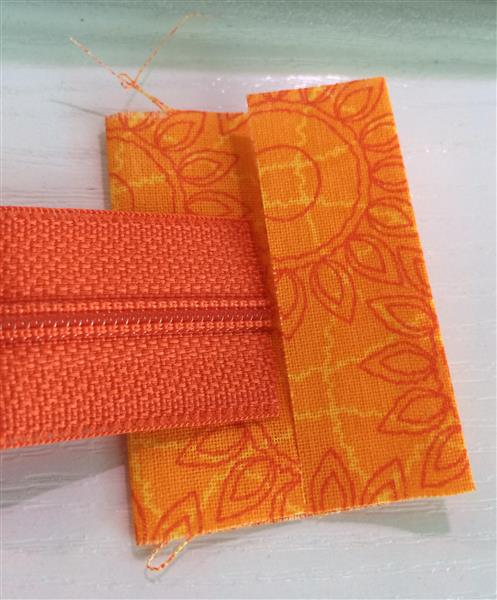
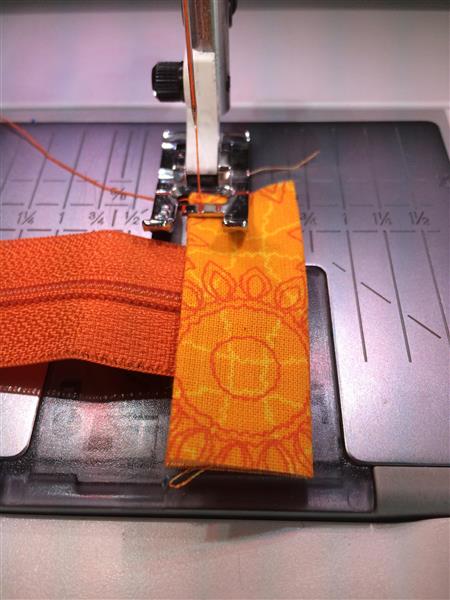
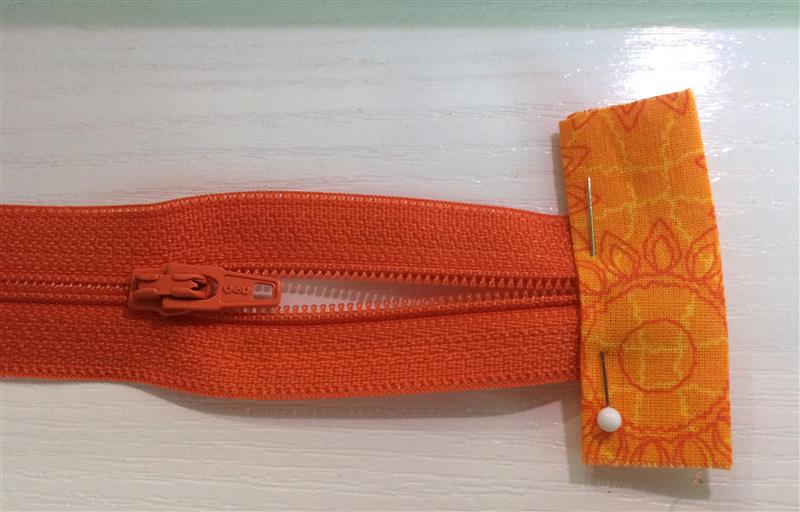
Slide the zipper end on top of the zipper tab matching the end of the zipper to the middle of the fold in the zipper tab.
(Click Image to Enlarge)
Step 12:
Fold the other side on top of the zipper and pin. Stitch close to the edge of the opening.
(Click Image to Enlarge)
Step 13:
Create the other tab following steps 1 & 2 above. Open up the zipper and slide it into the tab matching the ends of the zipper to the middle of the fold in the zipper tab. Fold the other side on top of the zipper and pin. Stitch close to the edge of the opening.
(Click Image to Enlarge)
Step 14:
(Click Image to Enlarge)
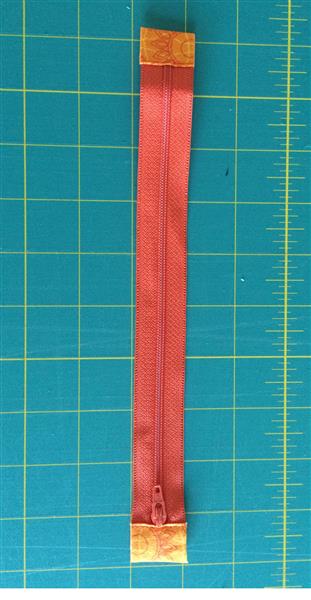
Cut the ends of the zipper tabs so that they are flush with the sides of the zipper. The zipper should now look like this.
Step 15:
Adding The Zipper To The Bag
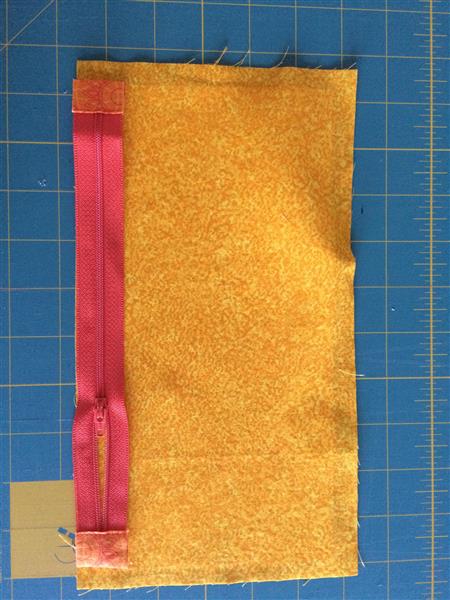
Open up the zipper a little bit and place it on top of one 11” side of the lining leaving ½” on both sides.
(Click Image to Enlarge)
Step 16:
Place the outside of the bag on top right sides together and pin. The zipper will be sandwiched in between the 2 pieces of fabric when you stitch it.
(Click Image to Enlarge)
Step 17:
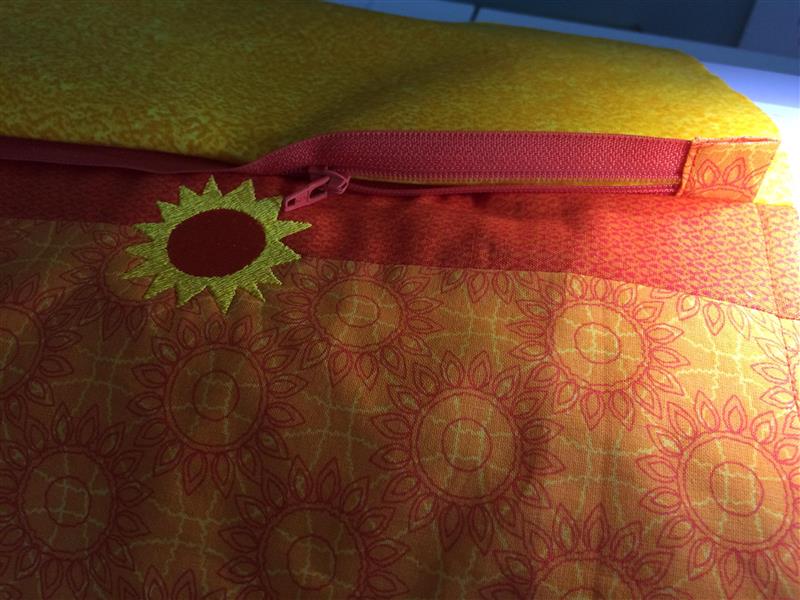
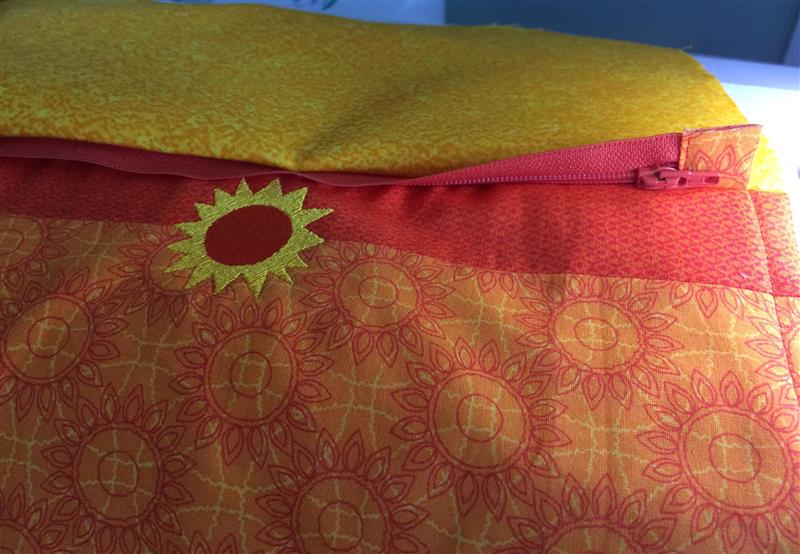
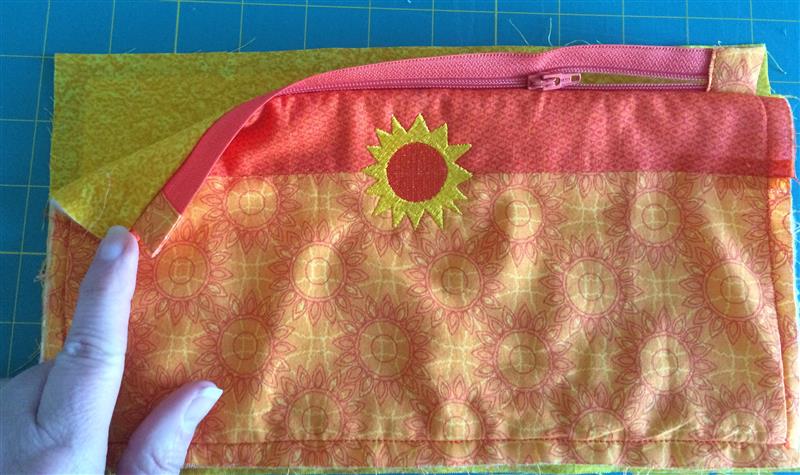
Put your zipper foot onto your machine and stitch a 3/8” seam until just before you feel the zipper stop on the zipper. Make sure you stitch through all 3 layers. Remove from your sewing machine and unfold the two pieces.
(Click Image to Enlarge)
Step 18:
Slide the zipper stop so that the zipper is closed and continue stitching until you are finished sewing that side.
(Click Image to Enlarge)
Step 19:
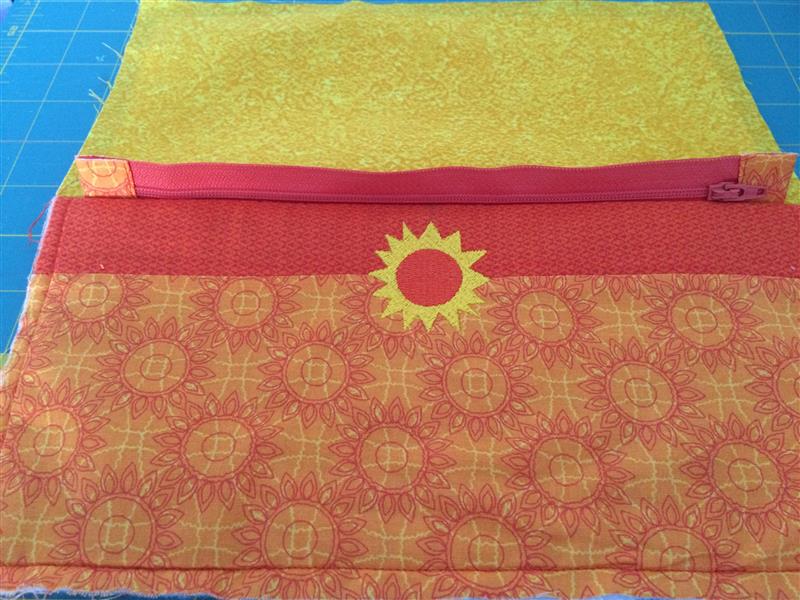
The bag should now look like this.
(Click Image to Enlarge)
Step 20:
Open up your zipper a little bit and place the other side of the zipper on top of the other piece of lining.
(Click Image to Enlarge)
Step 21:
(Click Image to Enlarge)
Place the outside of the bag on top of the zipper right sides together, lining up the edges and pin. Again, the zipper will be in the middle of the 2 pieces of fabric.
Step 22:
Stitch a 3/8” seam until just before you feel the zipper stop on the zipper. Make sure you stitch through all 3 layers. Remove from your machine and unfold the two pieces.
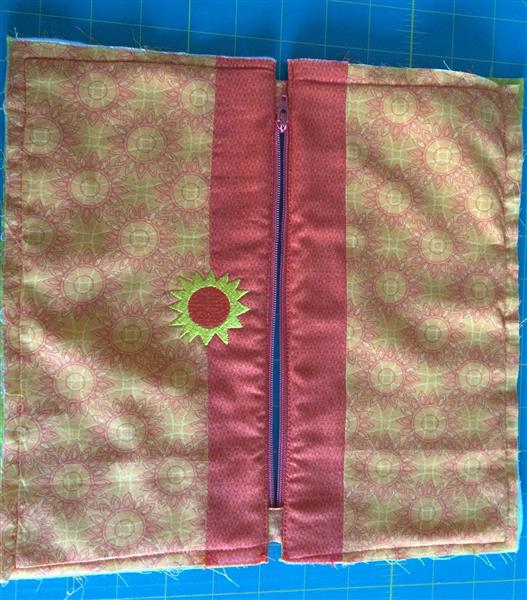
Slide the zipper stop so that our zipper is closed and continue stitching until you are finished sewing that side. Press and top stitch close to zipper. The bag should now look like this.
(Click Image to Enlarge)
Step 23:
Finishing The Bag
Put the regular sewing foot back onto your machine. This step is very important! Make sure the zipper is open up all the way. Place the linings right sides together and the outside pieces right sides together. Line up the edges and pin.
(Click Image to Enlarge)
Step 24:
When stitching the lining, you will stitch a ½” seam leaving open a 3”- 4” gap at the bottom. This gap will be used to turn the piece right side out when you are finished. When stitching the outside pieces, you will stitch a ¼” seam so that the bag is a little larger than the lining.
(Click Image to Enlarge)
Step 25:
Make The Bag Corners
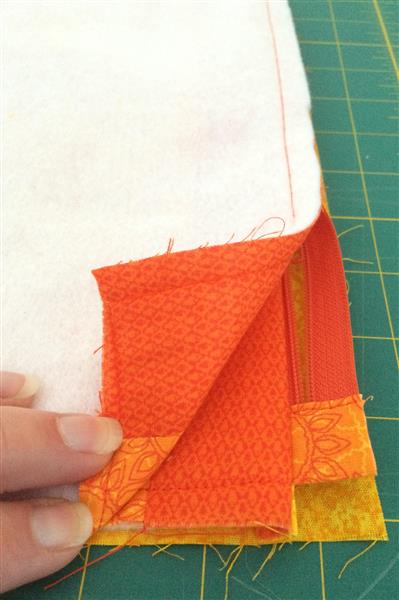
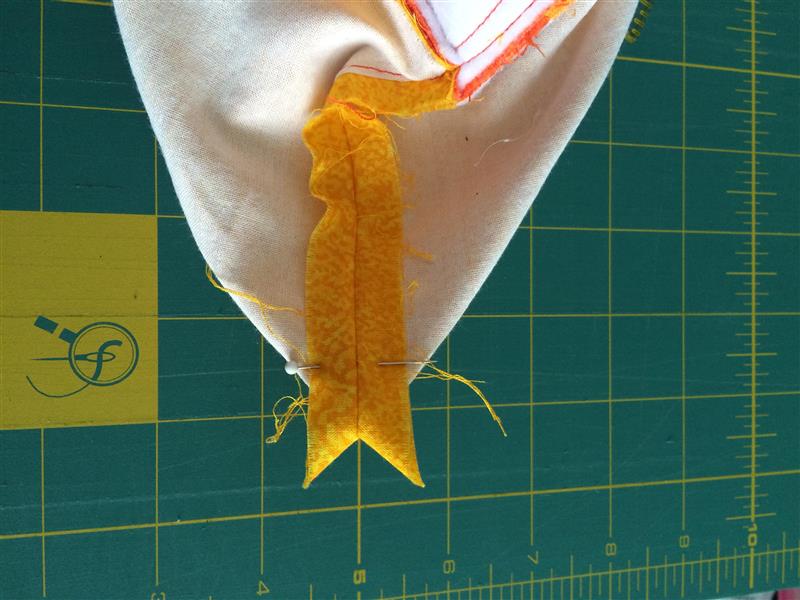
Using the 3” opening, put your hands inside the bag and flatten the first corner so that it makes a triangle shape. Pin.
(Click Image to Enlarge)
Step 26:
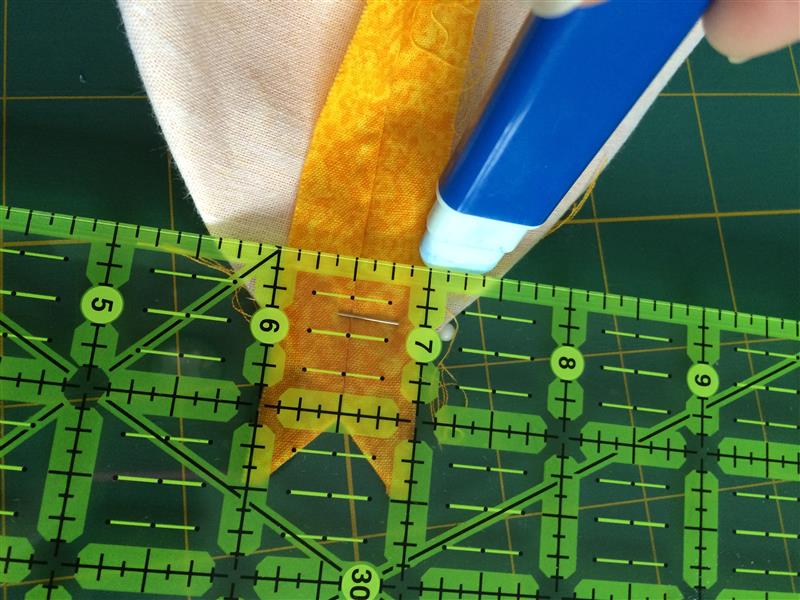
Mark down 1” using your fabric marker lining up the seam with a straight line on your ruler. This will be the stitching line.
(Click Image to Enlarge)
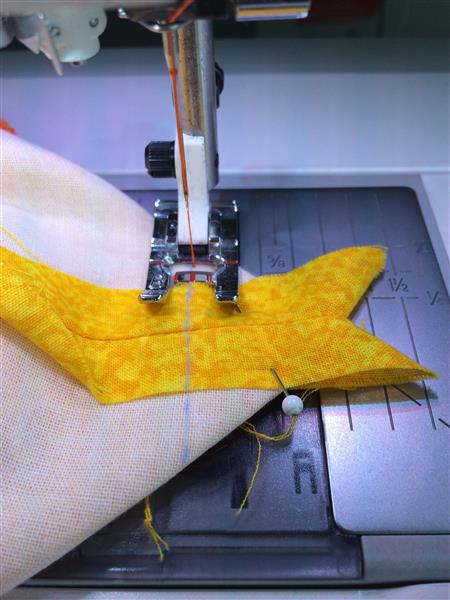
Step 27:
Stitch through the line.
(Click Image to Enlarge)
Step 28:
Do this for all 4 sides.
(Click Image to Enlarge)
Step 29:
Trim the corners down to ¼” and turn inside out.
(Click Image to Enlarge)
Step 30:
Poke out the corners. You can now either whipstitch the opening in the lining or stitch it closed using your machine. You are finished!
I've been sewing and making clothes from the age of 16 and started machine embroidering 8 years ago. I try to keep up with the latest embroidery trends by attending many classes at my local embroidery shop and just started learning how to quilt. I love to embroider on everything!