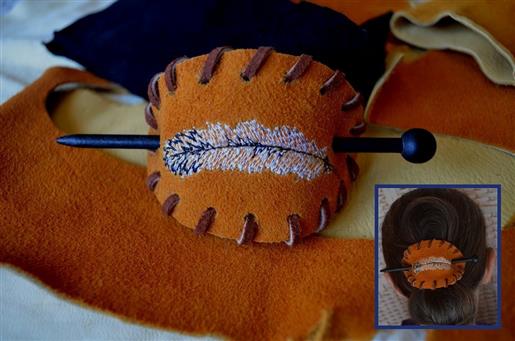
| Preface: | | The popularity of long hair has brought back the need for the hair slide. Both functional and decorative, hair slides are simple to create from leather scraps within an hour's time, and adding embroidery will make your slide unique. You'll find many designs suitable for embroidery on leather or pleather (artificial leather). If you use suede leather, you'll want to find a design with a light density at a size slightly smaller than the results you hope for, because each stitch will push at this vulnerable, stretchy substrate and actually enlarge the design as the suede distorts from the pressure of the thread being incorporated. Materials listed are those that I used for the hair slide in these images. |
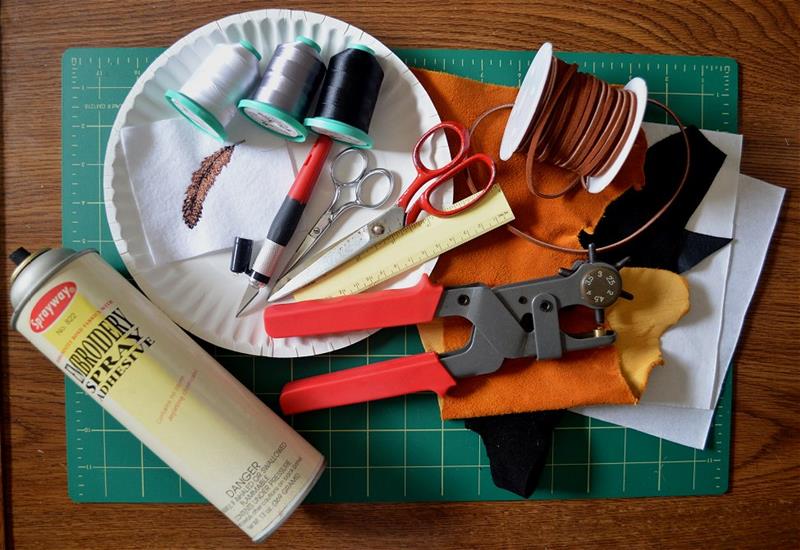
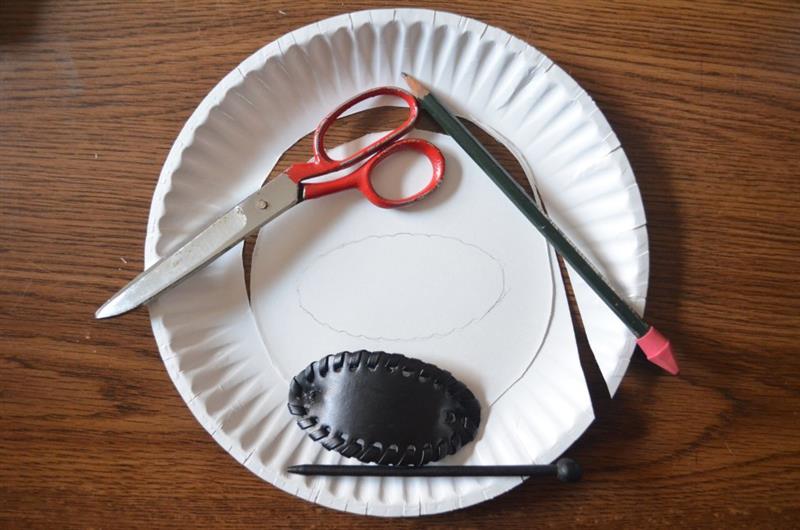
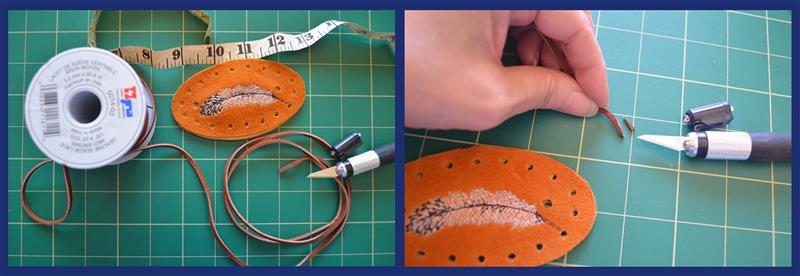
Step 1: | Gather the materials and tools. You will need a sharp craft knife and a leather hole punch to work with the leather. Pictured is a large leather punch; smaller punches are available and easier to handle, but either size will do the job. A scrap of leather large enough for the two oval pieces; they can be of two different colors, as the backside will not be seen. You can make your own leather lace if you have enough hide, or you can purchase a spool of leather lace that is manufactured for this type of project and often found in craft stores, as well as online. You will also need light cardboard, such as a paper plate, that can be used to create a template, paper scissors, and embroidery supplies.
I am using adhesive spray with a sheet of tear-away for backing, however, you could alternatively use a sheet of adhesive backing. Because adhesive spray holds up well, the spray in this image is actually quite old and possibly no longer available; you can use a similar quality spray like Lapel Stick. Note, a non-suede tanned leather or pleather does not need the adhesive, but no matter which type of leather you choose, you should always use a backing to protect the machine from any leather particles that could fall into the bobbin area. |  (Click Image to Enlarge) |
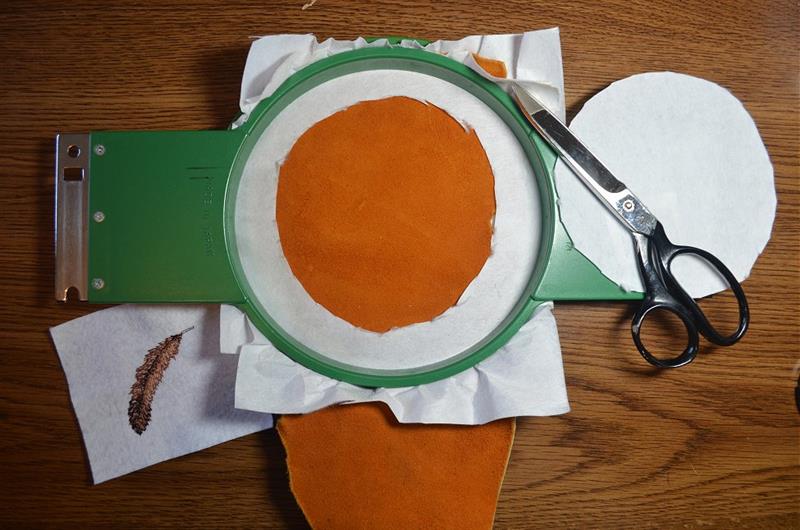
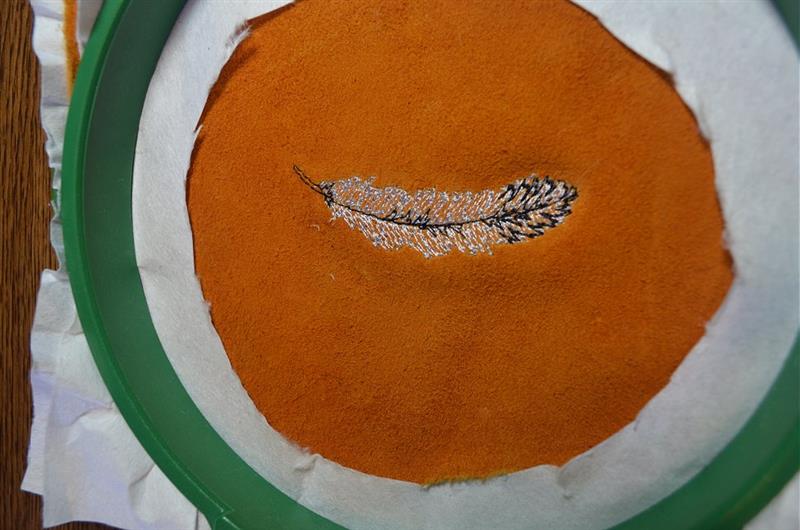
Step 2: | Stitch a sample on felt to check the density and to help with placement. Use a light spray of adhesive on the backside of the suede and then hoop by sandwiching between the two sheets of tear-away. After the three layers are hooped, cut a window out of the top sheet of tear-away. This top layer of tear-away is to help keep the leather hooped snug, especially if you are unable to hoop the entire scrap piece. At the same time the top layer of tear-away will offer some protection against any possible hoop marks in suede, though if hoop marks do occur, keep in mind that suede is quite forgiving and marks are easily removed with a soft brush. |  (Click Image to Enlarge) |
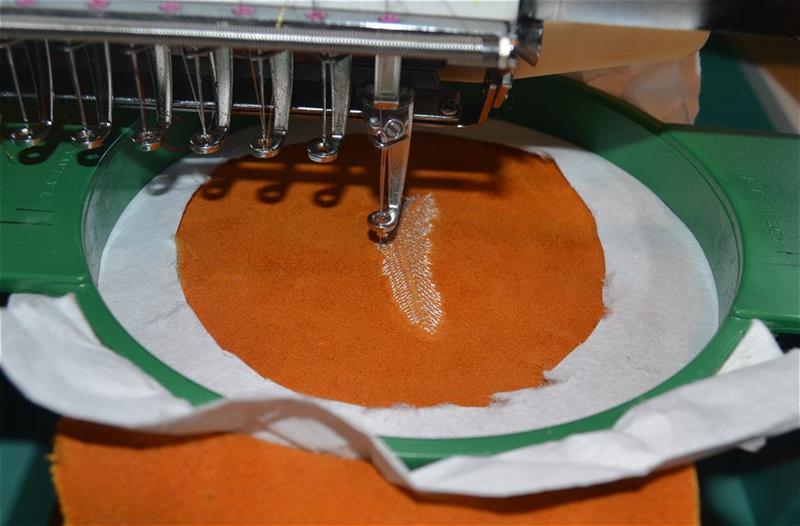
Step 3: | The design has been digitized to stitch somewhat at an angle, so I have rotated the design in my editing software to stitch upright, which will help line up the design on the suede piece the way I prefer when hooping with the bulk at the front. This will leave enough of the suede to create a back side for the hair slide. If your machine has a speed setting, slow it down to about 400 stitches per minute to reduce excess friction that could cause thread breaks. |  (Click Image to Enlarge) |
Step 4: | Notice the distortion of the suede at the right of the design. There are more stitches placed in the tip of the feather which has caused the suede to push; this is the reason why you should choose a design that is not stitch intensive for suede. Fortunately, this minor distortion will not be noticeable in a project that will bend enough to smooth out the distortion. |  (Click Image to Enlarge) |
Step 5: | Create a template. The center of a paper plate works well, but any heavy paper like poster board can be used. You can either draw an oval or use an artist's plastic template of the desired size. I have chosen to use an existing hair slide 3.75” long and 2” wide as a guide, which I simply sketched around the outside. When cutting out the oval template I made it about 1/4th inch wider than my marked outline to create a larger piece that will accommodate very long hair. If the hair slide is to be for a shorter length or for a child, the oval can be made appropriately smaller. |  (Click Image to Enlarge) |
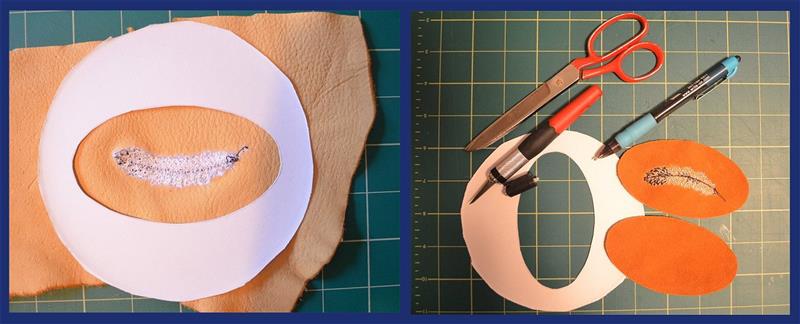
Step 6: | Lay the template on the backside of the stitched suede with the design centered. Use a ball point pen to mark the outside edge of the hair slide. Mark another oval on the suede that is not embroidered to create the back side. Use the craft knife to cut out the suede ovals. |  (Click Image to Enlarge) |
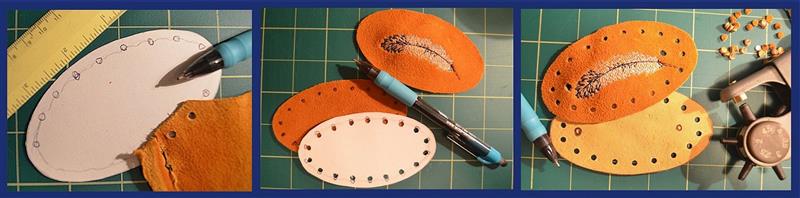
Step 7: | On the center piece cut from the paper plate, mark where you will be punching the holes for the lace about 1/4” to the inside of the outer edge. I referred to the sketched outline of the existing hair slide as a guide. I first punched two holes in the edge of a scrap of suede about ½” apart using the smallest setting on the leather punch of 3 mm. I had wanted to test the sharpness of the leather punch, but immediately realized it could be used as a template. So, I set the holes of the suede template on the sketched line and marked the two holes, then continued marking by lining up the left hole of the suede template to the previous hole marked, and then used the right hole of the suede template to mark the next hole, moving the suede template along until all holes were marked. I punched out the holes from the template and then used this to mark the holes on the back piece. After punching the holes from the edge of the suede pieces, I punched out the holes for the dowel/pin using the 4.5 mm setting at each side of the embroidered feather first, and then using the top piece as a template, I marked and punched the back piece. |  (Click Image to Enlarge) |
Step 8: | Measure around the perimeter of the suede oval using a tape measure, or use the lace by wrapping around the perimeter and measure the length. Double the sum and add 3-5 inches to calculate how much of the leather lace you will need to cut from the spool. (If you have placed holes less than 1/2” apart, you will need to triple that amount.) I've measured 10 inches, and cut a 25” length of the leather lace. With the craft blade, taper one end of the leather lace, which will make it easier to thread the lace through the holes. |  (Click Image to Enlarge) |
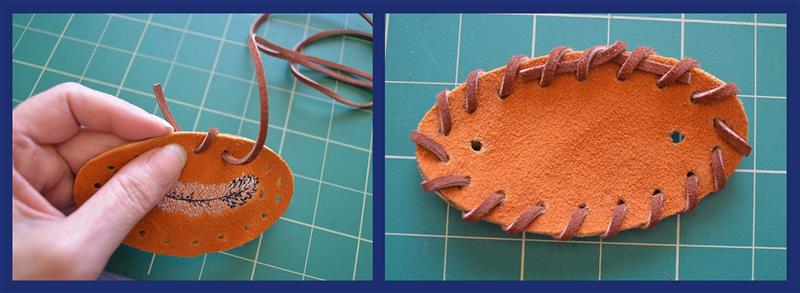
Step 9: | With the backsides of each piece together, begin by pulling the lace from the back to the front through the first hole, leaving about a 2” tail. Work a whip stitch around by threading the lace from back to front through each hole, ending at the last hole next to where you began. Wrap the first tail in the back around the last tail at the front into a single knot; trim and tuck the tails behind neighboring stitches. |  (Click Image to Enlarge) |
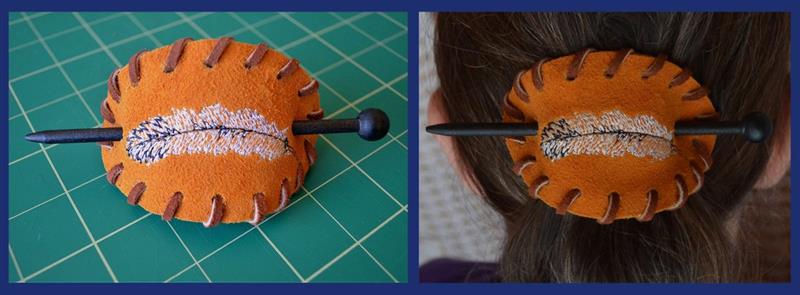
Step 10: | Your hair slide is now ready to use! |  (Click Image to Enlarge) |
|