Border OptionsHugging border, circle, square, or rectangle — with a 3mm satin stitch.
Backing OptionsAvailable with iron-on, sew-on, or velcro backing.
Fast ShippingShipped quickly from the USA.
Free Online Tools
Powerful embroidery utilities that save time and prevent costly mistakes.
Stitch AssistantRECOMMENDED
Get the exact stabilizer, machine settings, needle, and thread color sequence for every embroidery design you purchase — based on that design's stitch density, dimensions, and color count.
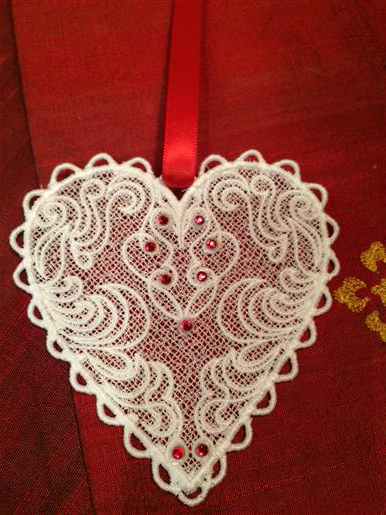
Create a delicate Valentine heart ornament that can be embellished with rhinestones and ribbon. Ideal for gifting or attaching to a card. Step-by-step instructions are included.
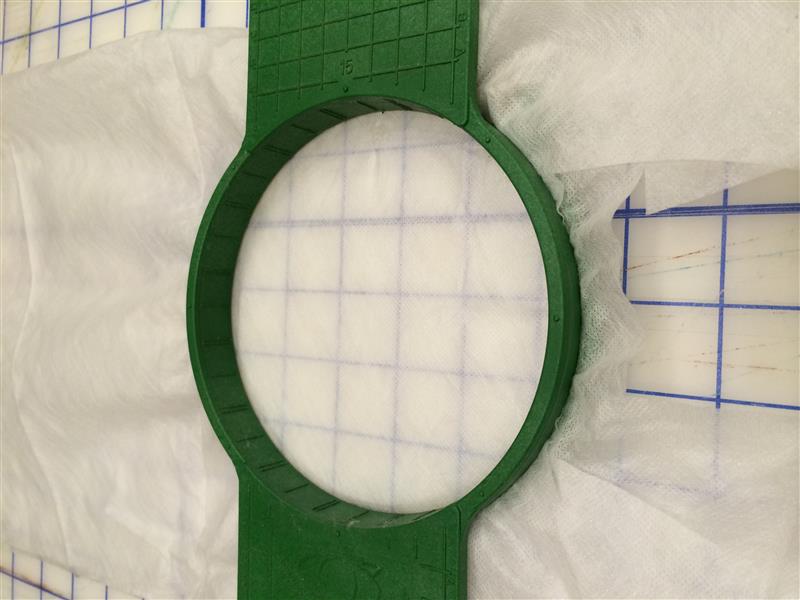
Hoop the woven water soluble stabilizer. Make sure it is doubled as it needs this extra stabilizer. Thread your machine with white POLYESTER thread. DO NOT use Rayon as it will not sew as good. You can make the heart any color, but use POLYESTER thread and use same thread color in bobbin.
(Click Image to Enlarge)
Step 3:
Select your favorite Kinship Kreations Valentine Heart file and sew onto the woven water stabilizer.
(Click Image to Enlarge)
Step 4:
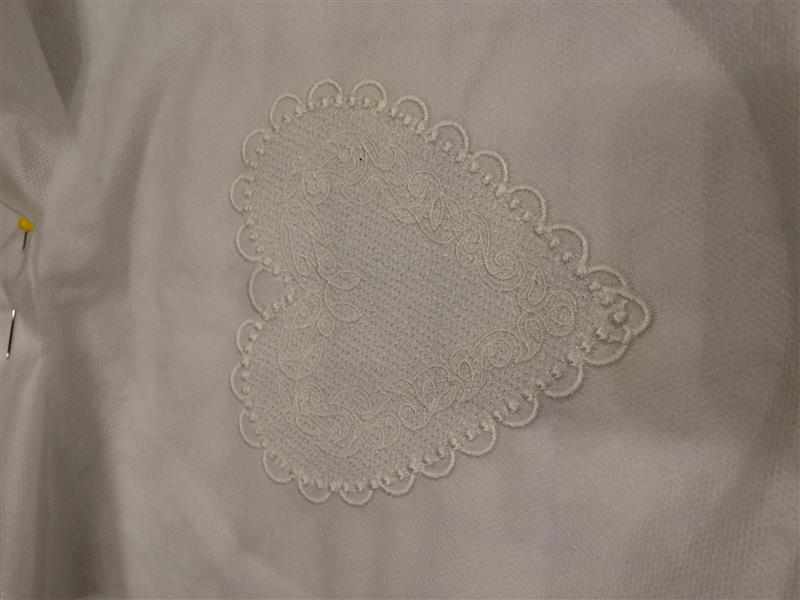
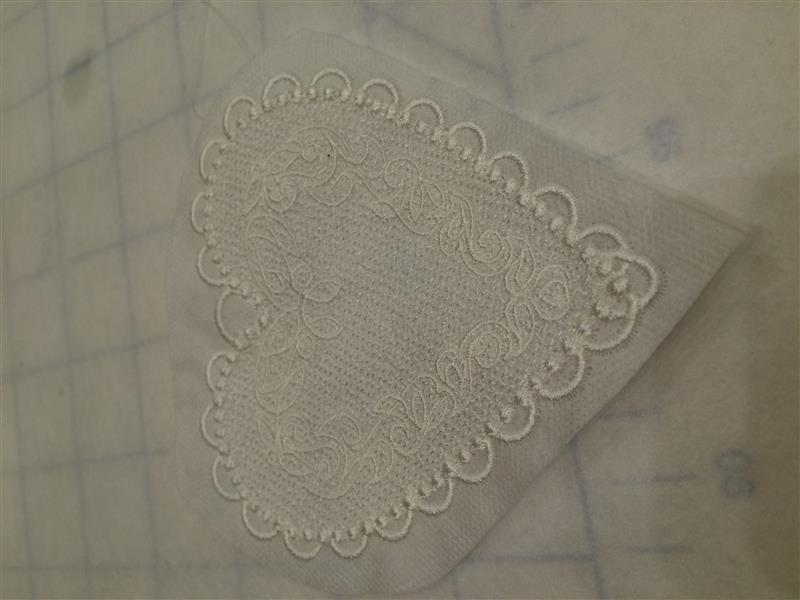
After it is sewn out carefully cut around the design leaving a good 1/2" to 1" of stabilizer around the edge. Do not cut into any threads.
(Click Image to Enlarge)
Step 5:
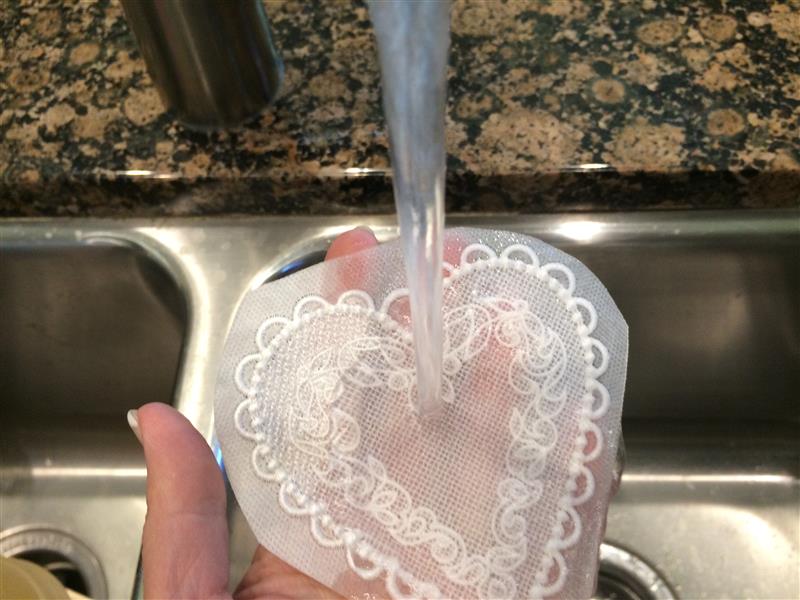
Very carefully run under water. I usually get it wet and let it sit in my hand for a minute or two. The stabilizer starts to dissolve and you can take your fingers and remover the rest. This is one time you want to leave some on your design.
(Click Image to Enlarge)
Step 6:
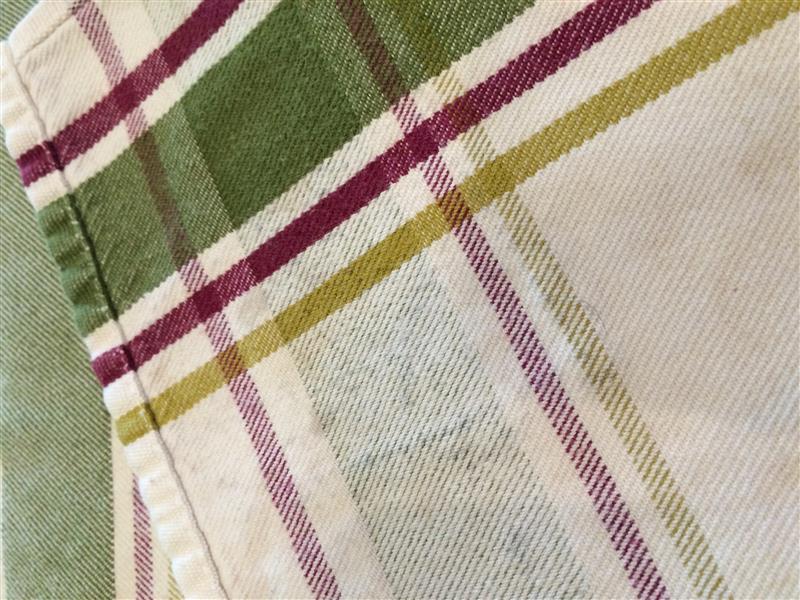
Take the design and put in between a linen dish towel or low nap towel and pat.
(Click Image to Enlarge)
Step 7:
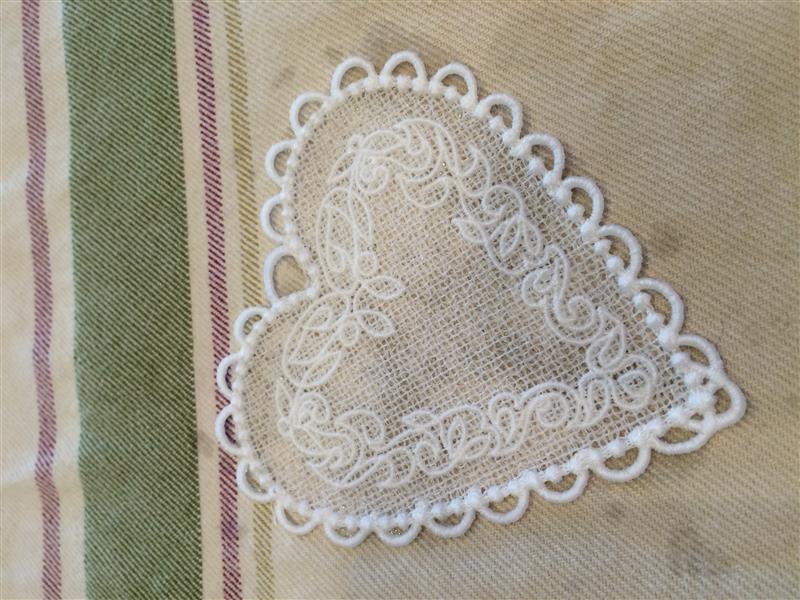
Gently lip off the top of the towel leaving your design on the bottom. This is the hard part. DO NOT TOUCH UNTIL DRY. Yes, it is tempting, but you can easily distort the design as it is very fragile at this point. Once it is dry (couple hours) you can pull up. Make sure it is completely dry before you try to add the stones or your ribbon.
(Click Image to Enlarge)
Step 8:
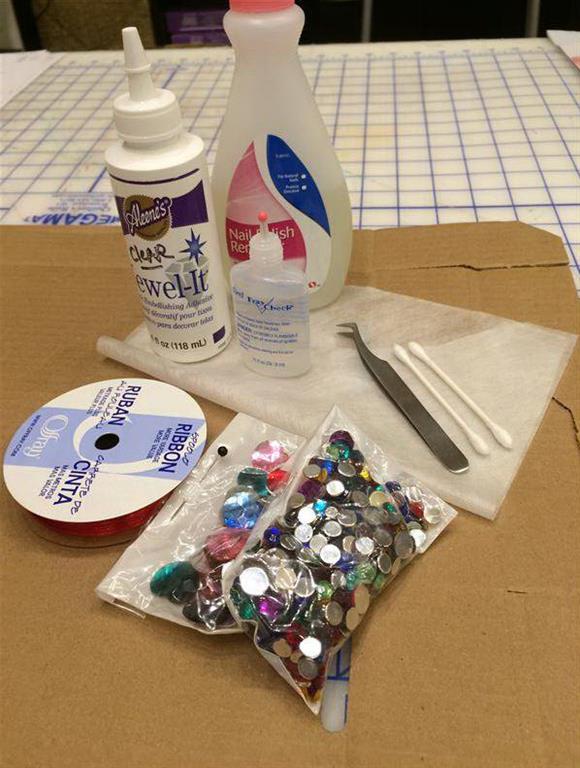
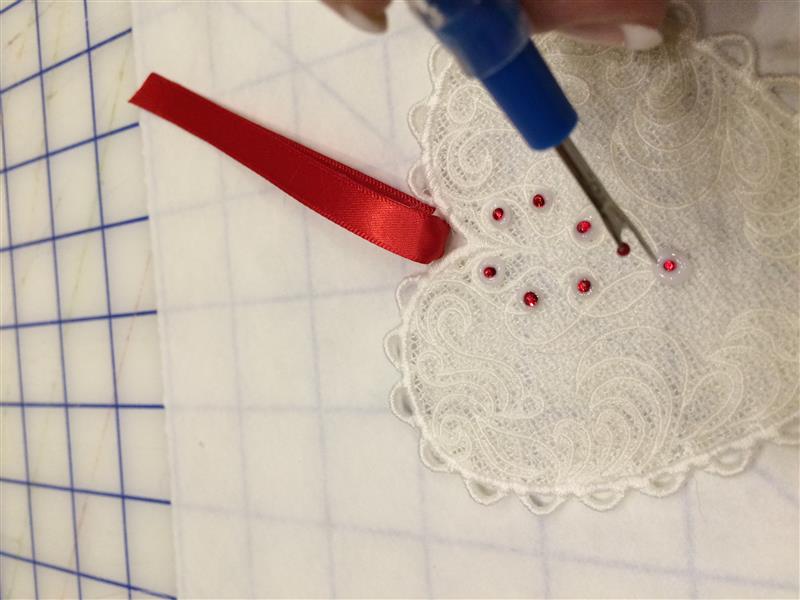
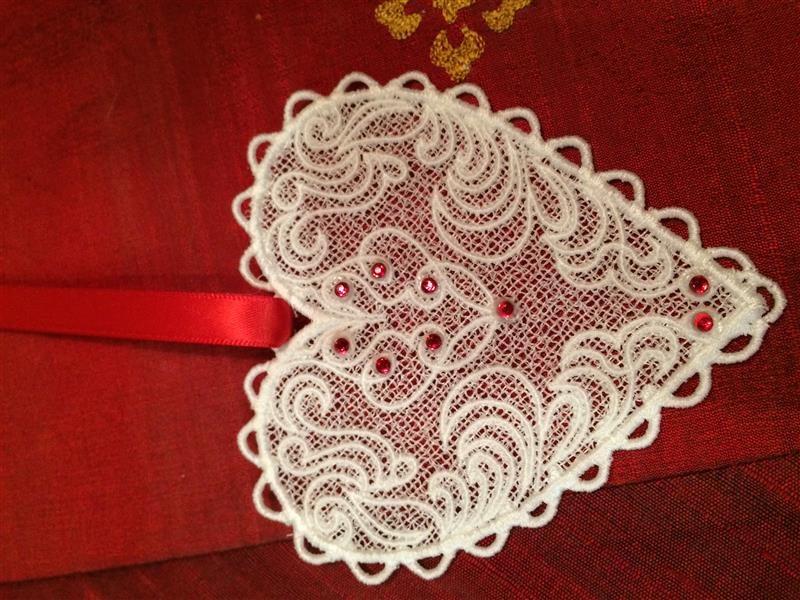
Once it is completely dry you can embellish with rhinestones and ribbon. I used two different types of rhinestones. Some red that are size SS10 along with some heart shaped stones. I also used 1/8" and 3/8" wide red ribbon. Put a drop of Aleene's Jewel It where you want your stones, and using a tweezer you can drop your rhinestone onto the drop of glue. You can use a toothpick or a seam ripper to push down on the stone to put into place. I like the Aleene's as it drys clear.
(Click Image to Enlarge)
Step 9:
You can add your 3/8" wide ribbon to the top after it is dry or you can add the ribbon before you place your stones. Just make sure your glue is dry before you handle the heart. You will be able to tell when dry as it will dry clear.
(Click Image to Enlarge)
Step 10:
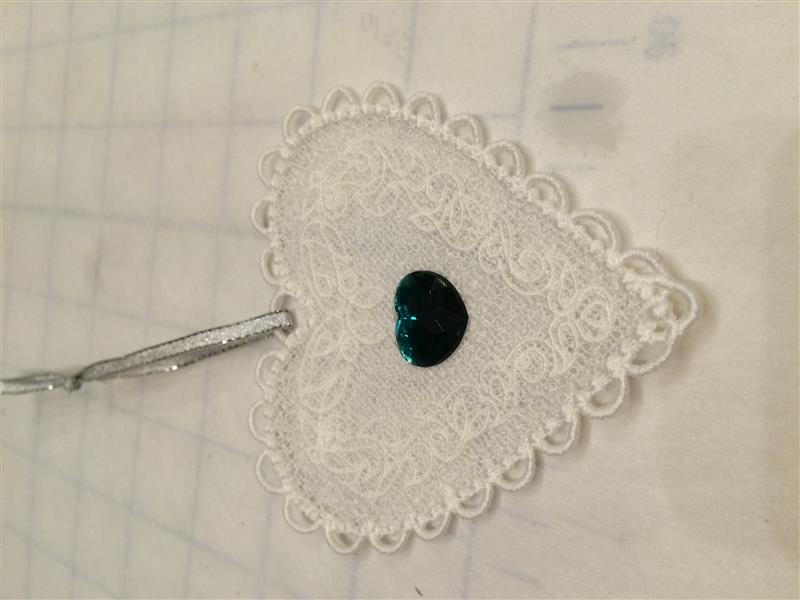
This one I used a big heart in the center. If you get any glue on the stones when the glue is dry a little nail polish remover on a cotton swab will remove it.
(Click Image to Enlarge)
Step 11:
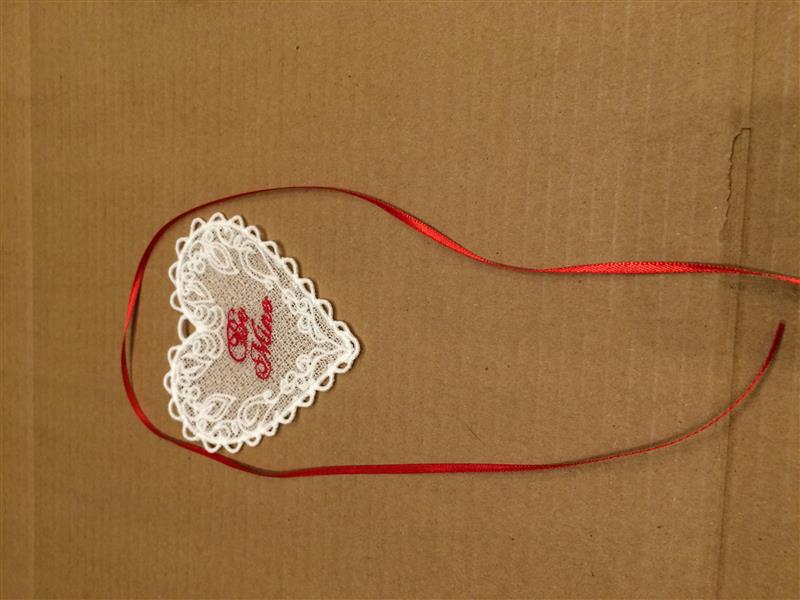
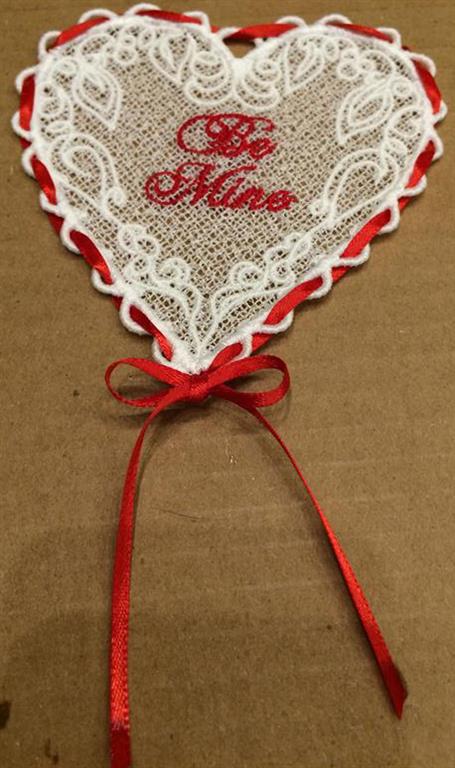
For this heart follow all the steps above, but instead of using rhinestones I used a piece of ribbon 1/8" x 22" long and I threaded the ribbon thru the loops on the edge of the heart.
(Click Image to Enlarge)
Step 12:
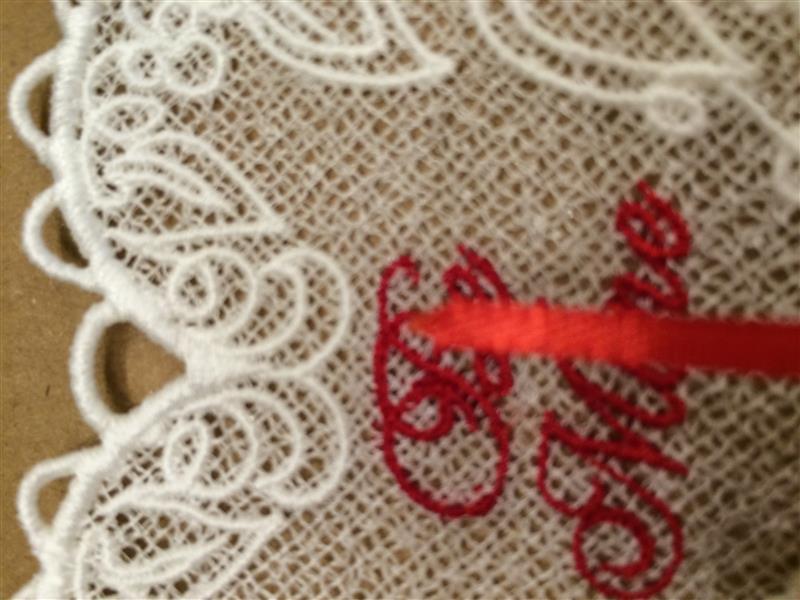
I cut the edge of the 1/8" ribbon in a point so it would easily thread.
(Click Image to Enlarge)
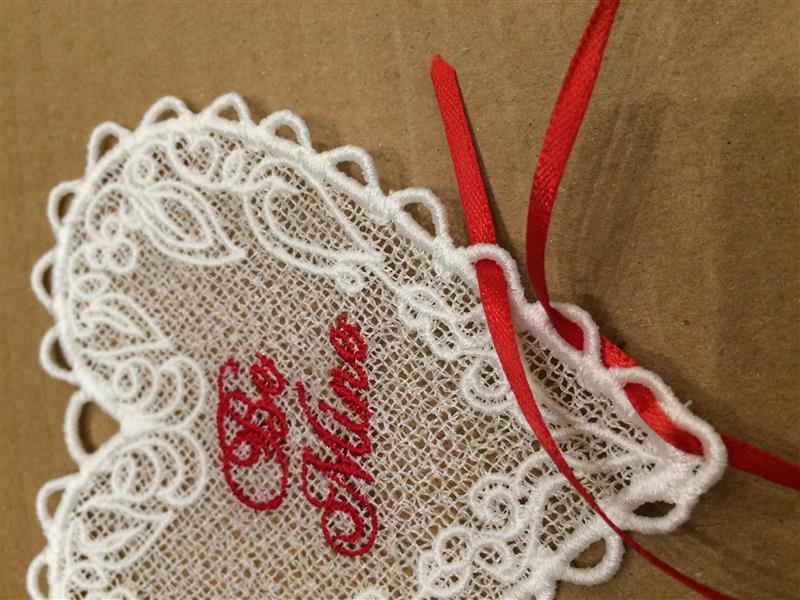
Step 13:
I started threading from the bottom of the heart in and out of each loop. If the ribbon turns use your tweezer to straighten it out. Starting to thread between the loops on the side going around the diameter of the heart.
(Click Image to Enlarge)
Step 14:
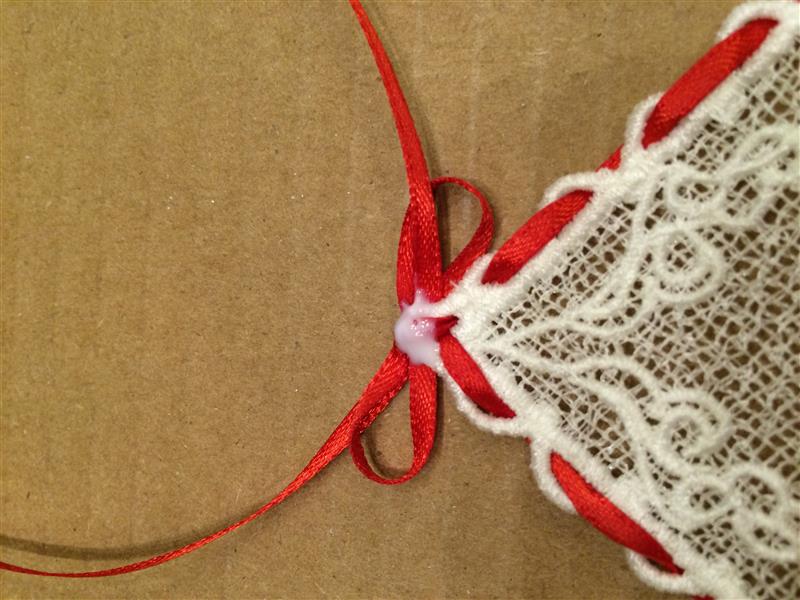
I ran the ribbon around the outside of the heart and tied a bow at the bottom. I turned over the heart and put a drop of glue on the underside of the bow so it would not come undone.
(Click Image to Enlarge)
Step 15:
Trim the edge of the ribbon bottom and take some fray check and dab a little at the bottom edge that was cut. This also dries clear.
Jayne Monsipapa has been digitizing for 24 years. It all started after walking into a sewing store in 1993 to buy a couple spools of thread and there was a sewing machine hooked up to a computer! Embroidering the designs were fun at first, but it did not take much to get hooked on digitizing. From 1993 until 1999 she worked on her digitizing skills and found her designs sewed out very good. With her husband’s encouragement Kinship Kreations LLC began in 1999 selling designs online. In those early years she took classes with both Walt Floriani and Lee Caroselli (Balboa Embroidery) who are both very talented and successful digitizers. Jayne joined the EmbroideryDesigns team in 2008.