Border OptionsHugging border, circle, square, or rectangle — with a 3mm satin stitch.
Backing OptionsAvailable with iron-on, sew-on, or velcro backing.
Fast ShippingShipped quickly from the USA.
Free Online Tools
Powerful embroidery utilities that save time and prevent costly mistakes.
Stitch AssistantRECOMMENDED
Get the exact stabilizer, machine settings, needle, and thread color sequence for every embroidery design you purchase — based on that design's stitch density, dimensions, and color count.
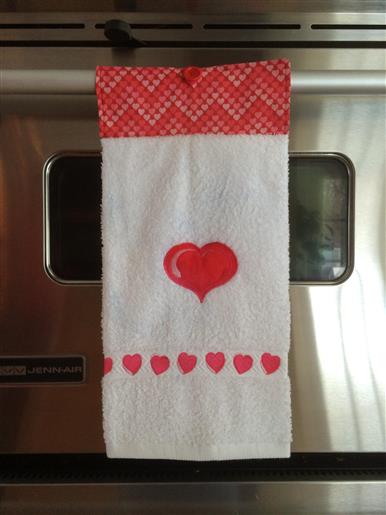
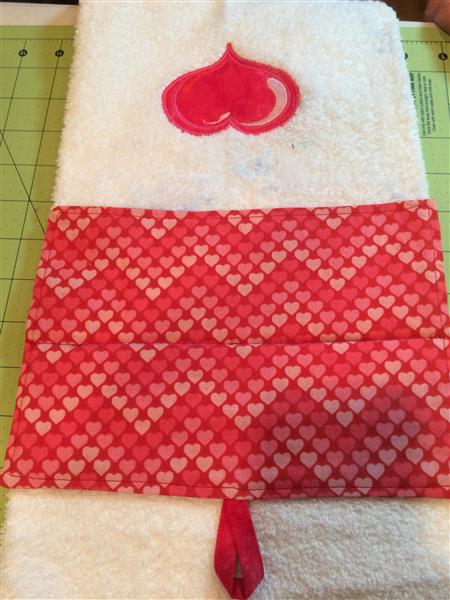
I will be showing you how to stitch out an applique design and how to create a continuous design to be stitched out on a towel that you can hang on a stove or small towel bar. This project will require editing embroidery software such as BuzzEdit.
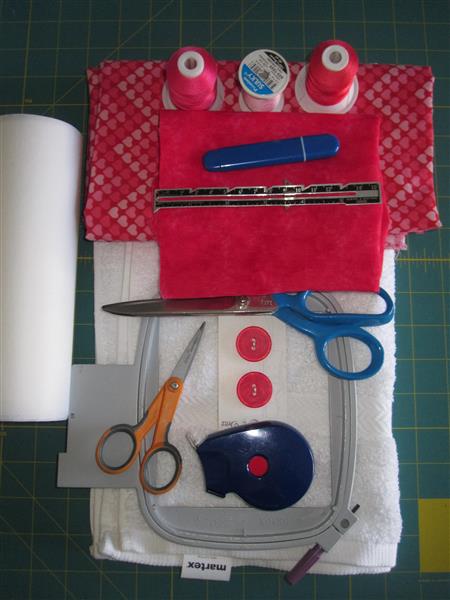
White terry towel – I bought one that is 16” wide by 29” long. You can buy a smaller one, but just keep in mind that we are going to fold it in half lengthwise. Also, make sure it has a flat band that is at least 1” wide close to the edge because we will be embroidering on that band. You will also need to pre-wash and dry.
1/3 yard of 45” wide Valentine fabric for the top of the towel (we’ll reference this as the towel holder). You should pre-wash the fabric if it is cotton.
1 - 4” x 4” piece of plain red fabric for the applique heart and loop on the towel holder.
1 – 1” coordinating button
4” x 4” hoop
Embroidery Designs: Candy Hearts Border from Great Notions and Applique Heart from DayDream Designs
Tear away stabilizer. For the band, cut a piece 5” wide and as long as the width of the towel plus 2 inches. In my case I will cut a piece 5” x 18”.
3 embroidery thread colors and bobbin thread. Sewing thread that will match your fabric and white sewing thread for basting the towel.
BuzzEdit embroidery software or an embroidery software that has the capability of making a continuous design.
Fabric marker
Calculator
Measuring device such as a sewing gauge and tape measure
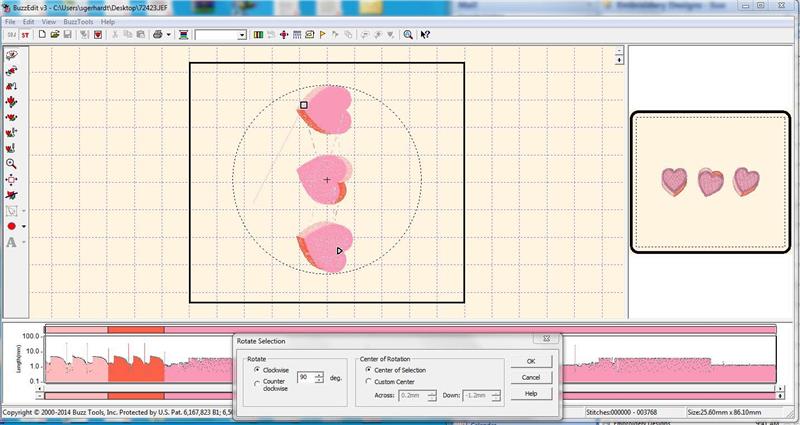
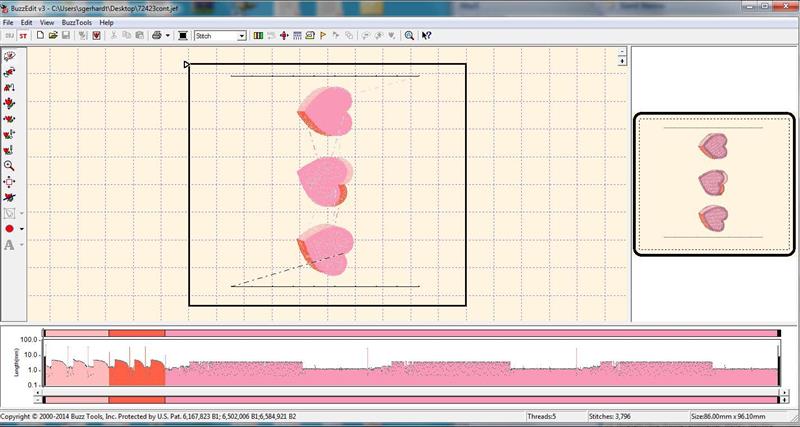
Create your continuous design using BuzzEdit software. If you decide to create the continuous design in a different software program, these instructions may not work and you should consult your manual on how to re-hoop using the marking stitches. First you will open up the Candy Hearts Border design in the BuzzEdit software, click on BuzzTools/Rotate and you will see this screen. Key in 90 in the degrees box and then click on OK.
(Click Image to Enlarge)
Step 3:
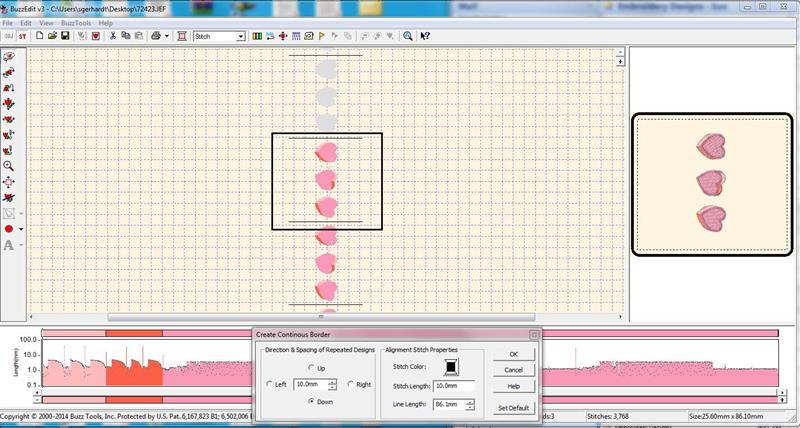
Click on BuzzTools/Create Continuous Border. Make sure you click on the Down radio button and keep the rest of the screen the same and then click on OK.
(Click Image to Enlarge)
Step 4:
The design will now contain marking stitches at the beginning and end of the design. They will be stitched out as colors #1 and #5 in this design. Click on File/Save.
(Click Image to Enlarge)
Step 5:
Instructions for stitching out the continuous design on the towel:
Remember, the first and last colors are the marking colors that you will use the next time that you hoop the towel. Do not remove these stitches until you are finished with the band!
Step 6:
You will now need to calculate how many times this design will stitch out on the band before you begin stitching. The design is 3.75” long when you added the markings to the design earlier. So you will calculate the number of times you can stitch out this design = the width of the towel divided by 3.75”. This design will stitch out 4 full times on my band (16 divided by 3.75 = 4.222).
Next, you will have to calculate where you are going to start hooping this design.
a. Take the number of times you will be stitching out the design times 3.75 b. Subtract this number from the width of the towel c. Divide that number by 2.
In my case it will be 4 (number of times I will stitch it out) x 3.75 (length of the design) = 15, 16 (width of my towel) minus 15 = 1. Divide 1 by 2 and that gives you ½”.
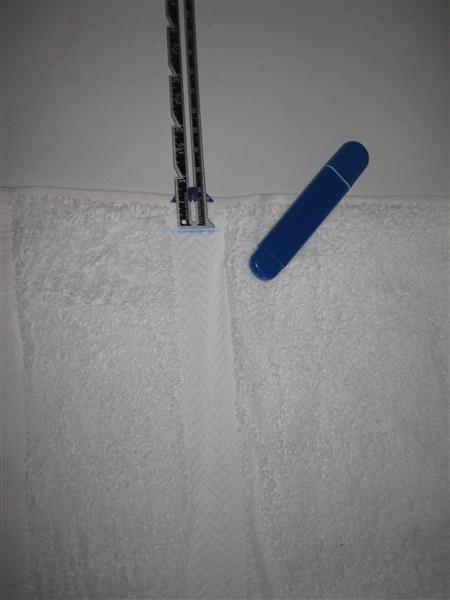
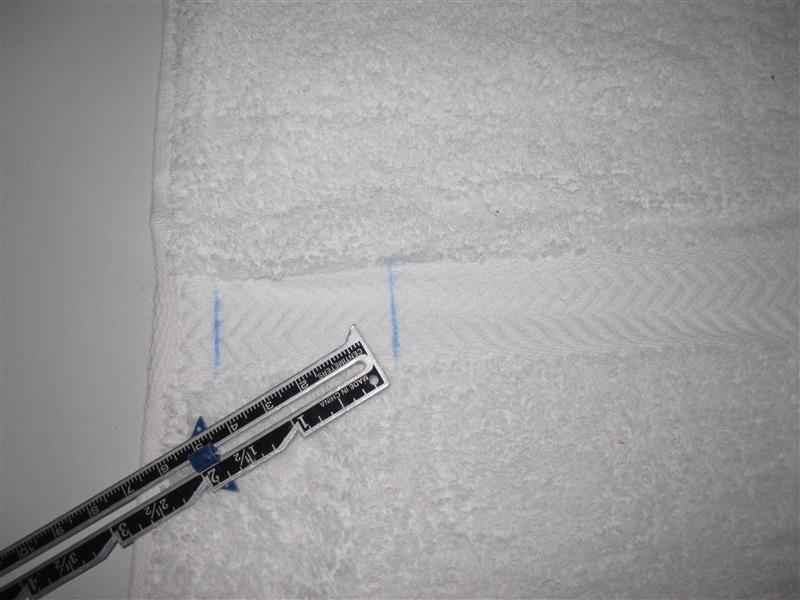
Mark ½ inch from the left side of the band then measure another 1 7/8” (half the length of the design) to get the center of the first design.
(Click Image to Enlarge)
Step 7:
Here is what my band looked like after I marked it.
(Click Image to Enlarge)
Step 8:
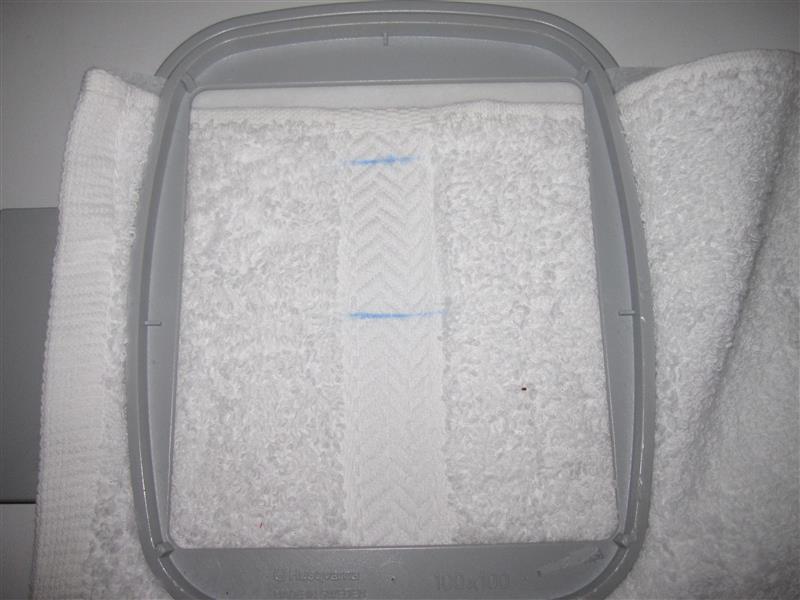
Place the stabilizer on top of the hoop. Align the mark on the towel with the center of the hoop horizontally the the middle of the band vertically.
(Click Image to Enlarge)
Step 9:
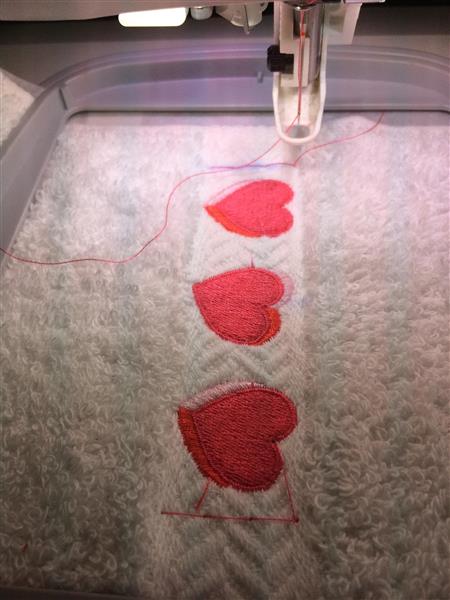
The first and last colors are the marking stitches, so you can stitch them out in whatever color you wish. Stitch out the design using the 3 colors that match your fabric.
(Click Image to Enlarge)
Step 10:
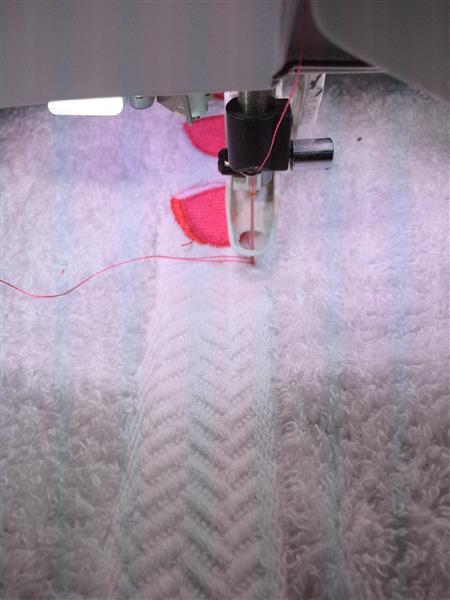
Un-hoop the towel and place the bottom part of the hoop back onto your machine. Place the towel band (move the towel away from you) and line up the right side of the marking line with the needle. Make sure the middle of the band lines up with the middle of your hoop vertically. Tighten the hoop either on or off your machine.
(Click Image to Enlarge)
Step 11:
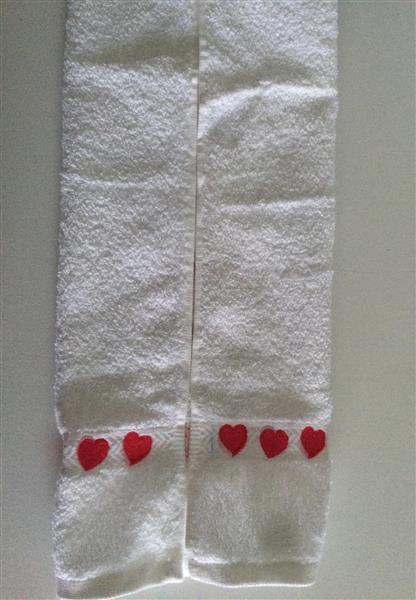
Stitch out the next sequence of the design. If you placed it in the hoop correctly, color #1 will be stitched out on top of color number #5 from the previous design.
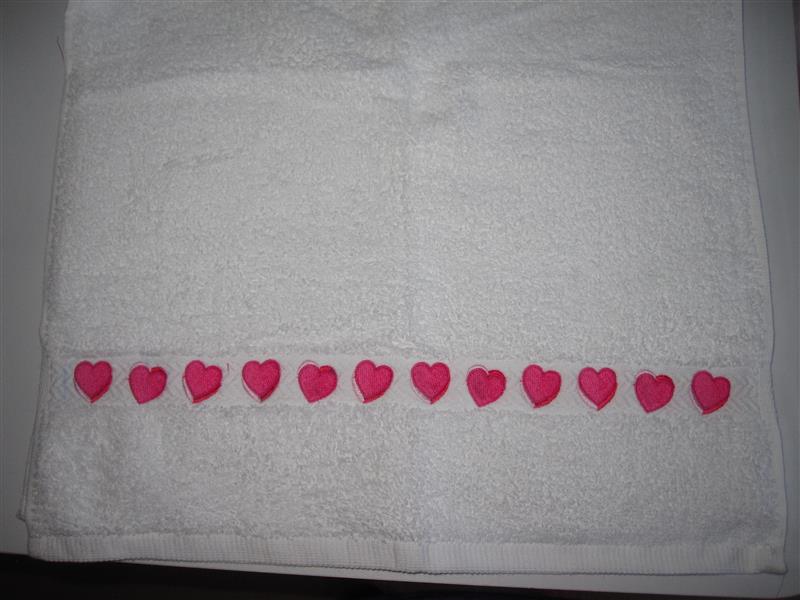
Continue these two steps until the band is complete.
(Click Image to Enlarge)
Step 12:
Instructions for the heart applique design.
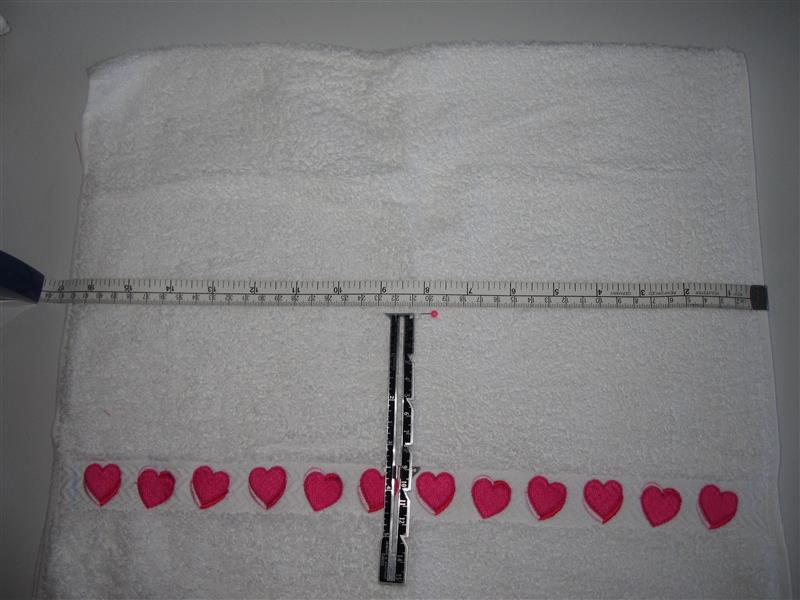
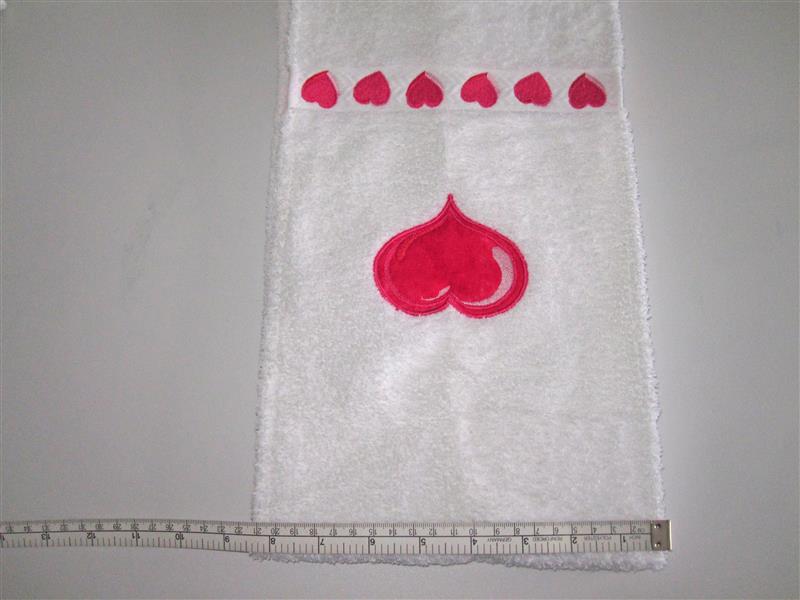
Measure 3 1/2” up from the top of the band and the middle of the width of the towel. Mark it with a pin or fabric marker as this is will be the center of the applique design.
(Click Image to Enlarge)
Step 13:
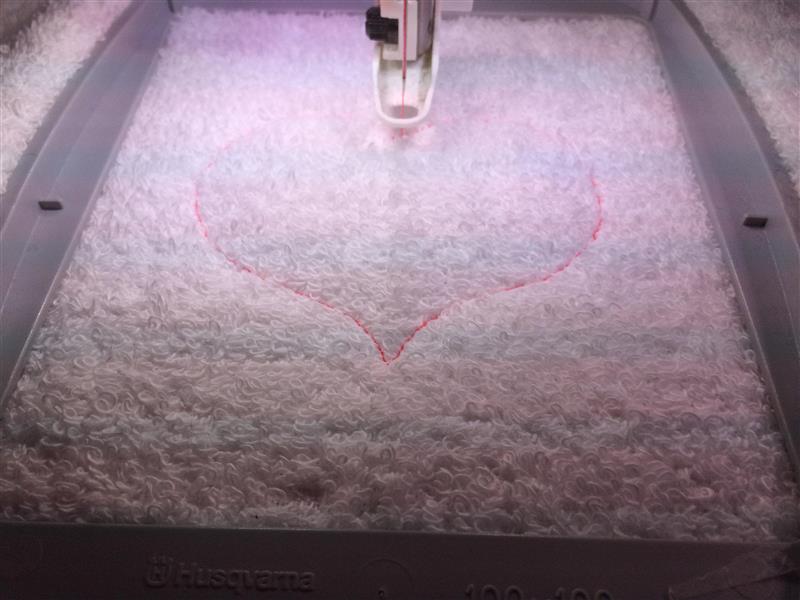
Using tear away stabilizer, hoop the towel with the 4” x 4” hoop. Stabilizer is not required on top for the applique design.
Stitch out the first color, which is the placement stitch of the heart.
(Click Image to Enlarge)
Step 14:
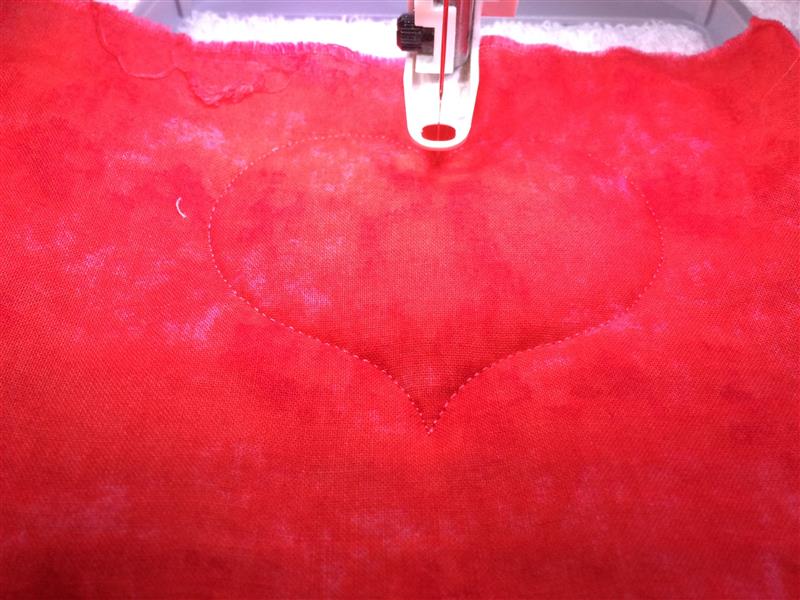
Cover the placement stitching with the plain fabric. Stitch out color #2, which is called the tack down stitch.
(Click Image to Enlarge)
Step 15:
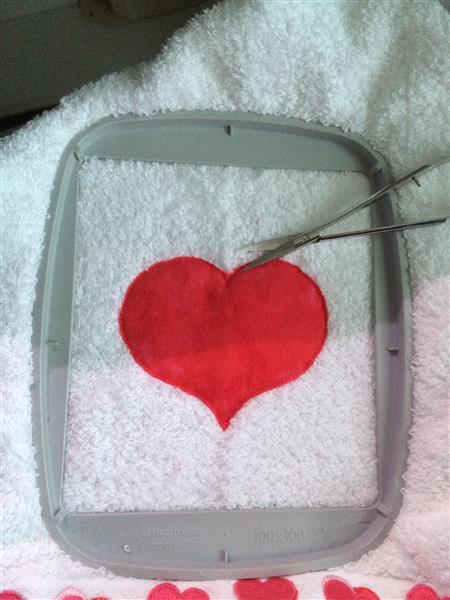
Take the hoop off of your machine, but do not take the towel out of the hoop. Carefully cut the fabric as close as you can around the outside of the heart. Tip: To avoid cutting the towel, pull the fabric up as you are cutting it.
(Click Image to Enlarge)
Step 16:
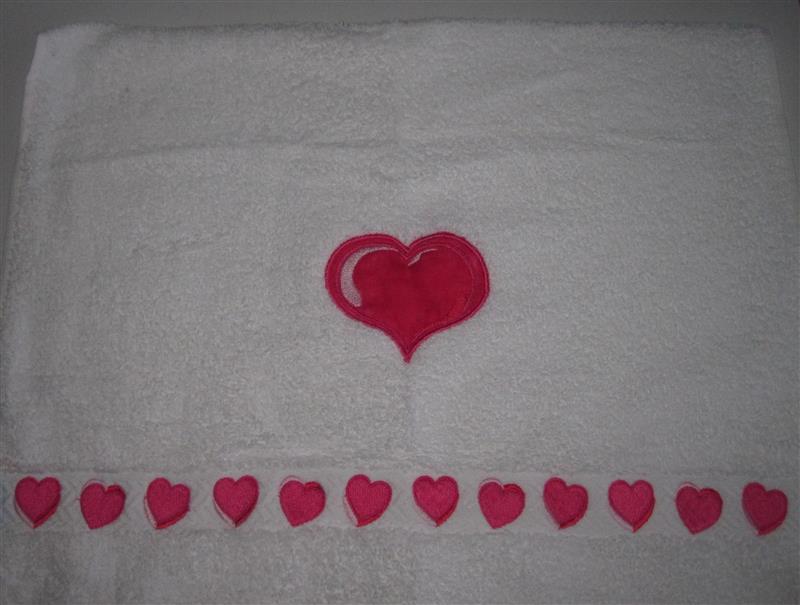
Stitch out color #3 which is a zig-zag stitch that will tack down the fabric.
Stitch out the rest of the design and you are finished with the embroidery portion of this project.
(Click Image to Enlarge)
Step 17:
Instructions for adding the towel holder:
Flip the towel over so that the backside is facing up. Fold the sides toward the center and baste them along the long edges to hold the folds in place.
(Click Image to Enlarge)
Step 18:
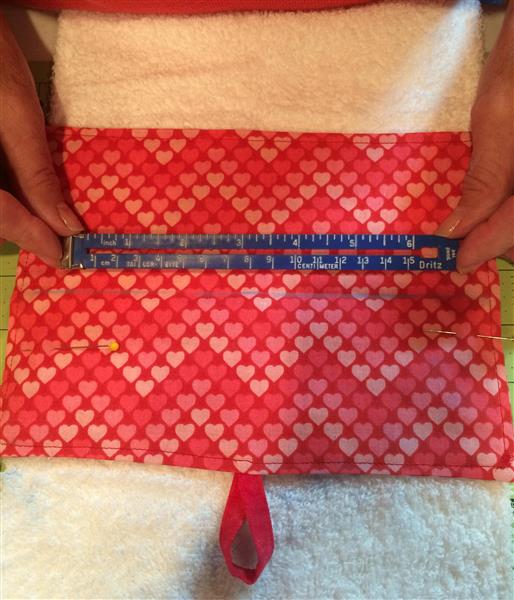
Fold the towel in half lengthwise and measure the width across the fold. The width of my towel is now 8 ½”.
(Click Image to Enlarge)
Step 19:
We will be using a ½” seam allowance. Cut 2 pieces of fabric the width of the towel + 1” for seam allowance x 7”. The finished towel holder is 6” wide (3” on each side of the towel). The 2 pieces I will be cutting for my towel are 9 1/2" x 7".
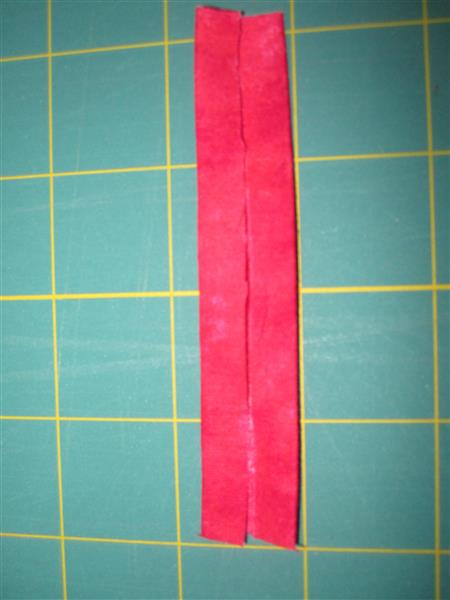
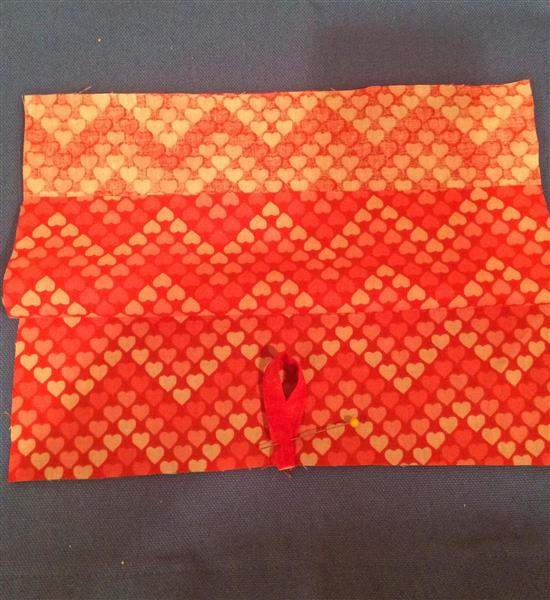
To make the towel holder loop cut a piece of fabric 4” x 1 ½”. Turn the fabric so that the wrong side is facing you and make a ¼” fold on both of the long sides of the fabric. Press.
(Click Image to Enlarge)
Step 20:
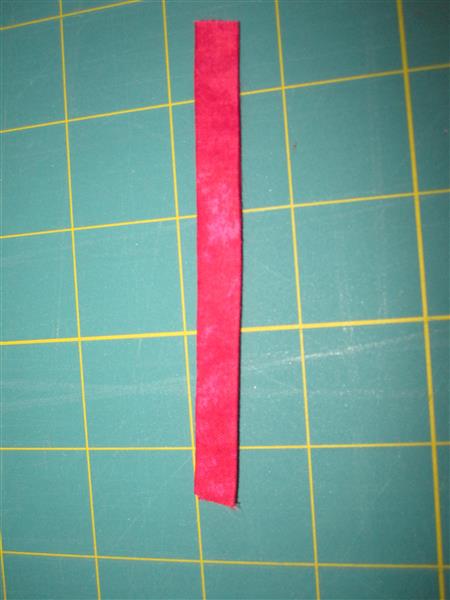
Now fold it in half lengthwise wrong sides together and stitch close to the edge.
(Click Image to Enlarge)
Step 21:
Lay one of the pieces of fabric right side up and mark the center on the lower edge with a pin or fabric marker. My fabric has a pattern direction, so make sure the design is going in the right direction before marking it. Pin the loop to the mark making sure the raw edges are even.
(Click Image to Enlarge)
Step 22:
Place the 2 pieces of fabric right sides together. Stitch around the edges using ½” seam allowance leaving an opening that will allow you enough space to turn the fabric right side out. Note: Make sure that the opening is not on the same side as the loop.
Clip corners and turn fabric right side out. Press.
Step 23:
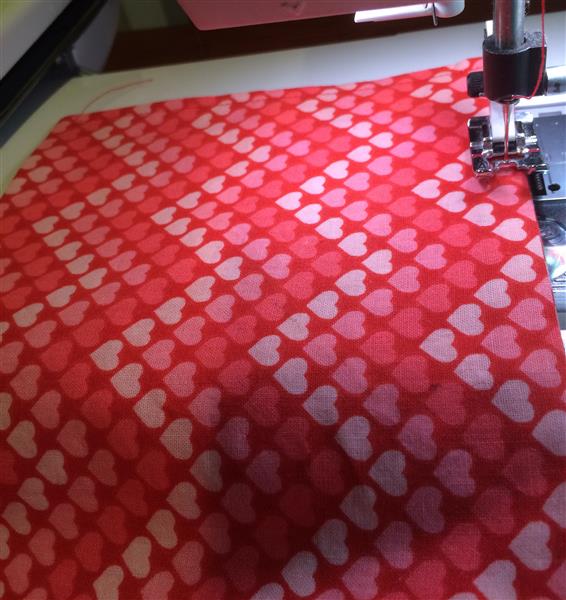
Topstitch ¼” around the edges of the towel holder.
(Click Image to Enlarge)
Step 24:
Lay the towel down face up and mark the mid-point of the towel with pins or fabric marker.
Fold the towel holder in half and place the center of the towel holder on top of the center of the towel. Unfold the towel holder and pin to the towel. Be sure to place the side with the loop on the same side as the back of the towel. (the side without the applique)
(Click Image to Enlarge)
Step 25:
Make a line on the center of the towel holder with a fabric marker. This will be the line that you use to stitch the towel to the holder. Remove basting stitches. Turn the towel to the back and align the sides so that they are flush and press.
(Click Image to Enlarge)
Step 26:
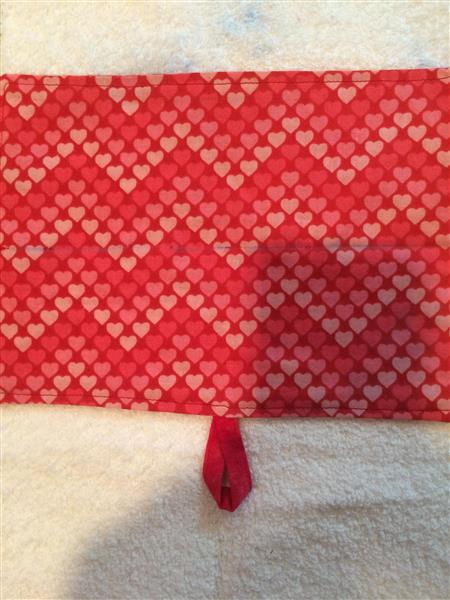
Stitch through the line you just marked through all layers.
(Click Image to Enlarge)
Step 27:
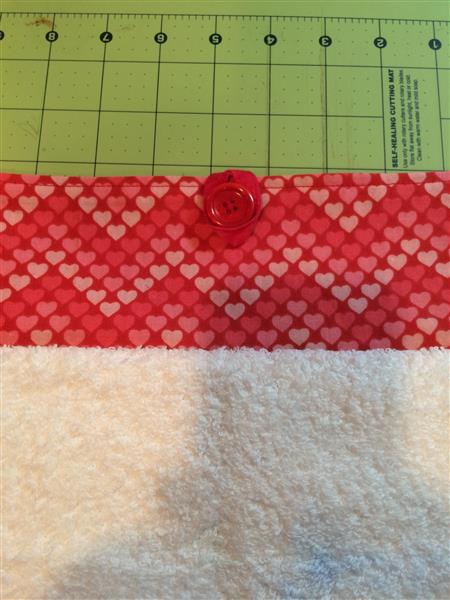
Add the button to the front just below the top stitching. You are now finished!!
I've been sewing and making clothes from the age of 16 and started machine embroidering 8 years ago. I try to keep up with the latest embroidery trends by attending many classes at my local embroidery shop and just started learning how to quilt. I love to embroider on everything!