Border OptionsHugging border, circle, square, or rectangle — with a 3mm satin stitch.
Backing OptionsAvailable with iron-on, sew-on, or velcro backing.
Fast ShippingShipped quickly from the USA.
Free Online Tools
Powerful embroidery utilities that save time and prevent costly mistakes.
Stitch AssistantRECOMMENDED
Get the exact stabilizer, machine settings, needle, and thread color sequence for every embroidery design you purchase — based on that design's stitch density, dimensions, and color count.
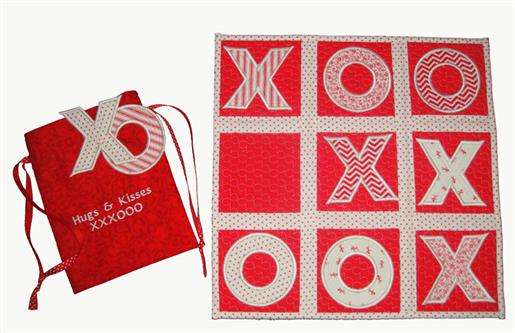
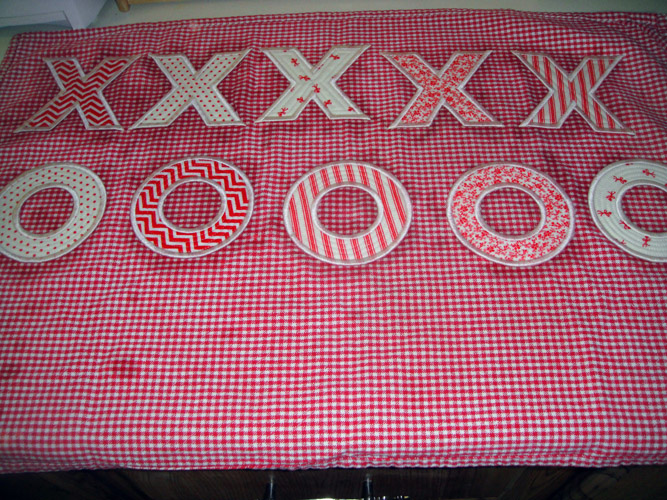
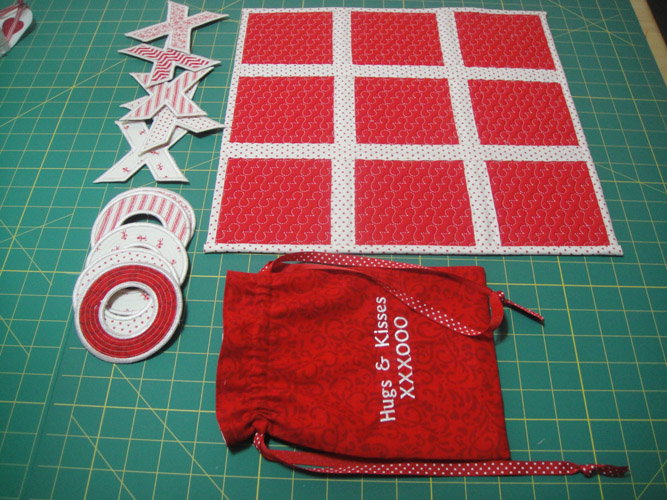
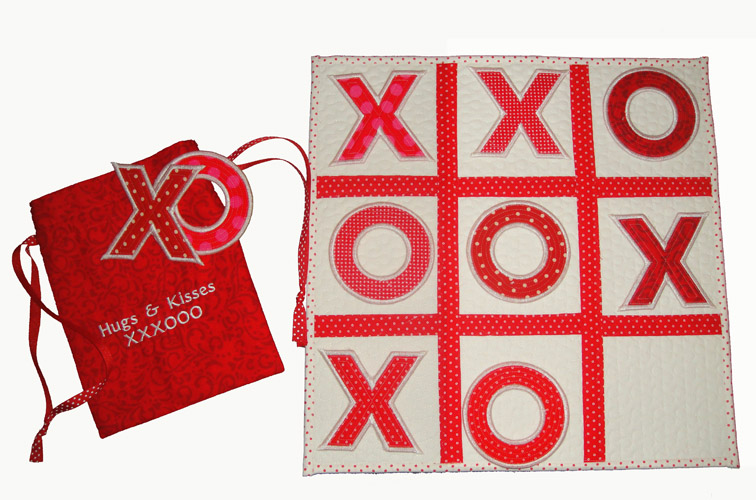
Enjoy a delightful game of Tic Tac Toe with this reversible set featuring charming X's and O's. The vibrant Valentine colors add a touch of sweetness to your playtime. Step-by-step instructions are included.
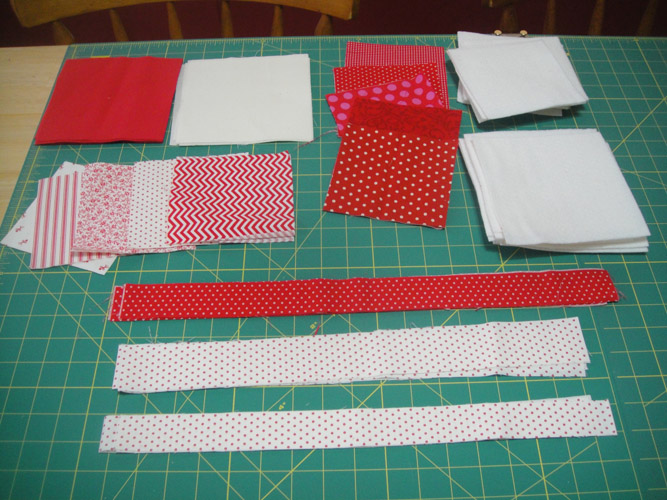
5 5” squares of 100% red print on ivory backgrounds referred to as Light fabric – make at least one of these prints a quarter yard so you can cut sashing from it and bag lining from it.
5 5” squares of 100% cotton of darker red prints these will be referred to as the dark fabric – make at least one of these fabrics ¼ yd so you can cut the bag from it.
Fat quarter of 100% red print on ivory background for sashing (this can be from a fat quarter purchased for 1 of the 5” squares.)
½ yd of Battilizer or dense low loft batting and poly mesh stabilizer used together
It was difficult to find enough Valentine’s prints to make this project, but left over and on sale Christmas prints abound this time of year, so the prints shown were actually Christmas prints that weren’t too obviously Christmas. You can also use any fabrics of your choice. Bright crayon color solids would also be a good choice for this game board and pieces.
Step 1:
Prepare your fabrics by ironing them all with Magic Sizing or Best Press 3 or four times.
Step 2:
Cut your fabric:
a. 9 6”x6” red squares b. 9 6”x6” ivory squares c. 10 5” squares of red print on ivory backgrounds d. 10 5” squares of darker red prints e. 4 1.75” x 18” strips of a single red print on ivory background for sashing f. 4 1.5”x 18” strips of a single darker red print for sashing g. 4 1.25 x 18” strips of single red print on ivory background for binding h. 10 5” squares of Battilizer i. 9 6” squares of Battilizer j. 2 10” x 8” rectangles of fabric for bag darker red fabric k. 2 10”x 8” rectangles of red print on ivory background for bag lining
(Click Image to Enlarge)
Step 3:
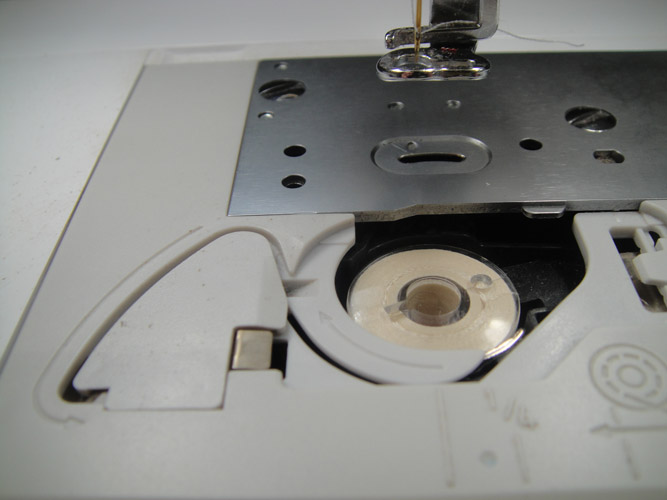
Load the design file TTTX into your machine. Load matching thread in the top and bobbin.
(Click Image to Enlarge)
Step 4:
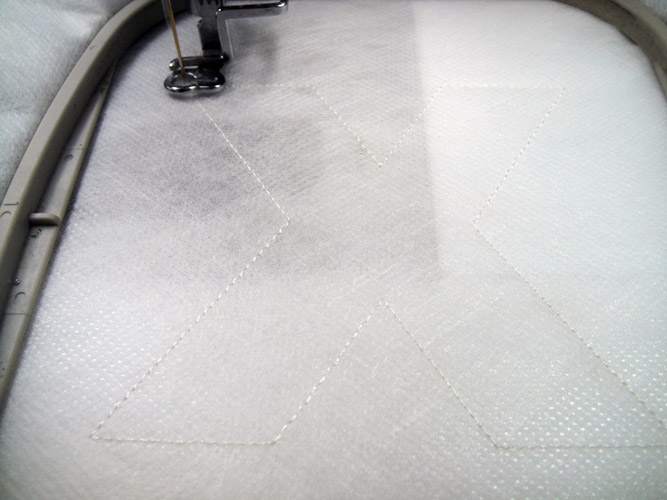
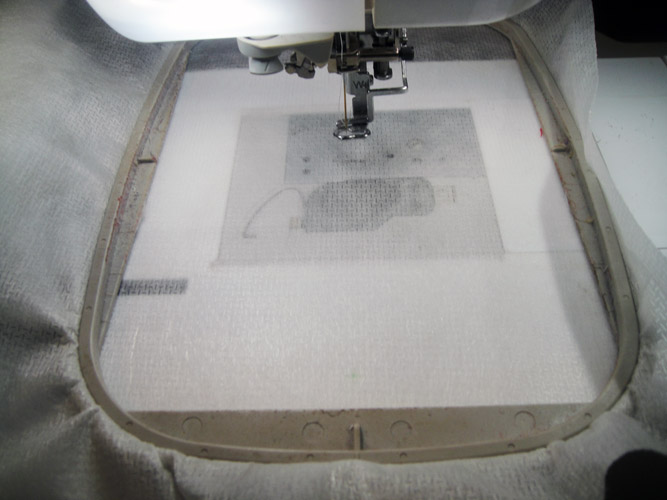
Hoop two layers of fibrous water soluble stabilizer in a 4”x4” hoop. Run the first color stop which is an outline for the X.
(Click Image to Enlarge)
Step 5:
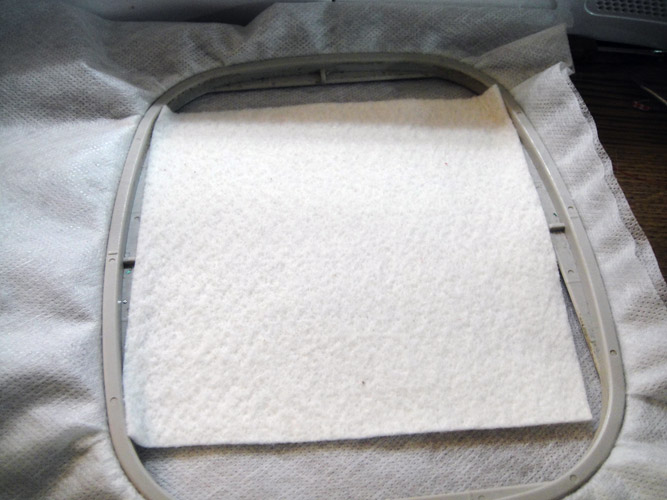
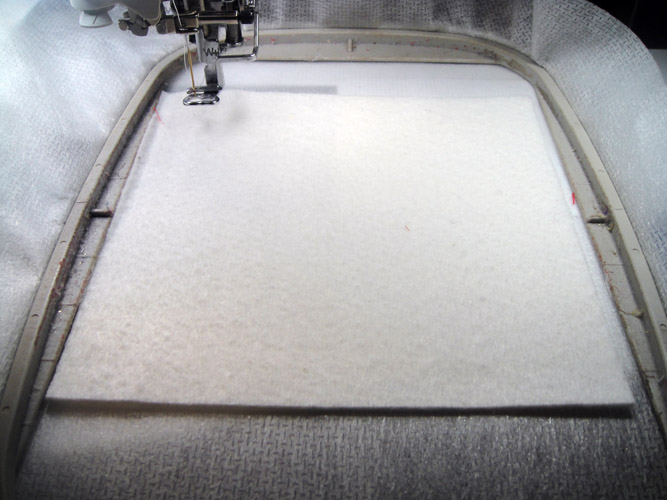
Spray a 5” square of Battilizer with adhesive and place over the outlines.
(Click Image to Enlarge)
Step 6:
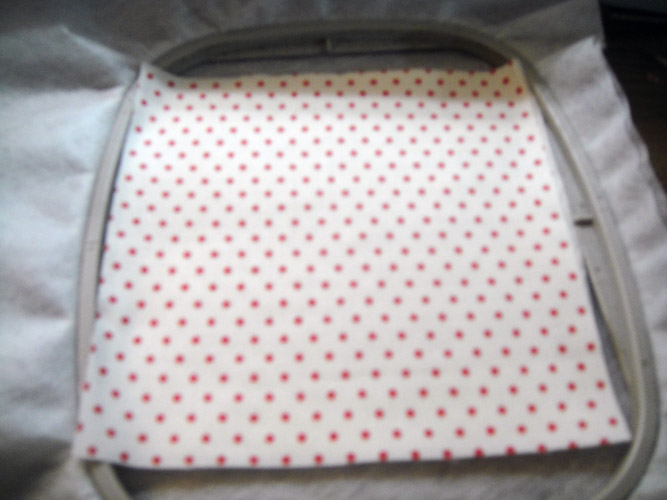
Spray a 5” square of light fabric and place over the Battilizer
(Click Image to Enlarge)
Step 7:
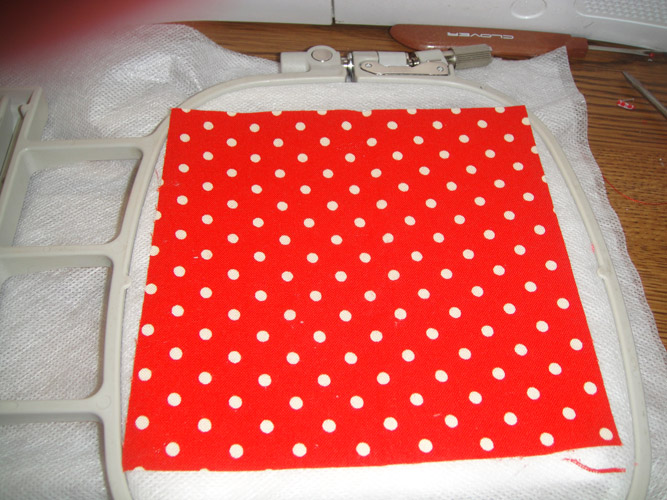
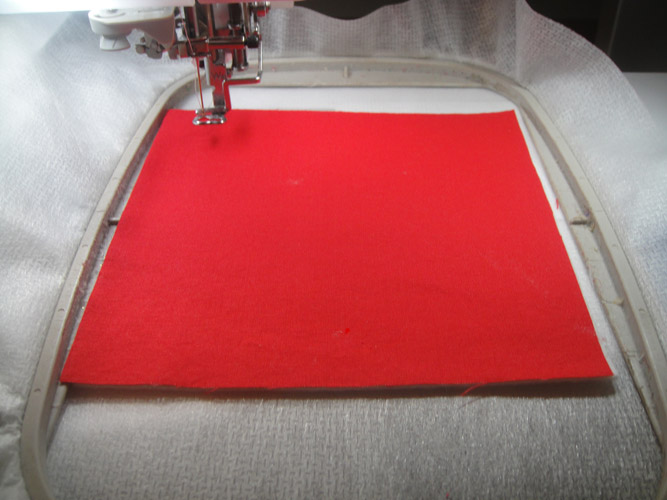
Remove the hoop from the machine; do not unhoop, spray a dark red 5” square of fabric and place over the outline on the back of the hoop.
(Click Image to Enlarge)
Step 8:
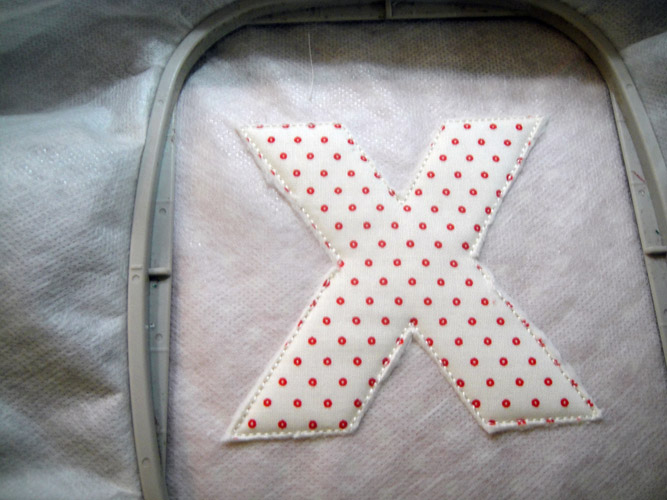
Run the 2nd color stop which will tack down all layers of the fabric.
(Click Image to Enlarge)
Step 9:
Trim all fabrics and batting right up next to the tack down stitches.
(Click Image to Enlarge)
Step 10:
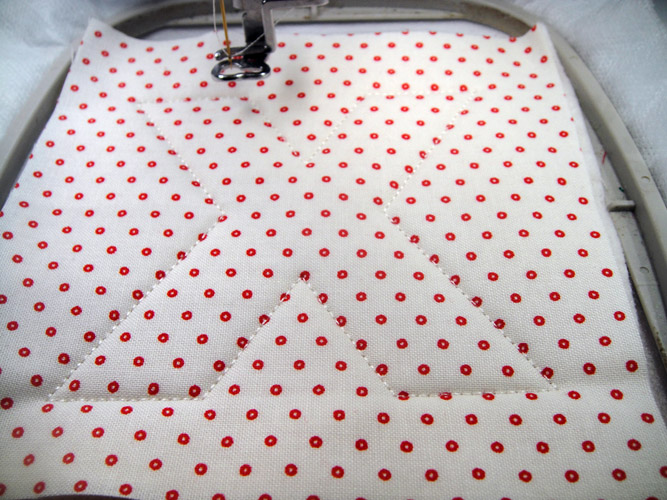
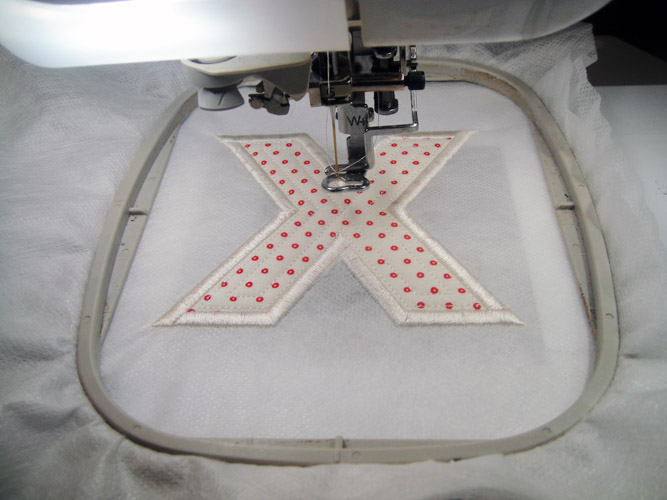
Run the 3rd color sequence for the quilting and bordering of the game piece.
(Click Image to Enlarge)
Step 11:
Make four more X’s by repeating Steps 4 through 10.
Step 12:
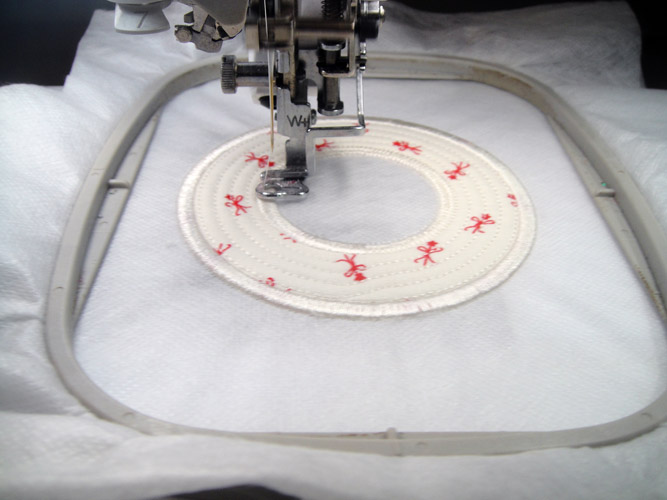
Load design TTTO and make 5 O’s in the same manner being sure to trim out the circle fabrics and batting in the center of the O.
(Click Image to Enlarge)
Step 13:
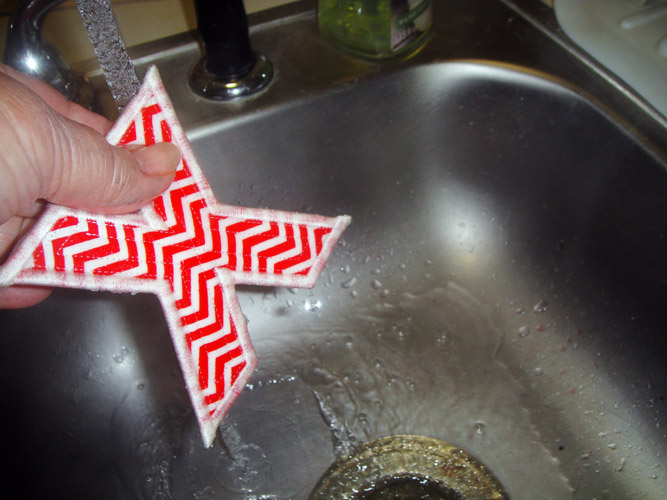
Roughly cut away the excess stabilizer from around each of game pieces and hold under running hot water to remove the remaining stabilizer.
(Click Image to Enlarge)
Step 14:
Lay the game pieces on a smooth cotton tea towel to dry.
(Click Image to Enlarge)
Step 15:
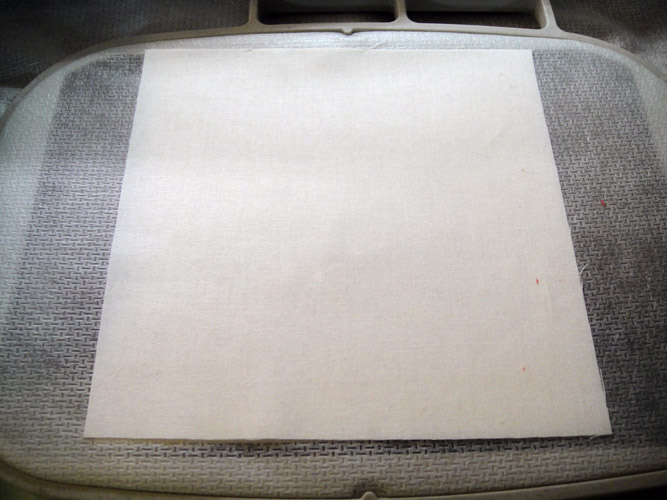
Load TTTG01 into your machine; hoop one layer of poly mesh stabilizer in a 5” x 7” hoop. Run the 1st color stop which is the outline for the block.
(Click Image to Enlarge)
Step 16:
Spray with adhesive and lay a 6” square of Battilizer over the outline; make sure the Battilizer exceeds the outline by ½” in all directions.
(Click Image to Enlarge)
Step 17:
Spray with adhesive and lay a 6” square of the red fabric over the Battilizer.
(Click Image to Enlarge)
Step 18:
Remove the hoop from the machine; do not unhoop; turn the hoop over; spray a 6” square of ivory fabric and place over the outlines on the back of the hoop.
(Click Image to Enlarge)
Step 19:
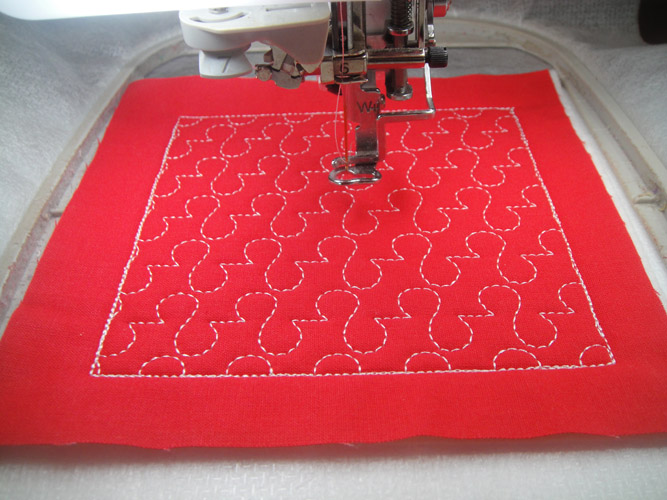
Run the 2nd color stop to tack down and quilt the block.
(Click Image to Enlarge)
Step 20:
Repeat Steps 18 & 19 eight times to make a total of 9 blocks.
Step 21:
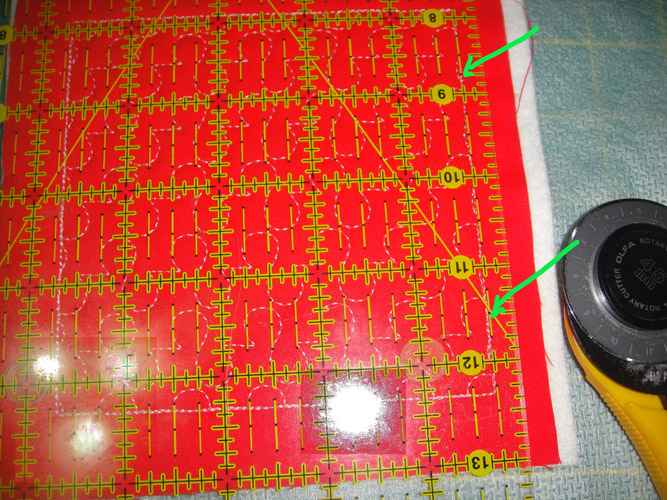
Lay the ¼” mark of a see-through ruler along the stitching lines of the blocks and trim all edges to ¼”.
(Click Image to Enlarge)
Step 22:
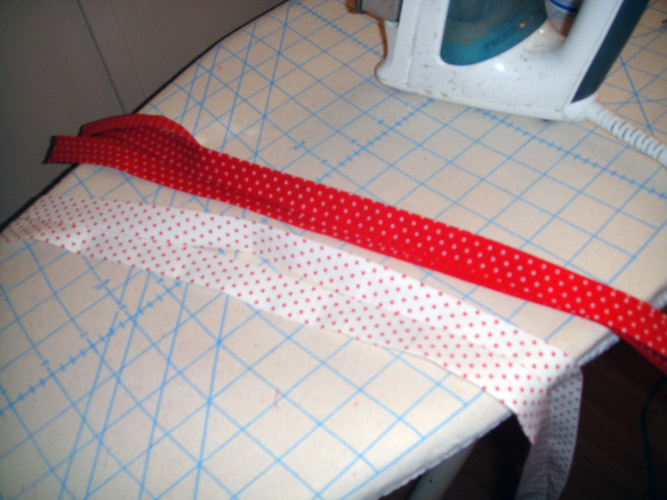
Prepare the sashing strips for application by folding in the long edges to meet in the center and pressing.
(Click Image to Enlarge)
Step 23:
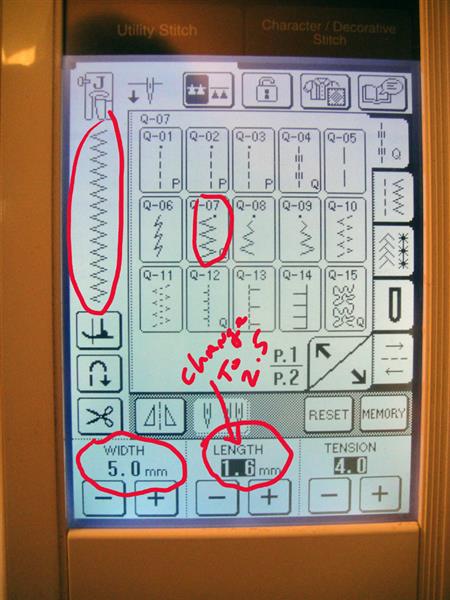
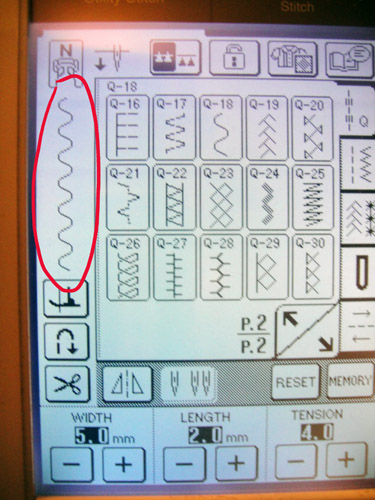
Select a wide zigzag stitch on your sewing machine; load ivory sewing thread in the top and bobbin. A width of 5mm is nice, but it can be narrower; a length of 3 to 2.5 works well.
(Click Image to Enlarge)
Step 24:
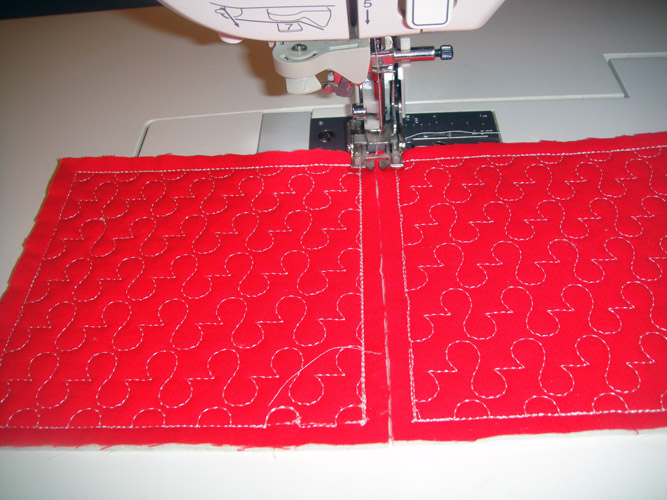
Align and butt the edges of two game board blocks, do not overlap, and zigzag them together.
(Click Image to Enlarge)
Step 25:
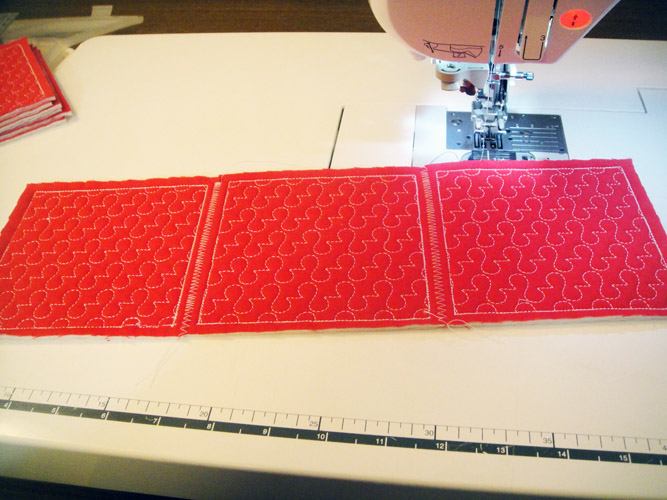
Attach a third block in the same manner.
(Click Image to Enlarge)
Step 26:
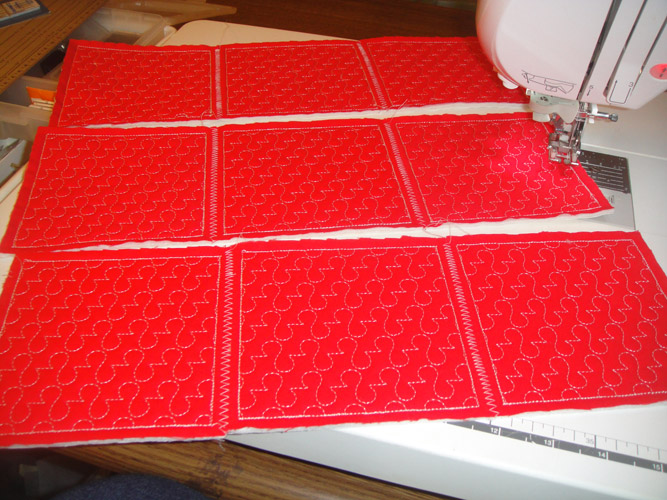
Make three rows of three blocks.
(Click Image to Enlarge)
Step 27:
(Click Image to Enlarge)
Change your thread to YLI invisible thread in the top and bobbin of your machine; select a Serpentine stitch or another stitch that is not a straight line.
Step 28:
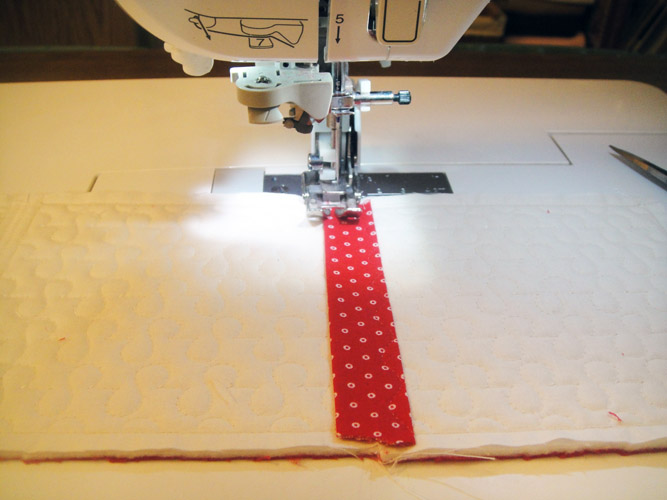
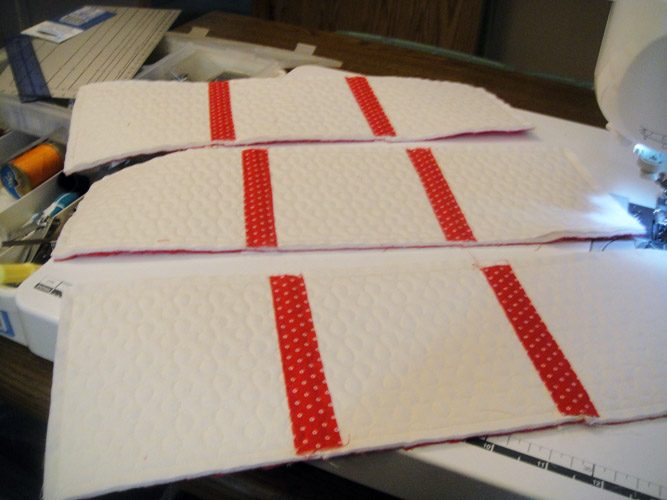
Apply the dark sashing strips to the back of the rows of the game board blocks by centering the sashing over the zigzag stitches; stitch down both sides of the sashing with the Serpentine stitch and the invisible thread.
(Click Image to Enlarge)
Step 29:
Apply the sashing over all the zigzag lines on all three rows of blocks.
(Click Image to Enlarge)
Step 30:
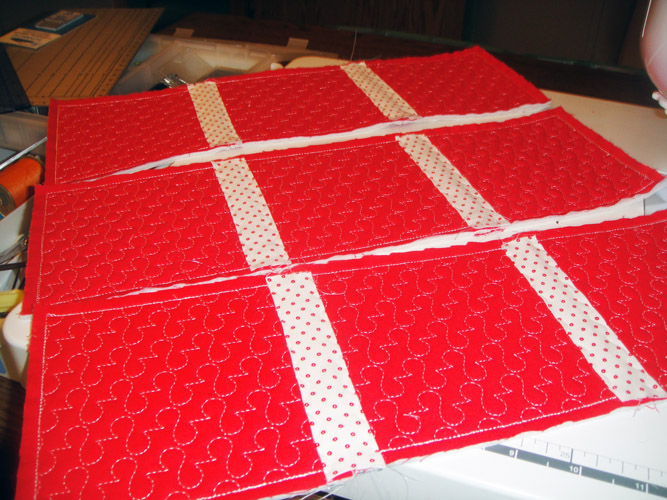
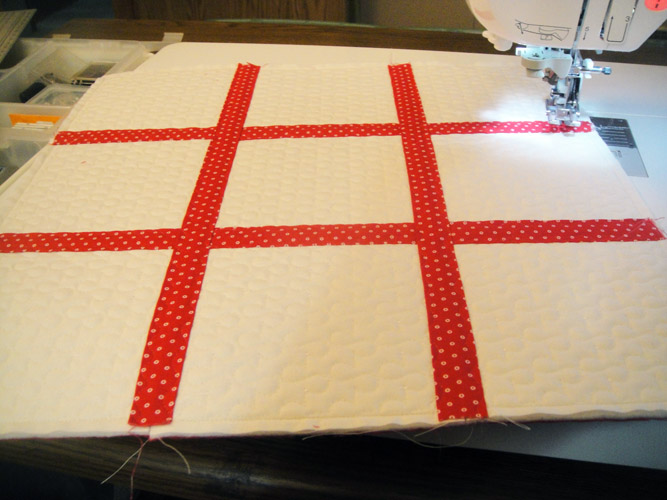
Turn the rows over; center the light print sashing strips over the zigzag rows and stitch down both sides of the sashing strips in the same manner.
(Click Image to Enlarge)
Step 31:
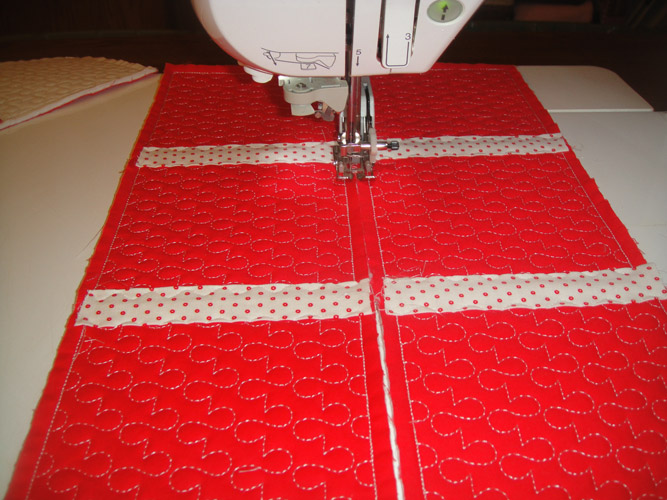
Switch back to the zigzag stitch; butt the rows of the game board together and join with the zigzag stitch.
(Click Image to Enlarge)
Step 32:
On the back of the game board center long sashing strips over the zigzag stitches; switch back to the Serpentine stitch and sew down both sides of the sashing. Apply the long sashing strips to the front of the game board in the same way.
(Click Image to Enlarge)
Step 33:
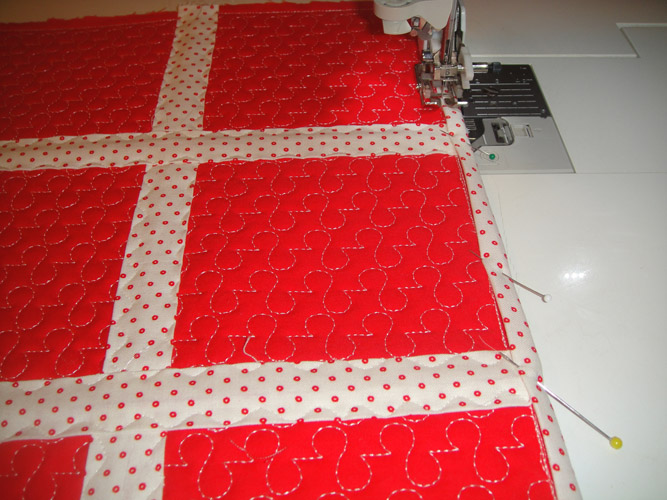
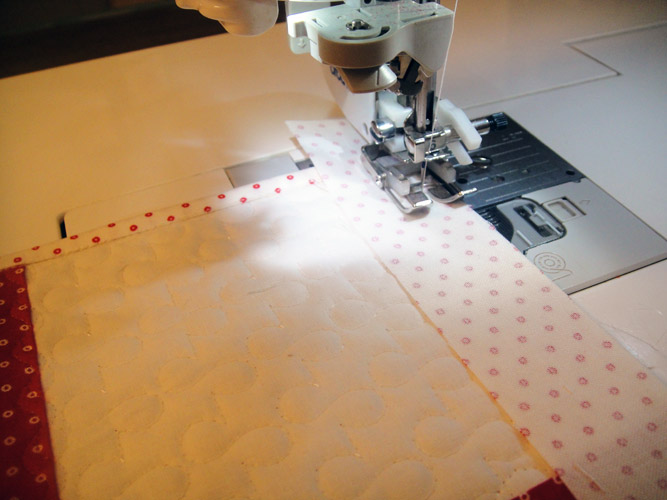
Trim all edges of the game board if necessary and apply binding.
(Click Image to Enlarge)
Step 34:
I used 1.25” strips to make ¼” binding on all sides of the board without mitered corners.
(Click Image to Enlarge)
Step 35:
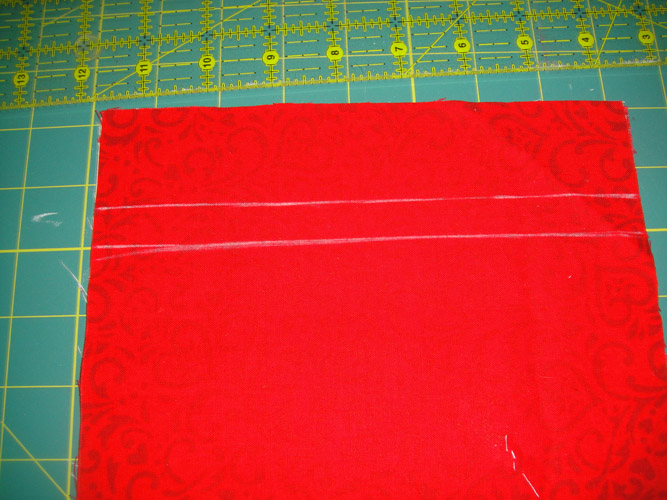
Measure down 1½” on the top of the bag fabric. Draw a chalk line across the top of the bag.
Step 36:
Measure down 2” from the top of the bag fabric and chalk another line; do this on both the front and back bag fabrics.
(Click Image to Enlarge)
Step 37:
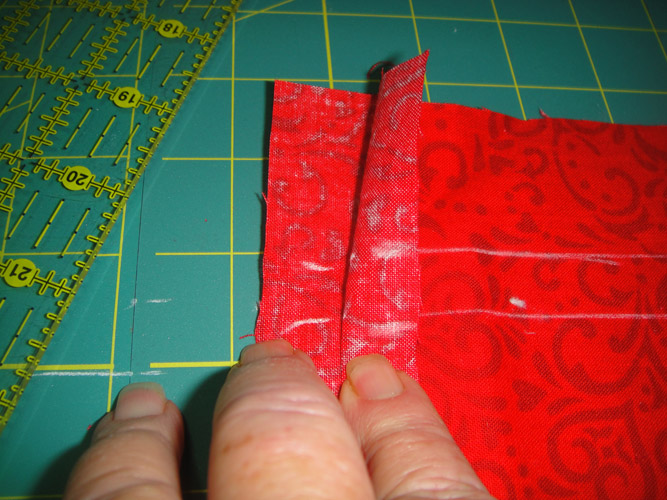
Fold back the ½” seam allowance and mark the seam allowance at the same level as you marked the front and back of the bag.
(Click Image to Enlarge)
Step 38:
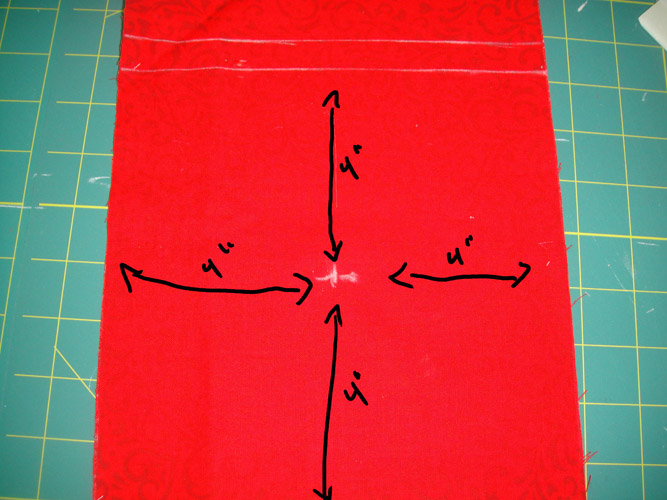
Measure down 4” from the lower chalk line and 4” from the sides of the bag to mark the center for embroidering the front of the bag.
(Click Image to Enlarge)
Step 39:
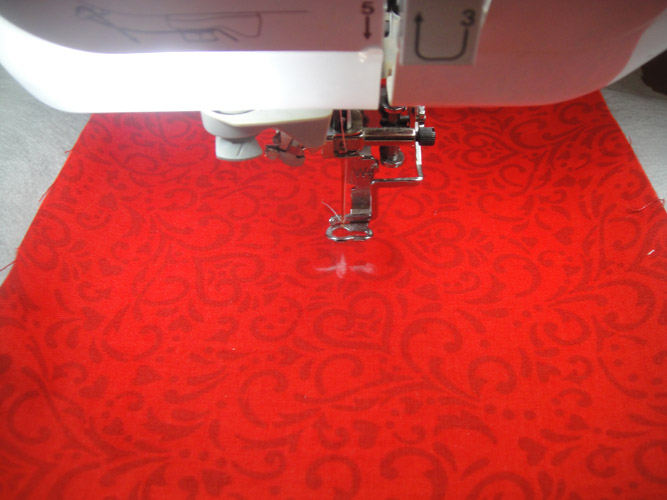
Hoop a piece of poly mesh stabilizer in the 5” x 7” hoop. Spray the front bag fabric with adhesive spray and lay the fabric on the stabilizer using the marks on your hoop to align the center mark on the fabric.
(Click Image to Enlarge)
Step 40:
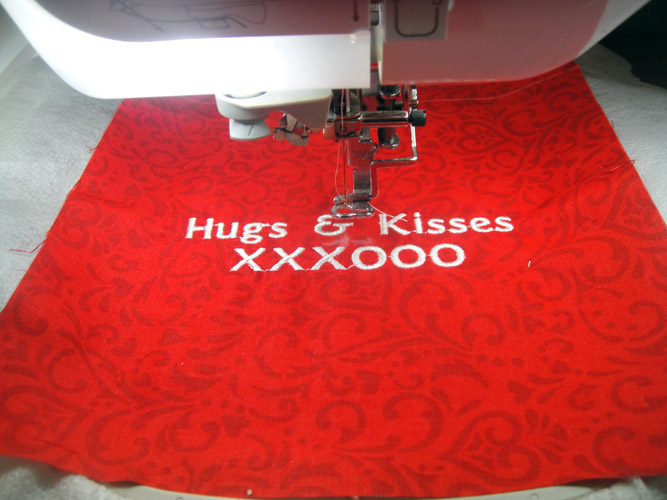
Load design file TTTB in your embroidery machine and stitch the lettering on the bag. Trim the stabilizer around the design.
(Click Image to Enlarge)
Step 41:
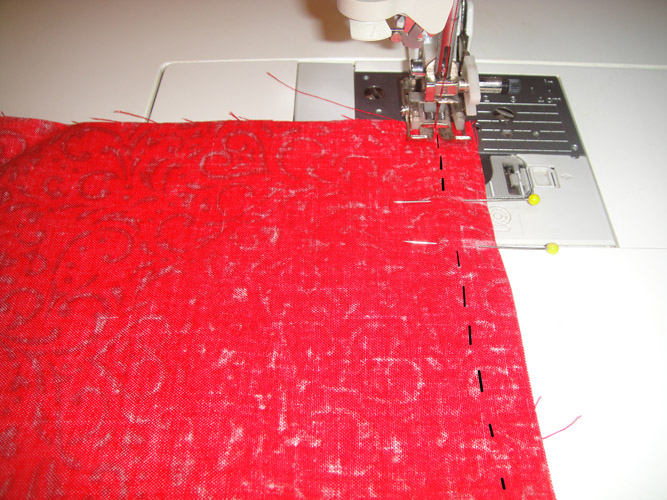
Lay the two bag fabric pieces right sides together; with a ½” seam allowance stitch from the top of the bag to the 1st chalk mark; cut the thread; stitch from the lower chalk mark around the bag to the lower chalk mark on the other side of the bag; cut the thread; stitch from the upper chalk mark to the top of the bag.
(Click Image to Enlarge)
Step 42:
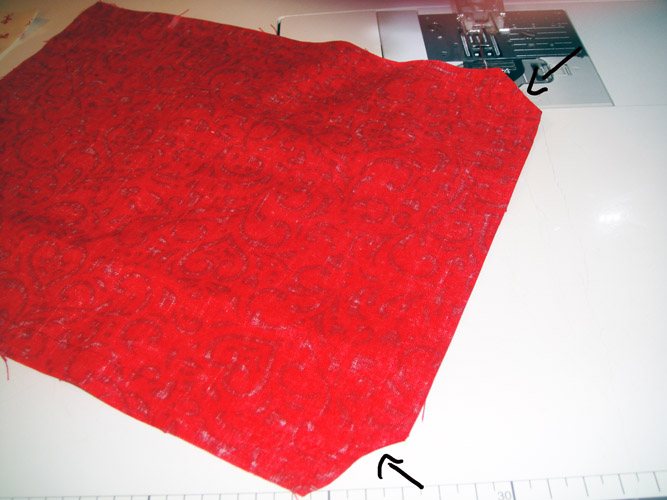
Trim the lower corners at an angle.
(Click Image to Enlarge)
Step 43:
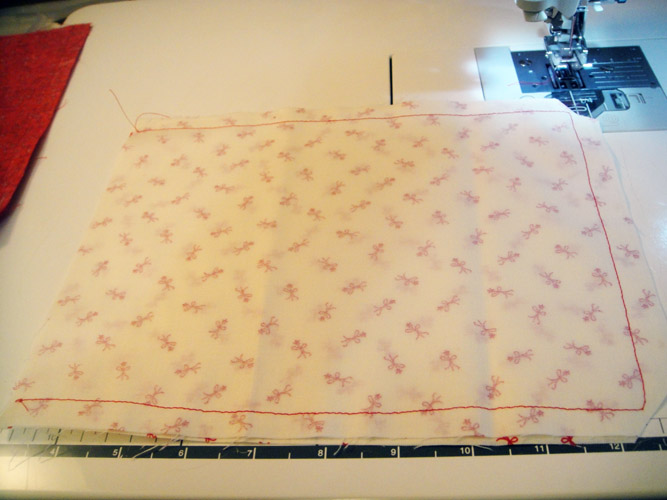
Lay the two lining pieces right sides together, stitch all the way around three sides of the lining; trim the lower corners; press all seams on the bag and lining open; turn the bag fabric right sides out.
(Click Image to Enlarge)
Step 44:
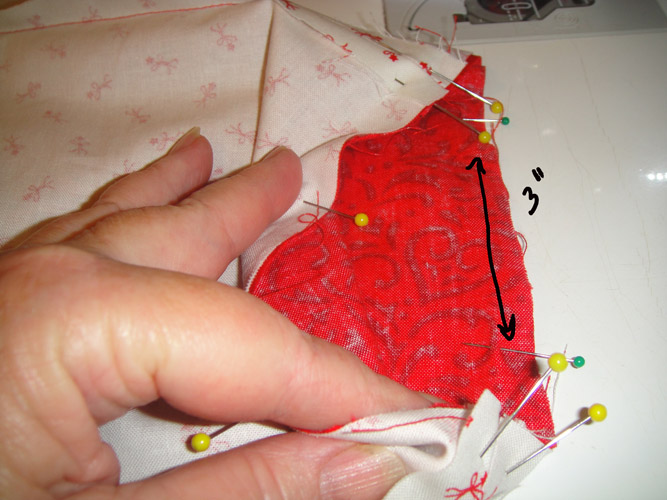
Slip the bag inside the lining right sides together; pin the top edges together; mark about 3” to leave open for turning (I used different colored pins to let me know where I wanted to start and stop the joining seam.)
(Click Image to Enlarge)
Step 45:
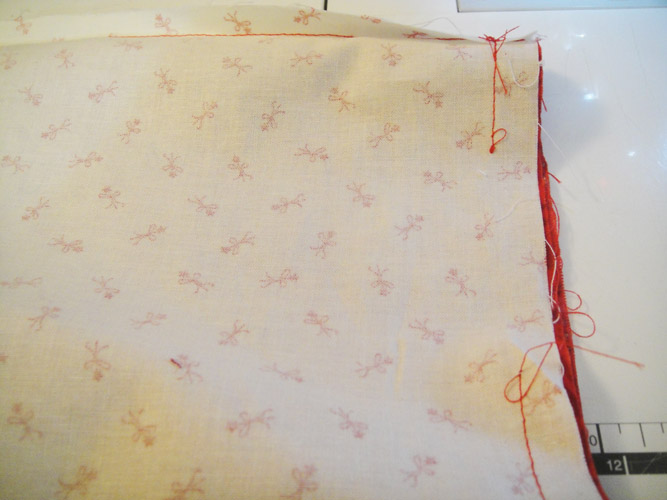
Stitch the bag and lining together leaving the opening for turning.
(Click Image to Enlarge)
Step 46:
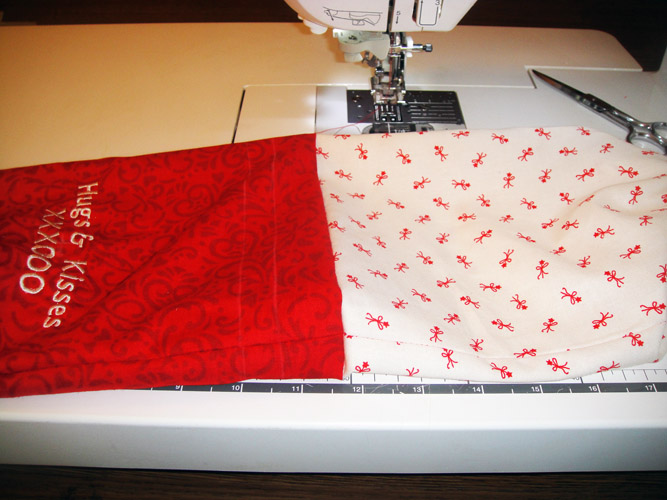
Turn the bag and lining right side out through the opening.
(Click Image to Enlarge)
Step 47:
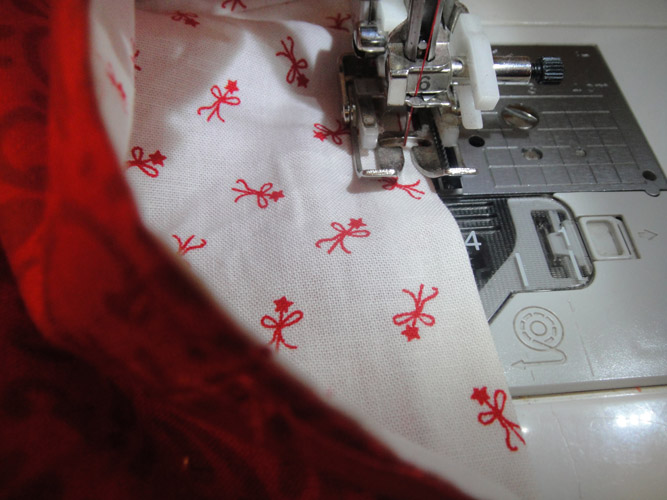
Tuck the lining into the bag folding in the seam allowances of the opening; press the top edges; top stitch 1/8” around the top of the bag.
(Click Image to Enlarge)
Step 48:
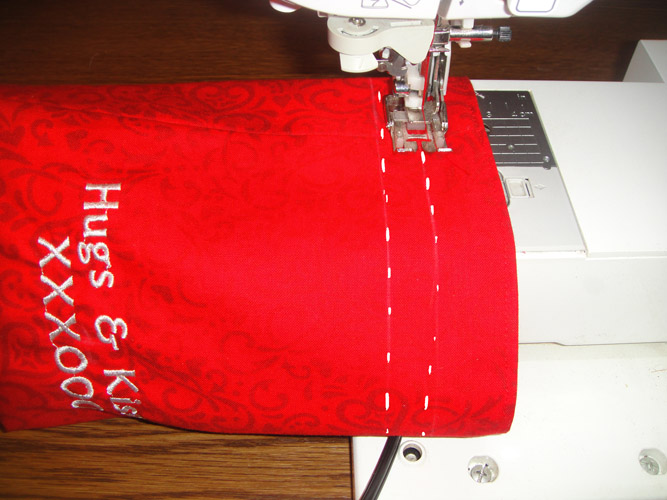
Stitch around both chalk lines that form the casing all the way around the bag.
(Click Image to Enlarge)
Step 49:
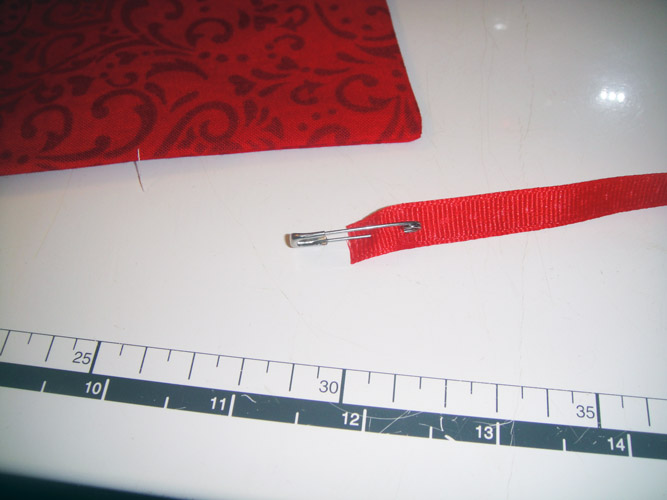
Cut 2 lengths of ribbon 36” long. Pin a safety pin to the end of one length of ribbon.
(Click Image to Enlarge)
Step 50:
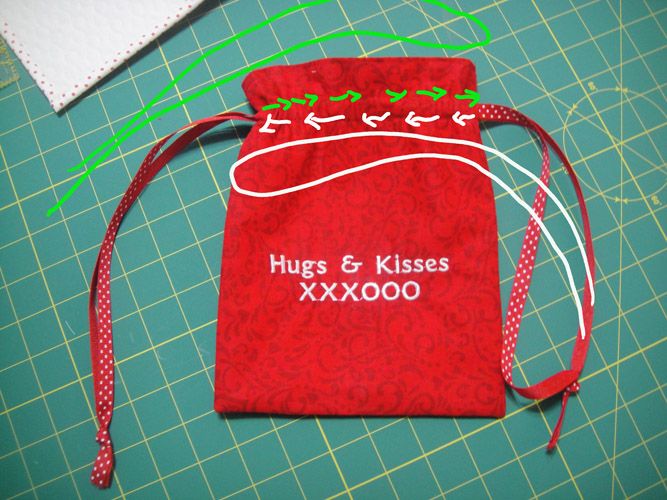
Thread the ribbons through the casings left open in the side seams of the bag in opposite directions. Knot the ends of the ribbons and trim off the ends.
(Click Image to Enlarge)
Step 51:
Congratulations you have complete all the pieces for the Hugs & Kisses Tic Tac Toe Game! Lay this on your table or coffee table as a conversation starter. No two people will be able to pas it without starting a game. Make another one up as a special gift for your grandchildren.
(Click Image to Enlarge)
Step 52:
Both the game board and the playing pieces are reversible!
Award winning Digitizer, Embroidery Educator, Author and a Consultant to the Industry, Pat Williams has 30 years of experience in the embroidery industry. Pat has won multiple awards for her digitizing expertise including the 2007 Impressions Awards Grand Championship, Best of Show as well as the 1st and 2nd Place Awards. Pat’s love of digitizing has afforded her the opportunity to write numerous articles for Impressions magazine in the United States and Images Magazine in Europe. In 2001 Pat was named “Embroidery Educator of the Year.” For many years Pat taught digitizing seminars at the ISS Shows in Long Beach, CA and for Compucon software. She now resides in Tucson, AZ.