Border OptionsHugging border, circle, square, or rectangle — with a 3mm satin stitch.
Backing OptionsAvailable with iron-on, sew-on, or velcro backing.
Fast ShippingShipped quickly from the USA.
Free Online Tools
Powerful embroidery utilities that save time and prevent costly mistakes.
Stitch AssistantRECOMMENDED
Get the exact stabilizer, machine settings, needle, and thread color sequence for every embroidery design you purchase — based on that design's stitch density, dimensions, and color count.
Prepare your fabrics by pressing 3 or 4 times with Magic Sizing or Best Press. Doing so will minimize fraying and will facilitate trimming of the applique pieces. Fuse the Pellon Décor Bond to the wrong side of one of the white print strips following the manufacturer’s instructions.
Step 1:
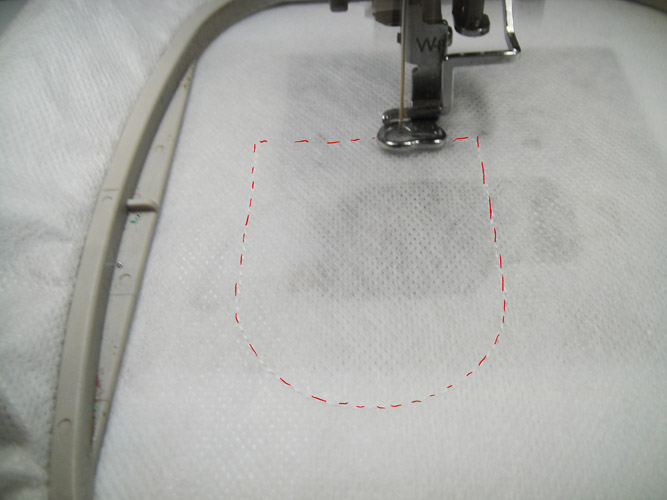
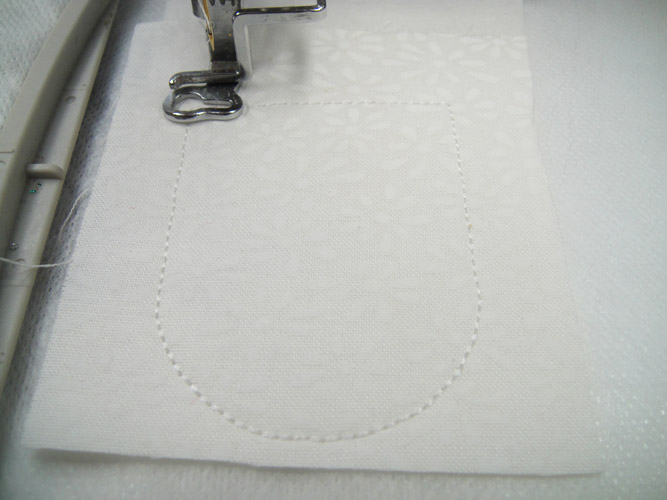
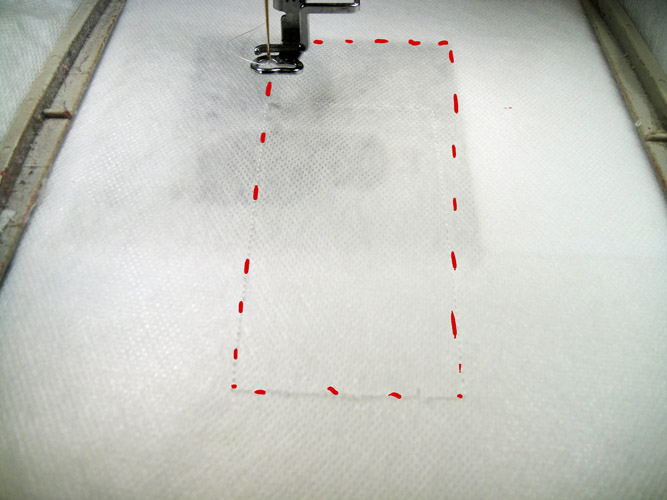
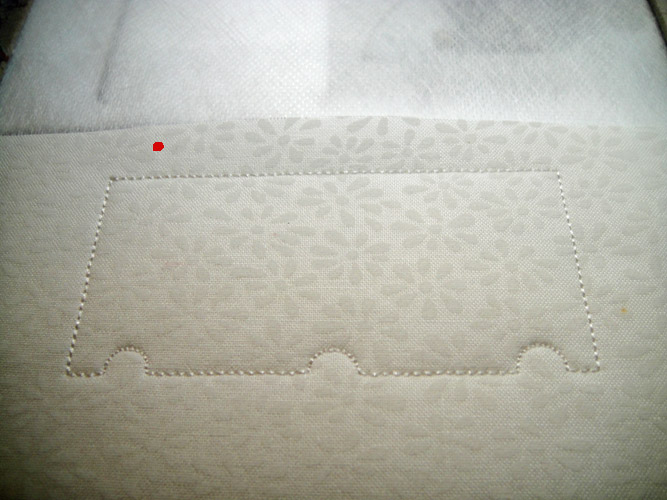
Load design VMB01 into your machine 1st . These pieces to dry so they can be attached to other pieces later in the project. Hoop 2 layers of fibrous water soluble stabilizer. You may use a 4” x 4” hoop for this first file. Load white polyester thread in the top and bobbin and run the 1st color sequence which is the outline for the door of the mail box.
(Click Image to Enlarge)
Step 2:
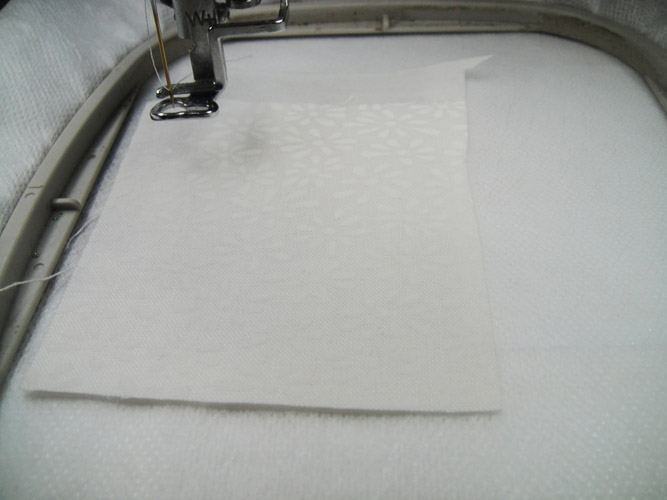
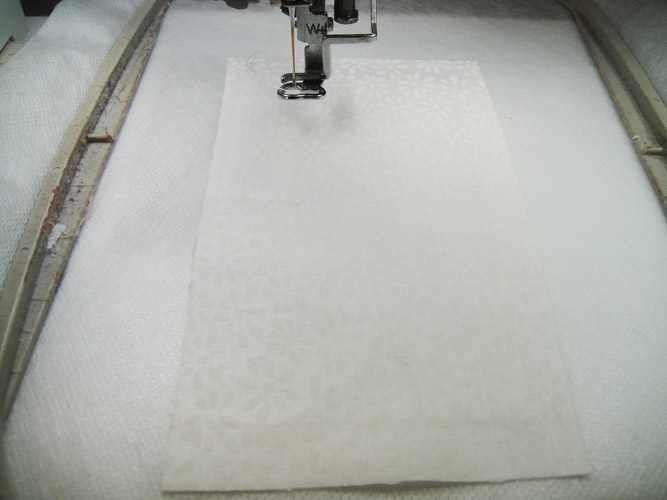
Cut a 3.5” x 3” piece of the fabric with the fused backing; spray the wrong side with a little adhesive spray and place over the stitched outline.
(Click Image to Enlarge)
Step 3:
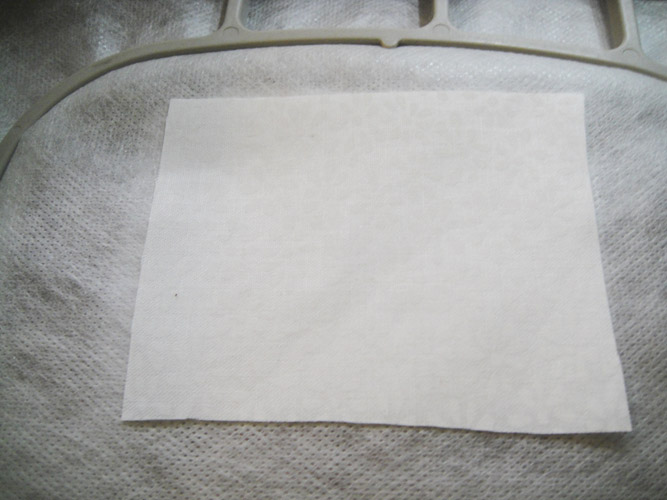
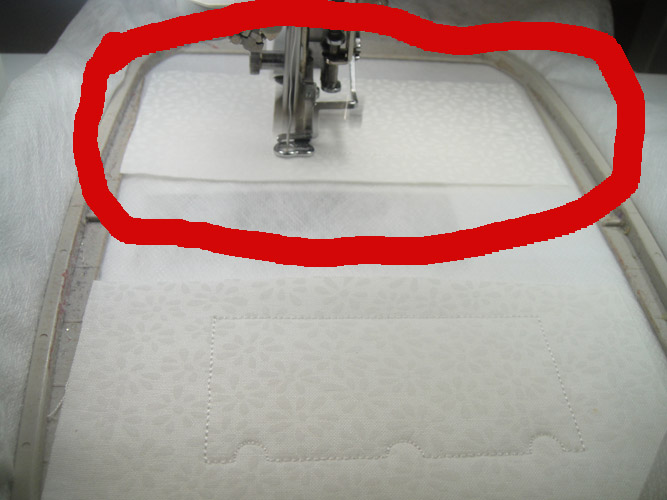
Cut a 3.5” x 3” piece of the unfused white fabric strip. Remove the hoop from the machine – do not unhoop – Spray the wrong side of the fabric and place over the outline on the back of the hoop.
(Click Image to Enlarge)
Step 4:
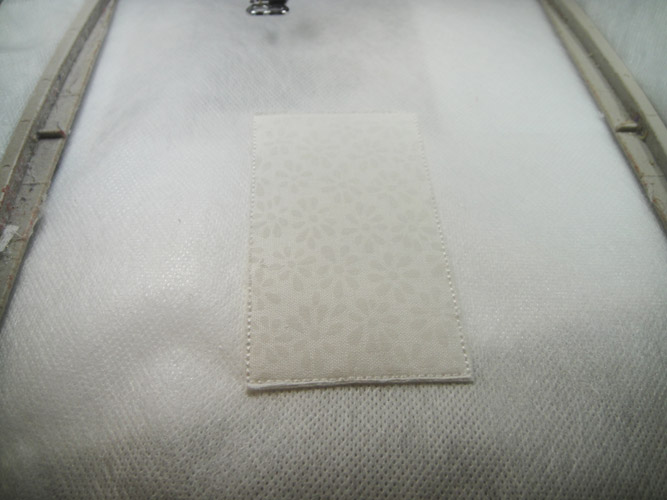
Stitch the 2nd color stop to stitch the tack down line through all layers of fabric.
(Click Image to Enlarge)
Step 5:
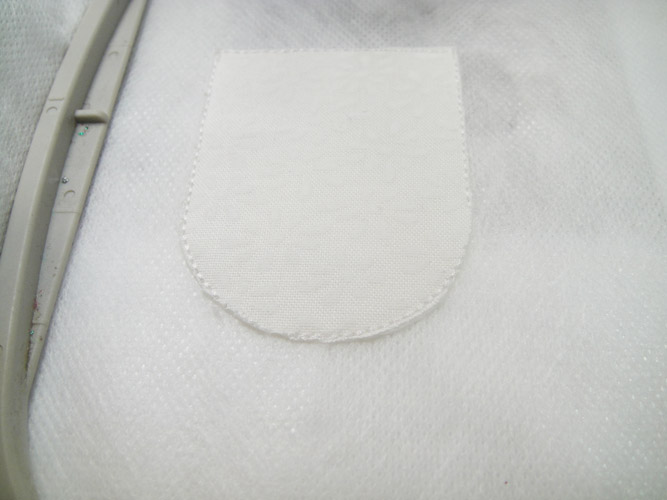
Remove the hoop from the machine; do not unhoop; trim the fabrics on the top and underside of the hoop right up to the tack down stitches.
(Click Image to Enlarge)
Step 6:
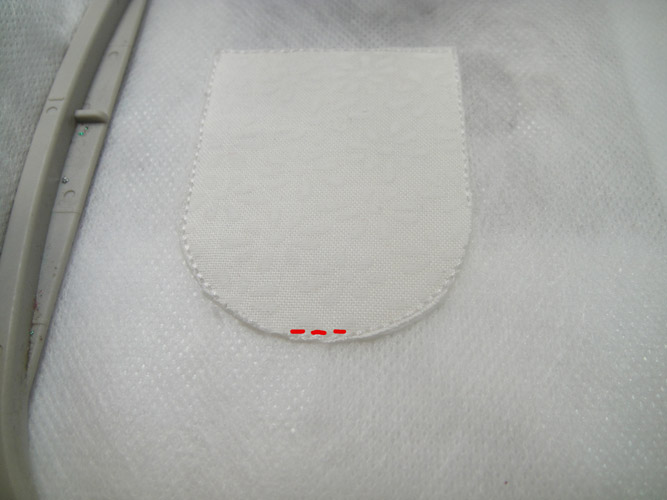
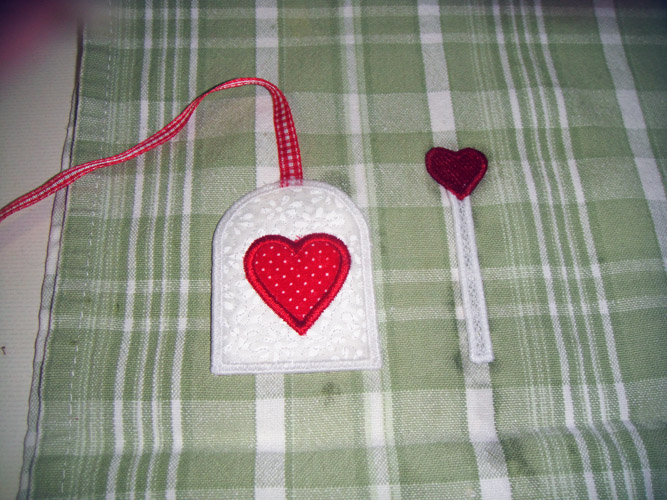
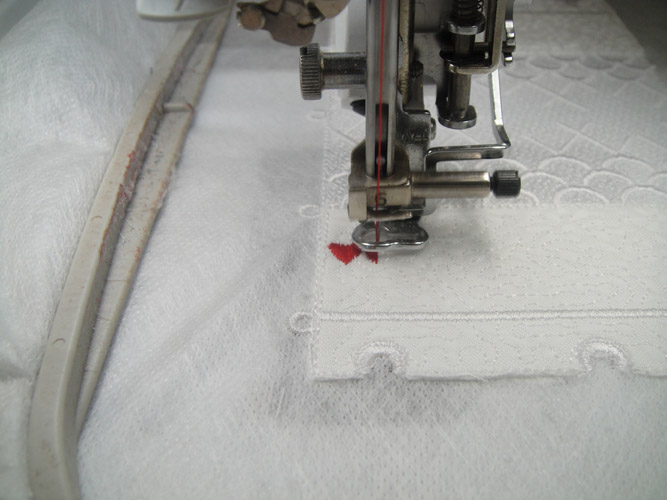
Color stop #3 is just a few stitches at the bottom end of the door to show you where to place your ribbon. They are a little hard to see if you are using all white thread as I am, but you can see that they are just at the center of the bottom and are a reminder to place your ribbon at this point.
(Click Image to Enlarge)
Step 7:
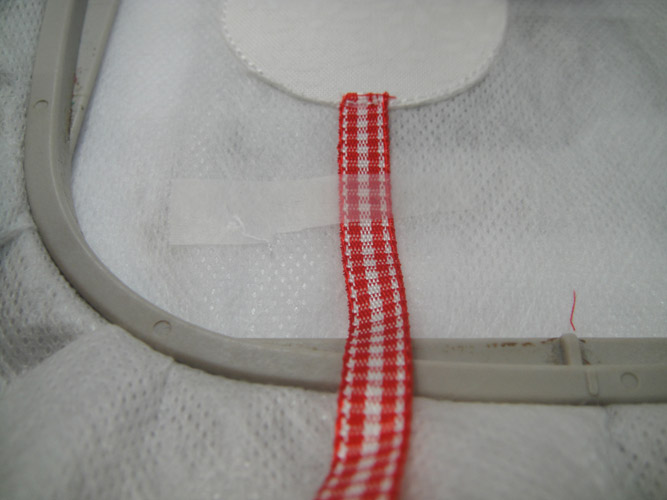
Cut about 8” of ribbon; spray one end with adhesive spray; place over the outline stitches about 1mm inside the outline; secure the long edge with a little scotch tape; and stitch color stop 4 to tack down the ribbon.
(Click Image to Enlarge)
Step 8:
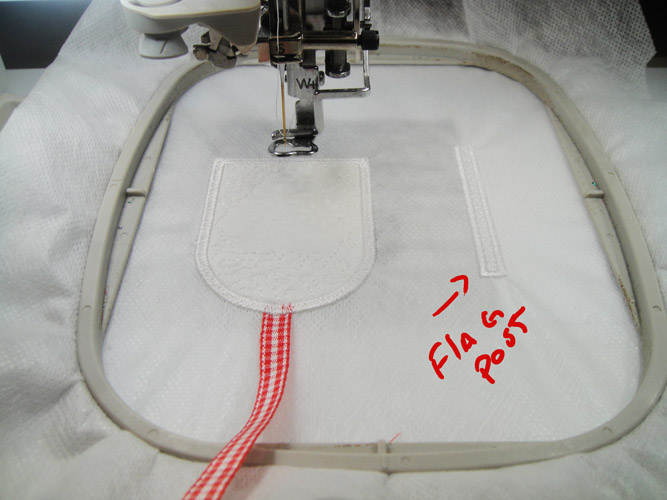
Color stop #5 will stitch the border on the door as well as the post for the mail box flag.
(Click Image to Enlarge)
Step 9:
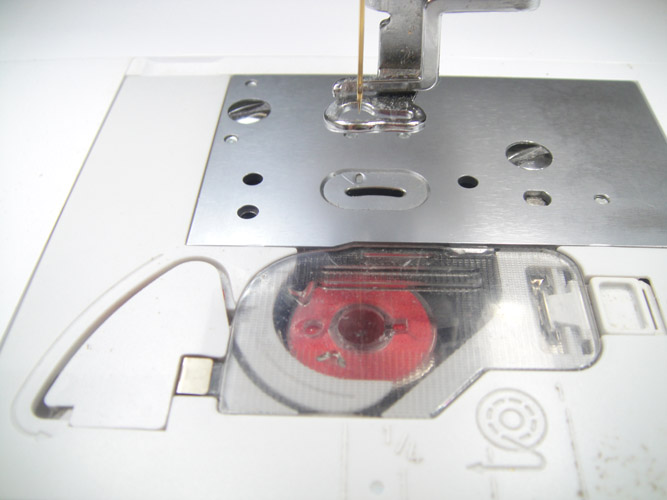
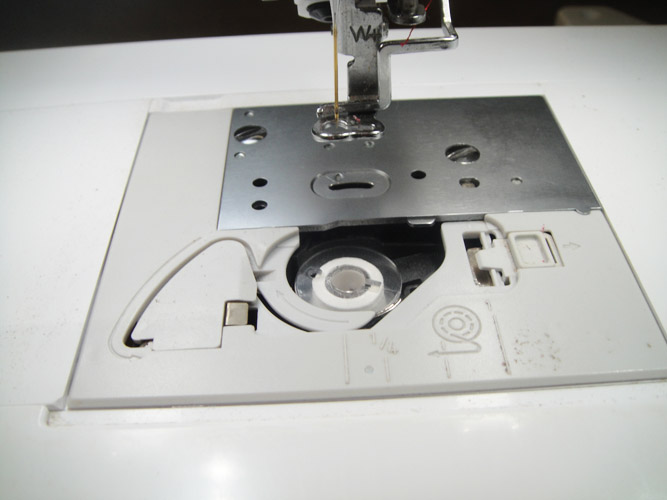
Change out the top and bobbin thread to red. My machine wants 90wt or 60wt bobbin thread. If you don’t have pre-wound bobbins in red use 60wt embroidery thread to wind the bobbin while using regular 40wt thread in the top of the machine.
(Click Image to Enlarge)
Step 10:
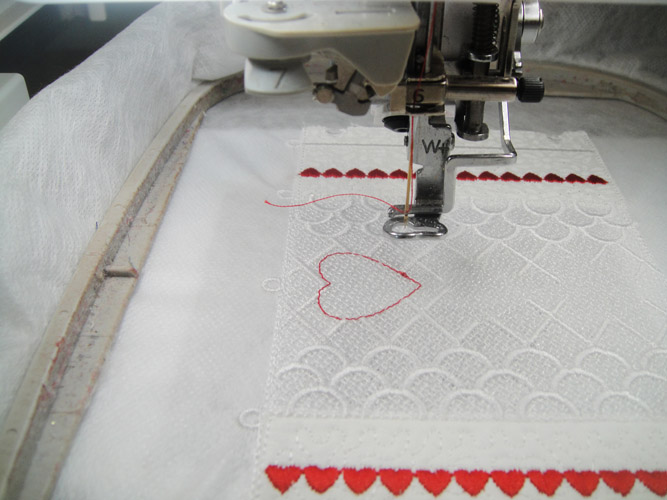
Run color stop #6 which is the outline for the heart appliques.
(Click Image to Enlarge)
Step 11:
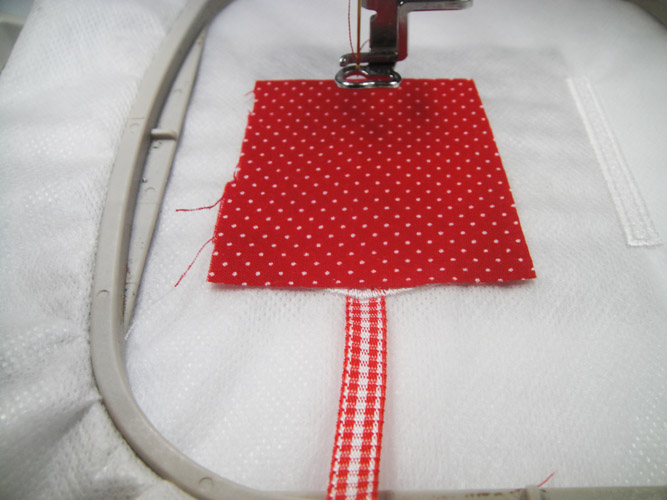
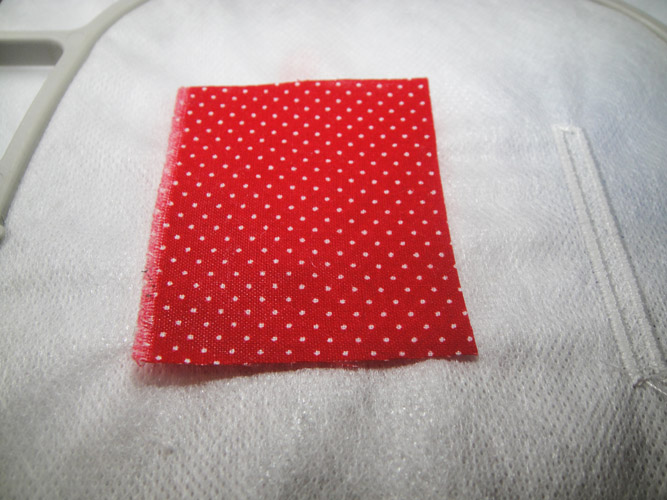
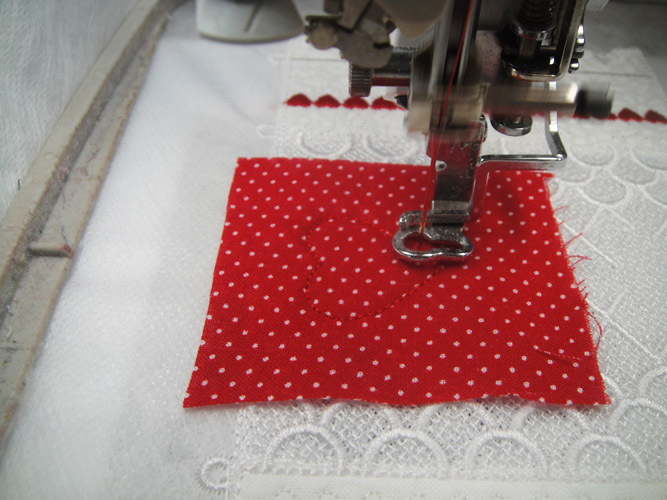
Spray a 2” square of red print and place over the outline.
(Click Image to Enlarge)
Step 12:
Remove the hoop from the machine; turn over, spray and place another 2” square of red print over the back outline of the heart.
(Click Image to Enlarge)
Step 13:
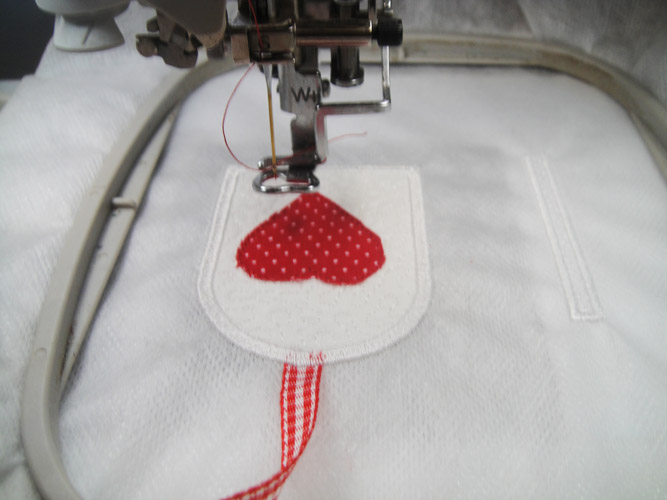
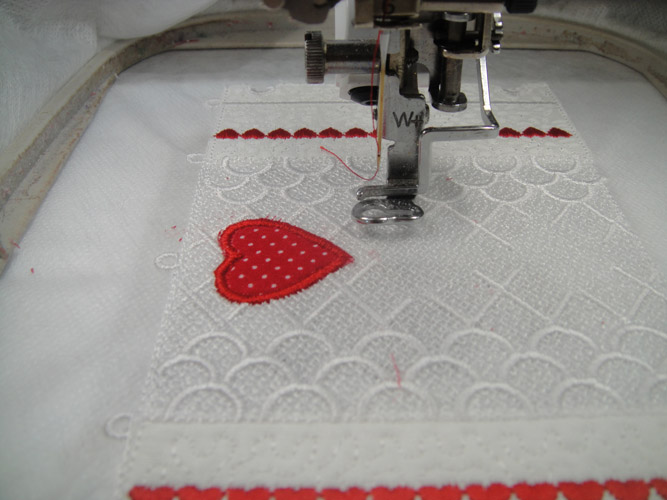
Stitch color stop # 7 to tack down the hearts; trim the heart fabric on the top and bottom of the hoop.
(Click Image to Enlarge)
Step 14:
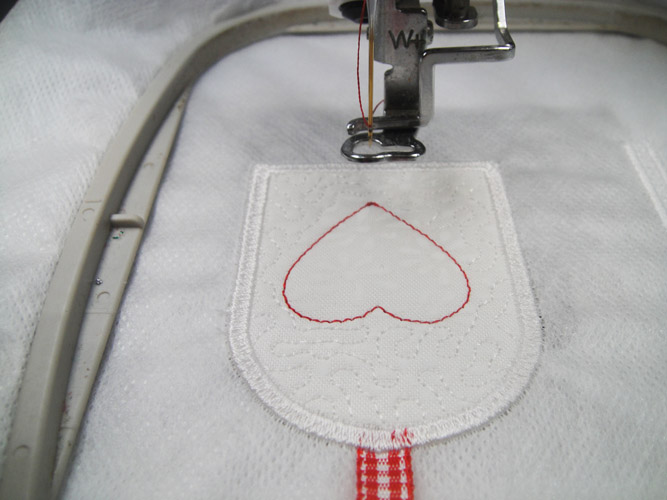
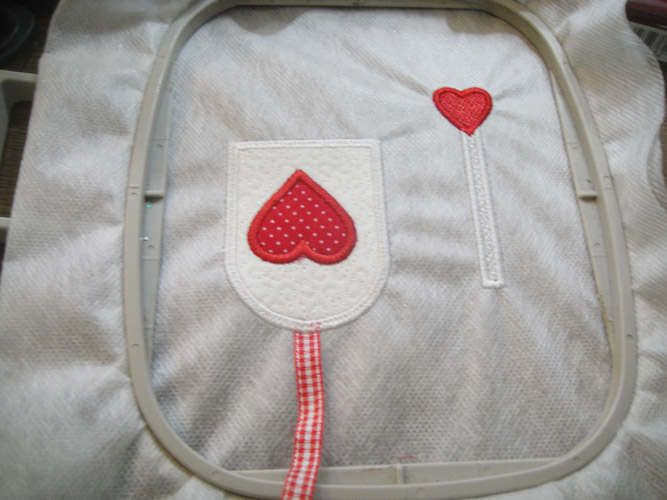
Run the last color stop to border the heart and to sew the heart on the mail box flag.
(Click Image to Enlarge)
Step 15:
Use a sponge wet with hot water to rub around the edges of the door; hold the flag under running hot water to remove the Wet N Gone. Place on a smooth dish towel to dry. You may use a hair dryer to speed up the drying process if you like.
(Click Image to Enlarge)
Step 16:
Load design VMB02 into your machine; load white polyester thread in the top and bobbin; hoop two layers of fibrous water soluble stabilizer in a 5” x 7” hoop and run the 1st color stop for the outline of the bottom of the mail box.
(Click Image to Enlarge)
Step 17:
Spray a 6” x 3” rectangle of the fused backed white fabric and place over the outlines; spray a 6” x 3” rectangle of the white fabric without backing and place over the outline on the back of the hoop.
(Click Image to Enlarge)
Step 18:
Run color stop #2 to tack the fabrics; trim next to the tack down stitches on both the top and bottom of the hoop.
(Click Image to Enlarge)
Step 19:
Run color stop #3 for the outline of the back of the mail box. Apply fabrics as in step 17 to the front and back of the project; run color stop #4 to tack down the fabric and trim fabrics as before.
Step 20:
Run color stop #5 for the quilting design on the pieces.
Step 21:
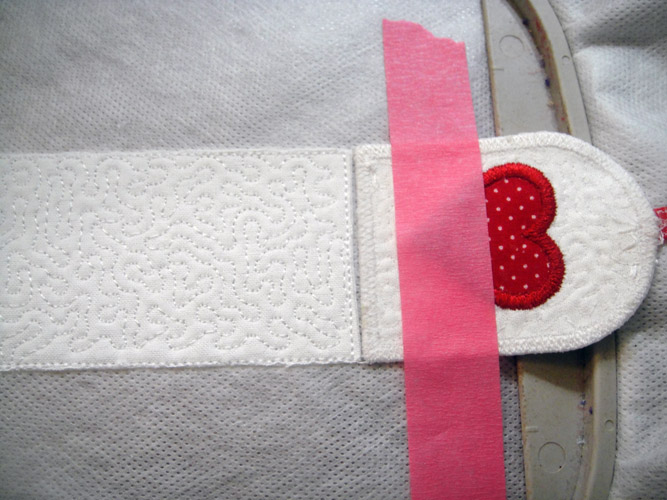
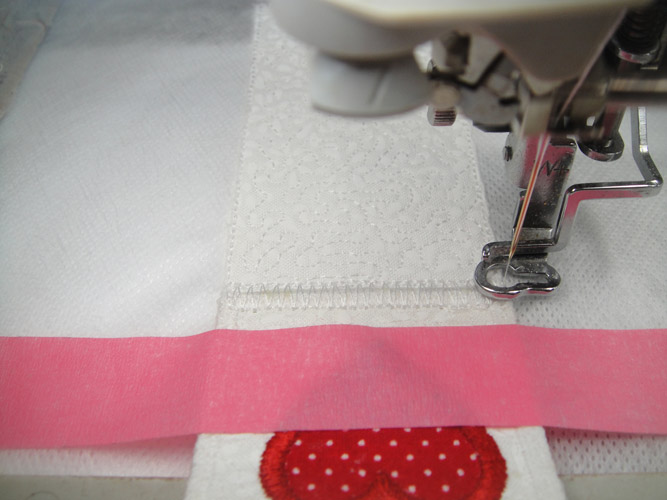
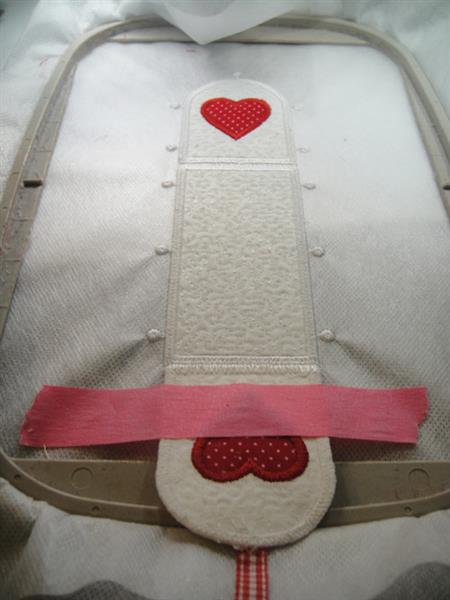
Spray the bottom of the dried front door made in the previous file with adhesive and place just a scant 1mm away from the bottom of the floor; align the edges of the door with the sides of the floor; further secure the door to the stabilizer with embroidery tape.
(Click Image to Enlarge)
Step 22:
Run color stop #6 to attach the front door to the floor.
(Click Image to Enlarge)
Step 23:
Run color stop #7 to sew the borders and buttons.
Step 24:
Change to red thread on top and in the bobbin of the machine. Run stop #8 to outline the heart applique.
Step 25:
Apply red fabric to the top and bottom of the hoop; stitch the tack down; trim the red fabrics and border the hearts as before.
(Click Image to Enlarge)
Step 26:
Remove the excess stabilizer and lay on the towel to dry.
(Click Image to Enlarge)
Step 27:
Load file VMB03 into your embroidery machine; hoop two layers of fibrous water soluble stabilizer, stitch the 1st color stop which is an outline for the lower end of the mailbox.
Step 28:
Spray and place the fused white fabric over the outlines on the top of the hoop; place a rectangle of the white fabric without the fusible backing over the outlines on the back side of the hoop; stitch the tack down stitches.
(Click Image to Enlarge)
Step 29:
Repeat Step 28 to stitch the applique fabrics to the other end of the mail box.
(Click Image to Enlarge)
Step 30:
Color stop #5 will stitch the white detail and lace portions of the mail box.
Step 31:
Change to red thread in the top and bottom of your machine to stitch the side heart designs.
(Click Image to Enlarge)
Step 32:
Keep the red thread loaded through the next 11 color changes. Color stop 6 will stitch the outline for the heart applique on top of the mailbox.
(Click Image to Enlarge)
Step 33:
Cut a 2” square of red print fabric. Spray with adhesive and place over the outline. Note: The red fabric is placed on the top of the hoop you do not need to put any on the back of the hoop. Stitch color stop #8 which will tacks down the heart fabric.
(Click Image to Enlarge)
Step 34:
Trim the applique and run color stop #9 to border the heart.
(Click Image to Enlarge)
Step 35:
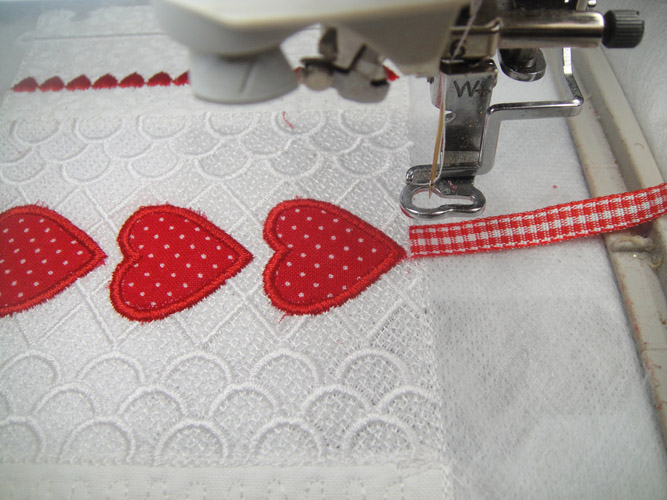
Using color stops #10 through #15 apply the other two hearts to the top of the box.
Step 36:
Change the top and bobbin threads back to white thread.
(Click Image to Enlarge)
Step 37:
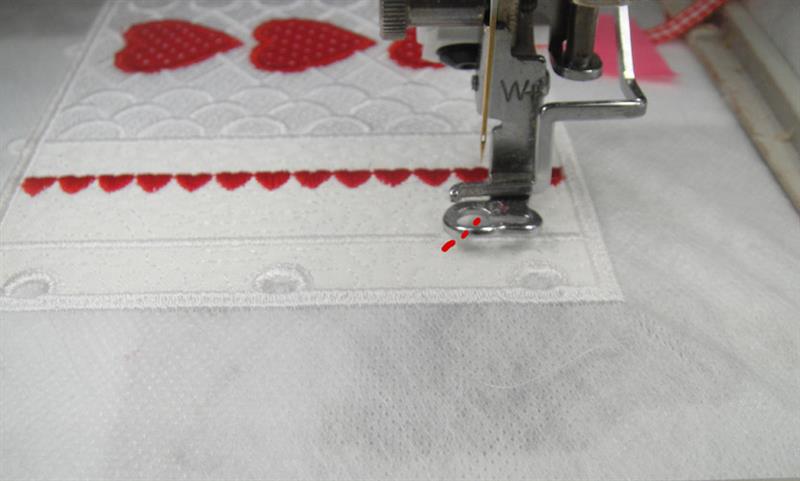
Color stop #16 is a placement line for the ribbon – granted a little hard to see where it stitches, but watch where it sews; spray one end of the ribbon with adhesive and place the ribbon just inside the placement line centered at the bottom of the point of the heart; run color stop #17 to tack down the ribbon.
(Click Image to Enlarge)
Step 38:
Color stop #38 is a placement line to show you where to position the flag. Again a little hard to see in white on white, but it is just a little angled line at the opening in the satin stitches on the side of the box.
(Click Image to Enlarge)
Step 39:
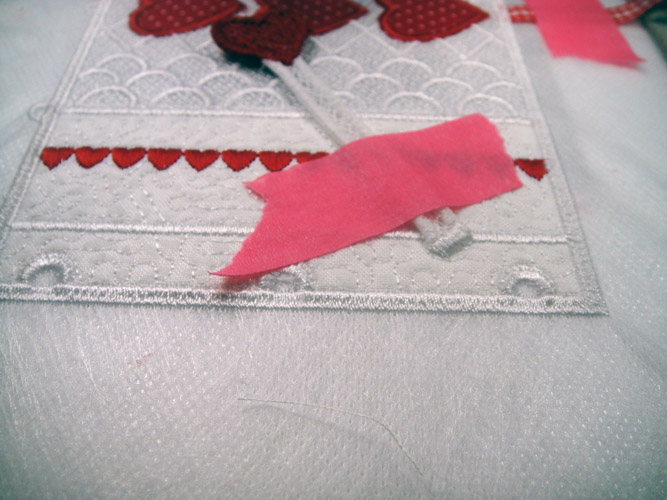
Spray adhesive on the leg of the flag; align the bottom with the placement line; use embroidery tape to further secure it to the mail box. Run color stop #19 to secure it in place.
(Click Image to Enlarge)
Step 40:
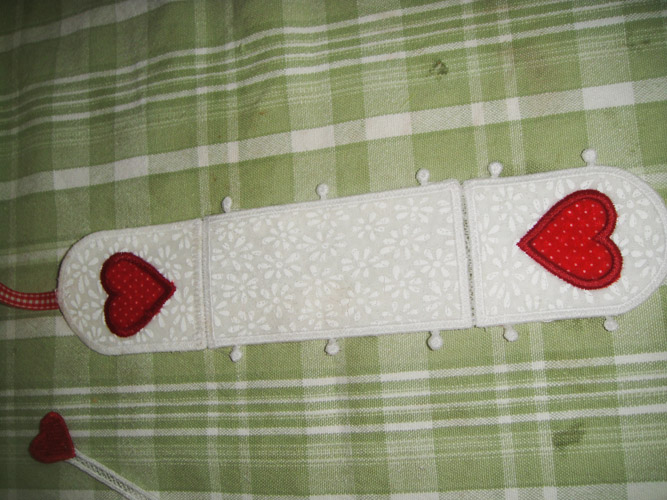
Cut away the excess stabilizer; hold the whole piece under running hot water to remove the water soluble stabilizer from the lace and holes in the piece; lay flat to dry.
(Click Image to Enlarge)
Step 41:
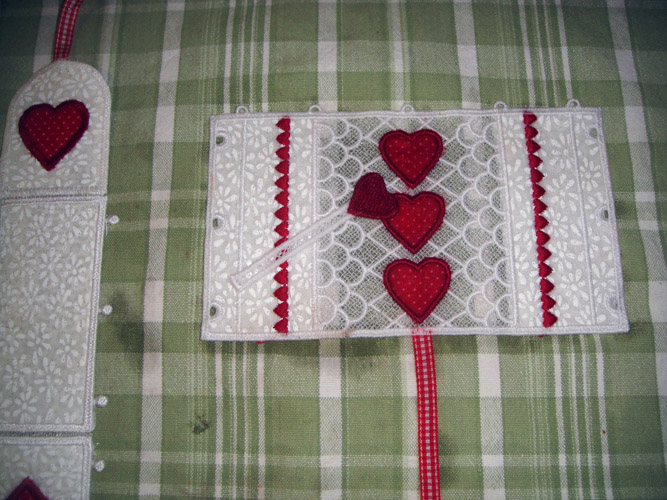
As you only have two pieces to assemble the mail box it is quick to put together. Lay the large piece on your work surface face down; lay the floor of the box on top with the ribbon end aligned with the ribbon on the bottom piece; with an awl push the button on the center of the end through the loop on the main piece.
(Click Image to Enlarge)
Step 42:
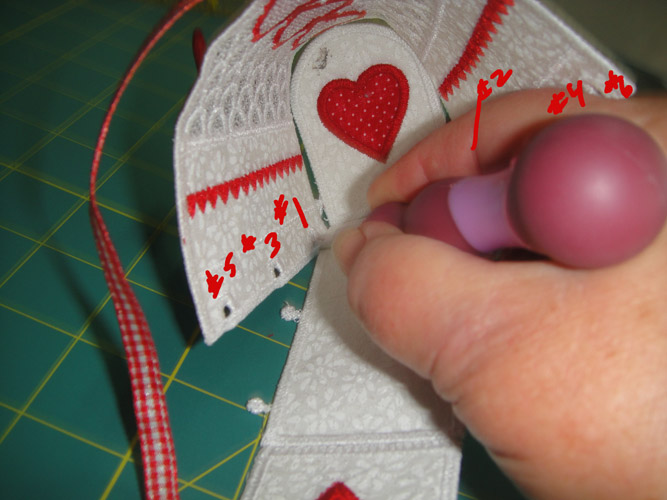
Push the buttons through the loops on both sides of the back of the mail box to attach to the main piece.
(Click Image to Enlarge)
Step 43:
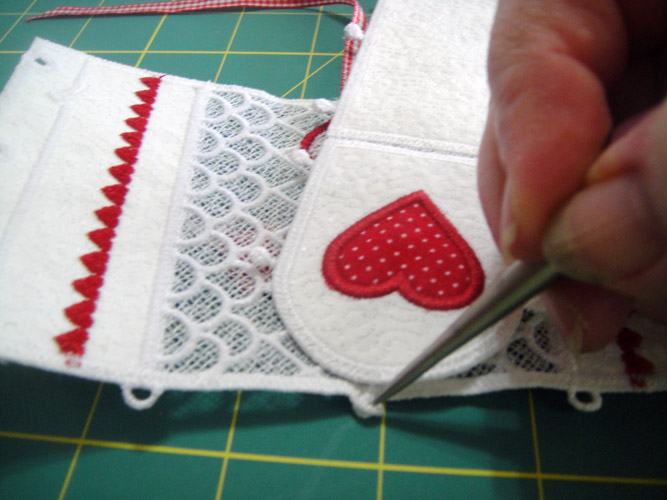
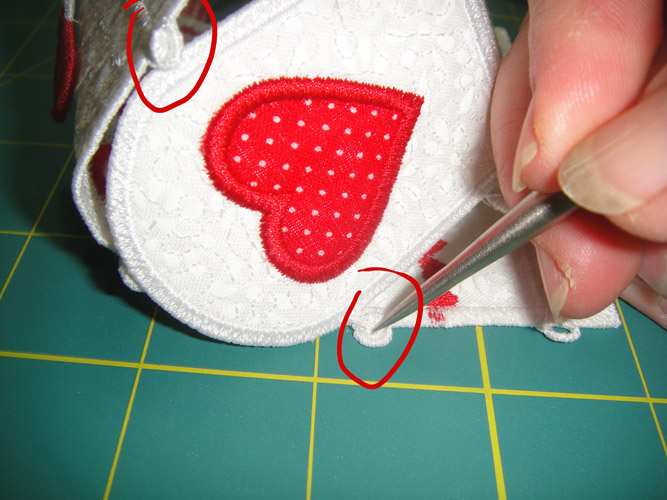
You are working in a tight space to attach the floor to the sides. It works best if you alternate sides when matching buttons and eyelets . Push the back button through the eyelet as shown in the picture. Then push the back button on the other side of the floor through the eyelet on the opposite side. Continue to work your way forward in this manner until all buttons and eyelets are joined.
(Click Image to Enlarge)
Step 44:
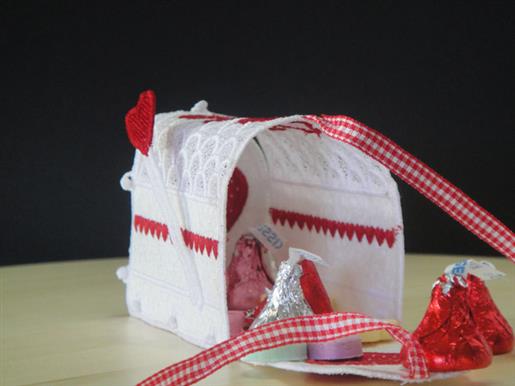
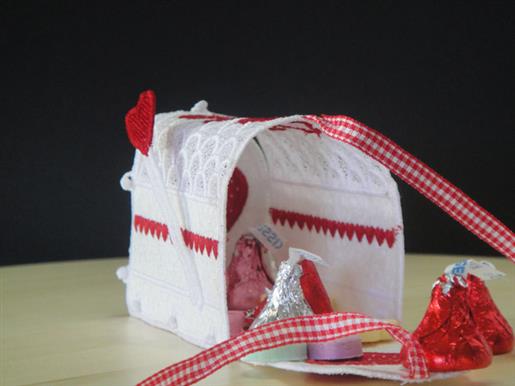
Add some chocolate kisses and candy hearts.
Step 45:
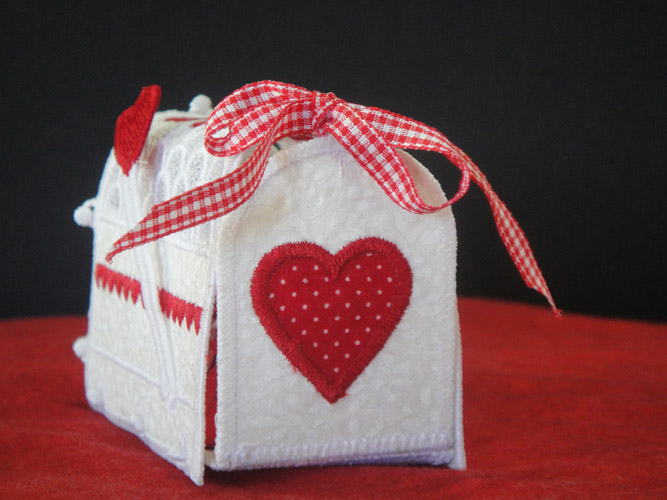
Tie the ribbon into a bow and trim the ends to complete your Valentine’s Mail Box!
Award winning Digitizer, Embroidery Educator, Author and a Consultant to the Industry, Pat Williams has 30 years of experience in the embroidery industry. Pat has won multiple awards for her digitizing expertise including the 2007 Impressions Awards Grand Championship, Best of Show as well as the 1st and 2nd Place Awards. Pat’s love of digitizing has afforded her the opportunity to write numerous articles for Impressions magazine in the United States and Images Magazine in Europe. In 2001 Pat was named “Embroidery Educator of the Year.” For many years Pat taught digitizing seminars at the ISS Shows in Long Beach, CA and for Compucon software. She now resides in Tucson, AZ.