2026 Flash Sale
Live Chat
Embroidery Designs
Welcome, Embroiderer
Login
How To Create A 3 Letter Interlocking Monogram
{{mainImageAlt || (productInfo._source && productInfo._source.name) || ''}}

How To Create A 3 Letter Interlocking Monogram Embroidery Project

By   Jayne Monsipapa   on   December 30, 2014
  • SKILL LEVELBeginner
  • TIME REQUIRED00:10
  • FINISHED SIZE3 x 3 inches
Description

These 3 letter 3" and 1.90" Interlocking Monogram Fonts can be used to monogram any project you create. They can be used on pillows, shirts, jackets, towels, bags, anything that you would like to monogram/personalize.

Step of

Materials

Project Preview Video

Materials
  • Item you wish to monogram
  • Stabilizer of choice
  • Embroidery machine
  • Scotch Tape
  • Air or water disappearing pen

  • Designs used in this project

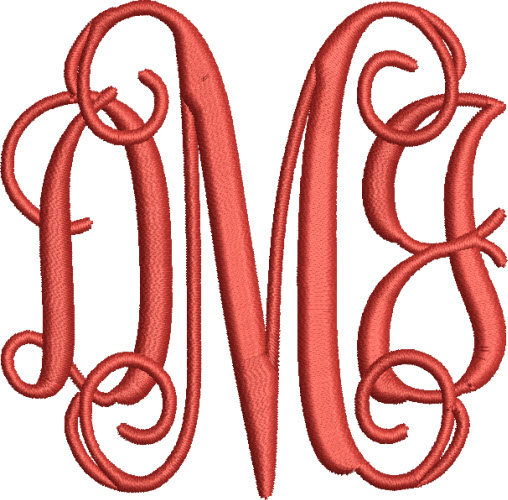
    Final Product: What You Will Create

    Preface:
    This font was created with an edge stitch and zigzag underlay, which makes it perfect for all your monogram projects with or without a nap.  If you are using on a towel use woven water soluble stabilizer over the top of the nap and it will hold down the loops and dissolve away when done.  Or you can use fine tulle the same color as the towel and tear away when done.


    Step 1:
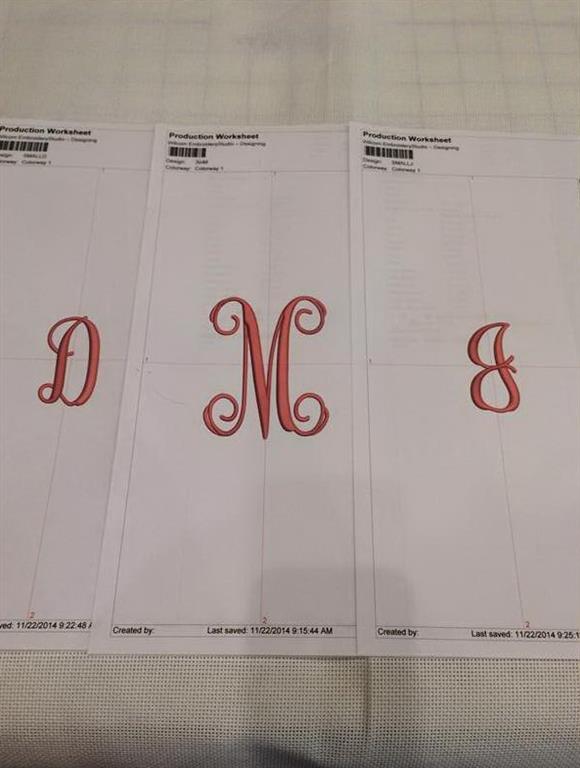
    Print out your 3 letters. Middle letter is the 3” (last name initial) right letter is the 1.90” (middle name initial) and left letter is the 1.90”(first name). I am using mine as an example. D to the left (first name, looking at the letters), M last name, is the middle, and J middle name is the right.

    (Click Image to Enlarge)


    Step 2:
    (Click Image to Enlarge)
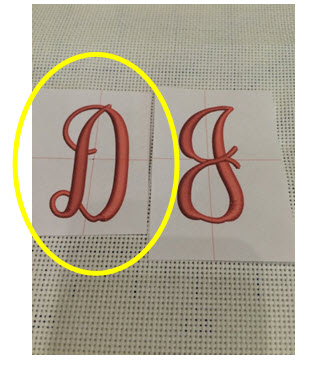
    Cut around each letter making sure you have printed the cross hair on each letter.


    Step 3:
    (Click Image to Enlarge)
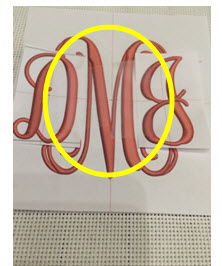
    Tape your letters in the position you wish them to be on the 3 letter monogram. I like to have 1/8" to 1/4" space on each side of the middle letter. Make sure that each letter is aligned to the cross hair that is printed on the template.  


    Step 4:
    (Click Image to Enlarge)
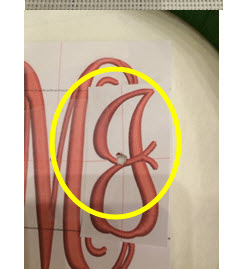
    Place a big dot in the center of the cross hair on each letter after they have been taped together. Take a seam ripper or a sharp pencil and poke a nice hole in the center of each letter.


    Step 5:
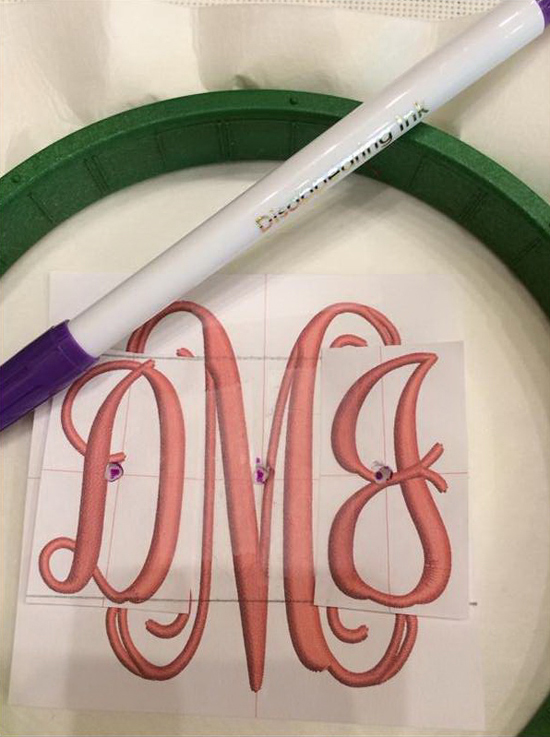
    You are now ready to hoop your item you wish to monogram. Place the 3 letter template just created in the center of your hoop making sure you have plenty of room around your monogram. You do not want to hit your hoop edge! Take a pen that is either air or water disappearing (pretest to make sure it is not permanent) and mark the center of each letter.

    (Click Image to Enlarge)


    Step 6:
    Place your hoop in your machine. 

    (Click Image to Enlarge)


    Step 7:
    (Click Image to Enlarge)
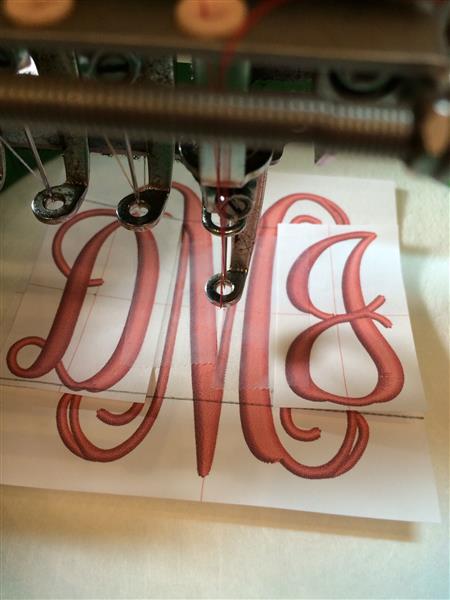
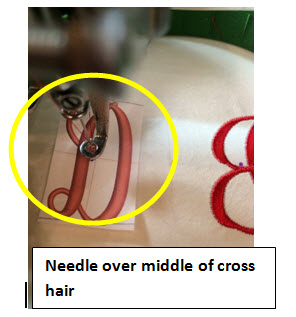
    I prefer to sew the smaller letters on each side first and the larger, middle letter last. There are more swirls on the larger middle letter and I like those to sew over the smaller letters. It is preference how you sew them out as they will look slightly different, but still elegant. Since you have marked the dot on your item already you do not need the template. I am showing this as a reference. Make sure you TRACE, TRACE TRACE before sewing. Do each small letter on the right and left side first and the bigger letter last. You can see where I have the last remaining mark. Ensure that your beginning needle position is over your mark for each letter.


    Step 8:
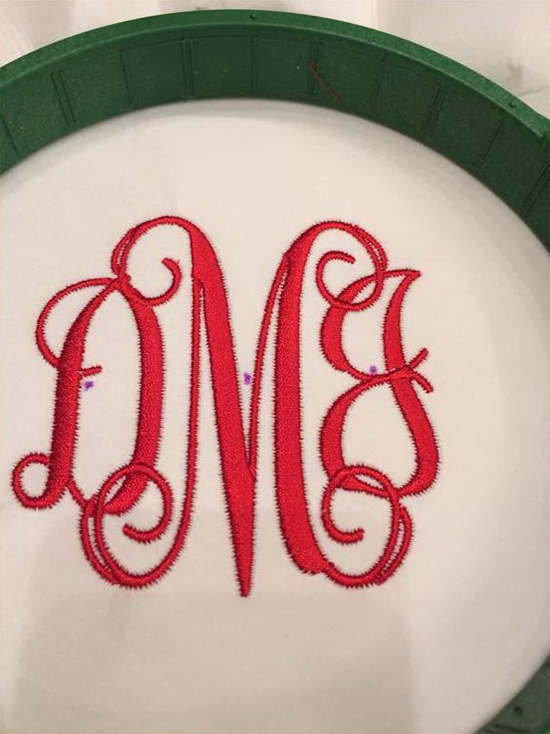
    This is how my monogram looks when finished. The marker I used is a water disappearing pen.

    (Click Image to Enlarge)


    Step 9:
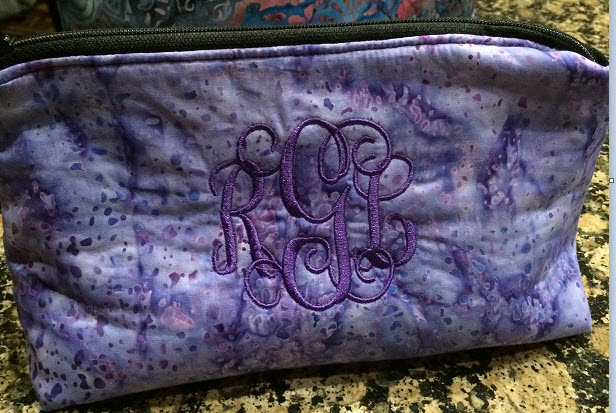
    This is an example of  how I used the monogram on a make up bag.

    (Click Image to Enlarge)

    Meet the Author: Jayne Monsipapa
    Jayne Monsipapa
    Jayne Monsipapa has been digitizing for 24 years. It all started after walking into a sewing store in 1993 to buy a couple spools of thread and there was a sewing machine hooked up to a computer! Embroidering the designs were fun at first, but it did not take much to get hooked on digitizing. From 1993 until 1999 she worked on her digitizing skills and found her designs sewed out very good. With her husband’s encouragement Kinship Kreations LLC began in 1999 selling designs online. In those early years she took classes with both Walt Floriani and Lee Caroselli (Balboa Embroidery) who are both very talented and successful digitizers. Jayne joined the EmbroideryDesigns team in 2008.
    More From This Author
    Link is Broken, Please check the URL
    Exclusive Embroidery Offers!
    Copyright © {{ currentDate | date:'yyyy'}} - EmbroideryDesigns.com
    GET 50% OFF! ×