Border OptionsHugging border, circle, square, or rectangle — with a 3mm satin stitch.
Backing OptionsAvailable with iron-on, sew-on, or velcro backing.
Fast ShippingShipped quickly from the USA.
Free Online Tools
Powerful embroidery utilities that save time and prevent costly mistakes.
Stitch AssistantRECOMMENDED
Get the exact stabilizer, machine settings, needle, and thread color sequence for every embroidery design you purchase — based on that design's stitch density, dimensions, and color count.
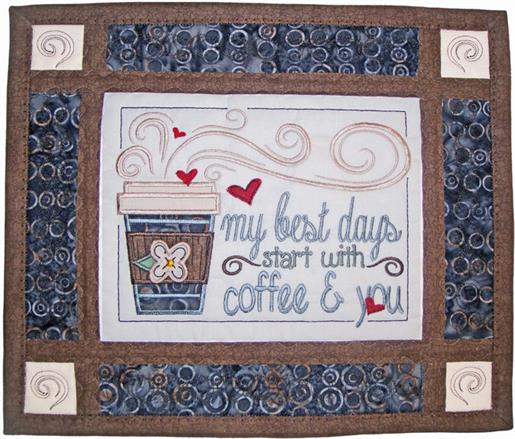
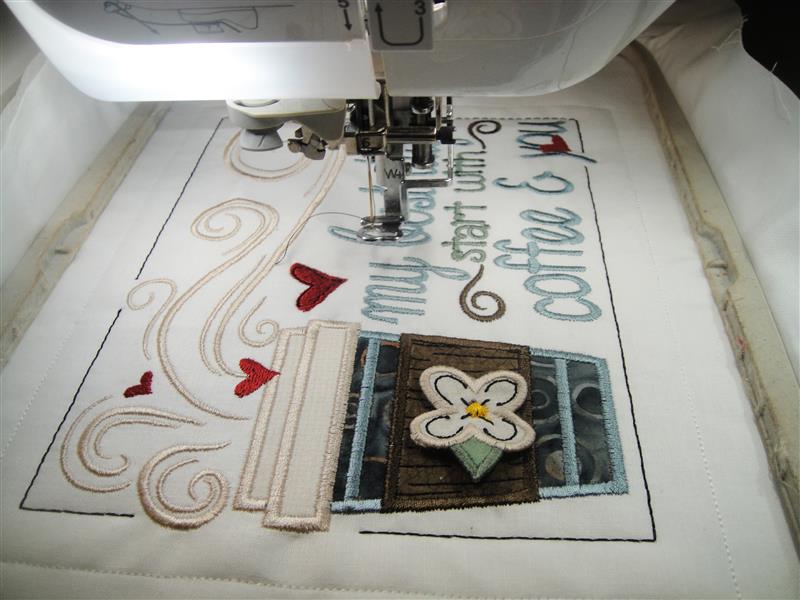
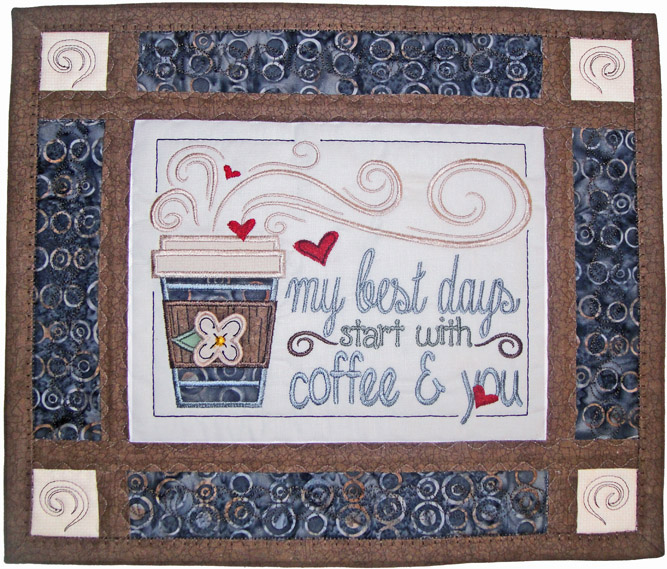
This charming little wall hanging has a free standing applique flower on the coffee container. It will be perfect for your kitchen or as a gift for any occasion. Scan N Cut files are available to download or use traditional applique methods.
Precut your appliques by hand or with your Scan N Cut. Be sure to download the PDF, FCM or SVG files for your preferred method of cutting. Be sure to make the free standing applique flower first as you will want to have it ready when the time comes to apply it to the container when the center section of the wall hanging is being embroidered.
Step 1:
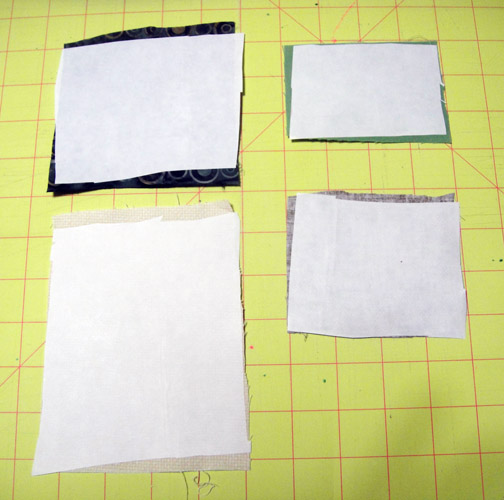
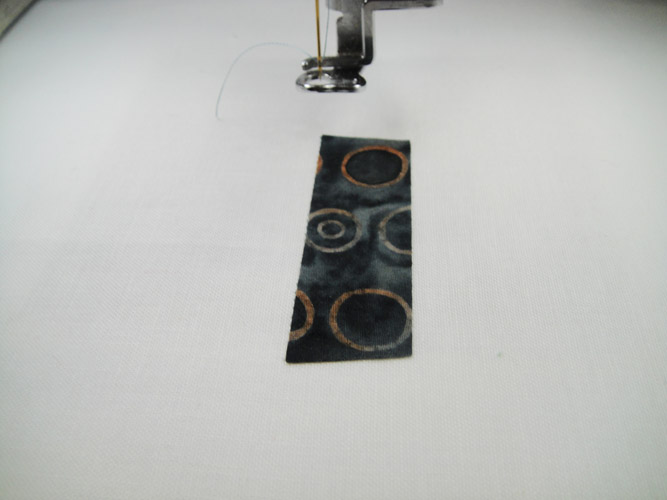
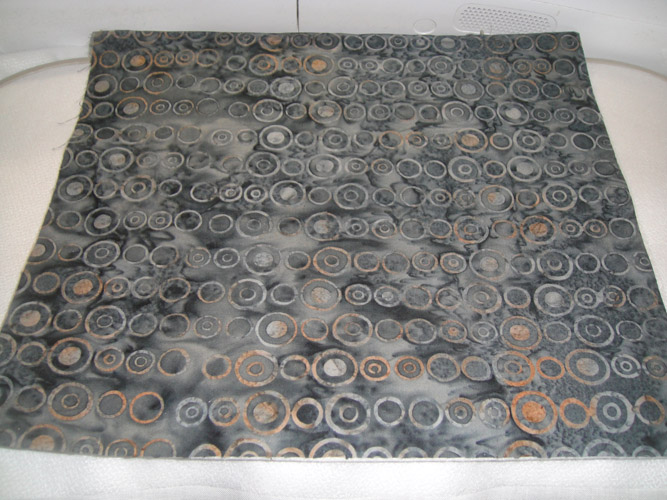
To prepare your appliques cut a 3” x 4” rectangle of light sage green fabric; a 5.5” x 3.5” rectangle of cream mini print; a 5” x 4” rectangle of the coffee container print; and a 3” x 4” of brown fabric for the coffee container wrapper. Iron each of these pieces with Magic Sizing or Best Press and iron 3 or 4 times. Then cut Heat n Bond Lite in rectangles just slightly smaller than each piece of fabric and apply to the wrong sides of each of these rectangles of fabric.
Step 2:
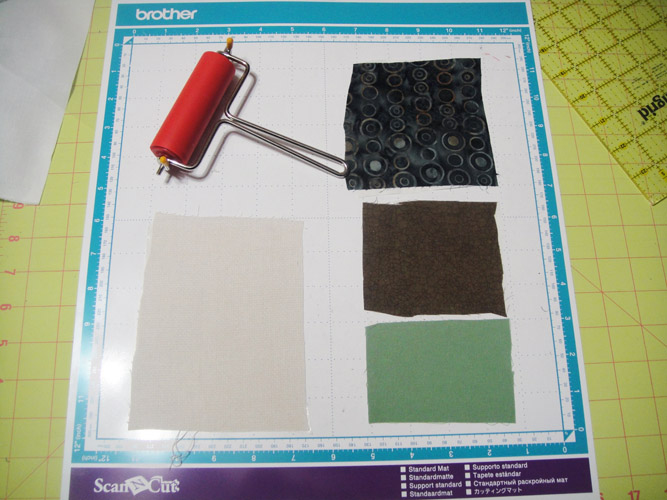
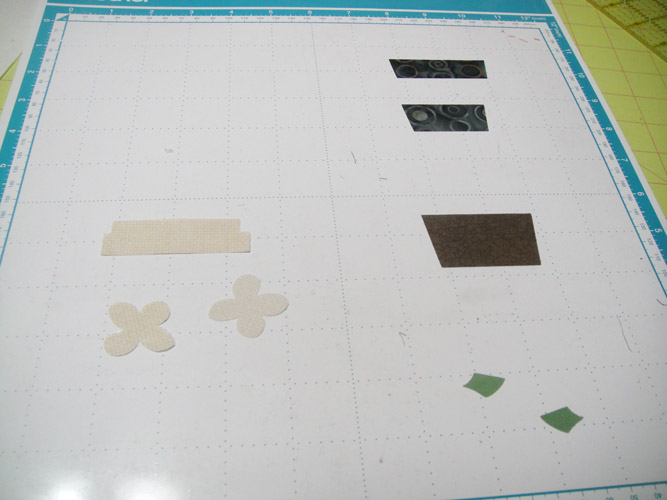
If cutting with a Scan N Cut apply the fabrics with the paper side down on your standard mat and roll with a brayer to assure they stick well to the mat.
(Click Image to Enlarge)
Step 3:
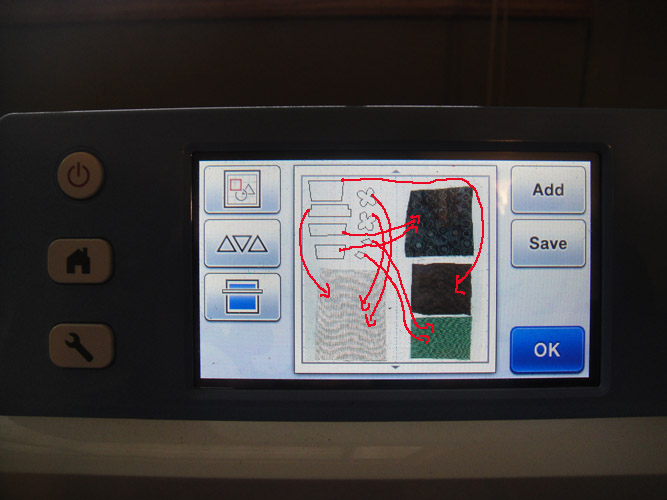
Transfer the FCM file to your SNC thumb drive and read into your SNC. Scan your mat to see the placement of your fabrics. Drag the top left hand shape in position over the brown fabric; drag the second shape which is the container top and the flower shapes over the cream print; drag the bottom left two sections over the container CFBY01 print; drag the two leaf sections over the green fabric.
(Click Image to Enlarge)
Step 4:
Everyone’s settings vary on the SNC machines – I used Cut Speed of 3, Cut Pressure 5 and Standard Blade at 4.5. Your settings may vary so cut a test area first to make sure the settings are correct for you. Cut your applique pieces.
(Click Image to Enlarge)
Step 5:
If you are pre-cutting your applique pieces by hand you can print out the PDF file; cut the pieces apart and with a light spray of adhesive on the paper attach the appropriate pattern piece to each fabric and hand cut the appliques.
Step 6:
You can also use the stitch and trim methods to create your appliques by first stitching the outline of the applique shapes, applying the fabric to the outline with spray adhesive; running the tack down stitching and then hand trim the applique right up next to the tack down line.
Step 7:
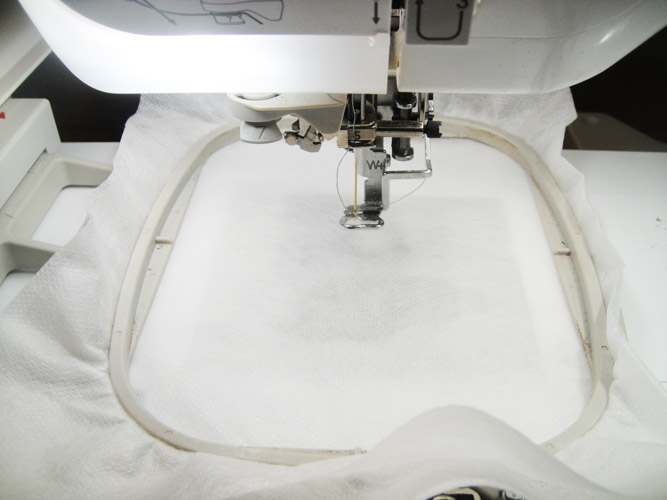
You will need to make the free standing applique flower first so that is ready when you make the center panel. Load the design file CFNY01 into your embroidery machine. Hoop fibrous water soluble stabilizer in a 4” x 4” hoop.
(Click Image to Enlarge)
Step 8:
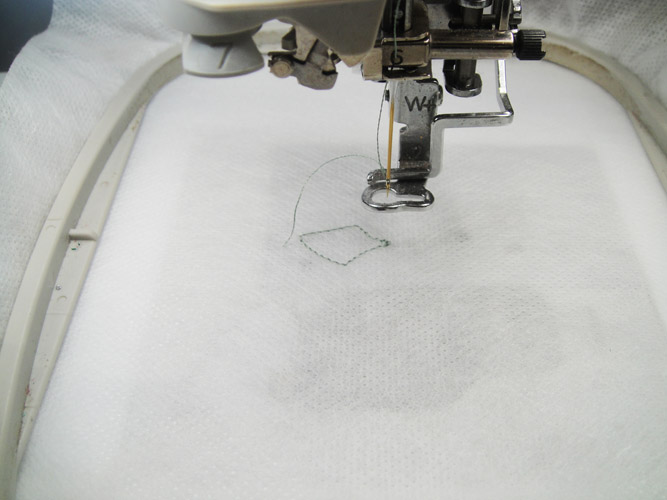
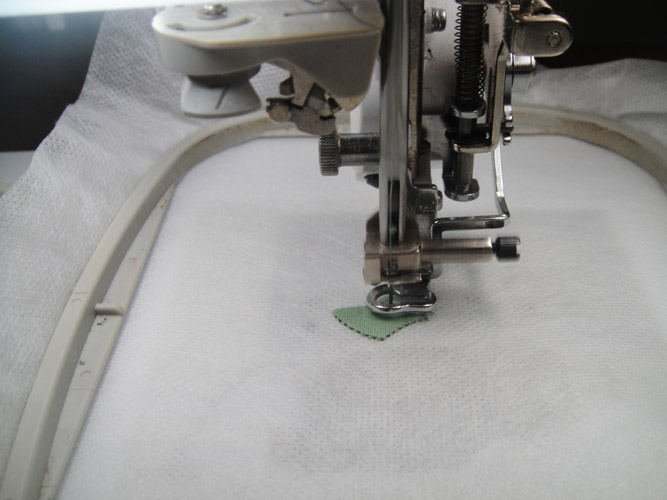
Run the 1st color stop to stitch the outline for the leaf.
(Click Image to Enlarge)
Step 9:
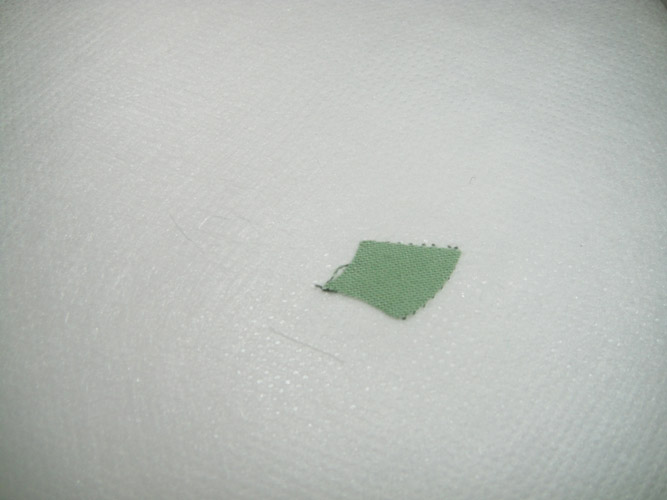
If using a precut applique: remove the paper backing from the Heat N Bond Lite, spray the applique back with spray adhesive and place the applique over the outlines on top of the hoop. Remove the hoop from the machine and place a leaf applique over the outlines on the back of the stabilizer in the same manner. With an applique iron fuse the applique pieces into place.
If using the stitch and trim method spray a piece of the sage green fabric and place on the top and bottom of the stabilizer having the fabric exceed the outlines by 1/4” or more.
(Click Image to Enlarge)
Step 10:
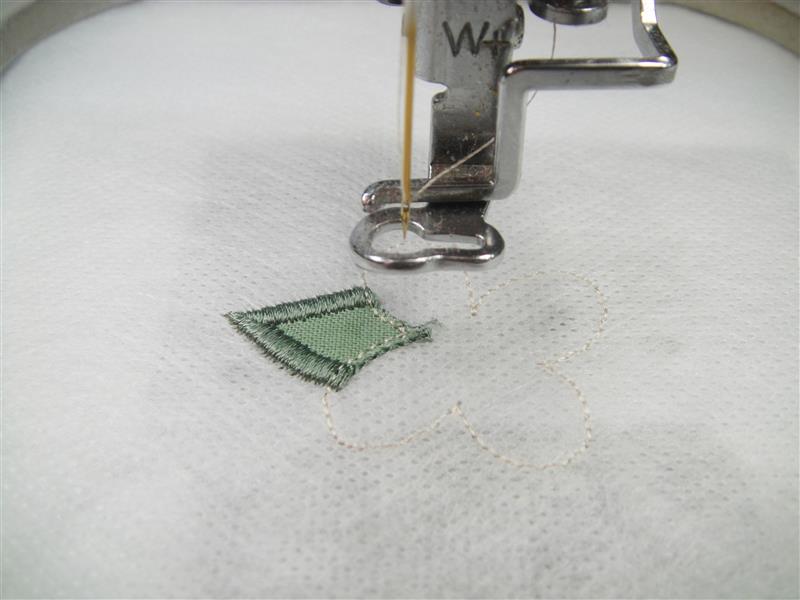
The second color stop is tack down stitches. If you used precut applique pieces these stitches will run just around the outside edges of your fused applique stitches, if you are using the stitch and trim method of applique you will trim both the top and bottom applique pieces wright up next to the tack down stitches after they are sewn.
(Click Image to Enlarge)
Step 11:
The third color stop is the border on the leaf, stitch in green thread.
(Click Image to Enlarge)
Step 12:
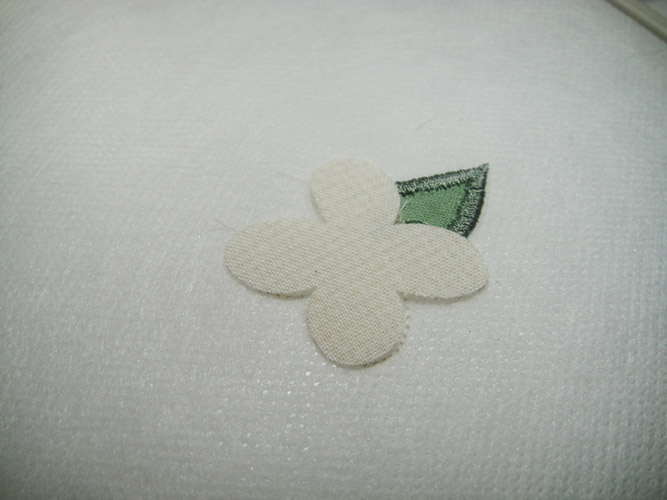
Change your top thread to a cream. Stitch the 4th color stop which is the outline for the flower. Follow the same method you used from Step 9 to attach applique pieces to both the front and the back of the stabilizer. Each petal is a unique shape so be sure you line up the petals correctly in order to insure the borders will remain in registration.
(Click Image to Enlarge)
Step 13:
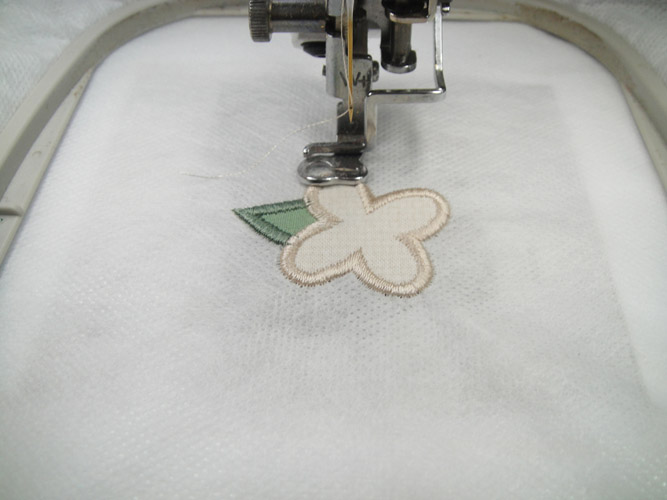
Color stop #5 will sew the tack down stitches for the flower and color stop #6 will sew the border of the flower.
(Click Image to Enlarge)
Step 14:
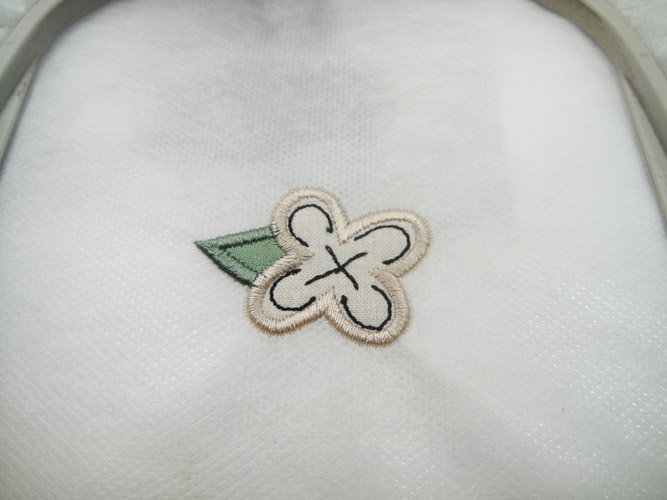
The final color stop will sew the black detail stitches of the flower.
(Click Image to Enlarge)
Step 15:
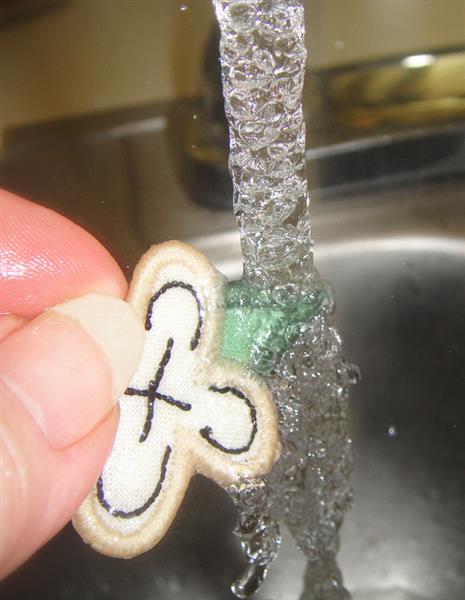
Cut the excess stabilizer away from around the flower; hold under running hot water for a minute or so to remove the water soluble stabilizer; blot and place on a cotton dish towel to dry.
(Click Image to Enlarge)
Step 16:
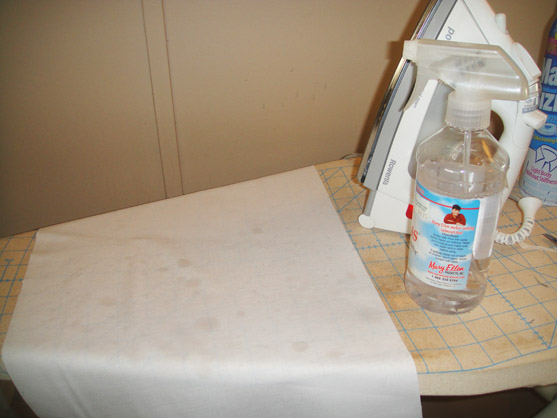
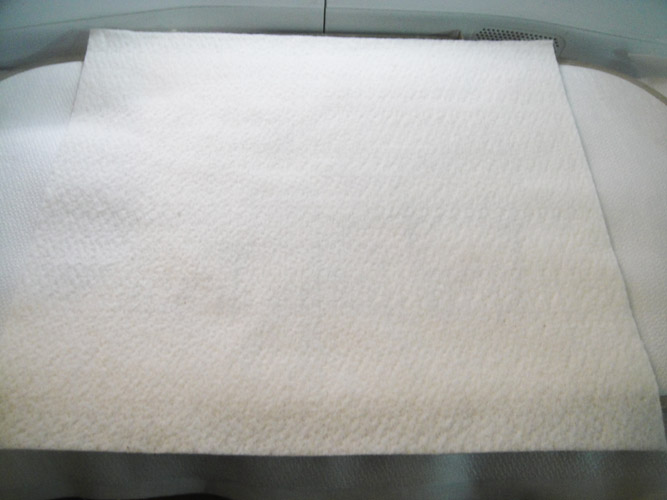
Load design CFNY02 into your embroidery machine. Press a 13” 22” of white Kona cloth with Best Press or Magic Sizing. Apply fusible poly mesh stabilizer to the back of the fabric and hoop in a 7” x 12” embroidery hoop.
(Click Image to Enlarge)
Step 17:
Run the first color stop which is the outline for the inner section of the coffee container.
(Click Image to Enlarge)
Step 18:
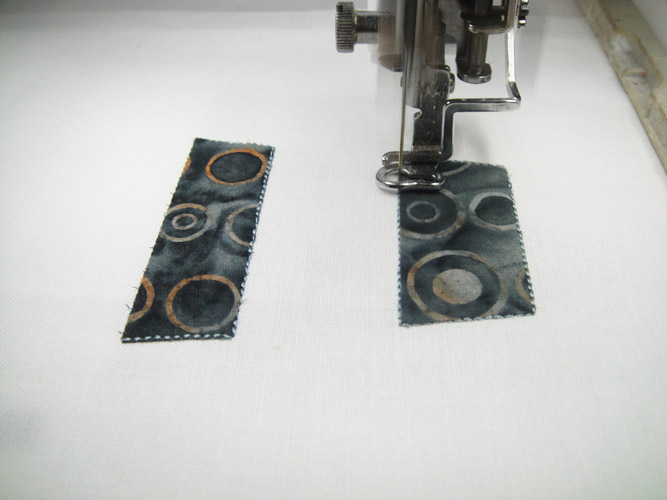
If using precut appliques spray a little adhesive on the applique and place over the outlines. Fuse in place with an applique iron. If using the stitch and trim method spray a piece of fabric larger than the outline over the outlines. Run the next color stop which is the tack down line. If you are using precut appliques this tack down will be right on the outside edges of the applique. If you are doing stitch and trim method, trim the applique after these stitches are run.
(Click Image to Enlarge)
Step 19:
Use color stops 3 & 4 to apply the applique for the bottom of the container as in Step 18.
(Click Image to Enlarge)
Step 20:
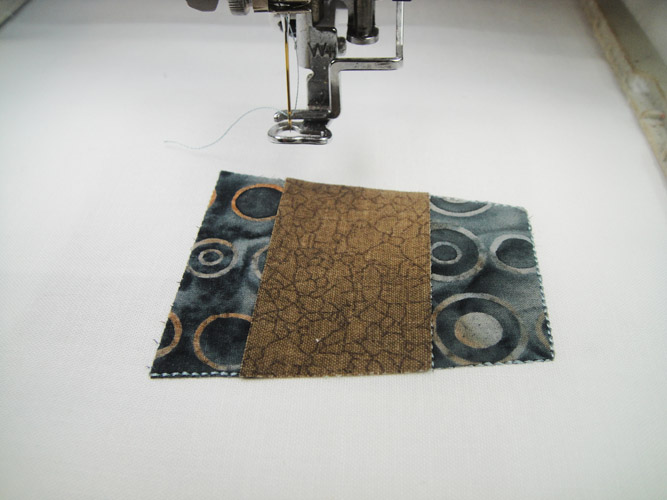
Use color stops 5 & 6 to apply the coffee wrap to the container as in Step 18.
(Click Image to Enlarge)
Step 21:
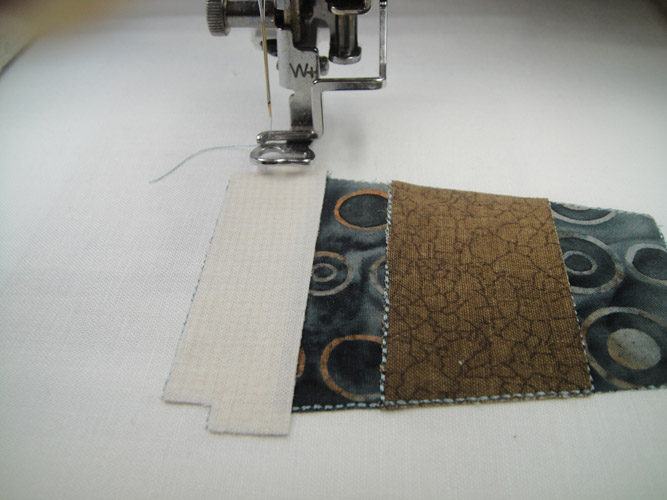
Use colors stops 7 & 8 to apply the top to the container as in Step 18.
(Click Image to Enlarge)
Step 22:
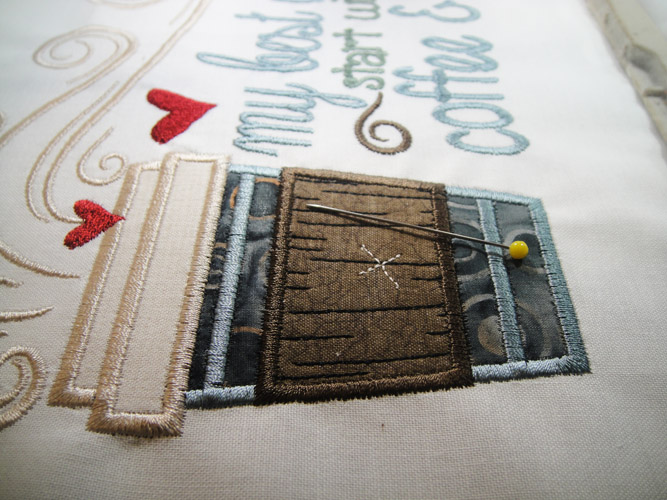
Follow the color chart through color stop 17 to embroider the borders on the cup, the steam and lettering. Then get your quilter’s straight pin out.
(Click Image to Enlarge)
Step 23:
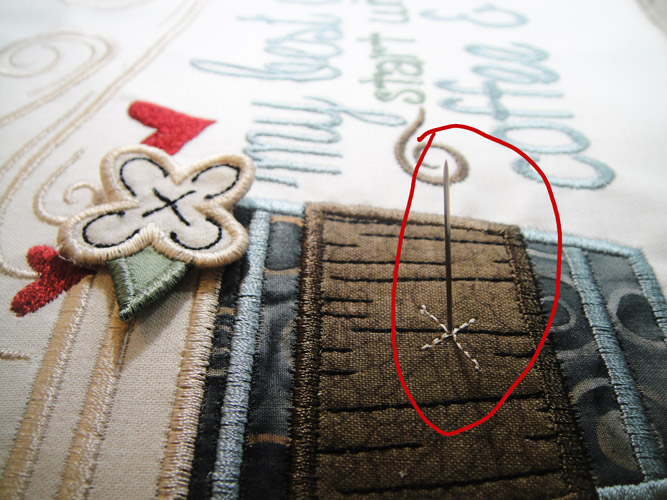
Remove the hoop from the machine, do not unhoop, insert the straight pin from the backside of the hoop through the center of the X in the coffee wrap.
(Click Image to Enlarge)
Step 24:
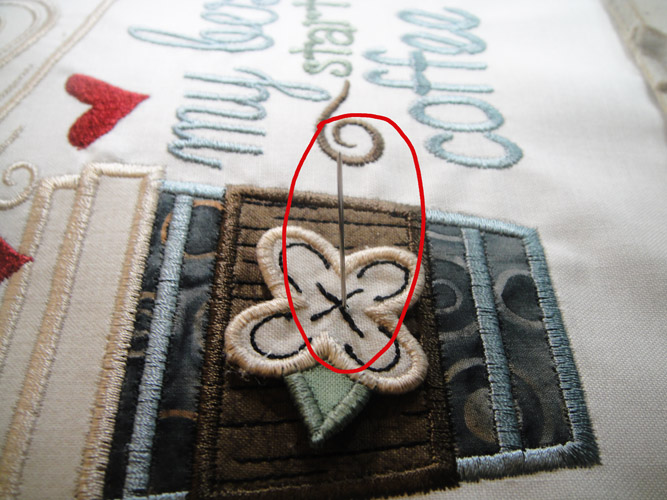
Insert the pin though the center of the free standing applique flower.
(Click Image to Enlarge)
Step 25:
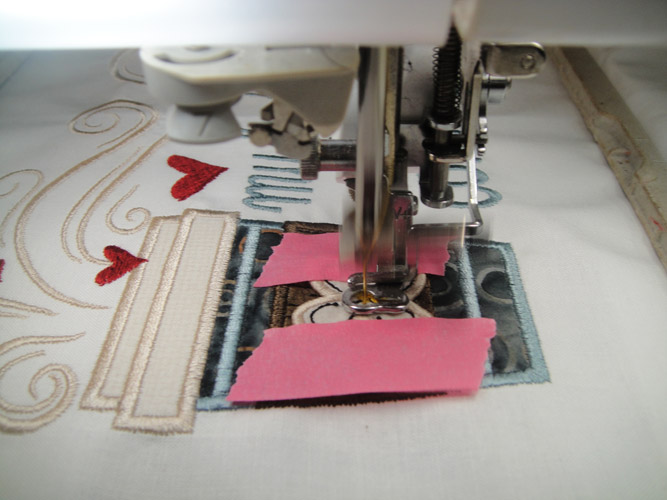
Use embroidery tape to tape the petals of the flower in place; REMOVE THE PIN, return the hoop to the machine and stitch color stop #17 in gold rush to attach the flower to the container.
(Click Image to Enlarge)
Step 26:
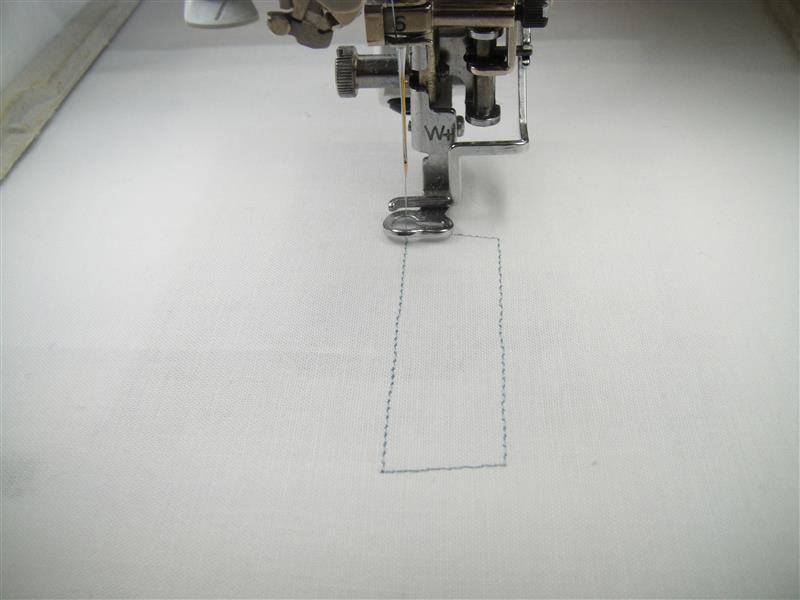
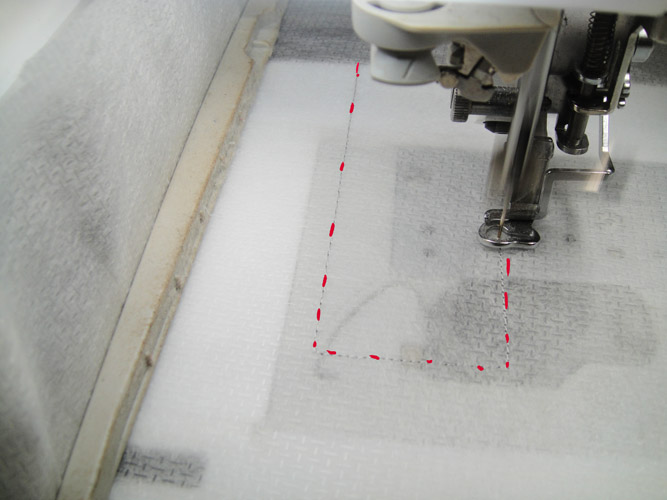
Run color stop # 18 in water soluble thread to outline the placement for the batting and back of the quilt block.
Step 27:
Remove the hoop from the machine. Cut a rectangle of Battilizer or low loft batting 11” x 9” and; spray with adhesive and place over the outlines on the back of the hoop. The edges of the batting should exceed the outline by ½” on all sides.
(Click Image to Enlarge)
Step 28:
Cut a rectangle of backing fabric 11” x 9” spray with adhesive and place over the batting. Return the hoop to the machine.
(Click Image to Enlarge)
Step 29:
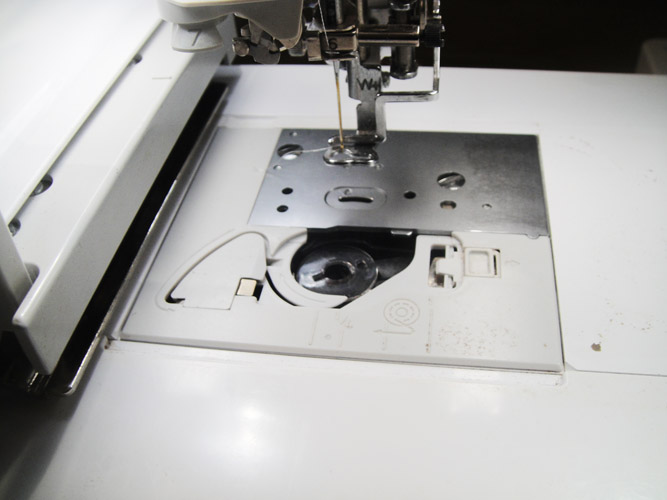
Change your bobbin to a colored bobbin that you want to have on the back side of wall hanging. I used a dark grey bobbin but you can use whatever enhances the color fabrics you have chosen.
(Click Image to Enlarge)
Step 30:
Stitch the final color stop in black to be the inside outline around the block.
(Click Image to Enlarge)
Step 31:
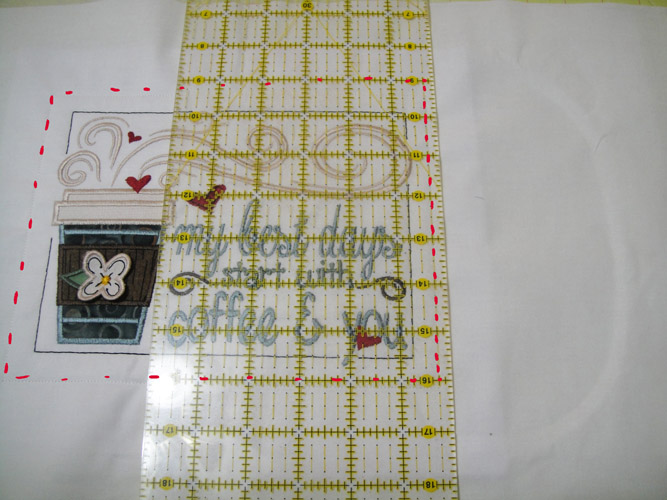
Laying your clear acrylic ruler’s ¼ inch mark on the water soluble thread outline, trim all edges of the center block to 1/4”.
(Click Image to Enlarge)
Step 32:
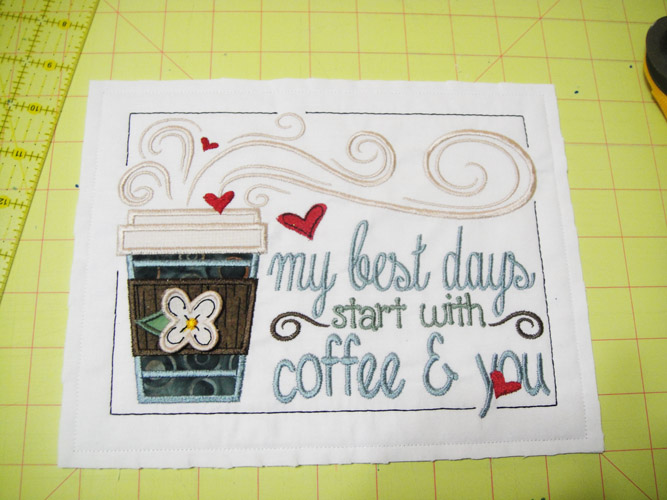
Your center block will now look like this.
(Click Image to Enlarge)
Step 33:
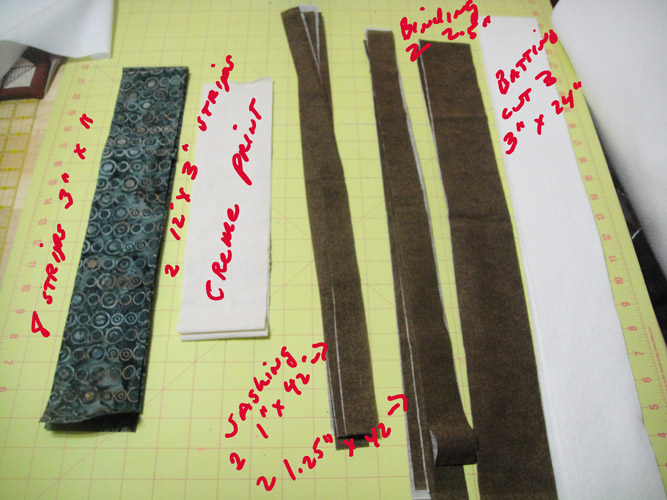
Cut fabrics for borders, sashing, corner blocks and binding. a. Cut 8 strips 3” x 11” for border pieces b. Cut 2 12” x 3” strips of cream print for corner pieces. Sub cut into 8 3” squares c. Cut 2 strips 1” x 42” for back sashing d. Cut 2 Strips 1” x 42” for front sashing e. Cut 2 Strips 2.5” x 42” (or desired width) for binding f. Cut 3 strips 3” x 24” of batting
(Click Image to Enlarge)
Step 34:
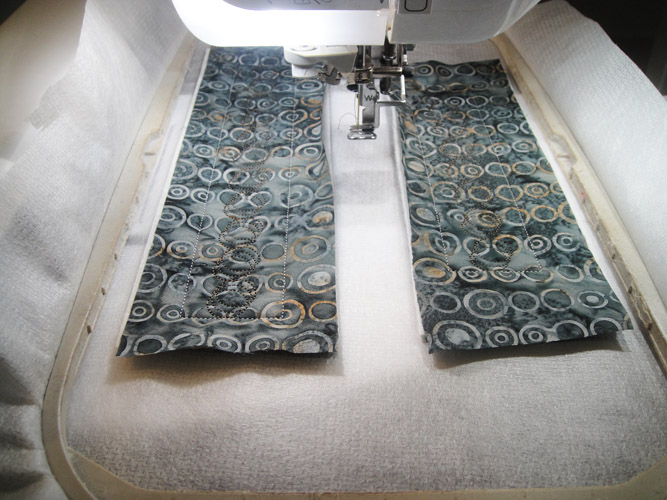
Load CFNY03 into your embroidery machine to make the borders. You will stitch this whole file twice in order to make 4 borders. Hoop poly-mesh stabilizer in the 7” x 12” embroidery hoop and run the first color sequence to sew the outline for the 1st border.
(Click Image to Enlarge)
Step 35:
Spray adhesive on an 11” x 3” strip of batting and place over the outlines making sure that the batting exceeds the outlines by ½” on all sides.
(Click Image to Enlarge)
Step 36:
Spray adhesive on an 11” x 3” strip of border fabric and place on top of the batting.
(Click Image to Enlarge)
Step 37:
Remove the hoop from the machine – do not unhoop. Spray and place an 11” x 3” strip of border fabric over the outlines as you did on the top side.
(Click Image to Enlarge)
Step 38:
Return the hoop to the machine and stitch the tack down line for the border piece.
(Click Image to Enlarge)
Step 39:
Use color stops 3 and 4 to repeat Steps 35 through 38 to make the side border piece.
(Click Image to Enlarge)
Step 40:
Change the water soluble thread in the top of the machine to the color desired for the quilting of the pieces. Use color stops 5 and 6 to quilt these border strips.
Step 41:
Repeat steps 35 through 40 to make a second set of borders.
Step 42:
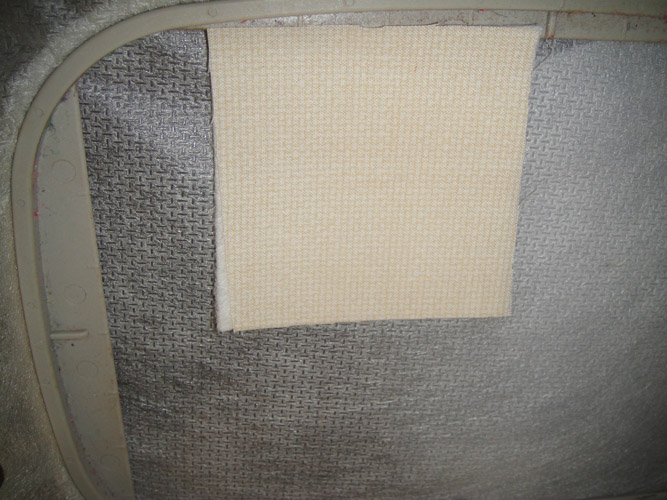
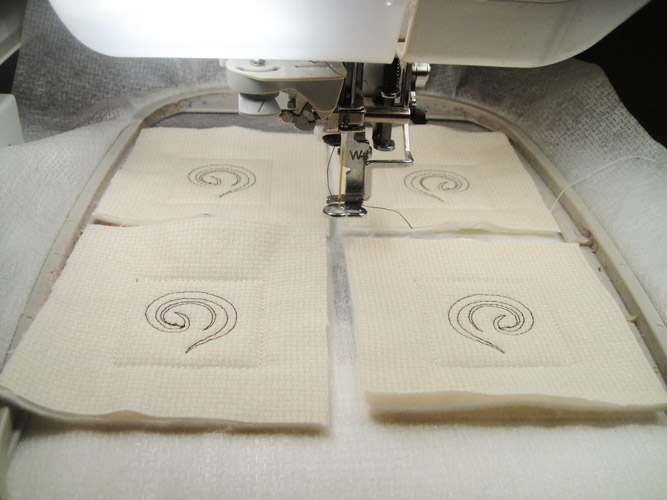
To make the four corner blocks load CFNY04 into your embroidery machine. You can use a 5” x 7” hoop for these. The four corner blocks are made in the same manner as the borders in that you: Run the outline; spray a 3” square of batting with adhesive and lay over the outline making sure the batting exceeds the outlines by ½” on all sides; spray and attach corner fabric over the batting on the front and the back of the hoop.
(Click Image to Enlarge)
Step 43:
After all four corner blocks are assembled the final color stop will stitch the quilting design in all the blocks.
(Click Image to Enlarge)
Step 44:
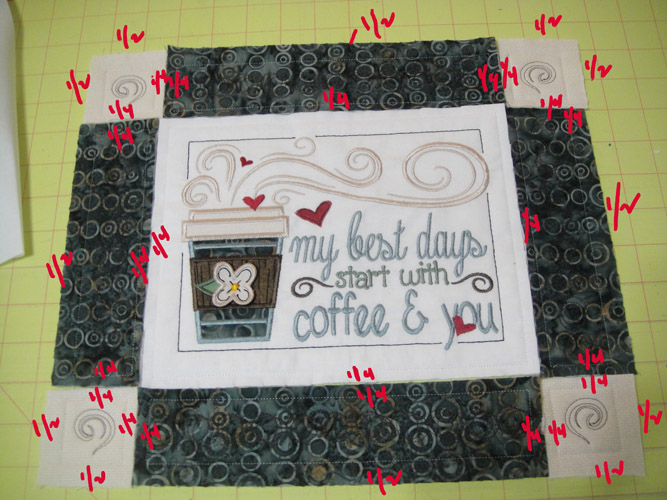
Trim each border and block piece to ¼” where the blocks will touch other blocks; trim the edges that are on the outside of the wall hanging to ½” from the block outlines.
(Click Image to Enlarge)
Step 45:
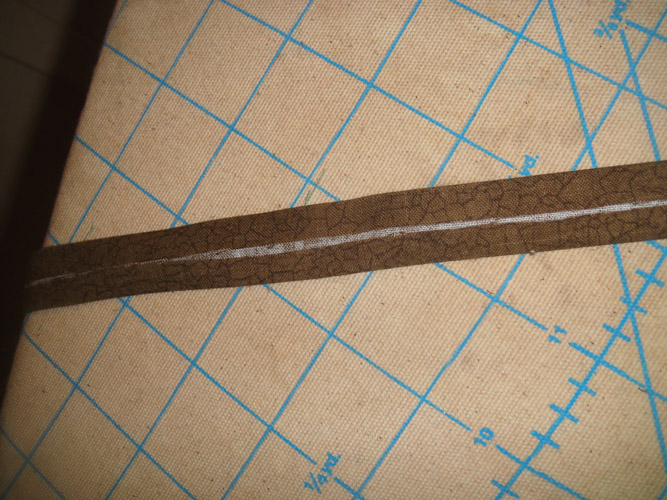
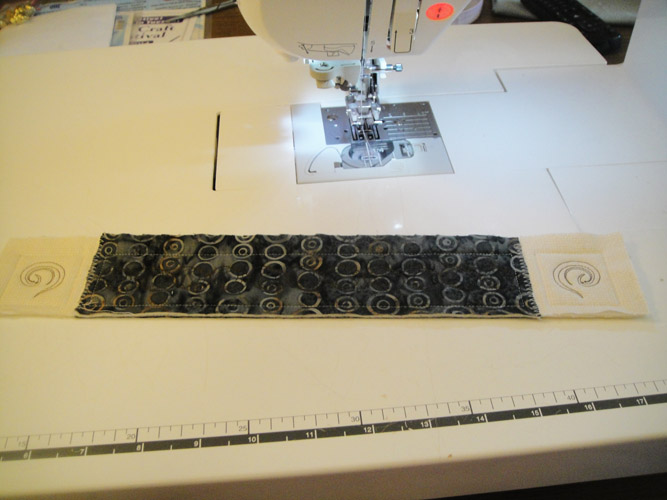
Prepare the sashing strips by folding the long edges to the center and pressing. Keep the narrow strips and wider strips separate. The narrow strips will be used on the back of the wall hanging. The wider strips will be used on the front of the wall hanging.
(Click Image to Enlarge)
Step 46:
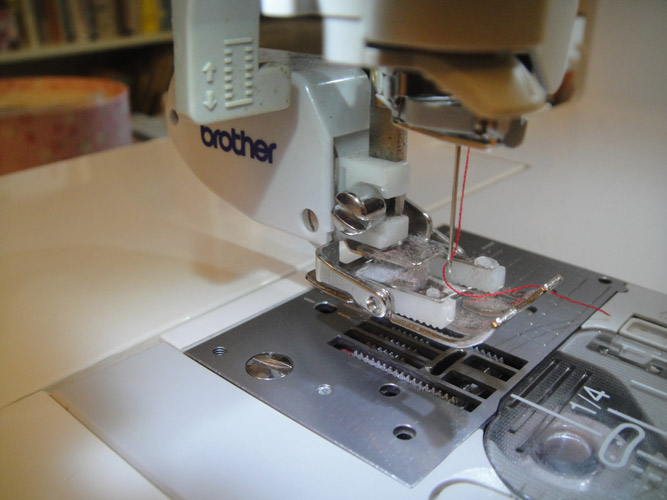
Attach a walking foot to your sewing machine if possible.
(Click Image to Enlarge)
Step 47:
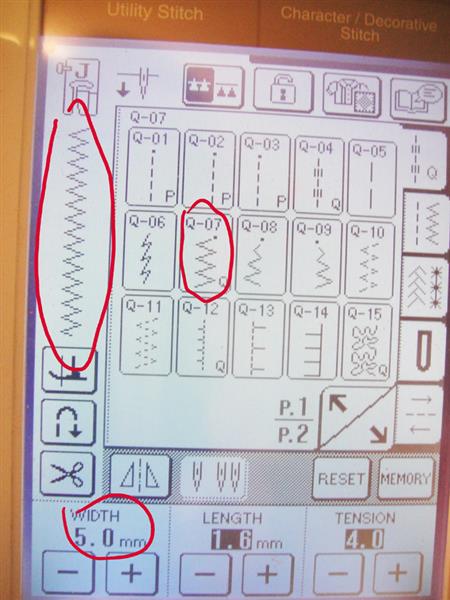
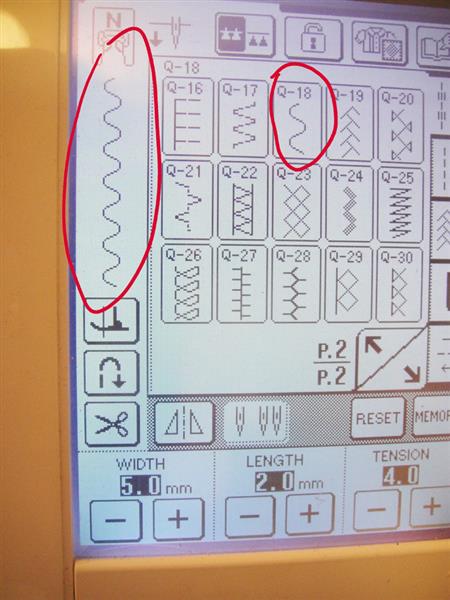
Select a wide zigzag stitch. Put a neutral thread in the top and bobbin of the machine.
(Click Image to Enlarge)
Step 48:
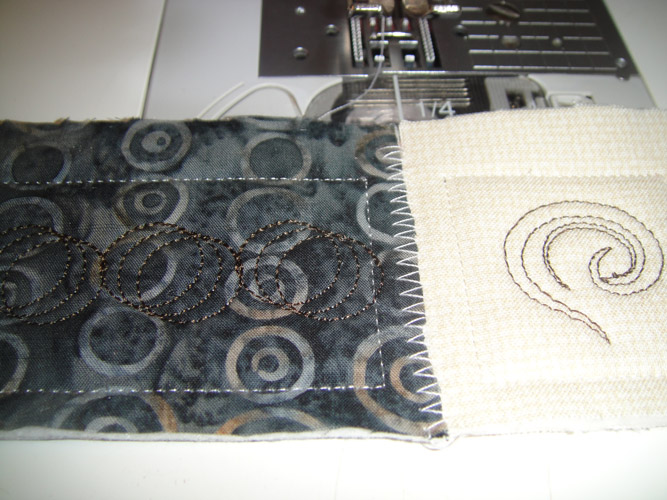
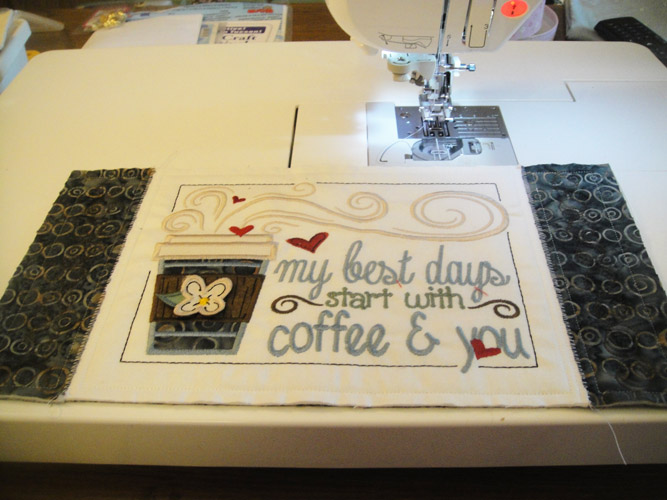
Butt a corner block to a long border block making sure you have the ½” seam allowances matched. Place under the presser foot and zigzag the two blocks together. Do not overlap the blocks just butt them together.
(Click Image to Enlarge)
Step 49:
Add a corner block to the other end of the long border block in the same way. Join the remaining two corner blocks to the ends of the other long border block.
(Click Image to Enlarge)
Step 50:
Join the two shorter border blocks to the sides of the center block with the same technique. Make sure you have the edges that are trimmed to ¼” are aligned to the center block.
(Click Image to Enlarge)
Step 51:
Load invisible thread into the top and bobbin of your sewing machine. YLI invisible thread is highly recommended as it does not twist and cause problems that are sometimes found in other brands. Select a Serpentine stitch, or other stitch that has some horizontal width.
(Click Image to Enlarge)
Step 52:
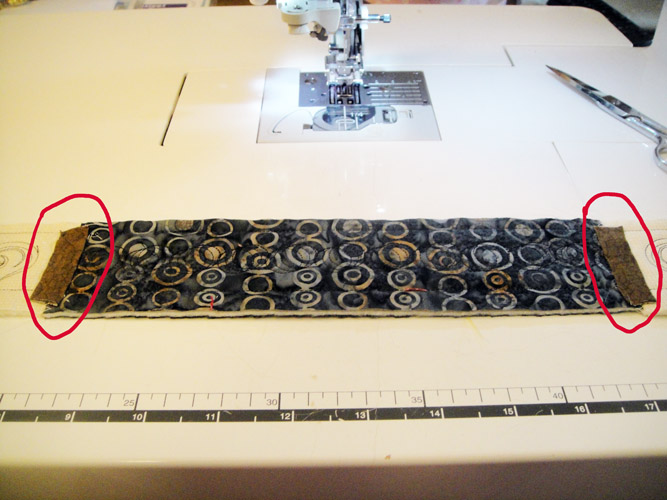
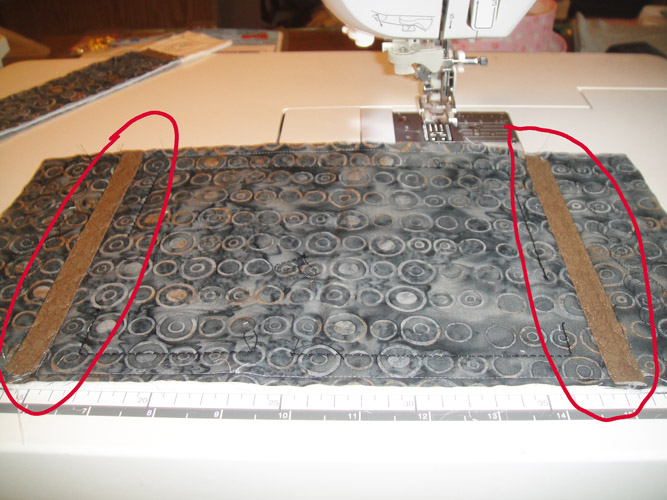
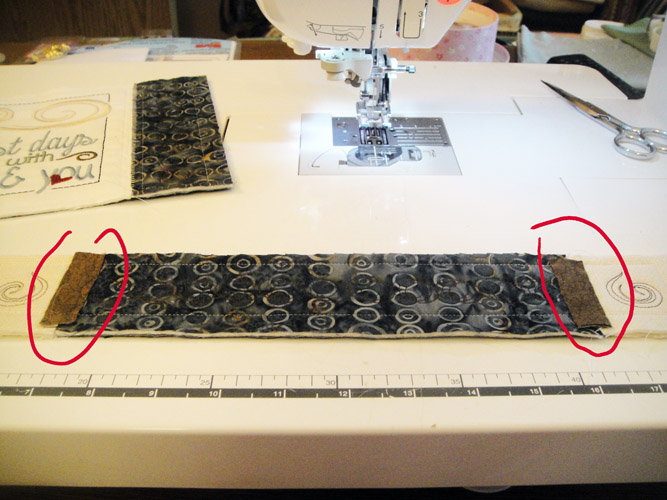
Lay a strip of the narrow sashing over the zigzag stitches on the backside of a border block. Stitch down both sides of the sashing with the Serpentine stitch. The ends of the sashing strips just need extend over the outlines at the top and bottom of the joins. To reduce bulk they do not need to go all the way to the edges. Repeat on the back of the other border block.
(Click Image to Enlarge)
Step 53:
Apply sashing to cover the seams on the center blocks as well.
(Click Image to Enlarge)
Step 54:
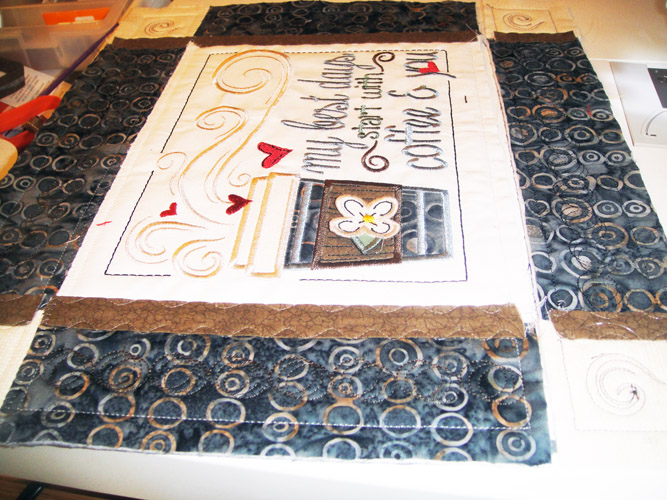
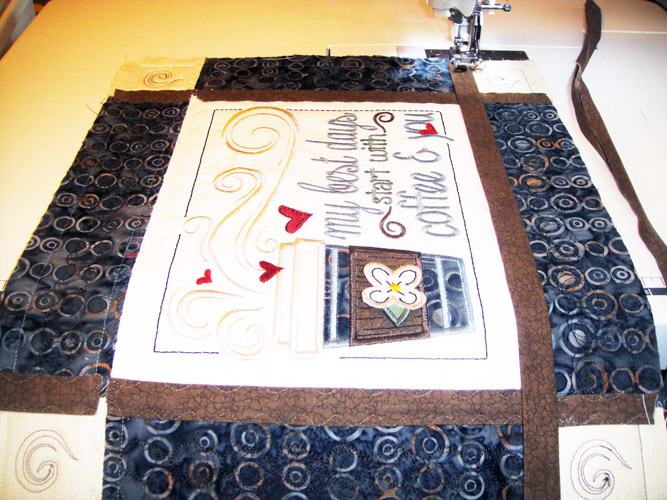
Turn all three rows of blocks over and apply strips of the wider sashing over the seams on the front.
(Click Image to Enlarge)
Step 55:
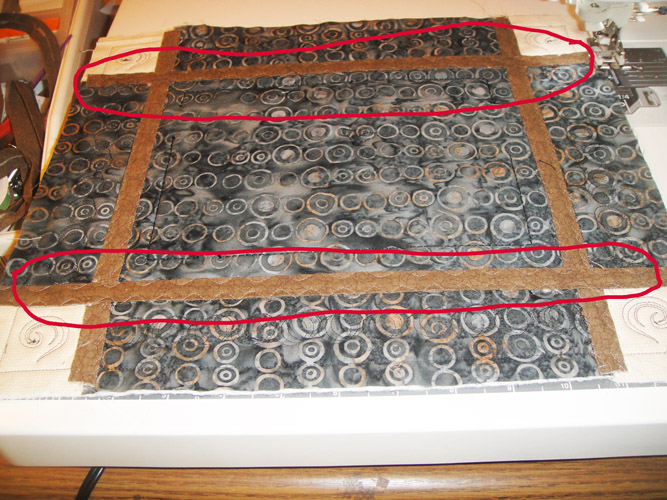
Align and butt the edges of the top and bottom rows of blocks to the center block and join with a zigzag stitch. I just did this with the invisible thread as I will still need it for the next steps.
(Click Image to Enlarge)
Step 56:
Switch back to the Serpentine stitch and apply the narrow sashing to the back of the wall hanging over the long seams just sewn.
(Click Image to Enlarge)
Step 57:
Apply the wider sashing over the new seams on the front of the wall hanging.
(Click Image to Enlarge)
Step 58:
Apply binding around the wall hanging using your favorite method or see out article on “Binding and in the hoop project.”
(Click Image to Enlarge)
Step 59:
(Click Image to Enlarge)
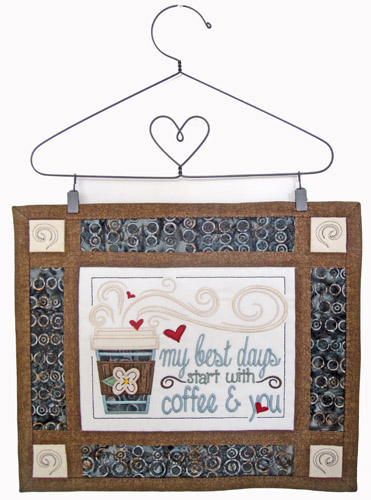
Add a cute project hanger if desired. This one is from Ackfeld Wire Manufacturing. Congratulations you wall hanging is complete!
Award winning Digitizer, Embroidery Educator, Author and a Consultant to the Industry, Pat Williams has 30 years of experience in the embroidery industry. Pat has won multiple awards for her digitizing expertise including the 2007 Impressions Awards Grand Championship, Best of Show as well as the 1st and 2nd Place Awards. Pat’s love of digitizing has afforded her the opportunity to write numerous articles for Impressions magazine in the United States and Images Magazine in Europe. In 2001 Pat was named “Embroidery Educator of the Year.” For many years Pat taught digitizing seminars at the ISS Shows in Long Beach, CA and for Compucon software. She now resides in Tucson, AZ.