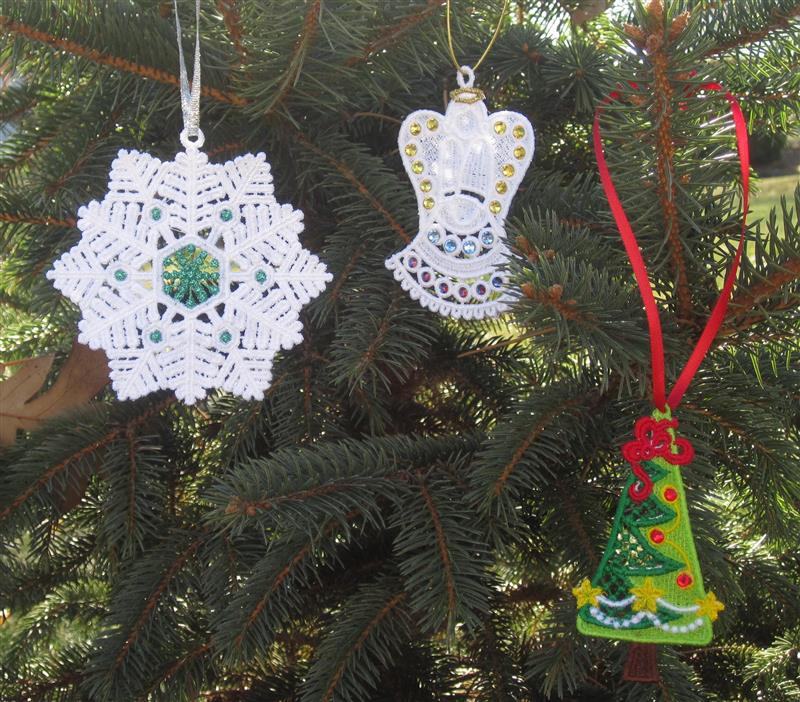
FSL Christmas Ornaments with Metallic Thread

FSL Christmas Ornaments with Metallic Thread Embroidery Project

By   Sue Gerhardt   on   December 01, 2014
  • SKILL LEVELBeginner
  • TIME REQUIRED02:00
Description

Create elegant freestanding lace Christmas ornaments embellished with metallic thread and sparkling crystals. Perfect for adding a festive touch to your holiday decor. Step-by-step instructions are included.

Step of

Materials

Project Preview Video

Materials
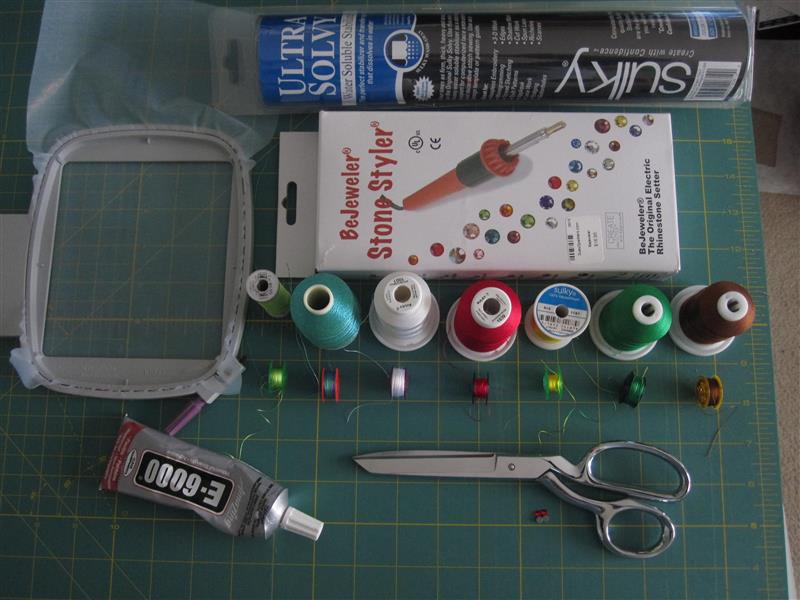
  • There are 7 different thread colors and you will need to create a bobbin with all of these threads so the ornament will look the same on the front and the back.
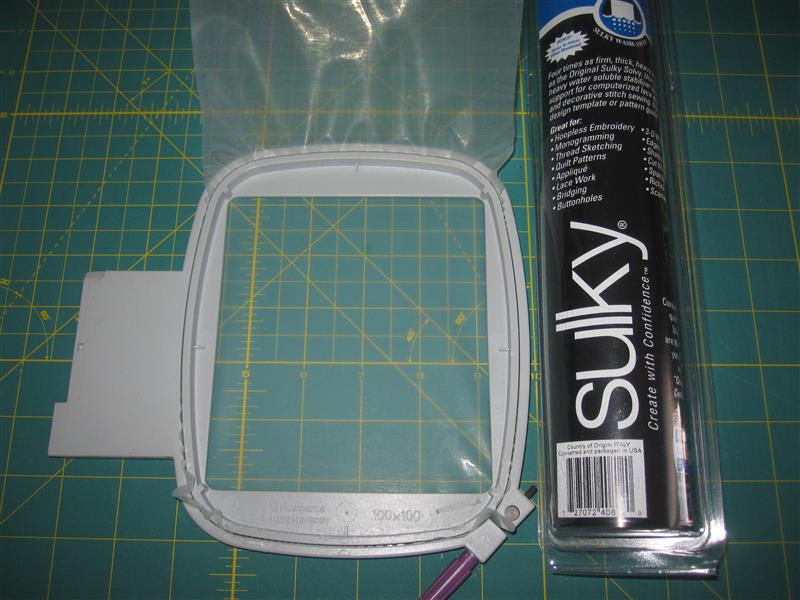
  • I’m using a 12” x 8” heavy weight Solvy stabilizer that will dissolve in water. If you are using medium or light weight, you will have to hoop 2-3 layers of stabilizer instead of just the one heavy weight.
  • You will need a 4” x 4” or 100mm x 100mm hoop.
  • An 80 or 90 weight needle
  • 4mm-5mm hot fix crystals with a hot fix applicator such as a Bejeweler. Or, if you cannot find those items in the local store you can use 4mm-5mm crystals with a flat back and E-6000 glue. It is the best glue to use with your crystals.
  • A good pair of scissors to cut the ornament from the stabilizer after it has been stitched out.
  • 1/8” ribbon or cord used to hang the ornament.

  • Designs used in this project

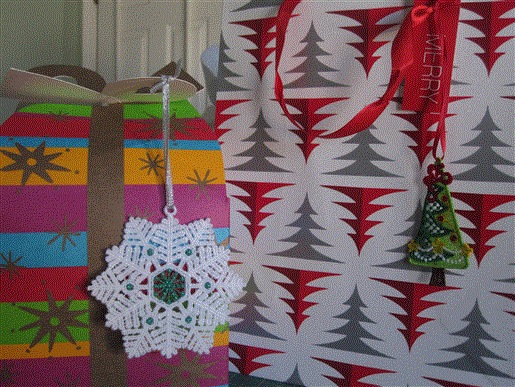
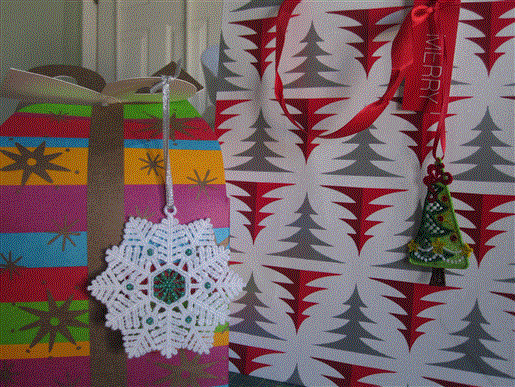
    Final Product: What You Will Create

    Preface:
    FSL (free standing lace) ornaments make such pretty additions to packages, bags or as nice housewarming gifts. They are very simple and quick to make and I usually make dozens of them every year to give away to my family and friends.

    I chose 2 different types (plain white with a little metallic and one with 7 color changes) so you can see the difference in the way they look.
    So here are the steps you will need to take to make these 2 particular designs, but you can also incorporate the same method using any FSL design.


    Step 1:
    Gather your materials.

    (Click Image to Enlarge)


    Step 2:
    Hoop your stabilizer. I chose a longer size than my hoop, so I just left it hang and will flip it over to make the next ornament after this one is done.

    (Click Image to Enlarge)


    Step 3:
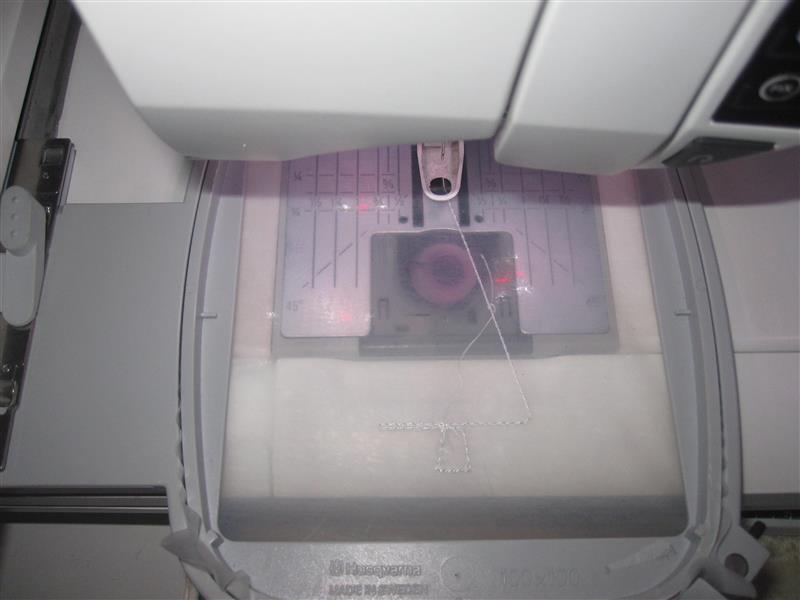
    Put your hoop on the machine and select design APE0670A008, use your white thread in the top and bottom and start stitching. If your machine has a speed control, I would slow it down a little, but you can make these on a one-speed machine with no problems.

    (Click Image to Enlarge)


    Step 4:
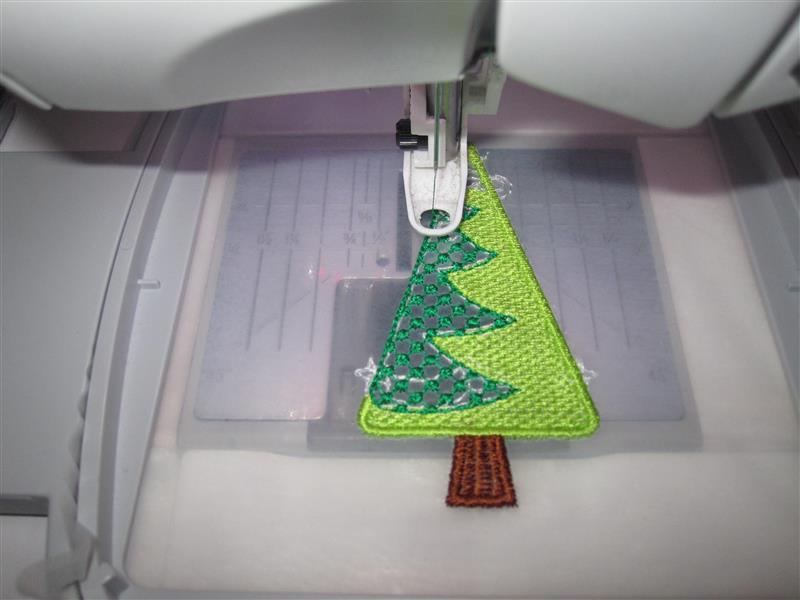
    Continue sewing all the colors making sure when you change the top thread, that you also change the bobbin thread. I try to cut off the stray jump stitches before I change it to the next color, to clean it up as I go.

    (Click Image to Enlarge)


    Step 5:
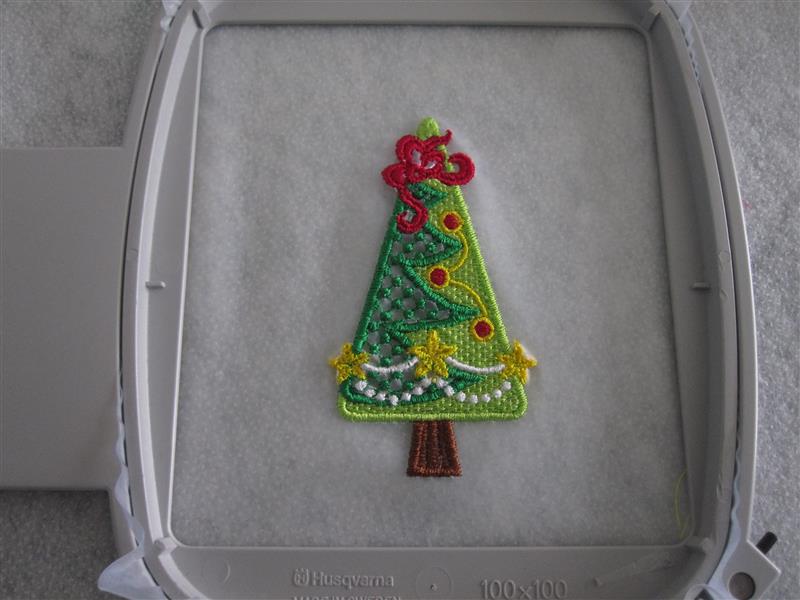
    Continue until you finish stitching all of the colors on the stabilizer.

    (Click Image to Enlarge)


    Step 6:
    Cut out the design from the stabilizer making sure you do not cut the design itself. Remember, it is going to dissolve, so you should cut it close, but you don’t have to be precise.

    (Click Image to Enlarge)


    Step 7:
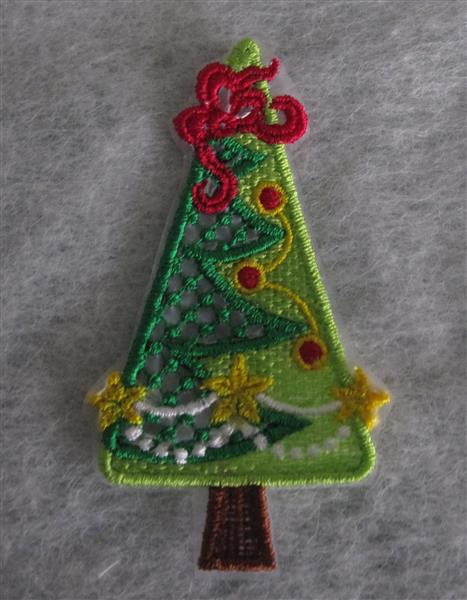
    Read the package of your dissolvable stabilizer and it will tell you how long to soak your design. Mine will dissolve in 10-15 minutes according to the directions on the package, so I put it in a clean sink filled with warm water and pull it out after the allowed time.

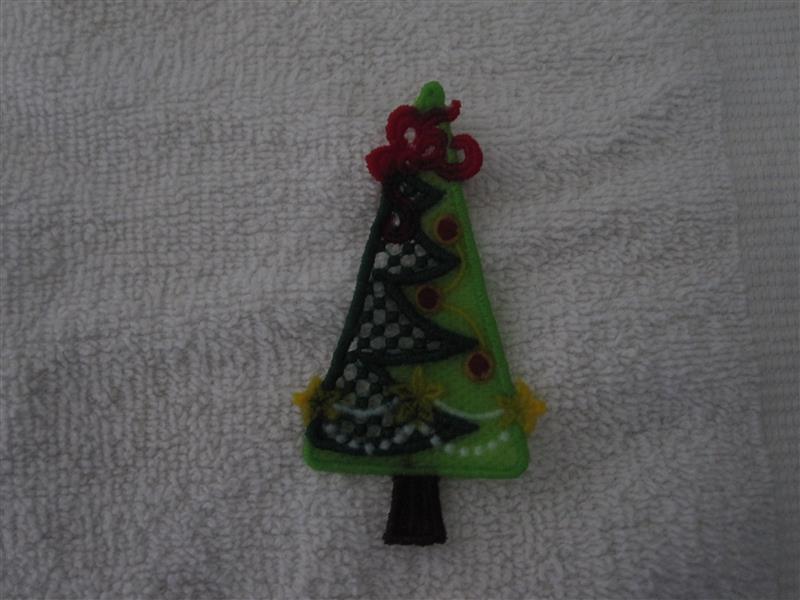
    Place it on a clean towel, and fold the towel on top of it so that it dries on both sides. I usually let mine dry for 24 hours before I glue the crystals on top so that it is nice and stiff.

    (Click Image to Enlarge)


    Step 8:
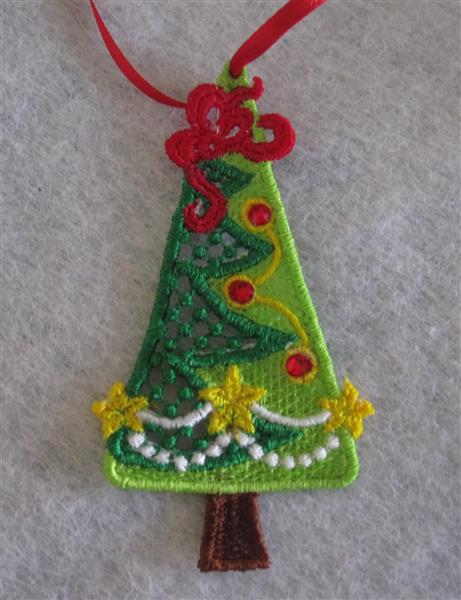
    For the next step you should use your imagination to apply the crystals where you think they will look the best. I’m using red crystals on this design to brighten up the ornaments on the tree, but you can also put crystals in the middle of the stars for another effect. Add the ribbon and you are done!

    (Click Image to Enlarge)


    Step 9:
    For the next ornament:
    Hoop your stabilizer with either the leftover piece from the project above or cut use a new piece.

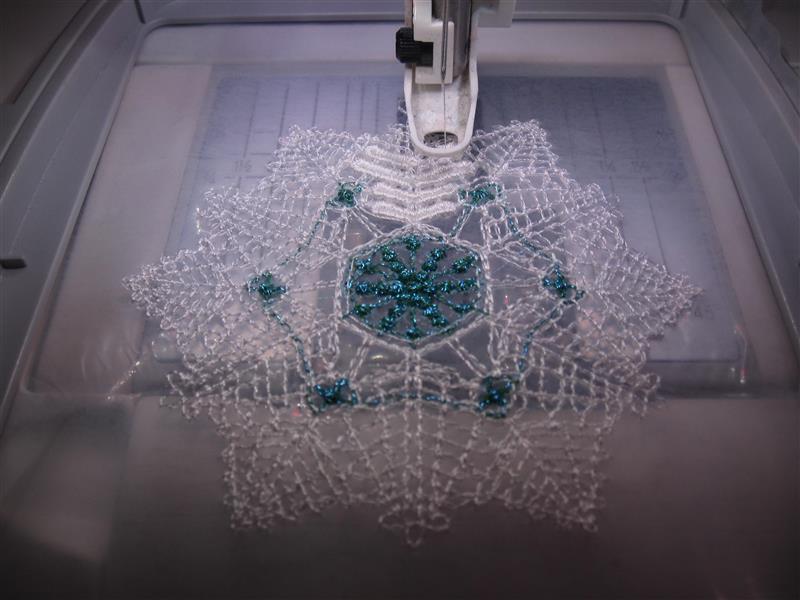
    Put your hoop on the machine and select design APE0483A008, use your metallic thread in the top and bottom and start stitching. It is important to use a good quality metallic thread so that it won’t break when you are stitching out the design. I am using a turquoise blue thread from Marathon. Again if your machine has a speed control, I would slow it down a little.

    Change your top and bottom threads to white and stitch out the remainder of the design.

    (Click Image to Enlarge)


    Step 10:
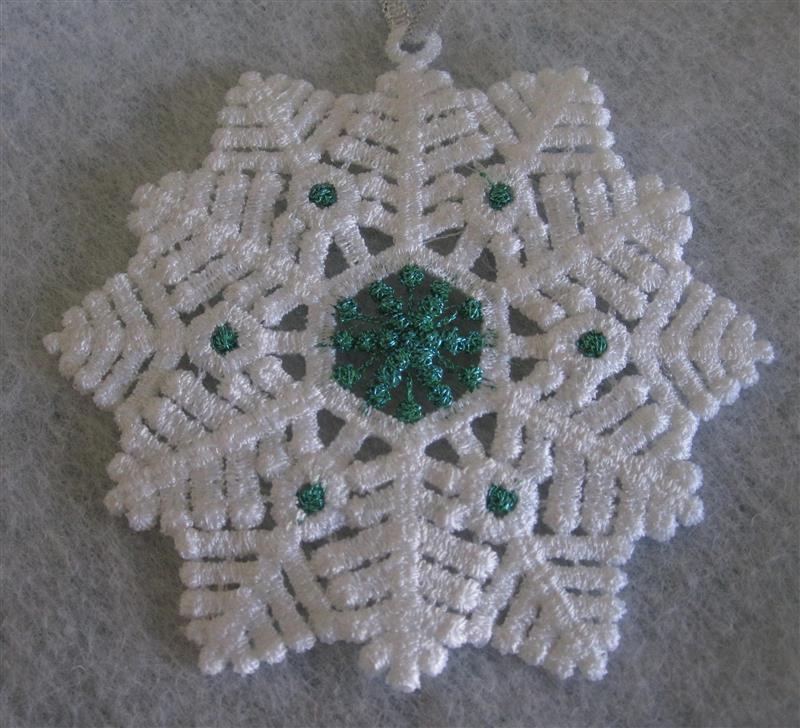
    For this ornament I did not add any crystals because I used metallic thread, but you could add them on the points or one in the middle if you would like.

    (Click Image to Enlarge)


    Step 11:
    They look beautiful added to bags or boxes and on the tree!

    (Click Image to Enlarge)


    The other design shown in this picture is the FSL Crystal Angels from Ace Points.
     
    Meet the Author: Sue Gerhardt
    Sue Gerhardt
    I've been sewing and making clothes from the age of 16 and started machine embroidering 8 years ago. I try to keep up with the latest embroidery trends by attending many classes at my local embroidery shop and just started learning how to quilt. I love to embroider on everything!
    More From This Author
    Link is Broken, Please check the URL
    Exclusive Embroidery Offers!
    Copyright © {{ currentDate | date:'yyyy'}} - EmbroideryDesigns.com
    GET 50% OFF! ×