Border OptionsHugging border, circle, square, or rectangle — with a 3mm satin stitch.
Backing OptionsAvailable with iron-on, sew-on, or velcro backing.
Fast ShippingShipped quickly from the USA.
Free Online Tools
Powerful embroidery utilities that save time and prevent costly mistakes.
Stitch AssistantRECOMMENDED
Get the exact stabilizer, machine settings, needle, and thread color sequence for every embroidery design you purchase — based on that design's stitch density, dimensions, and color count.
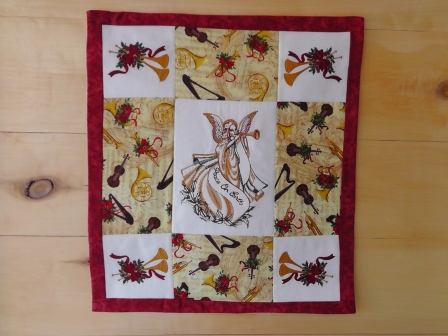
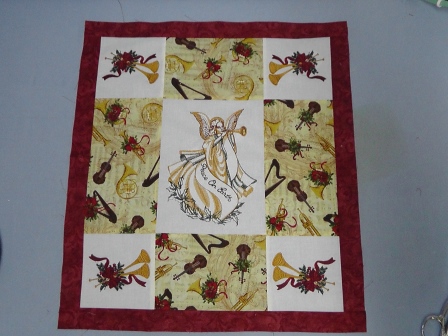
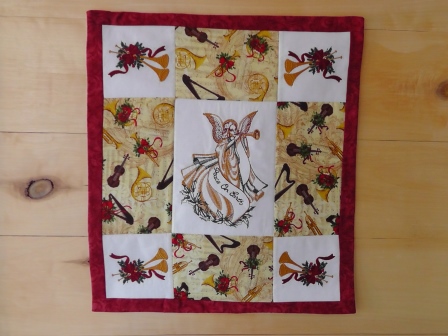
Create a unique 'Peace on Earth' wall hanging using beautifully digitized designs and coordinating fabrics. This decorative piece is perfect for adding a touch of serenity to any room. Step-by-step instructions are included.
Step
of
Peace on Earth Fabric Wall Hanging
By Ramona Baird
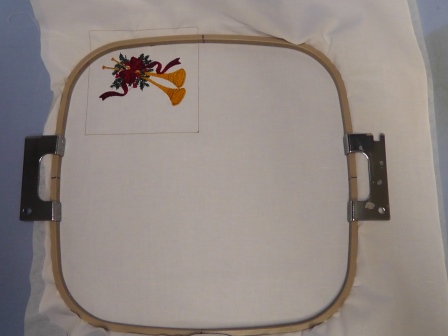
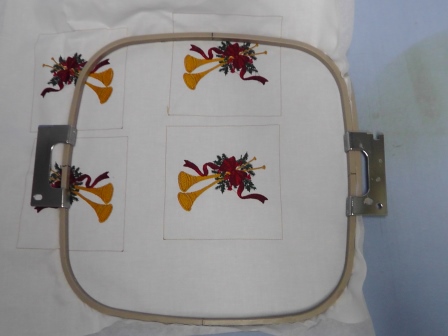
The embroidery designs are used at their original size. The Christmas Horn design has a square added around it in embroidery software to aid in cutting to the final size for the wall hanging, and four are ganged up in one hooping for faster embroidery and to make efficient use of the fabric. The colors in the design are kept as they are in the original design; however, feel free to personalize the ribbons in the designs to match the colors in the chosen accent fabric or home décor. All seams are ¼” unless otherwise stated.
Step 1:
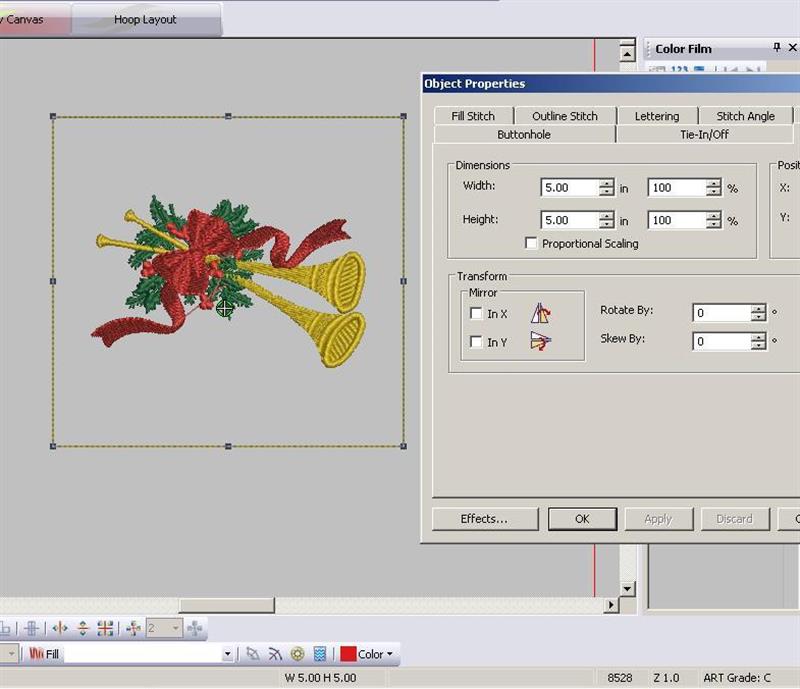
In the embroidery software, load design BT2980 Christmas Horn. Create a 5” square of straight line stitching around the design; center the Horn design in the square. Save as a new design. Two of these will be stitched. Save as a new design and mirror the entire design. Save as a new second design. Two of each design will be stitched for the corner squares of the wall hanging. If you do not have embroidery software, stitch two of the Christmas Horn design as is, then mirror it at the machine and stitch two more. After stitching, center and square up each piece to a 5” square piece.
(Click Image to Enlarge)
Step 2:
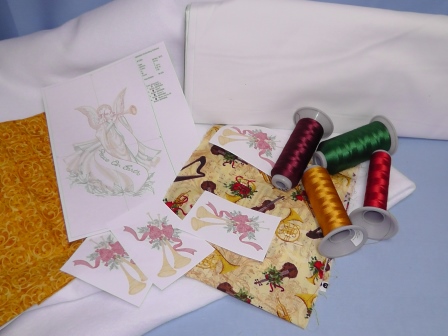
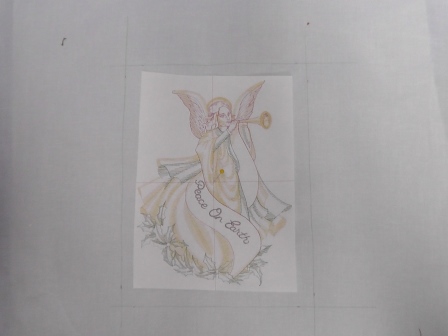
Gather all the supplies and print out the paper templates of all the designs.
Step 3:
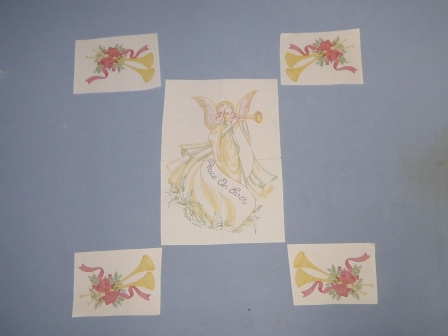
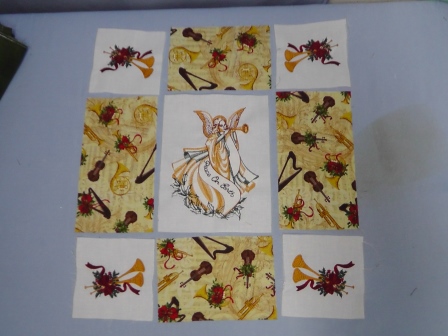
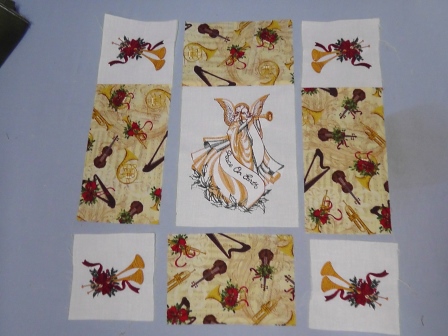
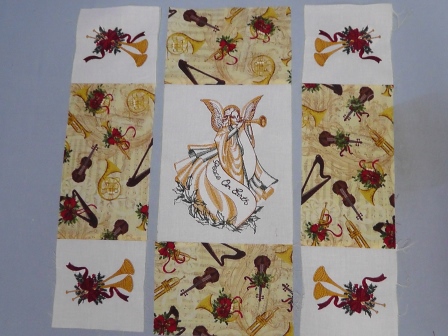
Cut out along the paper templates and plan the layout as shown. The Angel design will be in the center and each of the Christmas Horn designs will be in the corners, mirrored as shown.
Step 4:
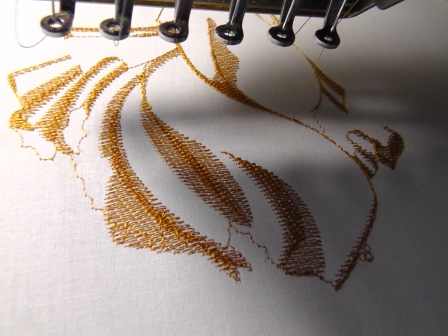
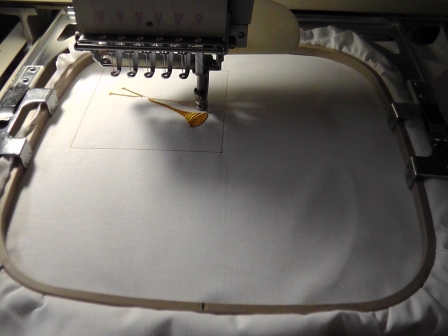
Hoop one layer of tearaway stabilizer with one piece of cotton fabric. Stitch the Angel design following the color sequence. With this design company, notice the way shading and depth is created by using open fills. Continue sewing the design following the color sequence. After the embroidery is completed, remove the design from the hoop and remove the excess stabilizer.
Step 5:
Center the paper template over the design to define the center of the design once again. Using a ruler, square up the embroidery to create a block 7” wide and 9” high. Cut out along the lines created.
Step 6:
Load the Christmas Horn designs on the machine. Hoop one layer of tearaway stabilizer with the white fabric and stitch the design following the color sequence.
Step 7:
If needed, re-hoop the fabric to stitch the next design.
Step 8:
Continue re-hooping and stitching the Christmas Horn designs until there are two mirrored sets. Remove the embroidered fabric from the hoop.
Step 9:
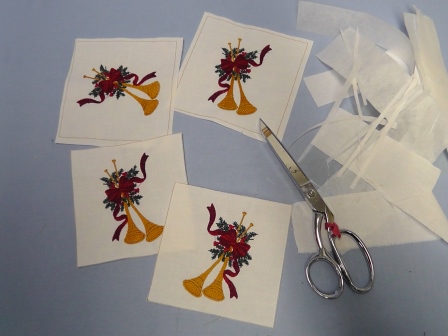
Cut the Christmas Horn squares apart, and then cut along the outer stitching line to create four blocks.
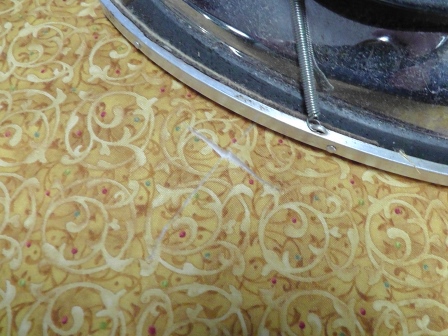
Step 10:
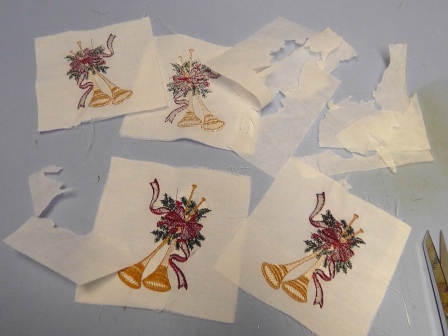
Remove the excess stabilizer from around the blocks.
Step 11:
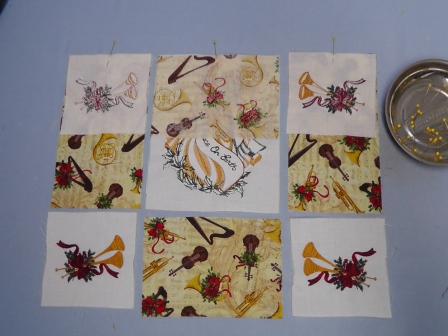
Lay out the wall hanging pieces as shown. Be sure the Christmas Horns are mirrored at each corner.
Step 12:
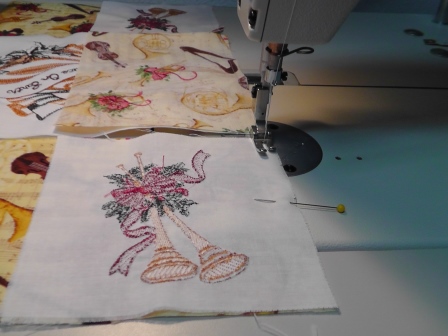
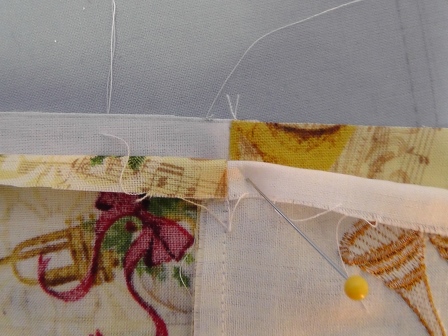
Begin by sewing the top row of pieces to the conjoining fabric pieces. With right sides together pin the trumpet corners to the themed fabric below. Pin the center themed fabric to the Angel square.
Step 13:
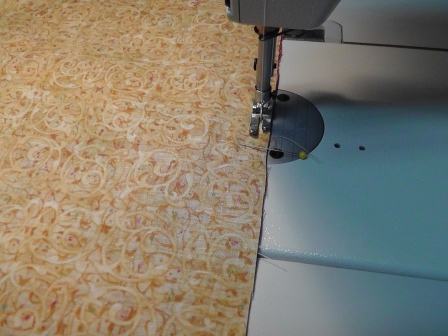
Sew the pinned squares together, removing the pins as you sew.
Step 14:
Press the seams toward the themed fabric.
Step 15:
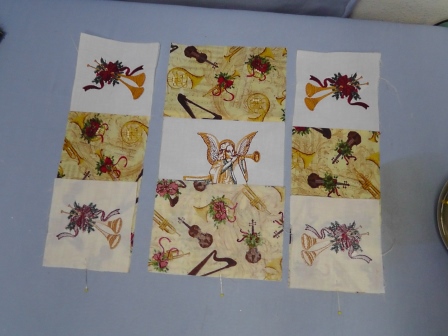
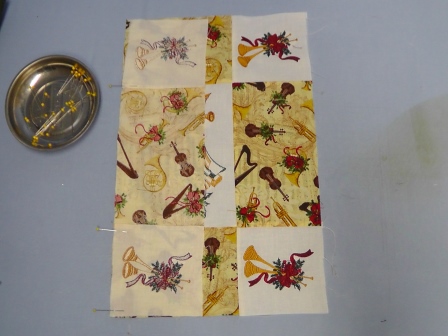
Now lay the bottom row, right sides together over the bottom of the center row and pin in place.
Step 16:
Sew the seams and press them toward the themed fabric.
Step 17:
Now it is time to join the columns. When joining them, be sure the seams meet and match.
Step 18:
Lay right column over the center column. Pin in place, sew the seam, and press the seams toward the outer column. Repeat for the left side, pinning, sewing and pressing the right column to the center column of blocks.
Step 19:
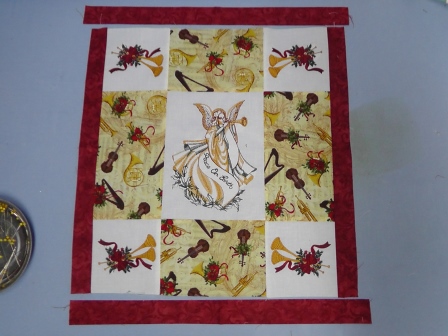
Place the long red strips to the left and right of the blocks, and the shorter red strips to the top and bottom of the blocks.
Step 20:
With right sides together, sew the right and left strips on and press the seams to the red fabric. With right sides together, pin, sew and press the top and bottom fabric strips to the blocks.
Step 21:
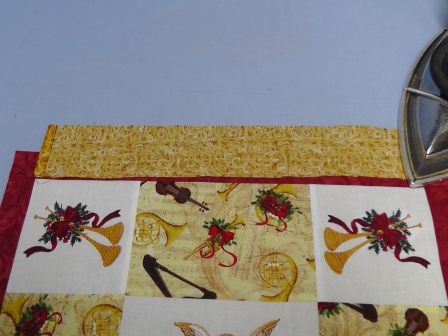
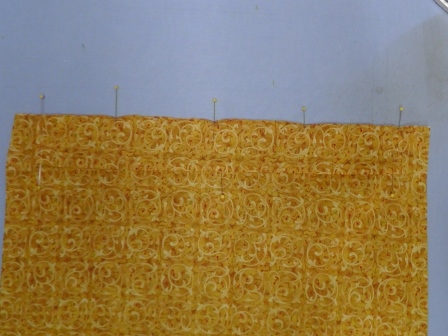
Double fold and press the short ends of the sleeve fabric piece, then fold in half lengthwise.
Step 22:
Pin the cut edge of the sleeve to the top cut edge of the backing, centering the sleeve on the back.
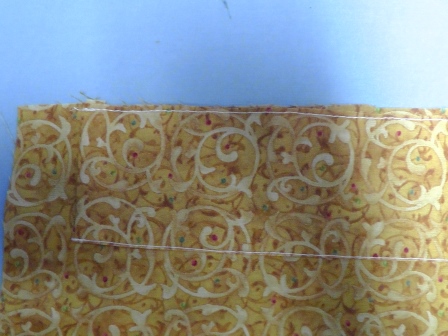
Step 23:
Sew along both long edges of the sleeve securing it to the backing.
Step 24:
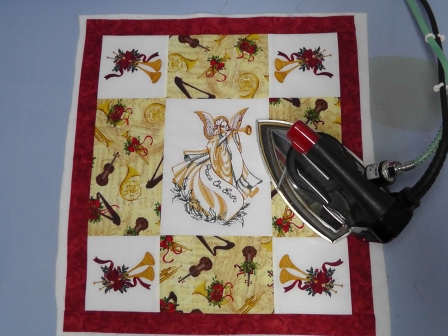
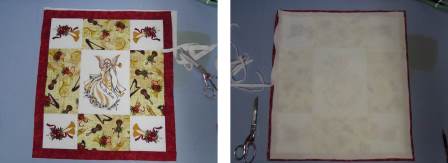
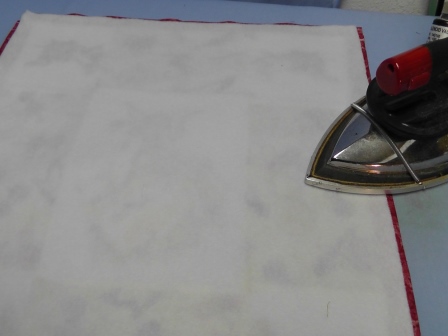
Lightly fuse the batting to the wrong side of the wall hanging top, following manufacturers’ directions. (Note: for this project, the batting is cut slightly larger all the way around then cut to match the wall hanging edges after fusing.) Do not press all the way to the edges.
Step 25:
Trim away the batting just slightly more than ¼” all the way around (this will keep the bulk out of the seam allowances when sewing the backing to the wall hanging.)
Step 26:
Press to fuse the edges of the batting to the back of the wall hanging.
Step 27:
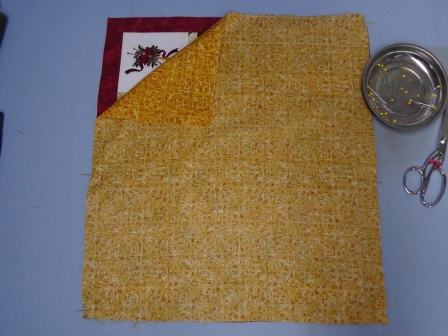
With right sides together, and the top of the backing to the top of the wall hanging, pin the backing to the wall hanging.
Step 28:
Stitch the backing to the wall hanging around all four edges and through all layers.
Step 29:
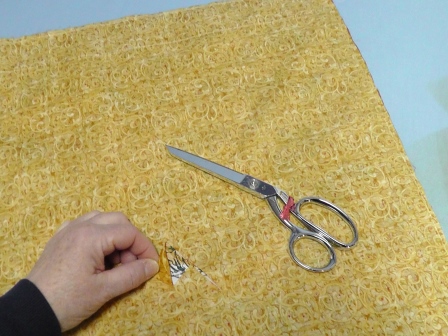
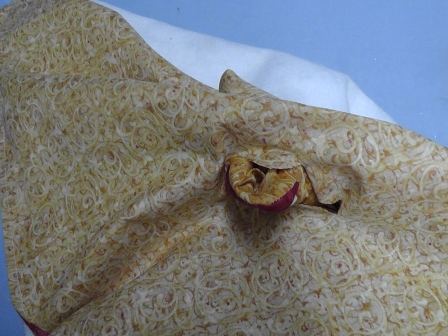
In the lower area of the wall hanging, pick up the backing only and clip along the bias. This creates an opening for turning and will be covered up in the end with a quilt label. Don’t make this clip too close to a corner.
Step 30:
Carefully turn the wall hanging right side out through the opening, forming out each corner.
Step 31:
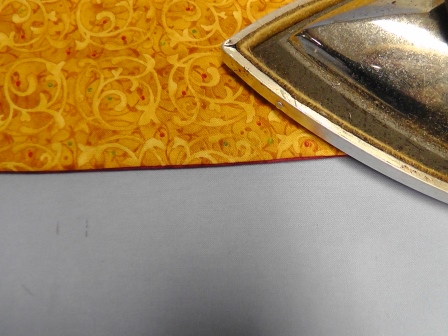
Press all the edges of the wall hanging, slightly rolling the red border to the back side.
Step 32:
Place a small amount of fusible web behind the cut opening and fuse the backing fabric to the batting, closing the opening.
Step 33:
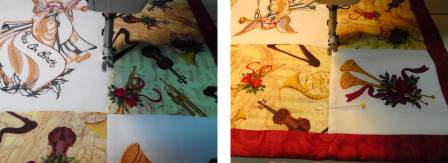
Quilt the layers together by stitching in the ditch at the seams or do additional quilting as desired. Be careful at the top: do not stitch through the sleeve at the top of the wall hanging.
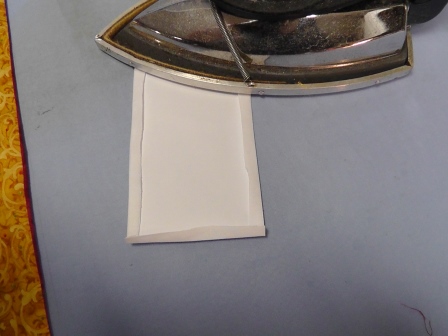
Step 34:
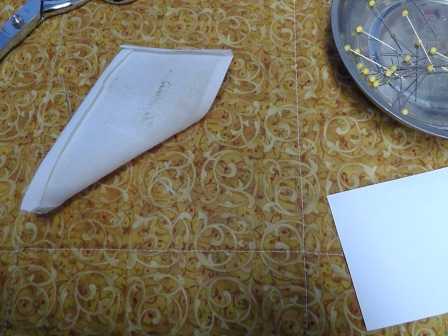
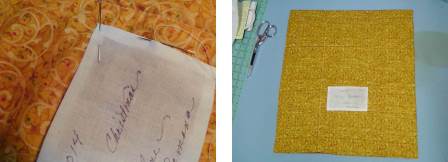
Next create the quilt label. Center the index card under the small white piece of fabric. Press the seam allowances around the index card. Let the fabric and card cool.
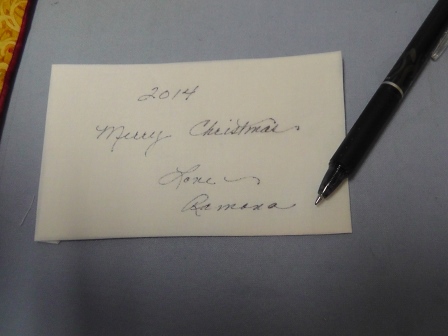
Step 35:
Flip the card and fabric over and write a sentiment on the fabric with the permanent pen.
Step 36:
Remove the index card and center the label over the fused opening on the back of the wall hanging.
Step 37:
Pin then hand-sew the label in place.
Step 38:
Hang the “Peace On Earth” Wall Hanging to enjoy year after year.
Ramona Baird has been in the embroidery industry for over 23 years. She and her husband owned a commercial and retail embroidery store in Arizona for many years. She is an experienced digitizer having been mentored by award-winners Pat Williams and Lindee Goodall. Ramona is a contributor to “Creative Machine Embroidery” magazine having 5 covers to her credit. Ramona has worked for Wilcom America and served many years as Education Director for the American Sewing Guild. With a degree in fashion design, she is able to design and execute patterns which Pat Williams says are “out of the box” in creativity and application. Ramona likes to challenge the boundaries of embroidery and bring new and exciting designs, ideas, and projects to EmbroideryDesigns.com. She wants embroiderers of all levels to increase their skills and enjoyment in using their embroidery machine for gift-making and personal pleasure.