Border OptionsHugging border, circle, square, or rectangle — with a 3mm satin stitch.
Backing OptionsAvailable with iron-on, sew-on, or velcro backing.
Fast ShippingShipped quickly from the USA.
Free Online Tools
Powerful embroidery utilities that save time and prevent costly mistakes.
Stitch AssistantRECOMMENDED
Get the exact stabilizer, machine settings, needle, and thread color sequence for every embroidery design you purchase — based on that design's stitch density, dimensions, and color count.
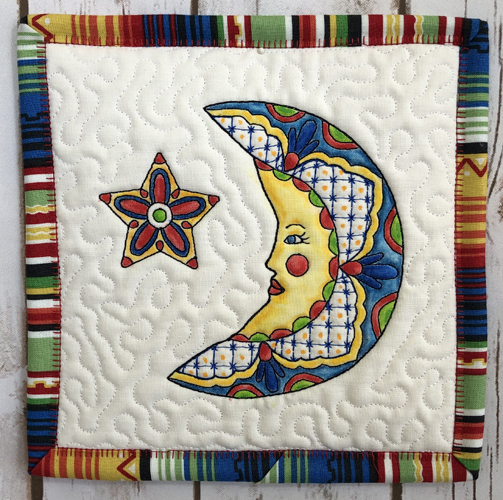
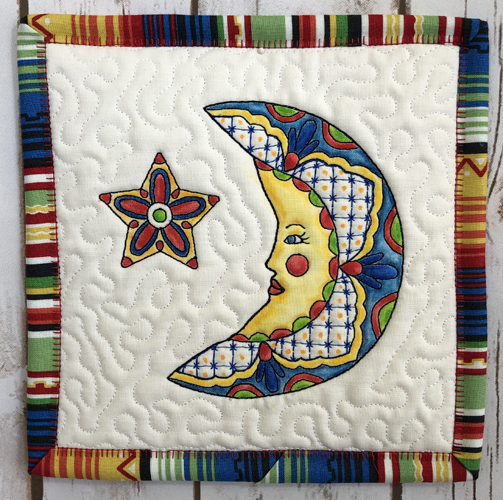
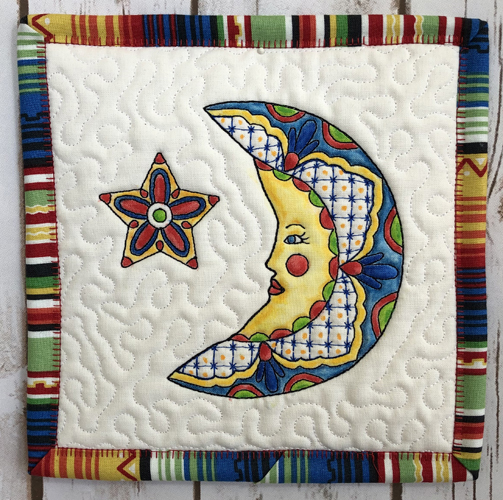
Discover the art of painting your quilt with Inktense Ink Pencils, transforming outline embroidery into vibrant fabric art. This project offers creative tips for enhancing your quilting experience. Step-by-step instructions are included.
Step
of
Quilt Tips for Painting with Inktense Ink Pencils
By Pat Williams
Fabric Medium and a small water color pallet to pour into
Water and a container for cleaning brushes
Relatively stiff small paint brushes rounds and flats
Paper towels
White or Black polyester embroidery thread
Freezer Paper
Micron pen
Water color paper
Hand held hair dryer
Final Product: What You Will Create
Preface:
Coloring fabric with Intense Ink Pencils® is a popular subject for videos on youtube and I encourage you to view as many of those as you can. Just type into Youtube's search window “Painting fabrics with Intense Pencils.” However, not many of them discuss ways to make the painting colorfast on fabric. Intense Ink Pencils® are permanent when they dry on paper, but not on fabric. In my opinion, if you make something in fabric, you are eventually going to want to wash it. Do wait at least 7 days before washing the completed project. I encourage you to approach this art form with the tips below for successfully painting with Inktense Ink Pencils® on fabric.
Step 1:
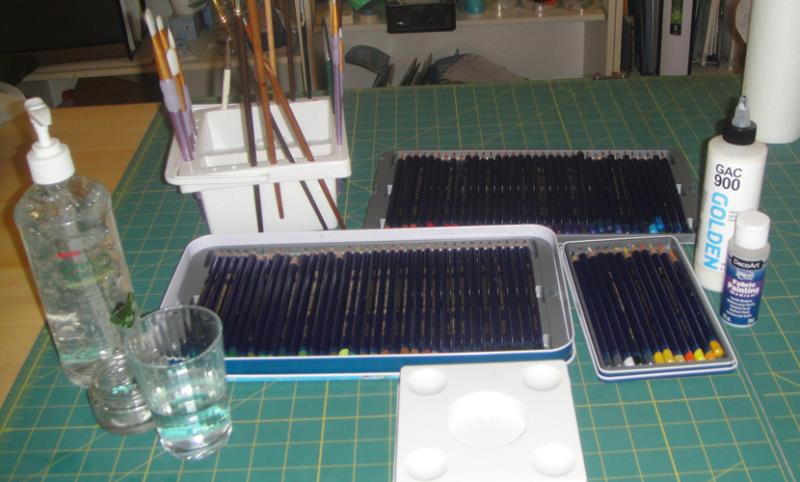
Gather the supplies per the materials list above. a. Please note Derwenk makes Inktense Ink Pencil® sets as well as Inktense Watercolor Pencil® sets. For painting on fabrics make sure you get the Inktense Ink Pencils®. The pencils come in sets of 12, 24, 36 and 72. I started with the set of 12, but immediately purchased the set of 72 as I was so enthralled with this technique. b. All fabrics must be made of 100% natural fibers, cotton, linen, silk etc. All fabrics should be prewashed except PDF fabrics such as Kona PDF fabric. The fabric color will influence the transparent ink color, so white or light natural fabrics are suggested. c. Some relatively inexpensive paint brushed are marked “for fabrics”, these are recommended as well as boar bristled brushes. Watercolor brushes are too soft.
(Click Image to Enlarge)
Step 2:
There are three types of fabric mediums shown in the above picture. Deco Art Fabric Medium® and Golden GAC 900® fabric medium. I ended up preferring the Deco Art Fabric Medium® as will be shown in the testing I did with the mediums, but for silk or other applications, you might like the GAC 900. Clear Aloe Vera Gel is also used as a medium.
Step 3:
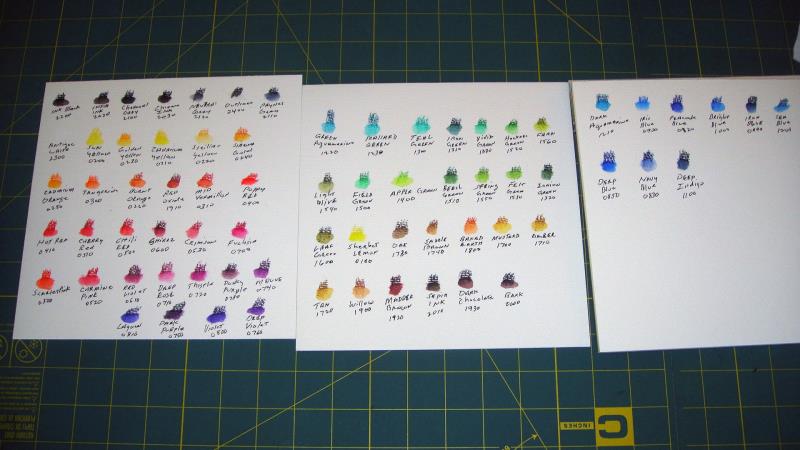
The pencils look very different when wet from what they look like when they are dry. Make a color chart so that you will know what the colors will look like on your project. On water color paper make a small scribble with each of your pencils; write the name and color number below each scribble. With a slightly wet brush swipe the bottom of your scribble to see what the intense color will be on your project.
(Click Image to Enlarge)
Step 4:
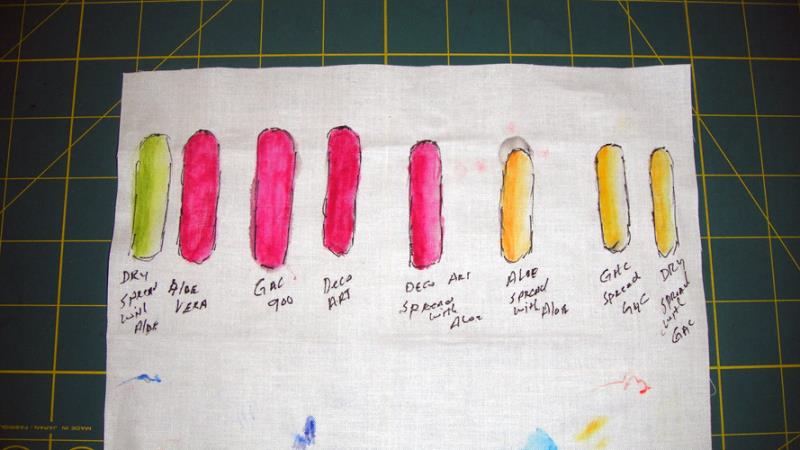
Make a test of the mediums to see which prove more colorfast on your fabric. On a scrap of your material draw a multitude of ovals with a micron pen. a. The first oval in the picture the pencil was applied on dry fabric and then spread with aloe gel. b. On the second oval aloe was applied to the fabric, the pencil was colored on the oval and then it was spread with aloe gel. c. On the third oval, GAC 900 was applied to the fabric, the pencil was colored on the fabric and then spread with more GAC 900. d. On the 4th oval, the fabric was dampened with Deco Art Medium, the color was applied and then spread with Deco Art Medium. e. The 5th oval was dampened with Deco Art Medium and then spread with aloe gel f. The 6th sample shows a dampening with aloe gel, the pencil applied and then the color was spread with aloe gel. g. The 7th sample was dampened with GAC 900, colored and then spread with GAC. h. The 8th sample was colored on dry fabric and then spread with GAC Now comes the hard part of the test. Let the fabric sit 24 hours.
(Click Image to Enlarge)
Step 5:
(Click Image to Enlarge)
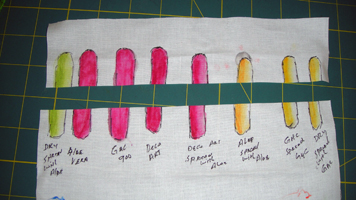
Slice the fabric across the center of the ovals.
Step 6:
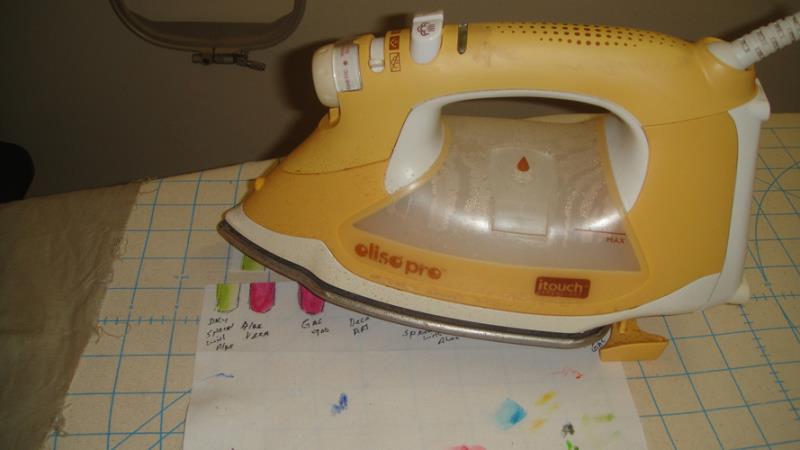
Heat set the ink by placing a pressing cloth over the samples and pressing for 3 to 5 minutes with a dry iron on a wool setting. It is also reported that you can heat set the fabric by placing in a dryer set on high for 40 minutes. This sample was pressed for 4 minutes with an iron. Use a pressing cloth over the samples, apparently, I moved the pressing cloth to the end of the ironing board for this picture.
(Click Image to Enlarge)
Step 7:
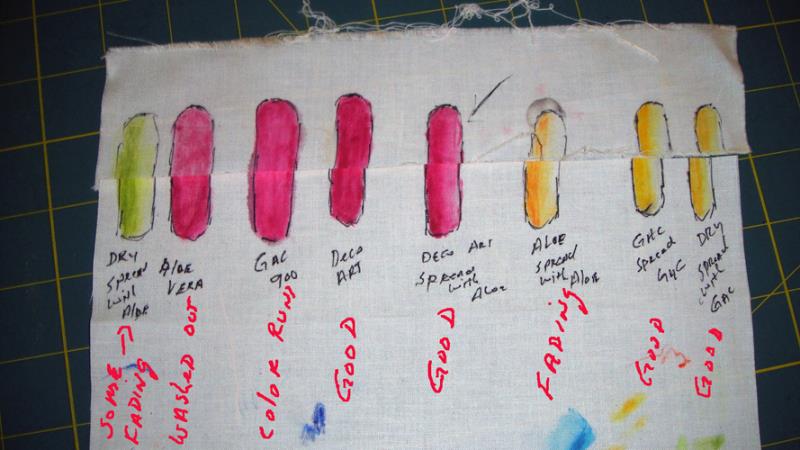
Throw the upper part of the samples in the washer, add old towels to provide movement for the fabric, wash and dry in normal cycles with detergent and softener if desired. Lay the washed sample next to the unwashed half to see which combination of materials and medium worked best for you. We obviously need to use enough medium to have the fabric retain the color. But fabric medium can make the fabric feel stiff like plastic. Aloe gel seems to spread the color easier and does not have the plastic feel. The GAC is quite thin and has a greater tendency to bleed. This may be a desirable quality on some projects, but not on the project that I am going to be working on. So I chose to use the Deco Art Medium spread with aloe for my project.
(Click Image to Enlarge)
Step 8:
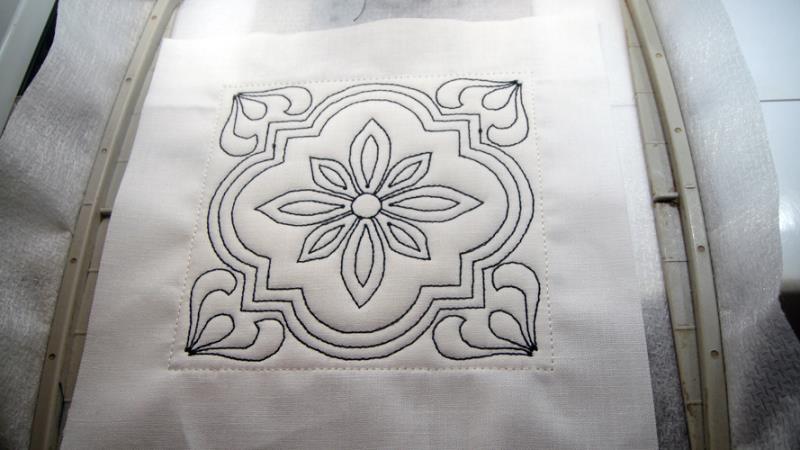
Embroider your design using white or black polyester thread. I chose polyester threads as it won’t absorb the ink as readily as rayon could. I’ve chosen an outline quilted in the hoop design for this sample. The reason that I have chosen a quilted in the hoop design is that the batting and stitching on the quilted block hold the fabric tautly enough so that you can unhoop it and have the block stay taut to be able to paint it. If you choose to do this on a single layer of fabric you can either iron freezer paper to the back of the material after embroidering and cutting away the stabilizer or tape the embroidery to a board to keep it taut while you are painting.
(Click Image to Enlarge)
Step 9:
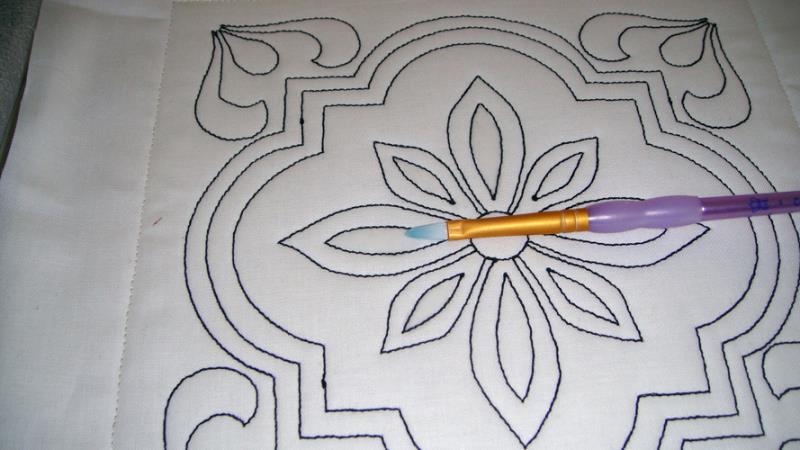
Pour a little fabric medium into a water color pallet. Dip your brush into the medium but swipe the brush on the pallet to remove excess medium. Then brush a small section with the fabric medium to wet the fabric, but do not oversaturate it.
(Click Image to Enlarge)
Step 10:
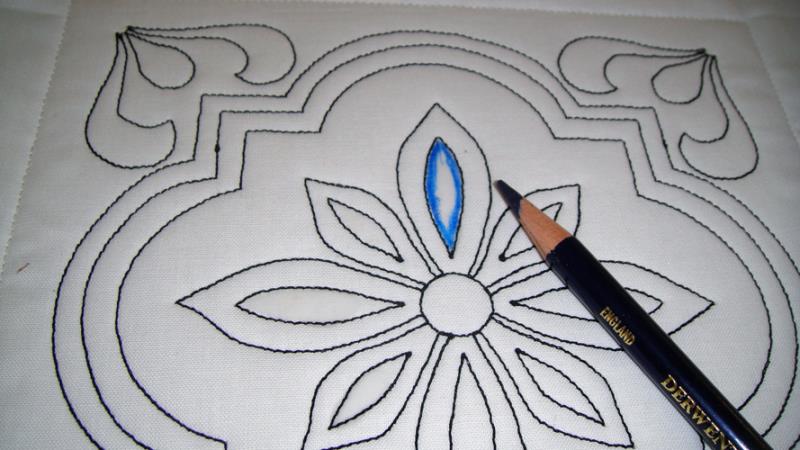
Add a pencil to the coated area. You can draw around the section as I have done here as I want the center of the area to be lighter than the outside areas. Or you can just add color at the bottom of a section if you want to drag the color up lighter towards the top.
(Click Image to Enlarge)
Step 11:
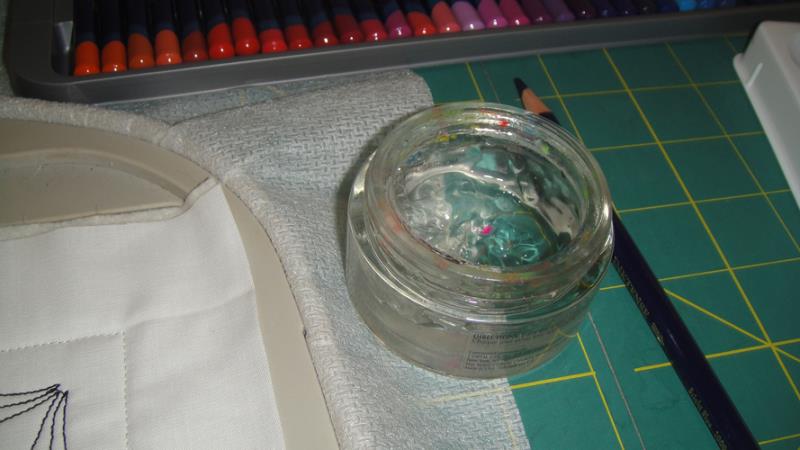
Pour a little aloe gel into a container. Note: you can add a tiny bit of water to the gel if it seems too thick to you. Dip a separate brush into the gel, wipe off excess on the side of the container, and start brushing it into the inked sections that you are coloring. Slide the color around until you get the desired results. Remember that water can make the colors bleed on fabrics so if you add water to the gel do so cautiously.
(Click Image to Enlarge)
Step 12:
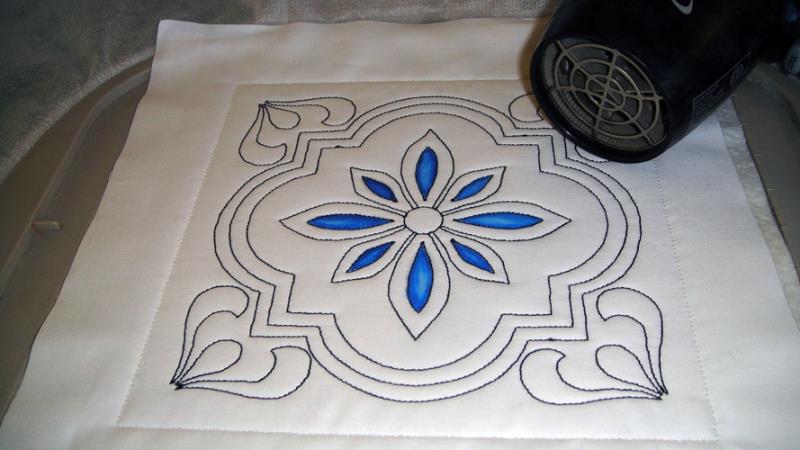
Fill in like sections following the steps 9 through 11. Dry those areas with a hand held hair dryer to prevent bleeding into the next color laid down. Even though staying in the lines is the goal, hand painted items most often have a little paint outside of the intended area. If you have a little mistake don’t worry about it, just carry on. If you try to remove the mistake with water it will only bleed more and create a larger mistake.
(Click Image to Enlarge)
Step 13:
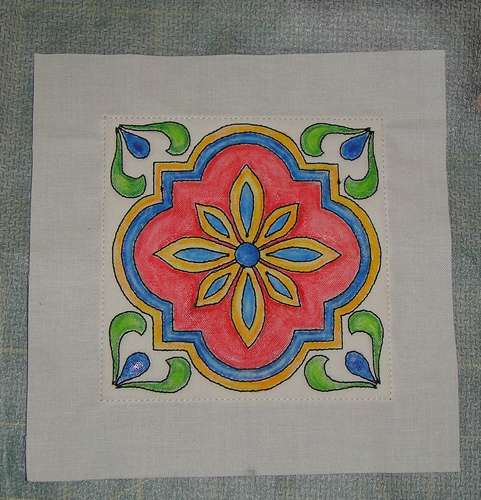
IMPORTANT: After completing the block let the fabric sit 24 hours to allow the fabric and ink meld. Then heat set your ink by ironing (use a pressing cloth over the block) for 3 to 5 minutes with an iron set on the wool setting or through into the clothes dryer set on high for 40 minutes.
Step 14:
I found it most convenient to complete the project and then throw the whole project into the dryer with some old towels for 40 to 50 minutes to heat set the ink.
Step 15:
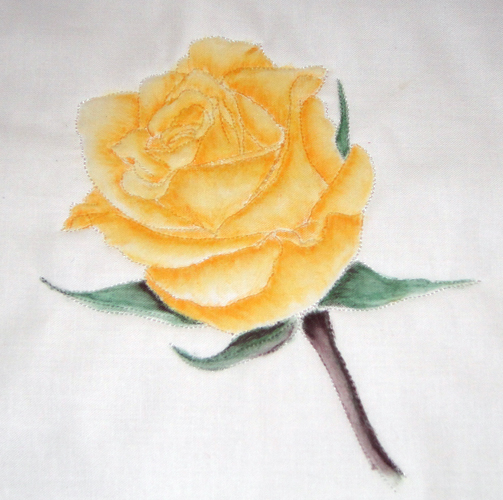
Many different effects can be achieved with these techniques. The embroidery for this rose was stitched in white on fabric and batting. The whole rose was colored with just one Inktense Ink Pencil®. All of the shading was achieved by applying the ink to the innermost edge of the petal and dragged out with aloe gel on a brush to achieve the color gradient. Two colors of pencils were used to paint the stems and leaves and blended together with aloe gel.
Step 16:
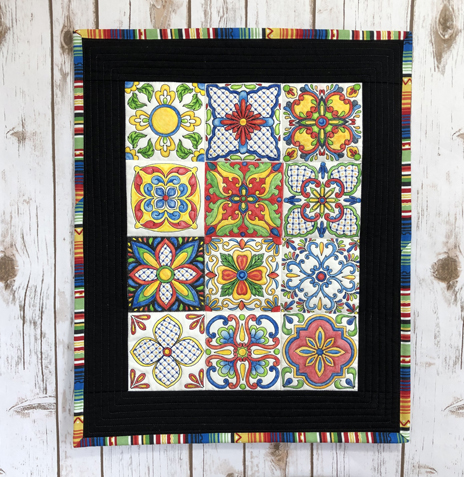
The possibilities appear endless for combining your outline embroidery designs with Intense Ink Pencils® and each of your projects will be totally unique. I hope you enjoy this process as much as I do.
Award winning Digitizer, Embroidery Educator, Author and a Consultant to the Industry, Pat Williams has 30 years of experience in the embroidery industry. Pat has won multiple awards for her digitizing expertise including the 2007 Impressions Awards Grand Championship, Best of Show as well as the 1st and 2nd Place Awards. Pat’s love of digitizing has afforded her the opportunity to write numerous articles for Impressions magazine in the United States and Images Magazine in Europe. In 2001 Pat was named “Embroidery Educator of the Year.” For many years Pat taught digitizing seminars at the ISS Shows in Long Beach, CA and for Compucon software. She now resides in Tucson, AZ.