














































PROJECT INSTRUCTIONS


PROJECT INSTRUCTIONS

FSL Necklace Embroidery Project
By
Amber Stevens
on
May 17, 2018
Description
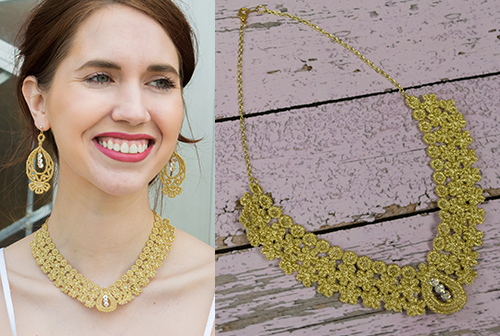
Add some pizazz to a simple gown with a Free Standing Lace necklace. These designs will make sure all eyes are on you.
Step
of
Materials
Project Preview Video

QUICK VIEW
FSL Little Flower Neckline
$10.00
$4.00
Circle Price: $3.85

QUICK VIEW
FSL Neckline Flowers
$10.00
$4.00
Circle Price: $3.85

SELECT COLORS
Robison Anton Metallic 1,000m - Euro Gold
$21.50
Circle Price: $21.50

Water Soluble Stabilizer - 12" x 25 Yds
$32.46
Circle Price: $29.21
{{ item.name }}
{{ item.listPriceDisplay }}{{ item.salePriceDisplay }}
Circle Price:
{{ item.clubPriceDisplay }}


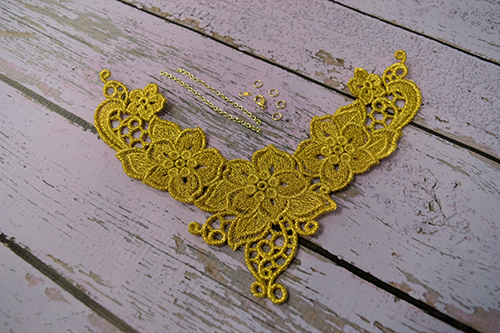
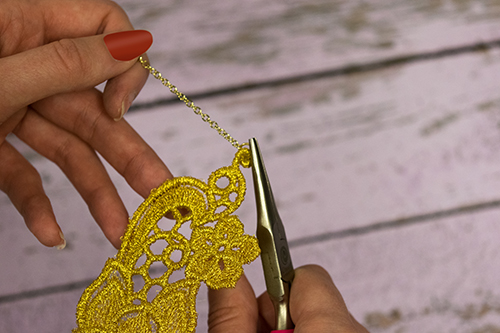
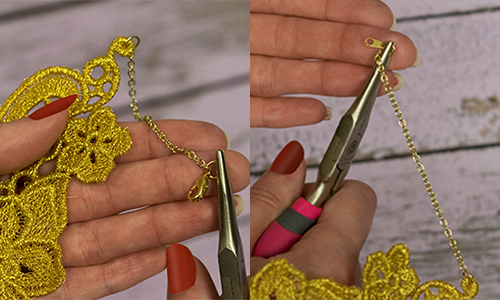
| Materials Water Dissolvable Stabilizer Robison-Anton Metallic Thread FSL Neckline Flowers Embroidery Design FSL Little Flower Neckline Embroidery Design Needle Nose Pliers Wire Cutters Necklace Chain – 2 pieces 3.5” long Necklace Clasp Rhinestones or Swarovski Crystals |
| Designs used in this project |
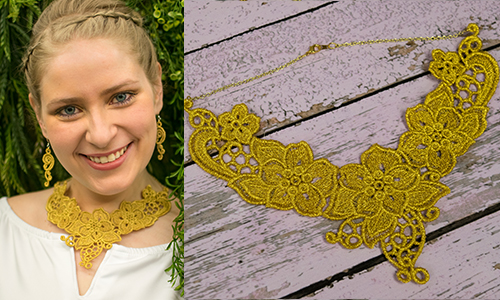
| Final Product: What You Will Create |
 |
|
Projects You May Like
Meet the Author:
Amber Stevens

Amber, the Designer Extraordinaire over at Adventures in Stitcherland, has been sewing since she was 9 years old. When she's not creating stunning embroidery designs, she is elbow-deep in all things fashion.
Feedback
Characters Remaining
Please Login to Submit a Feedback
Invalid Characters, Please enter a valid Comment
Please enter a valid Comment
Reviewed On
Link is Broken, Please check the URL