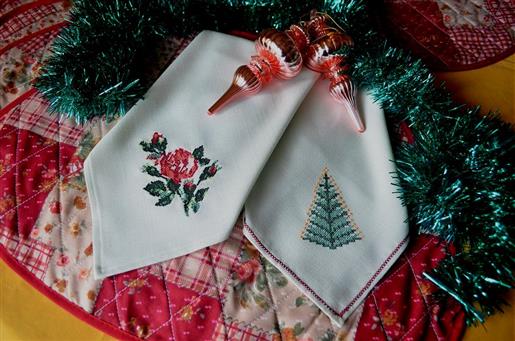
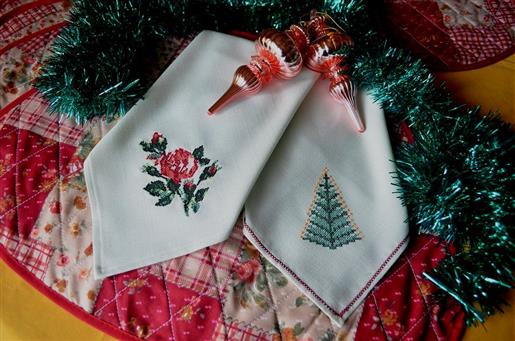
DIY napkins to dress up your holiday table. This is a fun project for all skill levels that takes only a few hours for each napkin, depending on the embroidery design you choose.
Having found the fabric in the remnant shelf so long ago, I can’t say exactly what type of fabric I used, though I know it’s not 100% flax or cotton and must be some sort of blend, because it launders well and dries with very little wrinkling. Most important for napkins, choose a fabric that is absorbent.
Step 1:
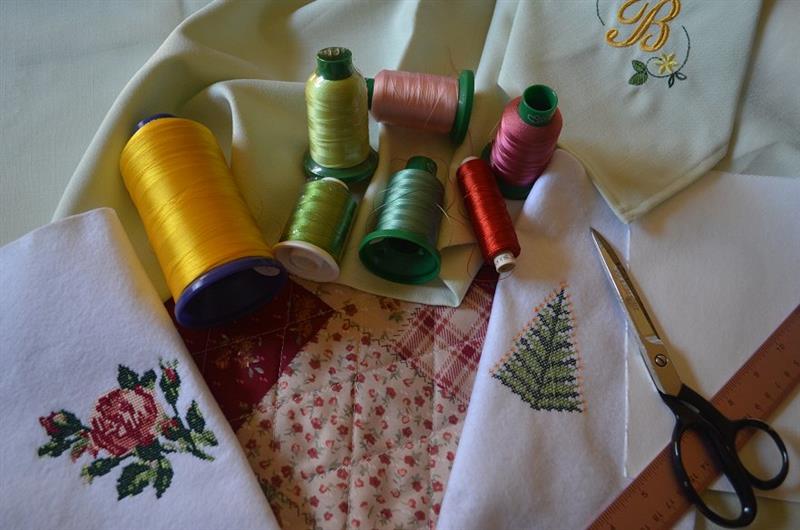
Gather materials and choose shades of thread colors that match those found in the placemat. The two designs I'm embroidering need three shades of green, three shades of red and one gold (colors that I used in the final sewing are not the same as seen in this image). As always, run a sample of the design you'll be using. Normally I would stitch my samples on the same or similar fabric but I've already tested embroidery on this fabric (napkin at upper right) and know what backing it will require so I've opted to test color matching as well as the actual sewing of the designs on felt.
(Click Image to Enlarge)
Step 2:
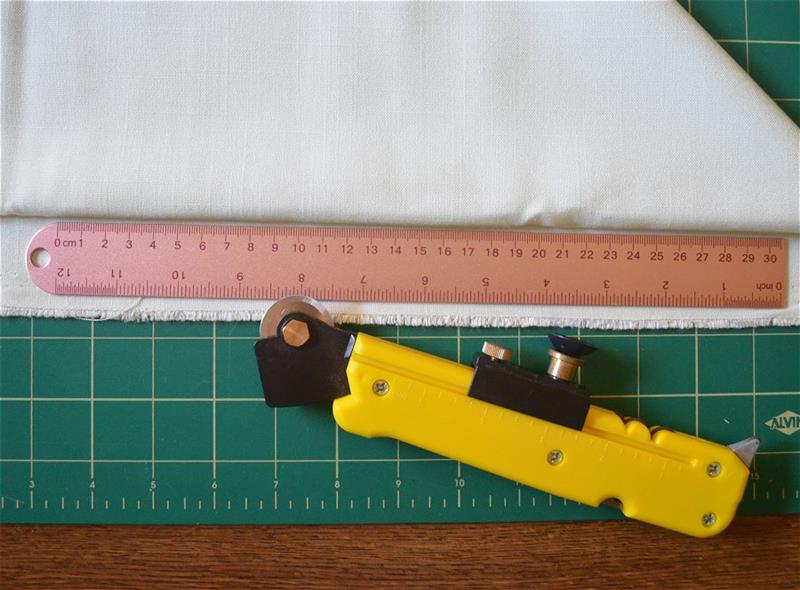
Cut the fabric to the preferred size and add 1/2” to be used for the hem. A standard size for a napkin ranges between 14-18” square. I cut mine to 18 1/2”. Use a sharp scissors or a rotary cutter together with a ruler to get the cleanest cut.
(Click Image to Enlarge)
Step 3:
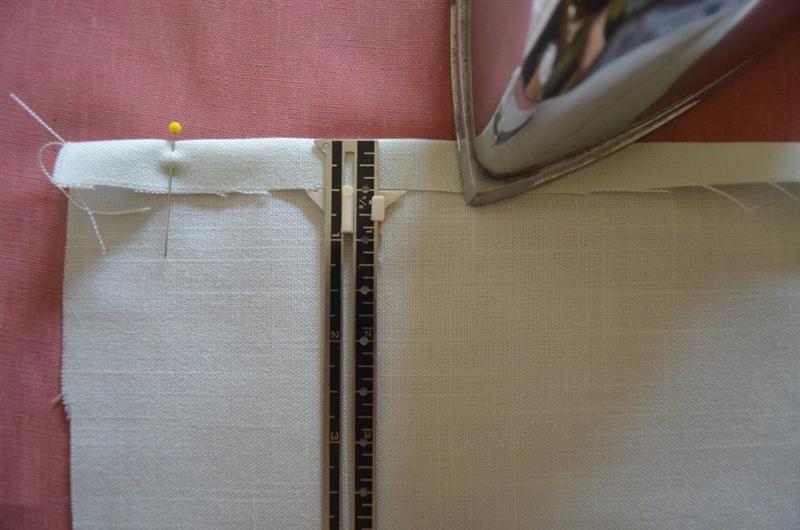
Pin and press hem. Press the fold first at 1/2” using a hem gauge or ruler for accuracy and pin in a few places to hold until done with each side. Then fold in the edge to meet the inside of the fold and pin to stitch a 1/4” hem.
(Click Image to Enlarge)
Step 4:
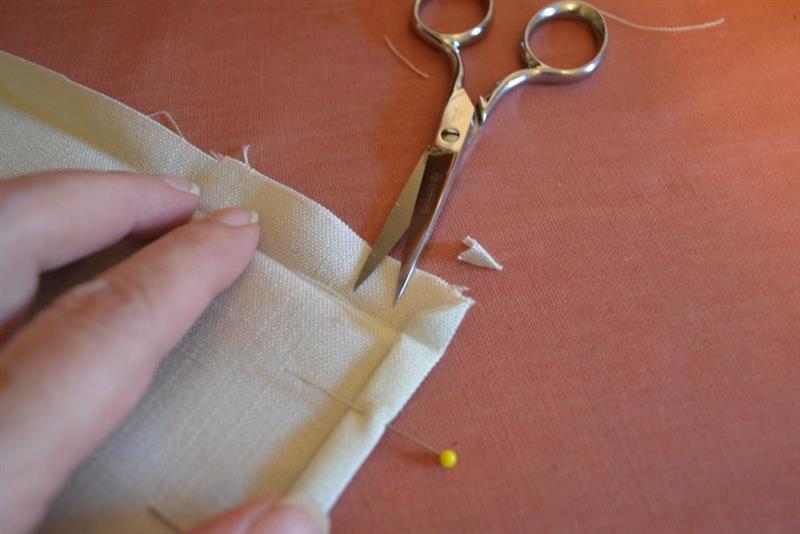
Remove excess bulk from corners by trimming at an angle.
(Click Image to Enlarge)
Step 5:
OPTION to Step 4. If you prefer to take a little more time, you can neatly miter the corners by first pressing the corner inward and then fold and press the sides as shown in the images. Trim away excess fabric at the corner of the fabric that will not be hidden by the finished hem. You could also fold under the corner of the fabric, but this would add to unnecessary bulk and cause issues while stitching the hem at the corner.
(Click Image to Enlarge)
Step 6:
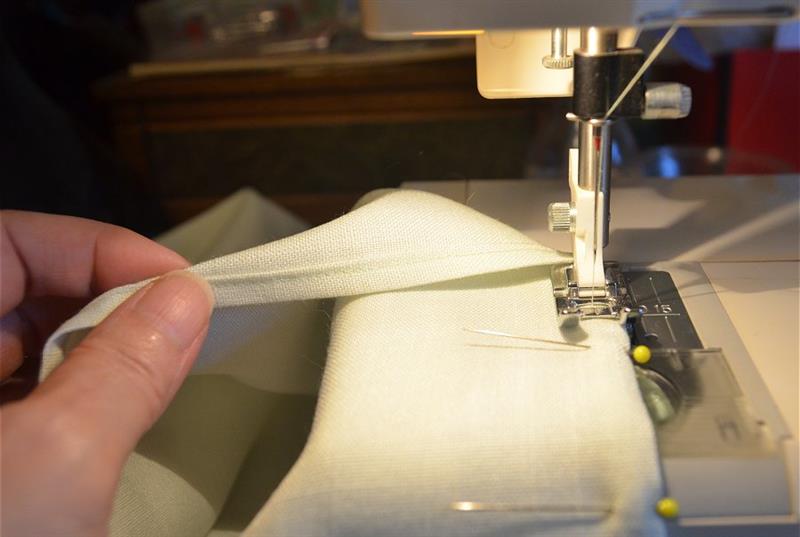
Stitch a narrow hem. Sew slowly and continue to check the back side to be sure the edge of the hem is being caught by the stitches. When you reach a corner, you can either keep the needle down and pivot the fabric and then continue stitching the next side, or you can stitch to the edge, backstitch to lock, remove from the machine and clip, and then begin the next side at the edge, being sure to backstitch again, and continue forward, crossing over the previously stitched seam.
(Click Image to Enlarge)
Step 7:
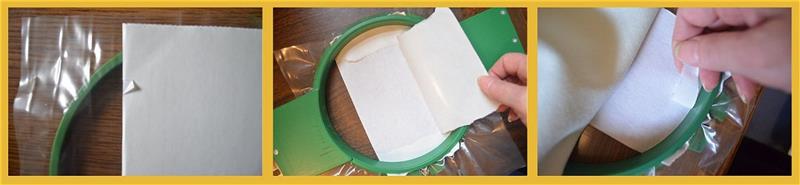
Hoop the stabilizer that will hold the embroidery. I used one sheet of non-fibrous Badgemaster as a “base” only because I don't have enough of the water soluble backing to cover the entire hoop. You can do the same or you can also use a large sheet of the adhesive water soluble large enough to be hooped entirely. Before adding the sheet of adhesive water soluble backing I snipped and pulled away a bit at the edge of the top to help easily tear away the protective cover, and then after hooping I was able to rip away the cover all the way to the edge of the hoop in order to expose all of the adhesive. (Alternatively you can also use a sheet of tear-away with adhesive spray if the fabric will hold up well with the particular design you are stitching.)
(Click Image to Enlarge)
Step 8:
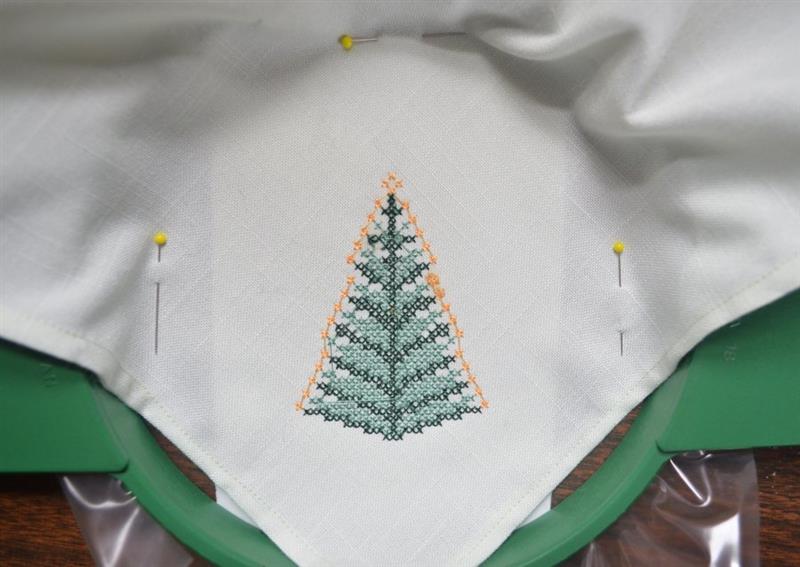
Do not hoop the napkin. Lay the corner of the napkin over the hoop (with the bulk towards you on a multi-needle machine) and rotate the design to stitch appropriately. Press the fabric against the adhesive backing to secure and if preferred, pin at a few places close to the hoop.
(Click Image to Enlarge)
Step 9:
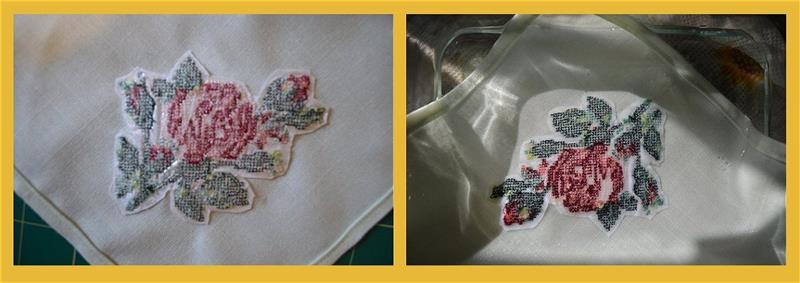
Cut away excess up to the stitches at the outside of the design At this point, you could toss in the washing machine to remove the excess, but fast removal can be done by first soaking in lukewarm water for about 15 minutes and most of the backing will rinse away or brushed away with a soft bristle brush.
(Click Image to Enlarge)
Step 10:
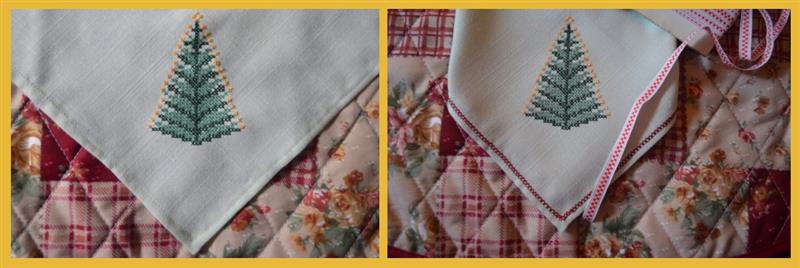
If preferred, embellish with your choice of trim around the napkin edge or add decorative stitching. I decided that the napkin with the tree design needed a little red to coordinate with the colors in the placemat. The red of the trim I had on hand didn't match well enough so I opted to stitch a cross stitch edging over the existing stitches of the hem.
(Click Image to Enlarge)
Step 11:
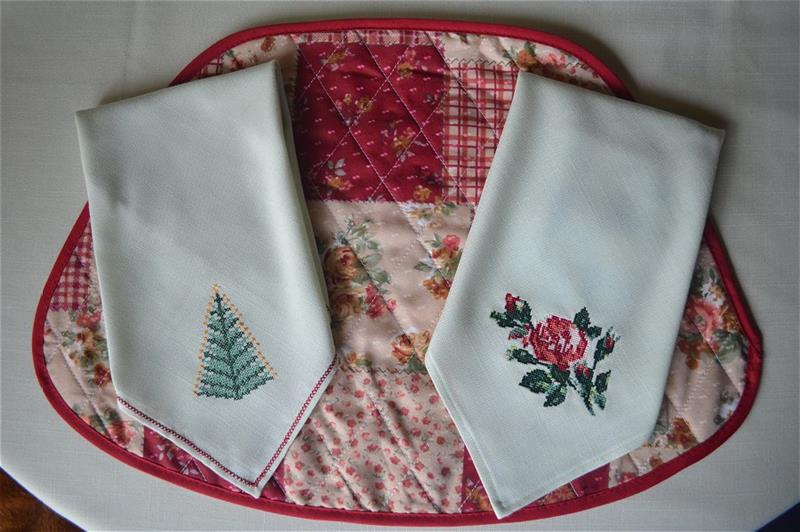
Match up your holiday napkins with different placemats and table cloths for just the right moments. Use florals for an elegant affair or choose from traditional designs just right for the day.
Bonnie Landsberger has been a crafter and hand embroiderer since childhood and a machine embroiderer and digitizer since 1986. She was the in-house head digitizer for a 50-head embroidery shop for 11 years and later offered custom digitizing services and stock design sales through her web site for Moonlight Design since 1993. She currently also holds a position as a customer service representative at EmbroideryDesigns.com.
Bonnie has won several awards for digitizing, including a gold medal in the 2002 Digitizing Olympics and grand prize in all categories & first place for Winter Holidays category in the Stitches Magazine Great Greeting Card Contest 2003.
Her embroidery and digitizing technical articles can be found in various trade magazines and she is currently a contributing writer and Editorial Advisory Board Member for Stitches Magazine. You can also find more of her articles online at EmbroideryDesigns.com and will continue to contribute articles to our Learning Center.