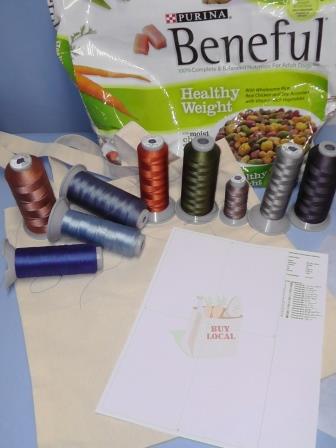
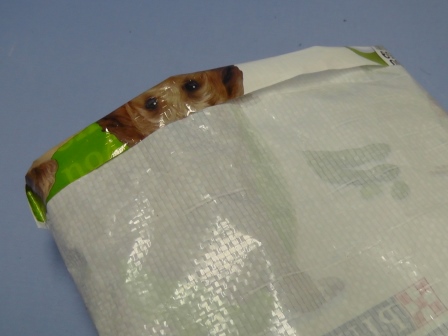
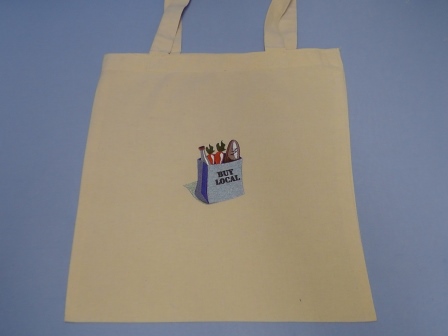
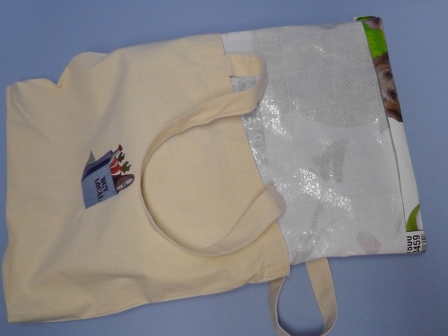
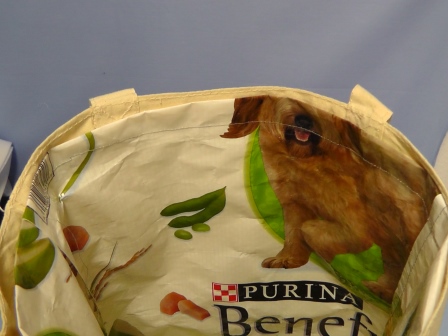
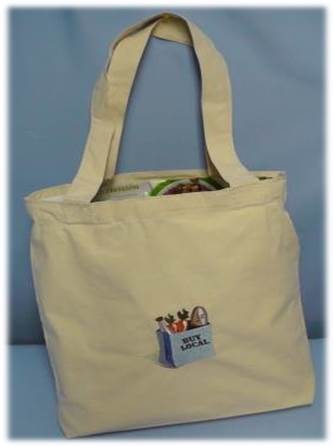
Recycling packaging can be useful and creative! Begin with a pre-made tote bag, cut down a dog food bag to create a moisture barrier, and insert it into the tote to create a “Recycled Grocery Tote”.
Project Preview Video
Materials
Pre-made tote bag (or use a pattern and fabric to make your own)
Recyclable dog food bag (should be the type that can be sewn on and will create a moisture barrier when inserted into the tote)
Tearaway stabilizer
Embroidery thread
Sewing thread to sew the dog food bag
Sewing machine needle the size that will penetrate the recycled bag
There are so many creative projects that can be done to recycle packaging we use every day. With only a little thought, many things can be reused or made into other projects to cut down on things thrown into landfills. This project begins with a purchased tote bag and is lined with a recyclable dog food bag that is cut down and to fit inside the purchased tote.
Note: if making your own tote, cut the dog food bag to fit the pattern and an option is to sew the fabric and recycled bag as one piece or lined; folding the fabric over the top of the recycled bag to clean finish the edge.
Step 1:
(Click Image to Enlarge)
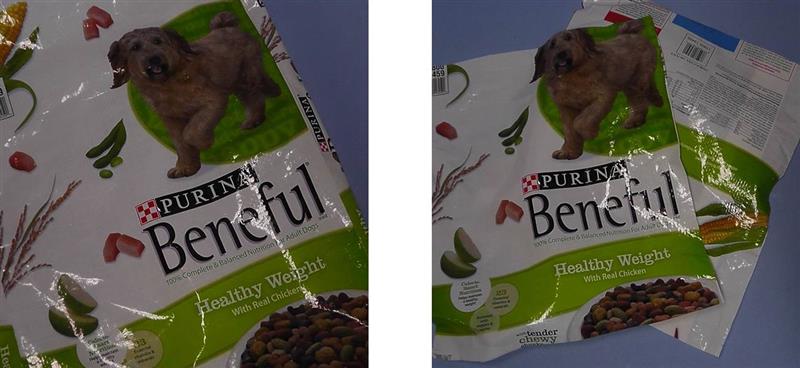
Gather the supplies. Read through all the instructions before beginning. Use soap to thoroughly wash and carefully rinse the dog food bag. Since the finished tote may hold food items, you may wish to rinse the recycled bag with a weak bleach solution to sanitize it. Dry the bag.
Step 2:
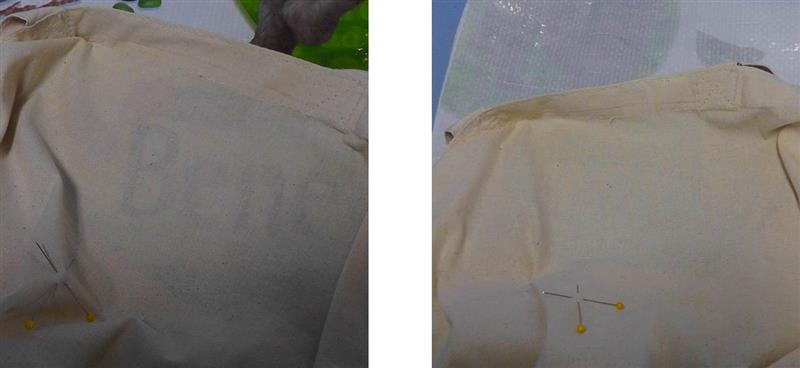
Place the recycled bag under the fabric to determine which side should face toward the back of the fabric. If the lettering from the recycled bag shows through the tote bag fabric, place the plain inside of the recycled bag to the back of the fabric.
(Click Image to Enlarge)
Step 3:
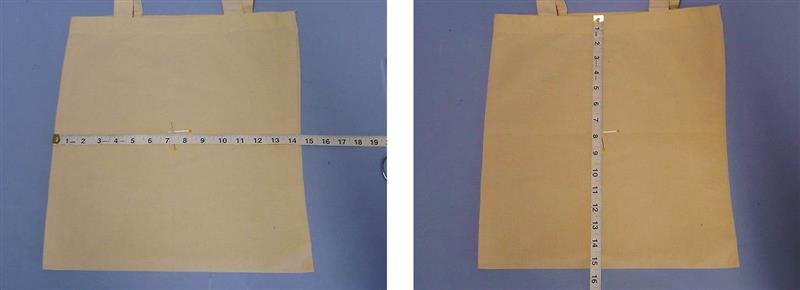
Locate the center of the bag front and place pins to mark the center. Measure the tote width and length and write down these measurements. These measurements, plus seam allowances, will be used to cut the recycled bag.
(Click Image to Enlarge)
Step 4:
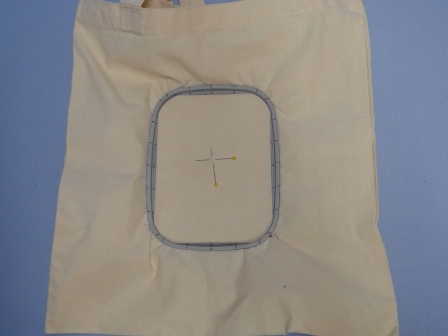
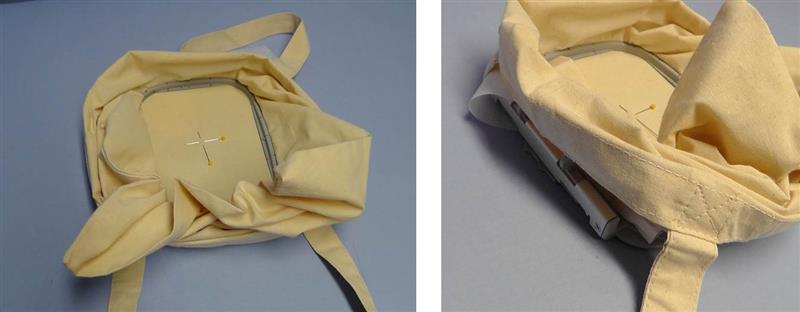
Hoop the bag front with one layer of tearaway stabilizer.
Step 5:
Turn the bag inside out around the hoop as shown. When the hoop is placed on the machine, none of the tote bag fabric should be caught under the hoop area or the machine.
(Click Image to Enlarge)
Step 6:
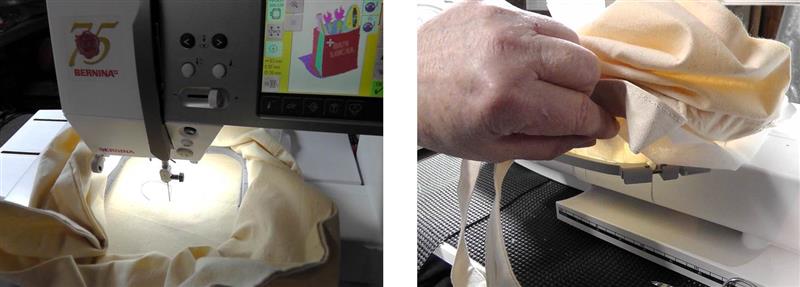
Load the “Buy Local” embroidery design on the machine and place the hoop on the machine. When placing a bag on the machine like this, it is sometimes easier to remove the foot (and needle) to get the hoop onto the machine.
(Click Image to Enlarge)
Step 7:
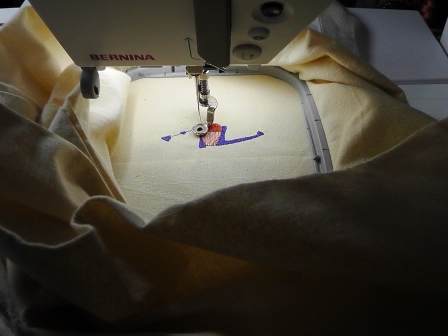
Start the machine and stitch the design following the color sequence.
Step 8:
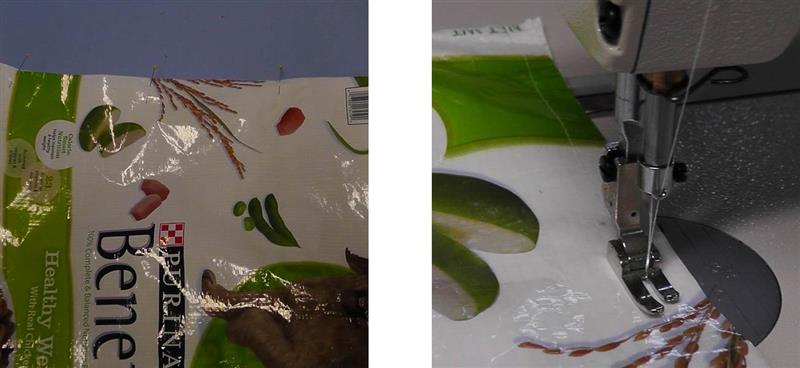
While the machine is stitching, prepare the recycled bag. Determine where and how to cut the bag. Use the measurements and cut the bag adding ½” seam allowances at the sides and bottom and at least 1” on top for turning under.
(Click Image to Enlarge)
Step 9:
Place the bag sides together for sewing. Stitch the sides and bottom. Use a needle that will penetrate the recycled bag (size 14-sharp was used for the project).
(Click Image to Enlarge)
Step 10:
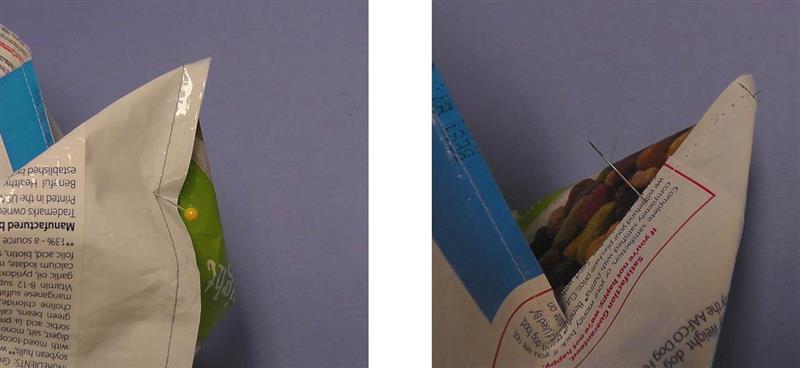
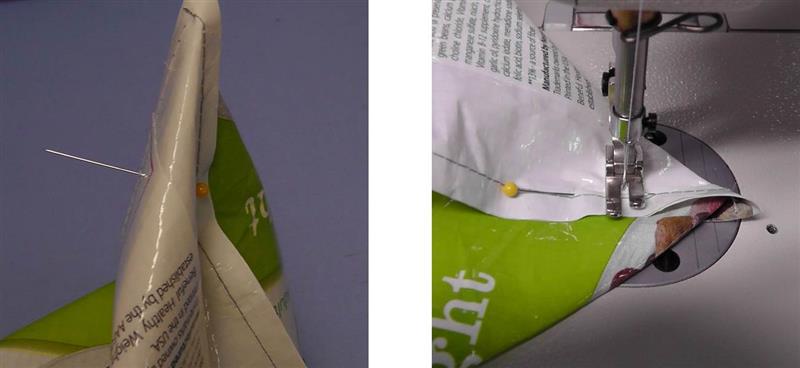
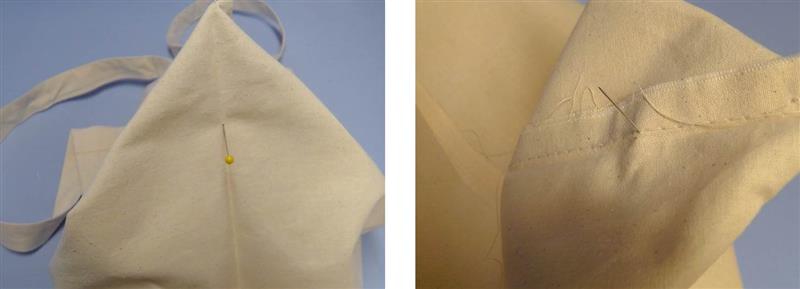
Box the corners of the bag. Match the side seam to the bottom seam. Place a pin through the seam line 1” from the point and pin through the bottom seam line 1” from the point.
(Click Image to Enlarge)
Step 11:
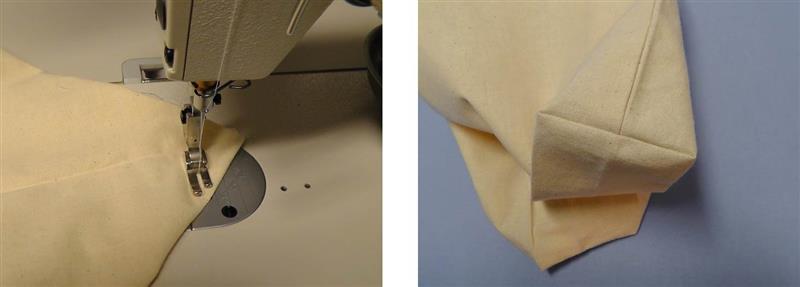
The pin should go through both seam lines evenly from the point. Stitch the corner creating a seam 1” from the point.
(Click Image to Enlarge)
Step 12:
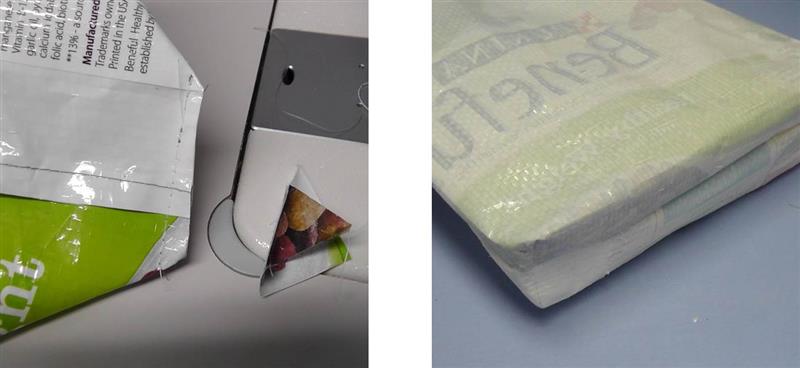
Trim off the excess leaving a ½” seam allowance. Repeat for the other corner. Turn the bag right side out forming the corners.
(Click Image to Enlarge)
Step 13:
Roll the top of the bag to the wrong side the amount allotted.
Step 14:
When the embroidery design has finished stitching, remove the stabilizer and press the fabric.
Step 15:
Box the corners of the tote bag. Match the bag bottom at the fold line to the side seam at the conjoining side. Place a pin through both 1” from the corner.
(Click Image to Enlarge)
Step 16:
Stitch a seam 1” from the corner, trim leaving a ½” seam allowance. Turn the bag right side out forming the corners to box them.
(Click Image to Enlarge)
Step 17:
Insert the recycled bag into the tote bag, matching seams and pushing the boxed corners of the recycled bag into the boxed corners of the tote bag.
Step 18:
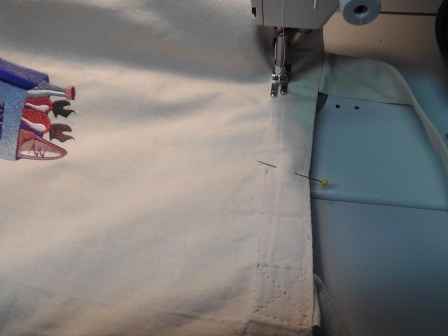
Use the stitching line of the tote bag to sew the recycled bag to the inside of the tote. Add additional stitching if desired.
Step 19:
Note: The final stitching at the top could be an optional step if you would like the recycled bag to be easily removed for cleaning and sanitizing. The recycled bag could be easily lifted out, cleaned, and re-inserted for each use and the fabric tote bag washed and dried separately.
Step 20:
(Click Image to Enlarge)
Enjoy using your new tote bag. Make several for your grocery shopping needs….and don’t forget, “Buy Local”!
Ramona Baird has been in the embroidery industry for over 23 years. She and her husband owned a commercial and retail embroidery store in Arizona for many years. She is an experienced digitizer having been mentored by award-winners Pat Williams and Lindee Goodall. Ramona is a contributor to “Creative Machine Embroidery” magazine having 5 covers to her credit. Ramona has worked for Wilcom America and served many years as Education Director for the American Sewing Guild. With a degree in fashion design, she is able to design and execute patterns which Pat Williams says are “out of the box” in creativity and application. Ramona likes to challenge the boundaries of embroidery and bring new and exciting designs, ideas, and projects to EmbroideryDesigns.com. She wants embroiderers of all levels to increase their skills and enjoyment in using their embroidery machine for gift-making and personal pleasure.