Border OptionsHugging border, circle, square, or rectangle — with a 3mm satin stitch.
Backing OptionsAvailable with iron-on, sew-on, or velcro backing.
Fast ShippingShipped quickly from the USA.
Free Online Tools
Powerful embroidery utilities that save time and prevent costly mistakes.
Stitch AssistantRECOMMENDED
Get the exact stabilizer, machine settings, needle, and thread color sequence for every embroidery design you purchase — based on that design's stitch density, dimensions, and color count.
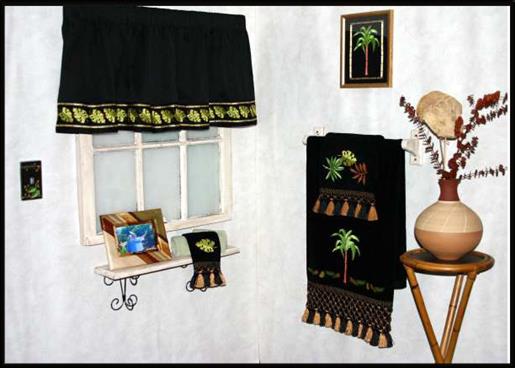
Enhance your home decor with this beautifully quilted set, featuring coordinated designs for towels and valances. Ideal for adding a touch of elegance to any room. Step-by-step instructions are included.
Trims There
are two types of towels available for you to embellish. The first is a
standard banded towel shown upper left and the second is a trimmed
decorative towel. Buying a towel with existing trim is more luxurious
right away and requires less decorative work. Unfortunately, there
aren't that many different trimmed towels to choose from. We still show
you later in this tutorial how to create your own trim.
Texture Towels come in many different finishes, the
two most popular being looped terry and velour terry. If you have to
choose between the two, always choose the velour terry style. Velour
terry is flat and easier to embroider than looped terry. If you choose
looped terry try to find a towel with small loops, fine design detail
can get lost in long loops.
Sizes Towels
come in five sizes: bath sheet, bath towel, hand towel, finger tip
towel, and wash cloth. The three most popular sizes for embroidery are
the bath, hand, and fingertip. Bath sheets are too big to fold and
display on a towel rack, and wash cloths are often too small. Try to
find a towel brand that offers these different sizes. Below are shown
the three sizes and the recommended design size for each.
Bath: 6x10 designs or larger work; the best for large towels. If you don't have a large enough hoop try multiple hoopings.
Fingertip: 4x4 designs; works well for fingertip towels.
After selecting the proper design, placement on the towel is critical.
Now you can technically place the design any place you want, but here
are some guidelines on how we do it and how most decorators do it. The
bottom of the design should be between 1.5" and 2" from the towel band
or trim line of the towel. If you are adding your own trim it is easier
to embroider the towel first. Here is a step by step guide on proper
design placement for a bath towel.
Hooping Tips
Use a sturdy
tear away stabilizer when hooping towels. People may turn them over and
you don't want to see cutaway when they do. Use a water soluble topping
for the surface of the towel. This prevents the design from sinking
into the terry. The easiest way to do this is to hoop all three
together, stabilizer, towel and topping. Avoid using sticky backing when
embroidering towels. Sticky backing doesn't create proper tension and
can cause problems when the design is running, especially on big
designs.
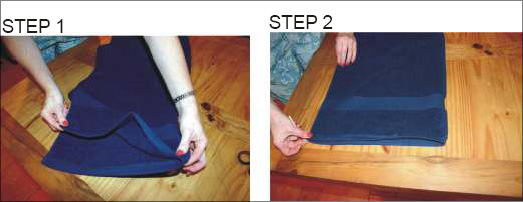
Step 1:
The first three steps
involve finding the center of the towel.
(Click Image to Enlarge)
Step 2:
Steps one and two show us
folding the towel in half lengthwise to find the center.
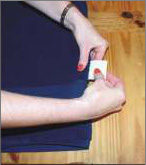
Step 3:
(Click Image to Enlarge)
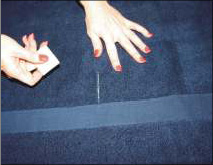
After the towel is folded step three shows us marking the center line with chalk.
Step 4:
(Click Image to Enlarge)
Open the towel up for step four and elongate the chalk line for easier visibility.
Step 5:
(Click Image to Enlarge)
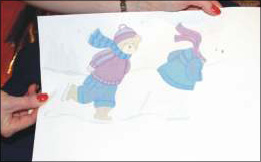
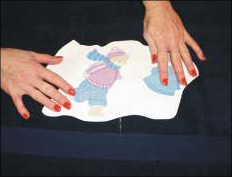
Print out your design onto a piece of paper and trim around the design
to get a better idea of what it will look like placed on the towel.
Step 6:
(Click Image to Enlarge)
Most embroidery software shows a center point on the design. This is
very important for placement. If the center point is hard to see, make
it darker with a marker or pen.
Step 7:
(Click Image to Enlarge)
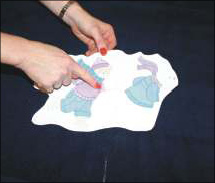
Step seven show us placing the printout of the design on the towel for placement.
Step 8:
(Click Image to Enlarge)
This step shows us lining up the center line on the printout with the chalk line.
Step 9:
(Click Image to Enlarge)
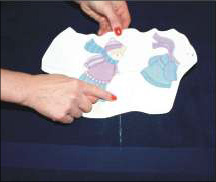
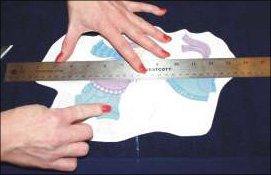
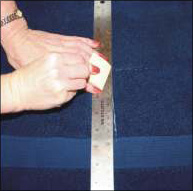
After we find the proper placement we hold the printout in place with
one hand and hold a ruler down across the horizontal center line of the
design.
Step 10:
(Click Image to Enlarge)
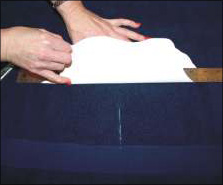
After the ruler is in place fold the printout over the over the ruler and draw your horizontal line.
Step 11:
(Click Image to Enlarge)
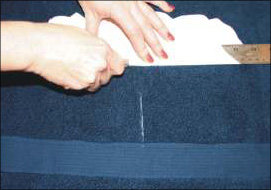
This line will cross over your vertical center line giving you the spot to line up the presser foot of your embroidery machine.
Step 12:
(Click Image to Enlarge)
The final step before
hooping is to darken the chalk lines for easier visibility. Your towel
is now marked for perfect placement.
Steve Wilson is co-owner of Anita Goodesign, a company serving the home embroidery enthusiast. He is also owner of Artbox Digitizing Studio and the co-owner of Art-Sew-Perfect stock design company. Steve has won over 20 digitizing awards, written over 70 articles on digitizing and embroidery techniques and has produced 18 digitizing "How-To" videos. He has also digitized thousands of designs for the home textile and decorating industries and is bringing that experience and expertise to the Anita Goodesign Home Decor Collections