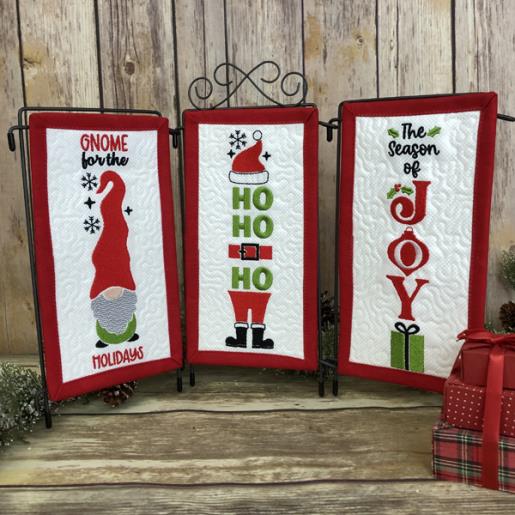
Spread joy this holiday season with this quick ITH Seasons Greetings Triptych. Each block is made in the hoop with the binding applied at your sewing machine and with a hanging sleeve applied by hand.
The three blocks that make up this triptych are embroidered and quilted in the hoop. Apply the binding using your favorite method or see our article on “Binding Small Embroidery Projects” Add a hanging sleeve to the back of each section in order to hang them on the frame. For instructions on making a hanging sleeve see our article on “Attaching a Hanging Sleeve to a Mini Quilt” These versatile quilted blocks can also be joined together to create a pillow or small wall hanging.
Step 1:
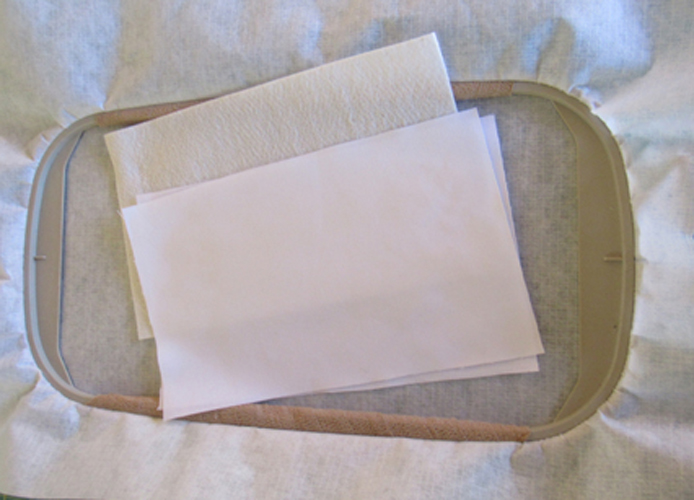
Cut 6 10”x 6” rectangles of your background fabric and 3 6” x 10” rectangles of Battilizer®. Tautly hoop 2.5 ounce cut away stabilizer in your embroidery hoop.
(Click Image to Enlarge)
Step 2:
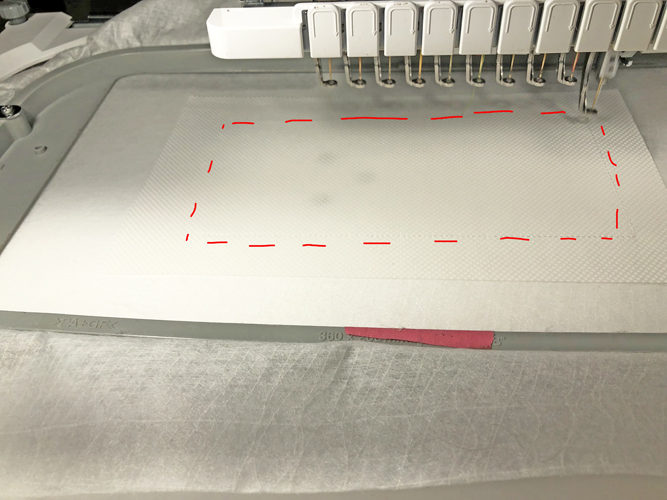
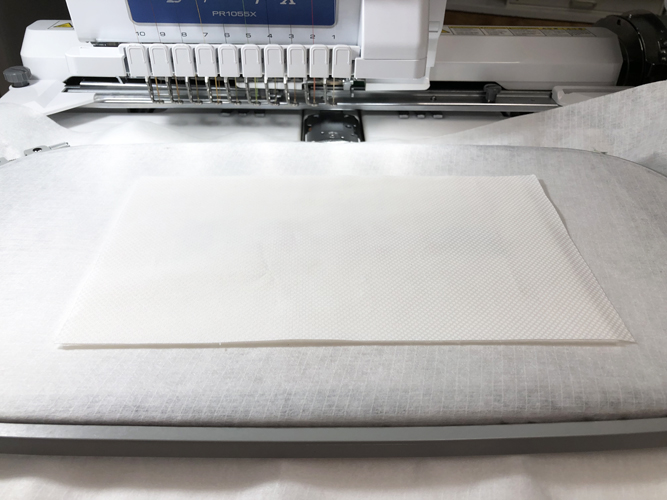
Run the first color stop (CS) in a Super White as a placement line for the fabric. Spray adhesive on the wrong side of a background fabric rectangle and position over the placement line so that the fabric exceeds the placement line by 1” on all sides. Run CS 2 to tack down the fabric.
(Click Image to Enlarge)
Step 3:
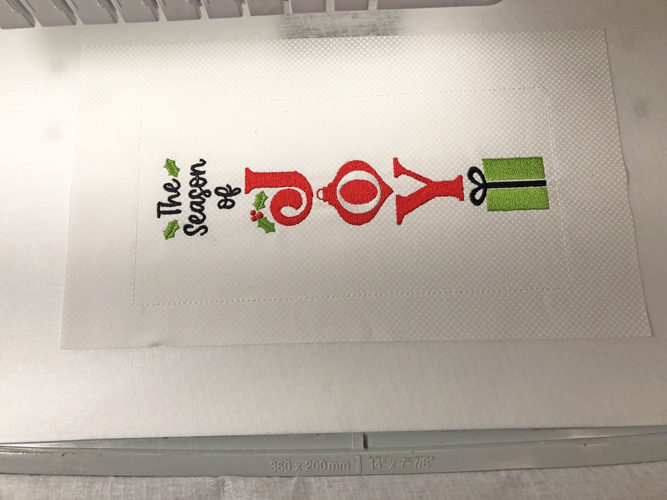
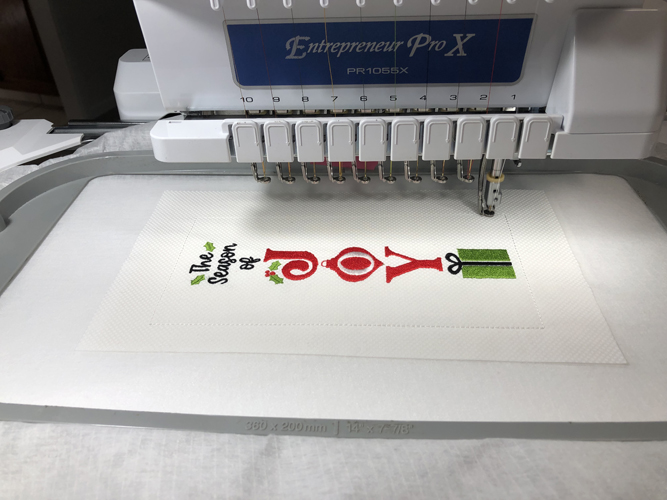
Follow the color chart to embroider the design. Stop before the last two color changes are sewn.
(Click Image to Enlarge)
Step 4:
Remove the hoop from the machine, do not unhoop, and place the hoop face down on a flat surface. Spray adhesive on a rectangle of batting and position over the back of the block aligning it with the fabric on the front of the block. Spray adhesive on the wrong side of the back fabric rectangle and place it over the batting.
(Click Image to Enlarge)
Step 5:
Return the hoop to the machine and run the next to last CS Super White thread to tack down the batting and back fabric.
(Click Image to Enlarge)
Step 6:
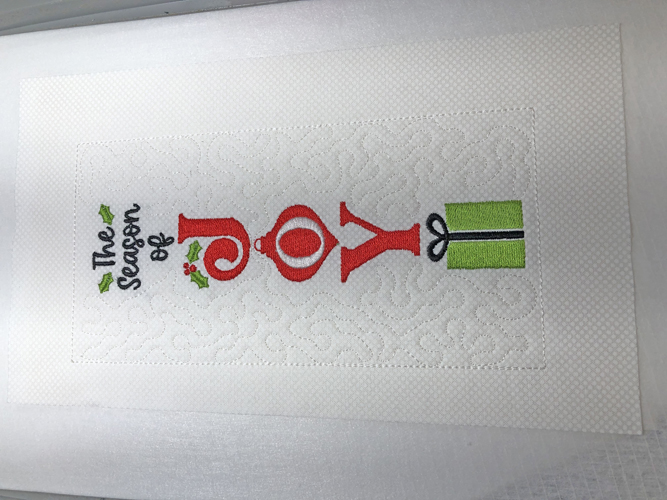
Run the last CS in Super White to quilt the block.
(Click Image to Enlarge)
Step 7:
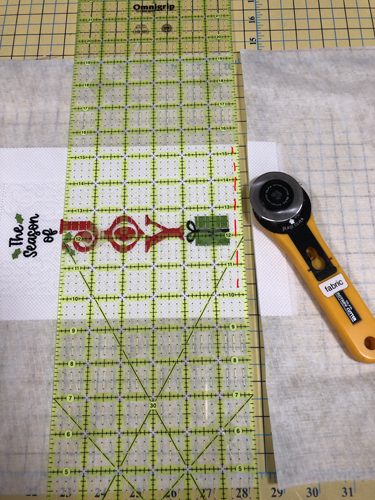
(Click Image to Enlarge)
Remove the block from the hoop. Lay the ¼” mark of a see-through quilter’s ruler on the tack-down stitches and trim the block on all sides.
Step 8:
(Click Image to Enlarge)
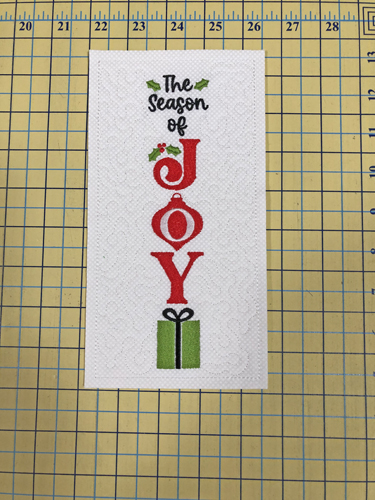
Your block will now look like this. Repeat Step 2 through 8 with the other two designs for this project.
Step 9:
(Click Image to Enlarge)
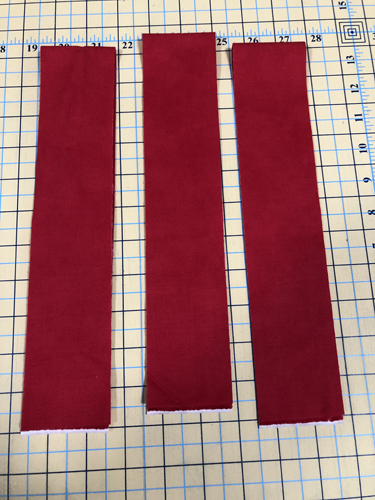
Cut 3 2 ¼” strips of binding from your binding fabric and apply the binding with your desired method. If you do not have a preferred method see our article on “Binding Small Embroidery Projects”
Step 10:
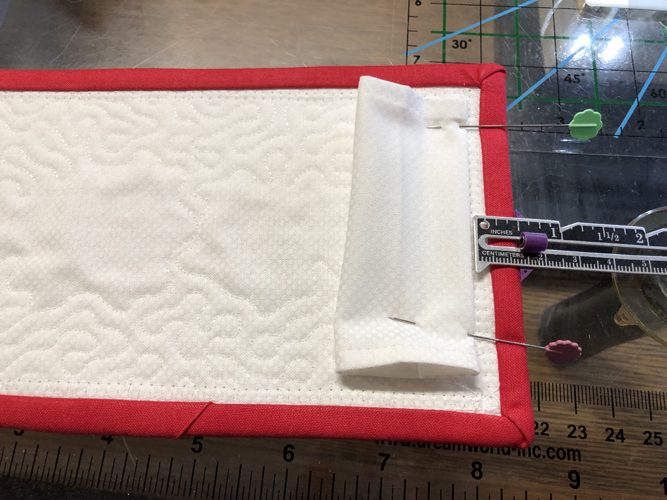
To create hanging sleeves cut 3 pieces of fabric 4 ½” by 3”. If you do not know how to make a hanging sleeve see our article on “Attaching a Hanging Sleeve to a Mini Quilt” Attach the hanging sleeve ½” below the top of each quilt.
(Click Image to Enlarge)
Step 11:
Insert the split in the rod into one end of the hanging sleeve, push the quilt as far as possible to that one side of the rod and slip the other side of the rod into the hanging sleeve. Congratulations your ITH Joy Triptych is complete.
Award winning Digitizer, Embroidery Educator, Author and a Consultant to the Industry, Pat Williams has 30 years of experience in the embroidery industry. Pat has won multiple awards for her digitizing expertise including the 2007 Impressions Awards Grand Championship, Best of Show as well as the 1st and 2nd Place Awards. Pat’s love of digitizing has afforded her the opportunity to write numerous articles for Impressions magazine in the United States and Images Magazine in Europe. In 2001 Pat was named “Embroidery Educator of the Year.” For many years Pat taught digitizing seminars at the ISS Shows in Long Beach, CA and for Compucon software. She now resides in Tucson, AZ.