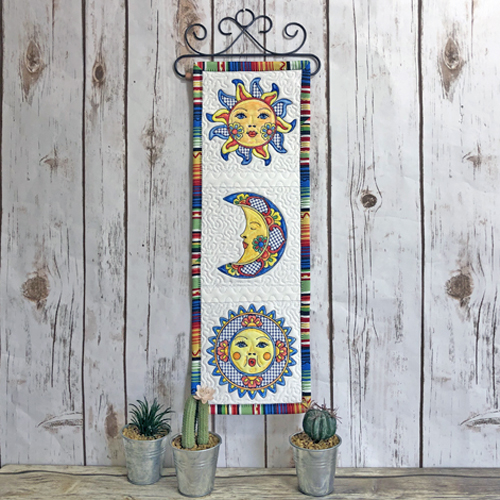
Let your artistic side shine when making this wall hanging. The sun and moon blocks are embroidered ITH, painted with Intense Ink Pencils® and joined at your sewing machine.
The use of water-soluble thread is often an option in projects as it is generally used just to tack down block outlines so they will wash away if they are visible in the completed block. However, it is required in this project as it is used to outline where you will paint the highlights in the faces of the suns and they moon. You may use different colored Inktense Ink Pencils® but the colors used in the sample are listed above. Where you use the different colors is your choice. If you are new to the use of these exciting pencils please read our article Tips on Painting Embroidery with Inktense Ink Pencils.
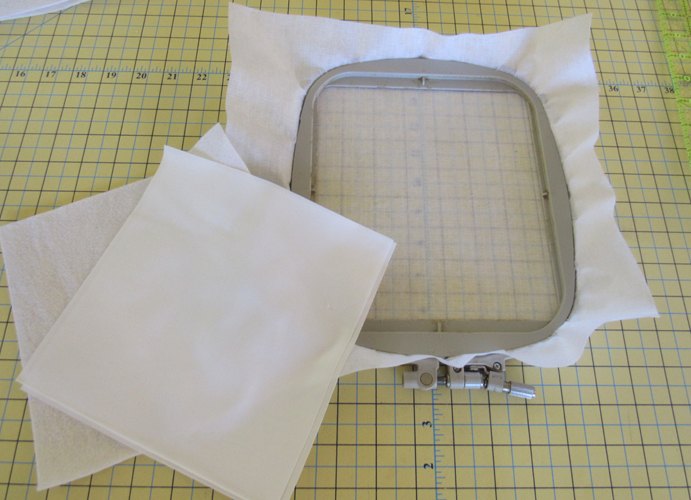
Step 1:
For each block cut 2 7” squares of the Kona® cloth and 1 7” square of Battilizer®. Hoop 2.5-ounce stable cut-away stabilizer in your hoop.
(Click Image to Enlarge)
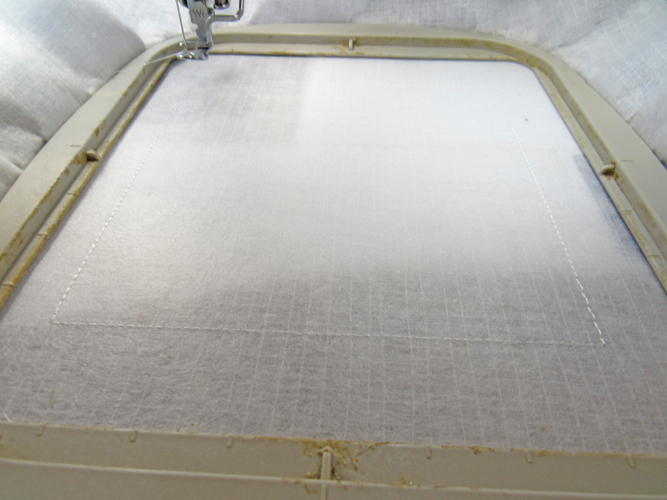
Step 2:
Run color stop (CS) 1 in white thread as a placement line for your batting and fabrics.
(Click Image to Enlarge)
Step 3:
Spray adhesive on the Battilizer® and position over the placement lines so that the Battilizer® exceeds the placement line by ½” on all sides. Spray adhesive on the front fabric and align over the Battilizer®. Run CS 2 in water soluble thread to tack down the fabrics.
(Click Image to Enlarge)
Step 4:
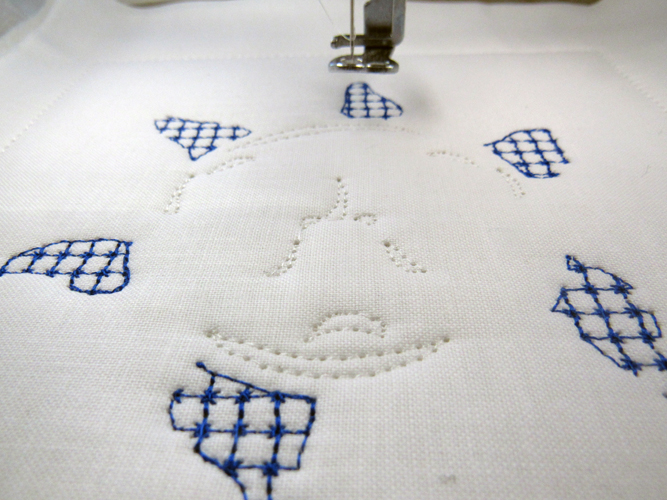
Run CS 3 in royal blue to stitch the motif fills. Run CS 4 in water-soluble thread to outline the areas to be painted as highlights in the faces to give them definition.
(Click Image to Enlarge)
Step 5:
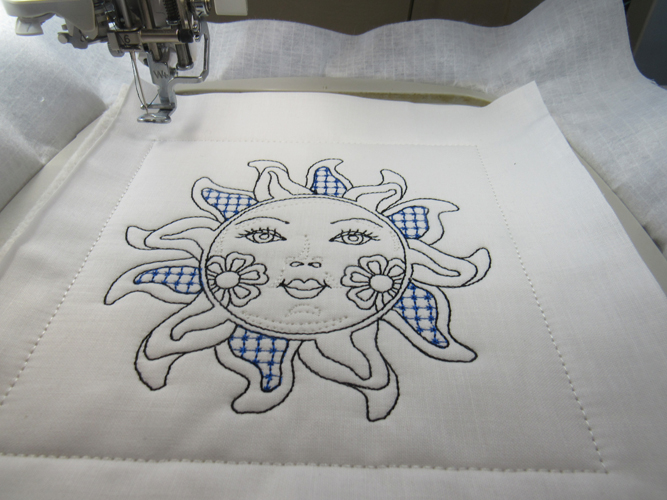
Run CS 4 in black polyester thread to complete the face. Polyester thread is used as it will not react with the ink colors like rayon might.
(Click Image to Enlarge)
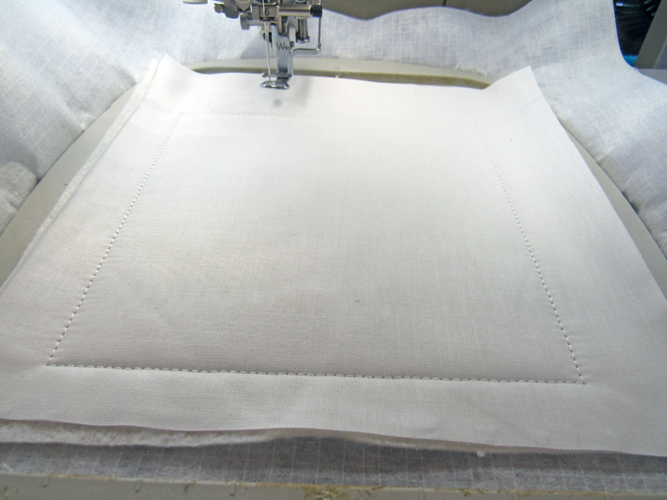
Step 6:
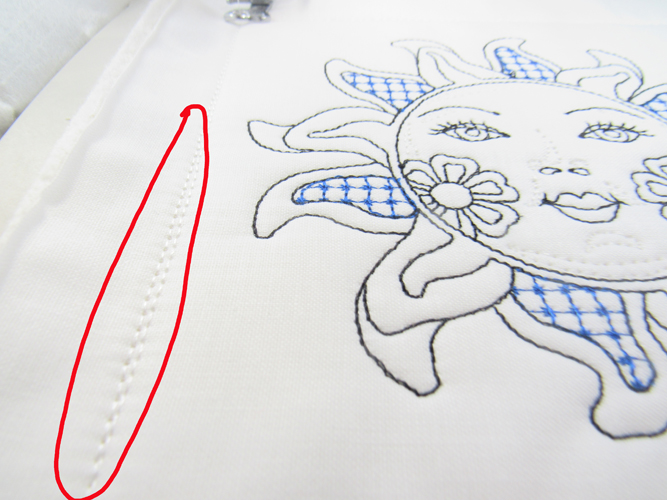
Remove the hoop from the machine, do not unhoop, place the hoop face down on a flat surface. Spray adhesive on the back fabric and position over the placement lines on the back of the hoop so that the fabric exceeds the outlines by ½” on all sides. Return the hoop to the machine and run CS 6 in water soluble thread to tack down the back fabric. This picture shows why we use water-soluble threads to tack down the fabrics. The inside line of stitching is the original tack down line of this block. The outside line of stitching is the last tack down line. That first tack down line has been pulled in by the batting and the stitching that has taken place. If it is visible in the completed project it can be removed by rubbing it with wet sponge or cotton swab.
(Click Image to Enlarge)
Step 7:
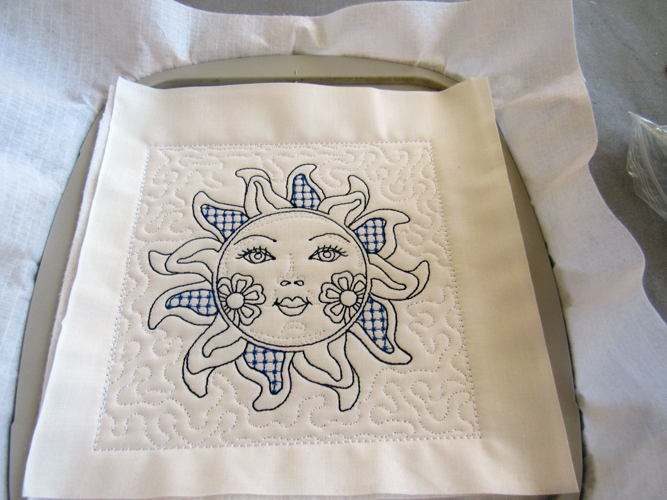
Run the final color stop in white to quilt the block. Make the other two blocks following Steps 2 through 7.
(Click Image to Enlarge)
Step 8:
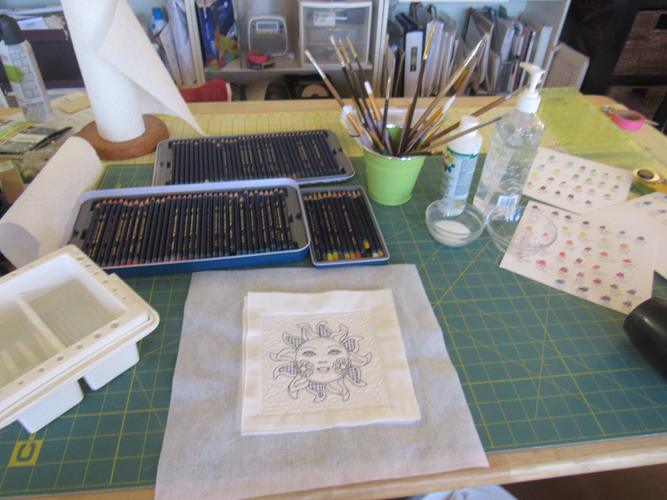
Set up your Inktense Ink Pencils, fabric medium and aloe vera gel on a protected surface. I place an old cutting mat over my good cutting mat to do this. Refer to the article Tips for Painting Embroidery Projects with Intense Ink Pencils. For general painting instructions.
(Click Image to Enlarge)
Step 9:
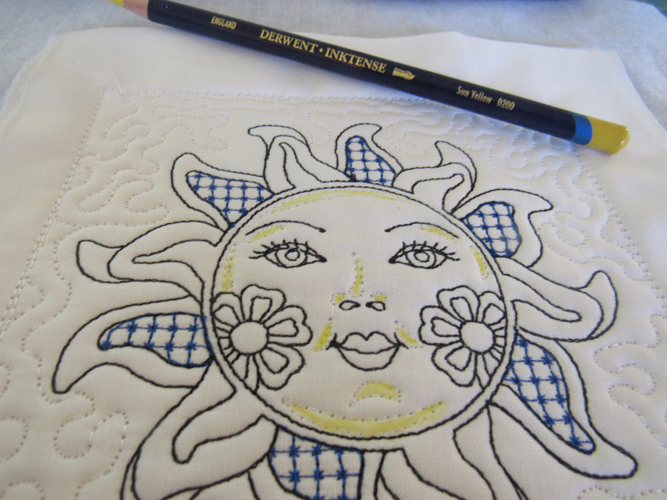
Paint in the areas outlined by the water-soluble thread with either a lighter or darker yellow than you will paint the rest of the face. The colors used in the sample are listed in the materials list for your convenience, but you may use any colors in any area of the designs.
(Click Image to Enlarge)
Step 10:
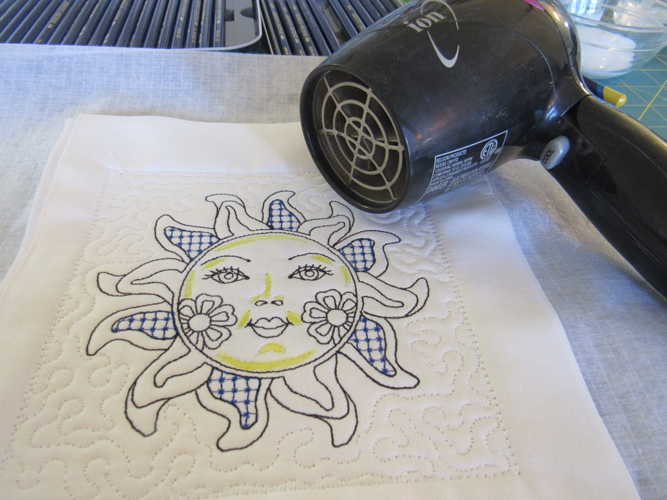
Remember to dry each ink color with a hair dryer before moving on to the next color.
(Click Image to Enlarge)
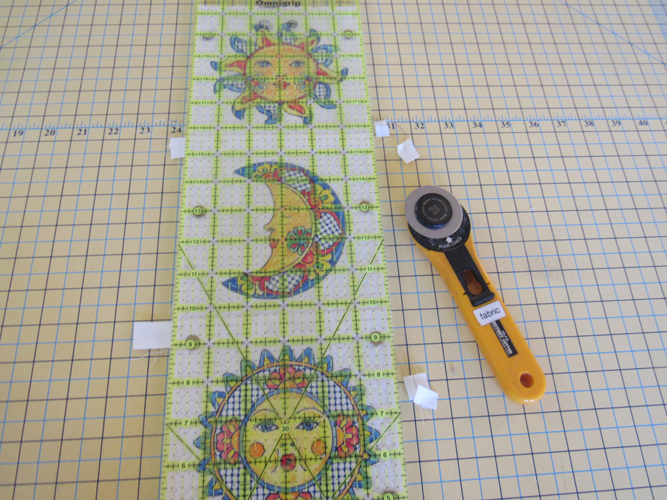
Step 11:
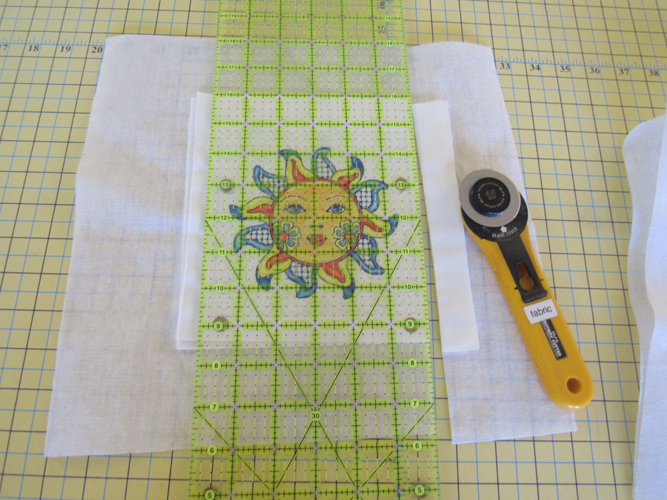
Lay the ¼” mark of a see-through ruler along the final tack down stitches and trim all sides to a ¼” seam allowance.
(Click Image to Enlarge)
Step 12:
(Click Image to Enlarge)
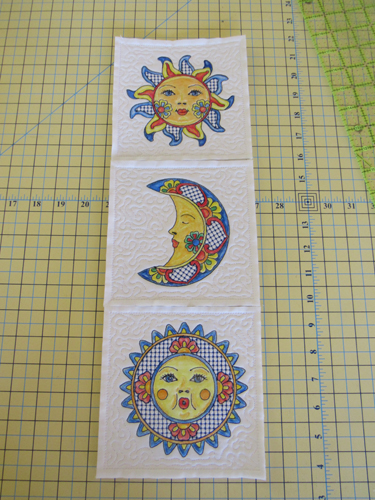
Lay out the blocks in the order that you want them to be in your wall hanging.
Step 13:
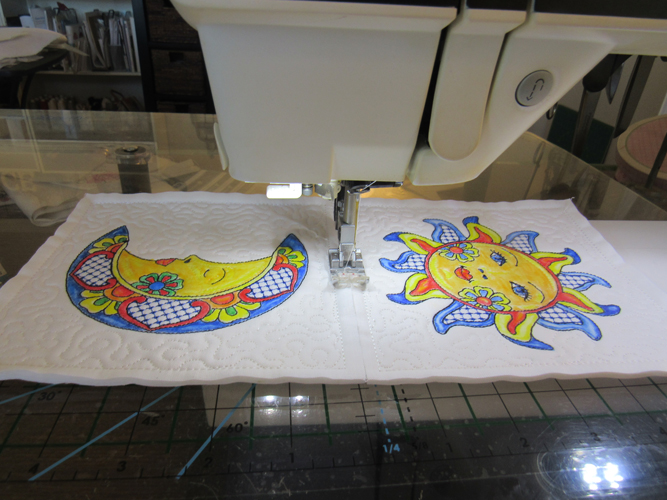
Butt the bottom end of the top block to the top end of the middle block without gaps or overlaps. Stitch together with a wide zigzag stitch, approximately 4.5mm wide and with a spacing of 4mm. Join the third block to the bottom of the middle block in the same way.
(Click Image to Enlarge)
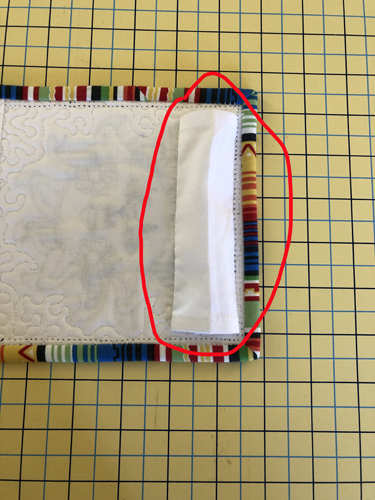
Step 14:
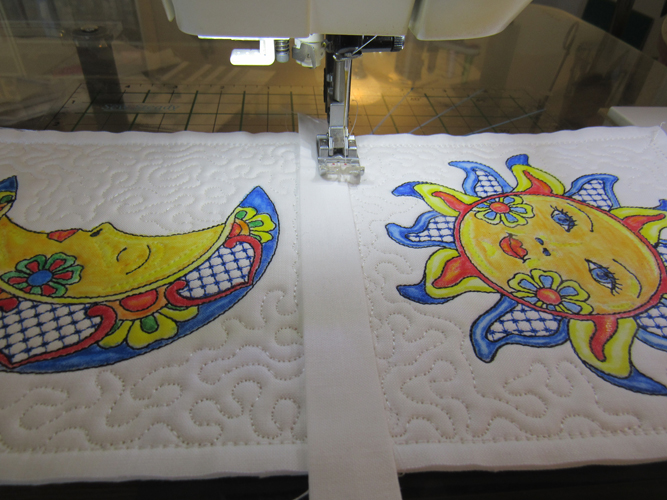
Cut one strip of white fabric 1 ½” x 15” and a second strip 1 ¼” wide by 15” long. Fold the long edges or each strip into the center and press to form sashing strips. The narrower strip will be used on the back of the blocks, the wider strip will be used on the front. Cut the strips in half so that you have 2 narrow strips and 2 wider strips. Lay the narrow strips over the zigzag seams that stitched the blocks together. Stitch down each side of the strips with a Serpentine stitch if available.
(Click Image to Enlarge)
Step 15:
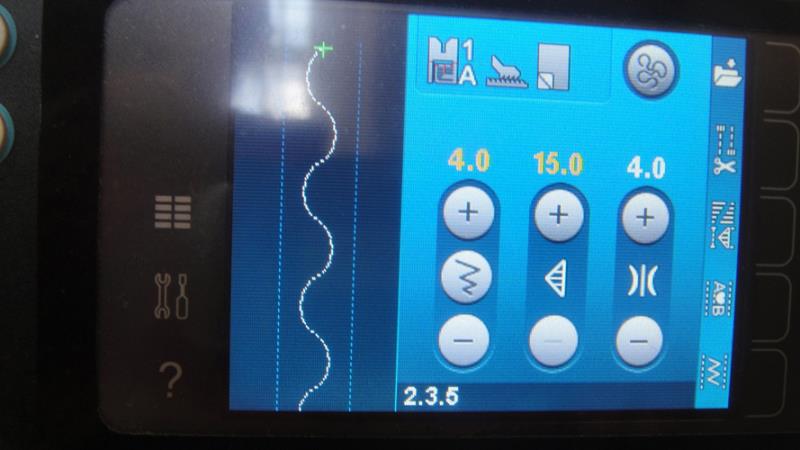
This is the Serpentine stitch used for sewing down the sashing strips. It is used as it blends in well with the stippling on the quilt blocks. If you do not have one choose another stitch type or even a straight stitch from your machine.
(Click Image to Enlarge)
Step 16:
Turn your project right side up and stitch down both sides of the wider sashing strips over the joining seams on the front of the wall hanging with the same stitch used in Step 14.
(Click Image to Enlarge)
Step 17:
Trim the excess sashing off with a rotary cutter.
(Click Image to Enlarge)
Step 18:
(Click Image to Enlarge)
Cut 2 binding strips 2.25” wide, stitch together and bind the wall hanging using your preferred method. See our article on Binding Small Embroidery Projects if you do not have a preferred method.
Step 19:
(Click Image to Enlarge)
Hand stitch a hanging sleeve ½” below the top off the wall hanging to use with the Ackfeld Wire Manufacturing quilt hanger. If you do not know how to make a hanging sleeve see our article Attaching a Hanging Sleeve to a Mini Quilt. A scrap of fabric cut to 6” x 3.5” was used to make this hanging sleeve.
Step 20:
Congratulations your Talavera Painted Celestial Wall Hanging is complete!
Award winning Digitizer, Embroidery Educator, Author and a Consultant to the Industry, Pat Williams has 30 years of experience in the embroidery industry. Pat has won multiple awards for her digitizing expertise including the 2007 Impressions Awards Grand Championship, Best of Show as well as the 1st and 2nd Place Awards. Pat’s love of digitizing has afforded her the opportunity to write numerous articles for Impressions magazine in the United States and Images Magazine in Europe. In 2001 Pat was named “Embroidery Educator of the Year.” For many years Pat taught digitizing seminars at the ISS Shows in Long Beach, CA and for Compucon software. She now resides in Tucson, AZ.