{{superHeaderAds.title}}
Live Chat
Embroidery Designs
Welcome, Embroiderer
Login
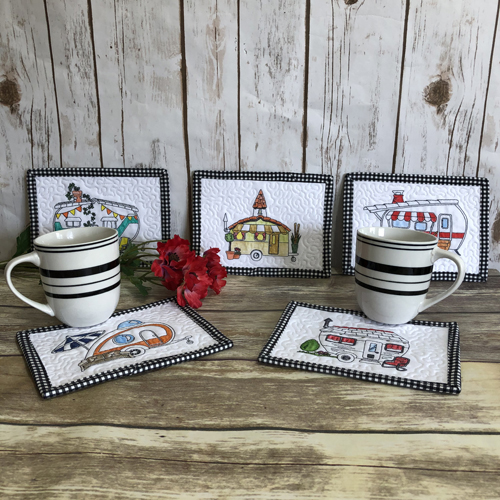
ITH Painted Camper Mug Rugs
{{mainImageAlt || (productInfo._source && productInfo._source.name) || ''}}

ITH Painted Camper Mug Rugs Embroidery Project

By   Pat Williams   on   July 18, 2025

PROJECT DETAILS

SKILL LEVEL
Some Experience
TIME REQUIRED
01:30
FINISHED SIZE
7.25 x 5.5 inches
Description

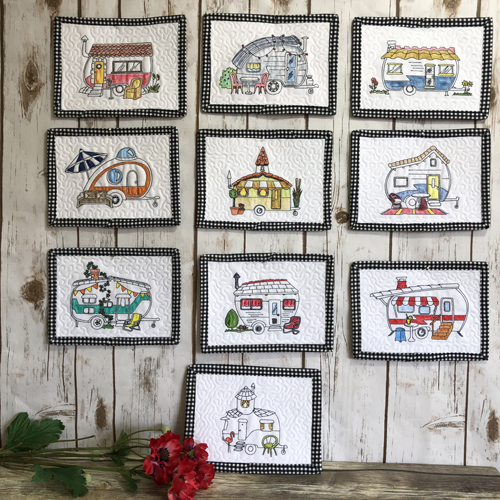
Fun to make and paint these Camper Mug Rugs will decorate your own camper or RV and are also a delight to give to other RVers.

Project Preview Video

Materials
  • 5” x 7” embroidery hoop
  • 2 9” x 7” rectangles of PFD (prepared for dying) white Kona Cloth® for each mug rug
  • 1 9” x 7” rectangle of Battilizer® or low loft batting for each mug rug
  • 2.5-ounce stable cut-away stabilizer to fit your embroidery hoop
  • 2.5” strip of Black Gingham print quilting cotton by the width of the fabric for each
  • Spray adhesive
  • Inktense Ink Pencils® in assorted colors
  • Small paint brushes
  • Deco Art Fabric Medium
  • Clear Aloe Vera Gel (optional)
  • Hand-held hair dryer

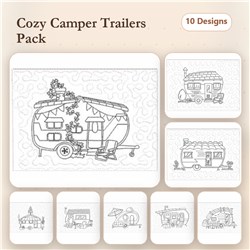
  • Designs used in this project

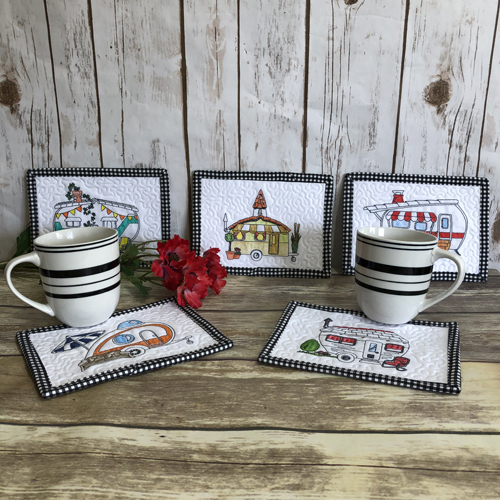
    Final Product: What You Will Create

    Preface:
    Read our article Tips for Painting Embroidery with Inktense Ink Pencils®, before purchasing supplies for painting the mug rugs to ensure that you buy the correct type of pens. The time given to make the mug rugs listed above is calculated as ½ hour to make the mug rug and an hour to paint it. This may vary greatly based upon how much painting you want to do on any given design. Waiting the required 24 hours before you heat set the ink is not included in the time estimate.  


    Step 1:
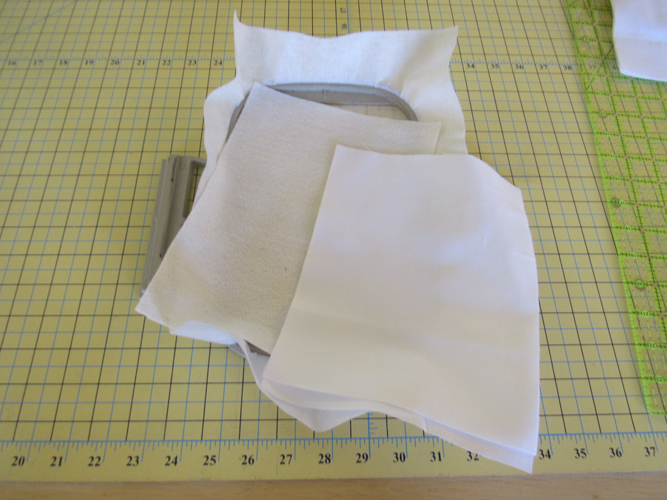
    Cut two 9” x 7” rectangles of fabric for the mug rug. One should be cut from PDF Kona Cloth® for the front of the mug rug, the back rectangle can be of the same or any other quilting cotton. Cut a 9” x 7” rectangle of Battilizer® or low loft batting and a piece of 2.5-ounce stable cut-away stabilizer to fit your hoop.

    (Click Image to Enlarge)


    Step 2:
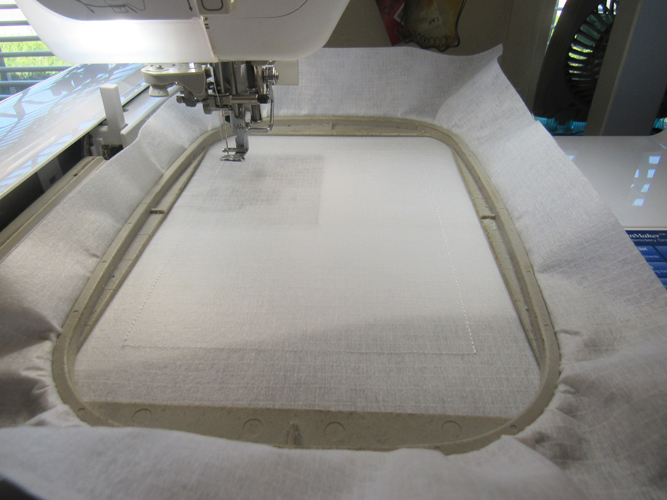
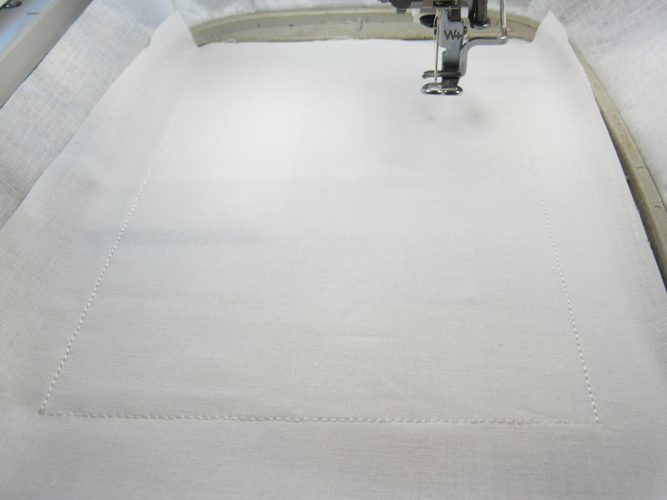
    Tautly hoop the stabilizer and run the first color stop (CS) in any color thread as a placement line.

    (Click Image to Enlarge)


    Step 3:
    Spray adhesive on the white fabric and position over the placement lines so that the fabric exceeds the placement line by ½” on all sides. Run CS 2 in water soluble thread to tack down the fabric.

    (Click Image to Enlarge)


    Step 4:
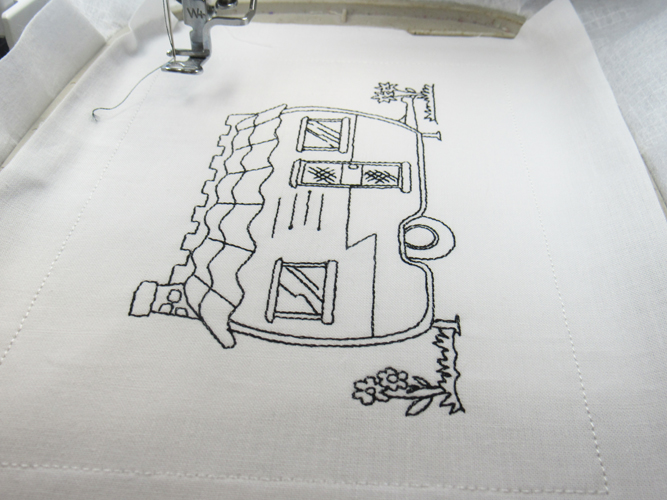
    Run CS 3 in black polyester thread to stitch the camper.

    (Click Image to Enlarge)


    Step 5:
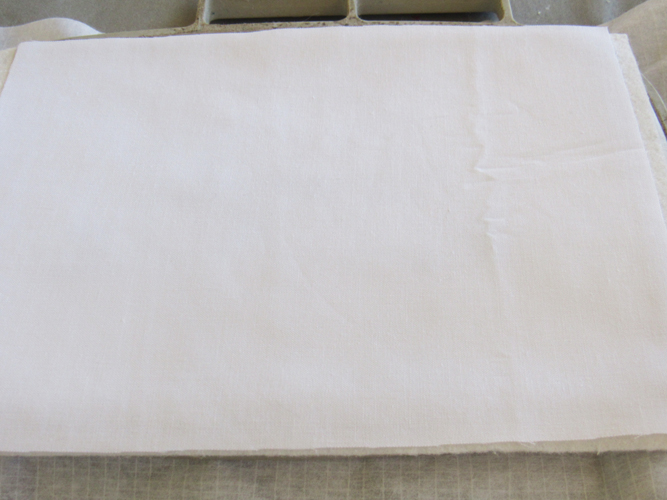
    Remove the hoop from the machine, do not unhoop. Place the hoop face down on a flat surface. Spray adhesive on the Battilizer® and position it over the placement lines so that the Battilizer® exceeds the placement lines by ½” on all sides. Spray adhesive on the back fabric and align it over the Battilizer®.

    (Click Image to Enlarge)


    Step 6:
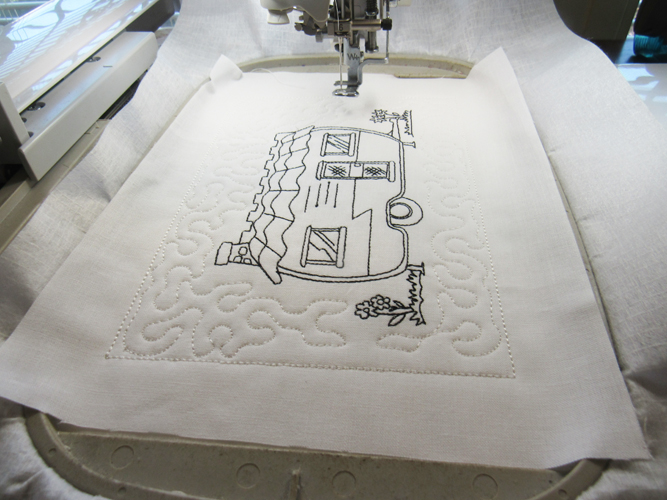
    Run CS 4 in water soluble thread to tack down the back batting and fabric. Run CS 5 in white thread to quilt the block.

    (Click Image to Enlarge)


    Step 7:
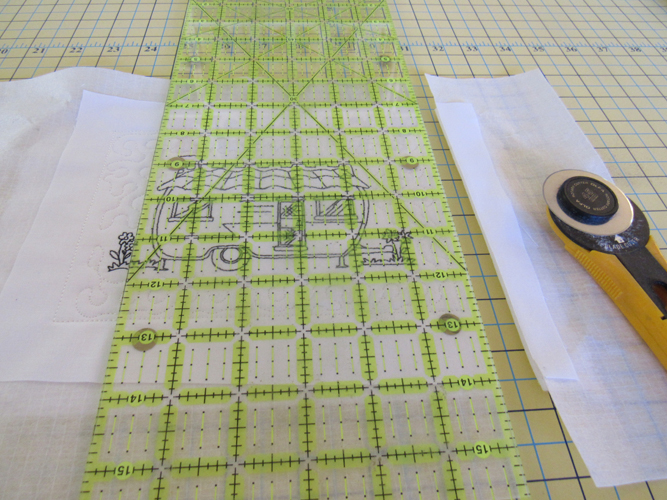
    Remove the project from the hoop. Lay the ¼” mark of a see-through ruler along the water-soluble placement lines and trim all sides of the mug rug.

    (Click Image to Enlarge)


    Step 8:
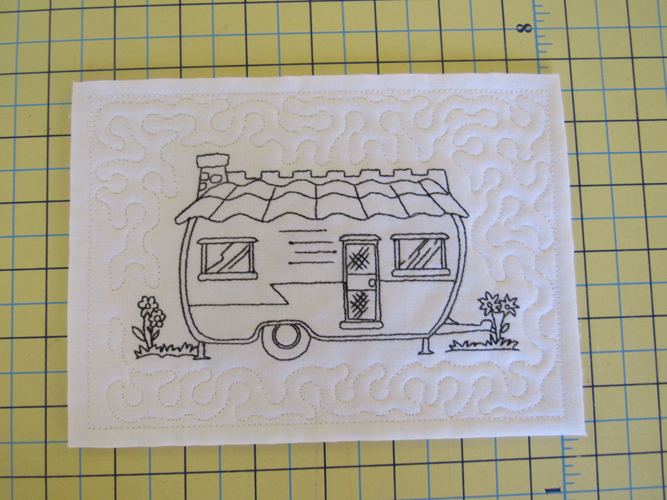
    Your mug rug will now look like this. Stitch out all the mug rugs that you are going to make through this step.

    (Click Image to Enlarge)


    Step 9:
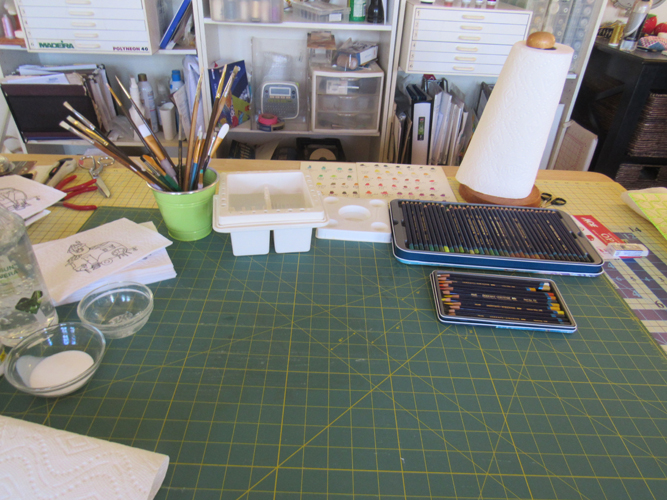
    Now set up your painting supplies. Follow the instructions in the Tips for Painting Embroidery with Inktense Ink Pencils.

    (Click Image to Enlarge)


    Step 10:
    Paint as much or as little of each mug rug as desired. Apply binding using the instructions in our article Binding Small Embroidery Projects.


    Step 11:
    Congratulations your ITH Painted Camper Mug Rugs are complete!

    For the love of embroidery…
    Pat Williams
    Meet the Author: Pat Williams
    Pat Williams
    Award winning Digitizer, Embroidery Educator, Author and a Consultant to the Industry, Pat Williams has 30 years of experience in the embroidery industry. Pat has won multiple awards for her digitizing expertise including the 2007 Impressions Awards Grand Championship, Best of Show as well as the 1st and 2nd Place Awards. Pat’s love of digitizing has afforded her the opportunity to write numerous articles for Impressions magazine in the United States and Images Magazine in Europe. In 2001 Pat was named “Embroidery Educator of the Year.” For many years Pat taught digitizing seminars at the ISS Shows in Long Beach, CA and for Compucon software. She now resides in Tucson, AZ.
    More From This Author
    Link is Broken, Please check the URL
    Exclusive Embroidery Offers!
    Copyright © {{ currentDate | date:'yyyy'}} - EmbroideryDesigns.com
    GET 50% OFF! ×