


PROJECT INSTRUCTIONS


PROJECT INSTRUCTIONS

Vintage American Eagle Plaques Embroidery Project
By
Pat Williams
on
June 02, 2025
PROJECT DETAILS
SKILL LEVEL
Some Experience
TIME REQUIRED
01:00
FINISHED SIZE
10 x 11.75 inches
Description
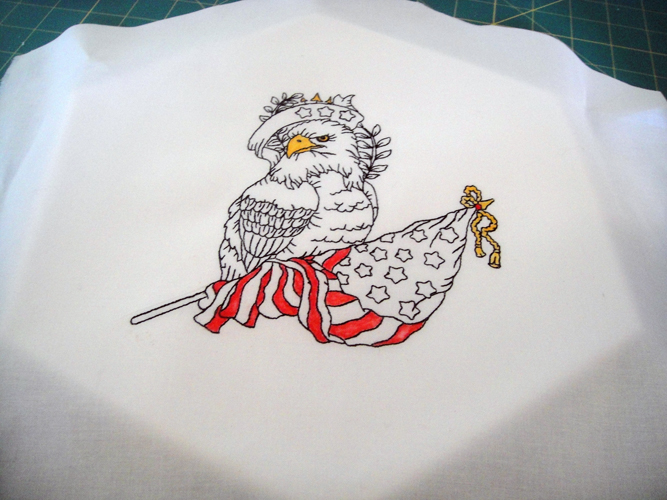
Proudly display your patriotic nature with these famed and painted Vintage American Eagle Plaques in your home or office. These patriotic plaques will also make great awards for service organization such as the VFW, American Legion or Boy Scouts.
Project Preview Video

QUICK VIEW
Patriotic American Eagles Redwork
$24.00
$14.40
Circle Price: $14.40

QUICK VIEW
American Eagle 1
$10.00
$5.00
Circle Price: $5.00

QUICK VIEW
American Eagle 2
$10.00
$5.00
Circle Price: $5.00

QUICK VIEW
American Eagle 3
$10.00
$5.00
Circle Price: $5.00

QUICK VIEW
American Eagle 4
$10.00
$5.00
Circle Price: $5.00

QUICK VIEW
American Eagle 5
$10.00
$5.00
Circle Price: $5.00

QUICK VIEW
American Eagle 6
$10.00
$5.00
Circle Price: $5.00

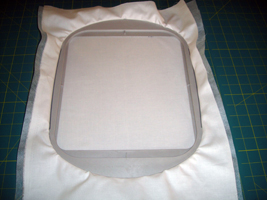
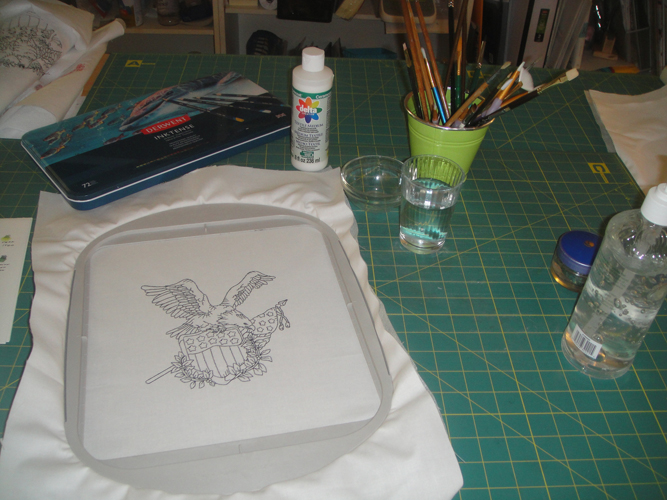
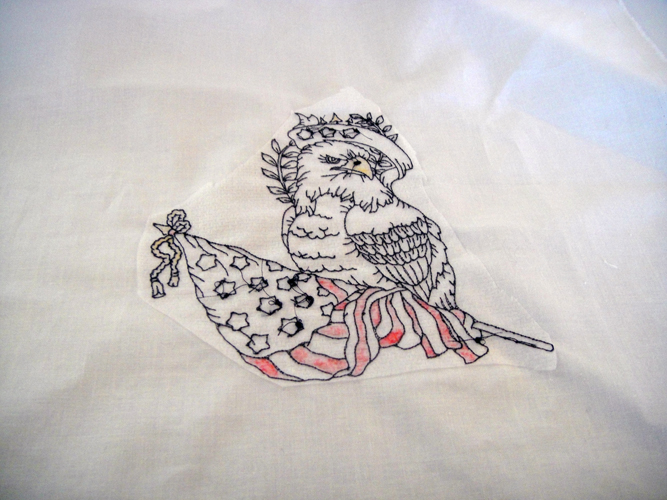
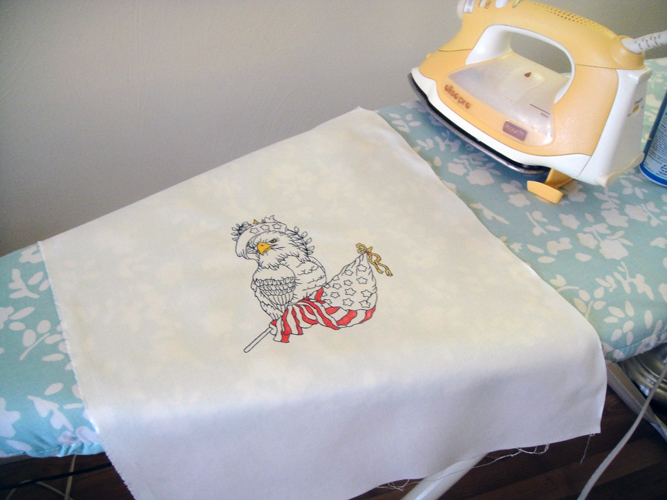
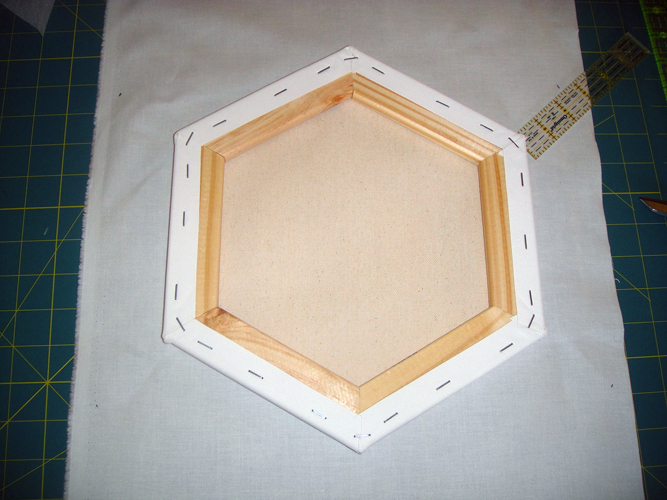
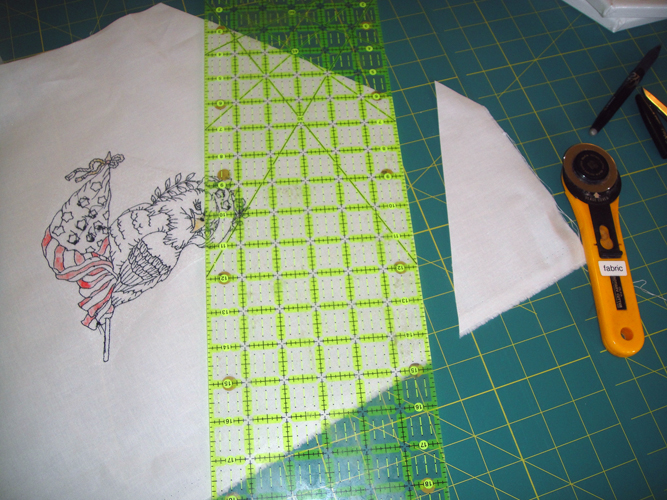
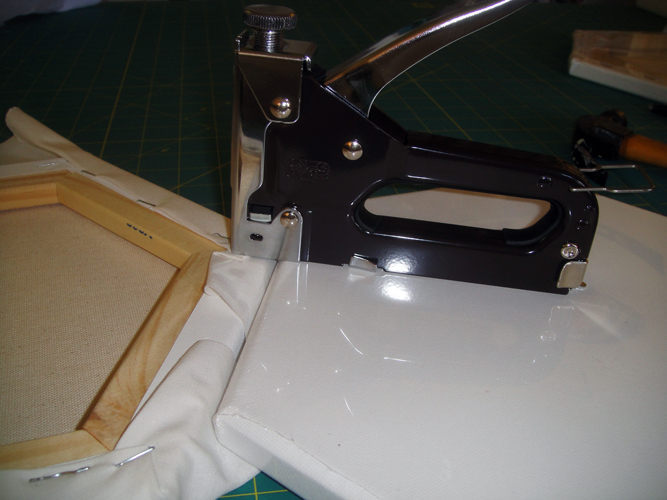
| Materials For each Eagle: Hoop size 8” x 8” or larger 6” Hexagon shaped mounted canvas – see note 16” x 20” White PFD Kona® cloth 16” x 20” no show stabilizer Red and Yellow Gold Inktense Ink Pencils® Fabric medium and Aloe Vera Gel Small paint brushes Staple Gun Spray Adhesive |
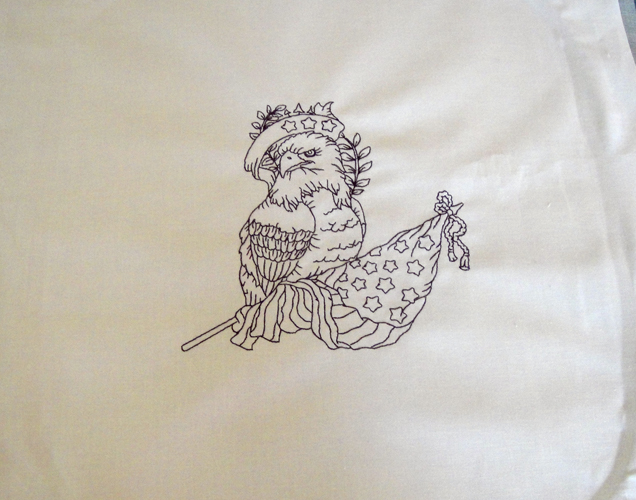
| Designs used in this project |
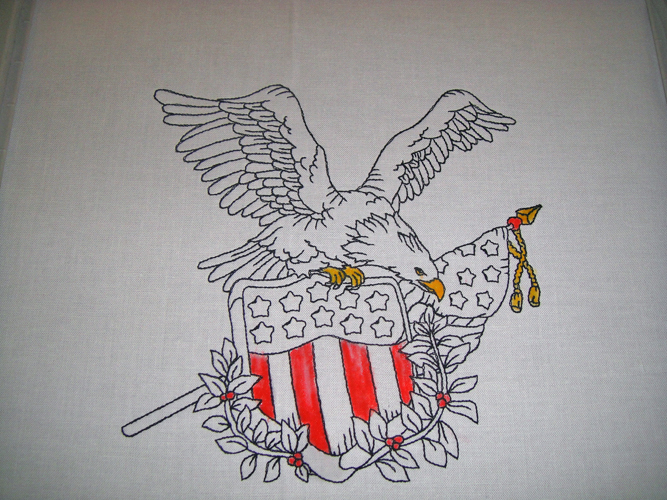
| Final Product: What You Will Create |
 |
|


| For the love of embroidery… Pat Williams |
Projects You May Like
Meet the Author:
Pat Williams

Award winning Digitizer, Embroidery Educator, Author and a Consultant to the Industry, Pat Williams has 30 years of experience in the embroidery industry. Pat has won multiple awards for her digitizing expertise including the 2007 Impressions Awards Grand Championship, Best of Show as well as the 1st and 2nd Place Awards. Pat’s love of digitizing has afforded her the opportunity to write numerous articles for Impressions magazine in the United States and Images Magazine in Europe. In 2001 Pat was named “Embroidery Educator of the Year.” For many years Pat taught digitizing seminars at the ISS Shows in Long Beach, CA and for Compucon software. She now resides in Tucson, AZ.
Feedback
Characters Remaining
Please Login to Submit a Feedback
Invalid Characters, Please enter a valid Comment
Please enter a valid Comment
Reviewed On
Link is Broken, Please check the URL