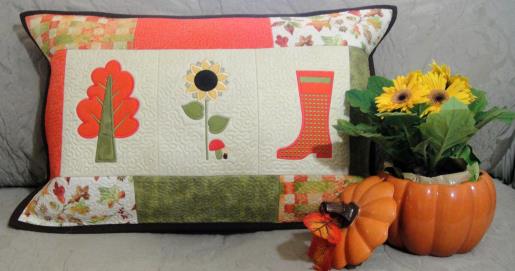
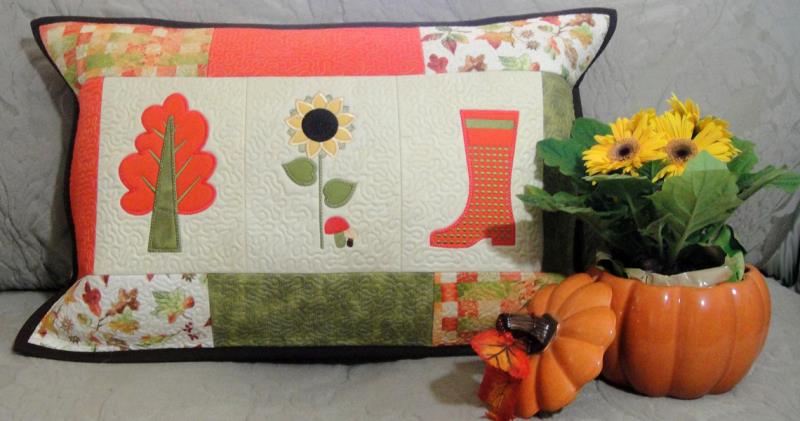
Fall in Love with the simple techniques used to create this lovely pillow. All blocks are made in the hoop and assembled at your sewing machine. The pillow back and front are joined together with the binding.
The designs used in this project are made so that you can use them as regular quilt blocks or use them without a quilt back fabric applied as they are used in this project. You can alternately make them join together with sashing as in the On the Boardwalk Table Runner. Please note that a 12” x 7” hoop was used in the sample as my machine does not have a 6” x 10” hoop. To make them as shown in this project follow the instructions below.
Step 1:
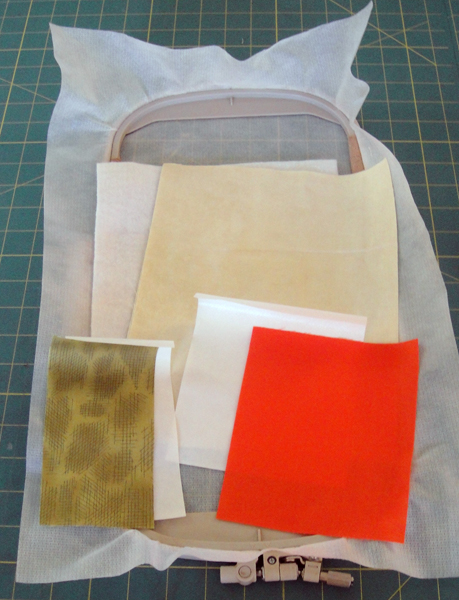
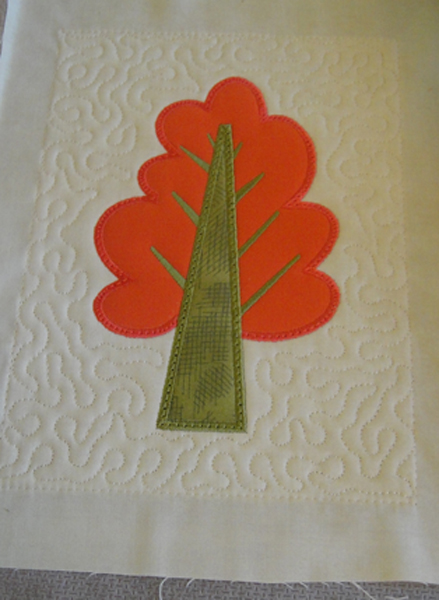
For the first block, FALLP01, cut: a. Ivory background fabric and Battilizer® 10” x 8” b. Dark Orange and Heat N Bond Lite® 6” x 5” c. Olive Funky Fall and Heat N Bond Lite® 6” x 3” d. No show stabilizer to fit your hoop Press all fabrics with spray adhesive and fuse the Heat N Bond Lite® to the applique fabrics following the manufacturer’s instructions.
(Click Image to Enlarge)
Step 2:
(Click Image to Enlarge)
Run colors stop (CS) 1 in a neutral color as a placement line for the block.
Step 3:
(Click Image to Enlarge)
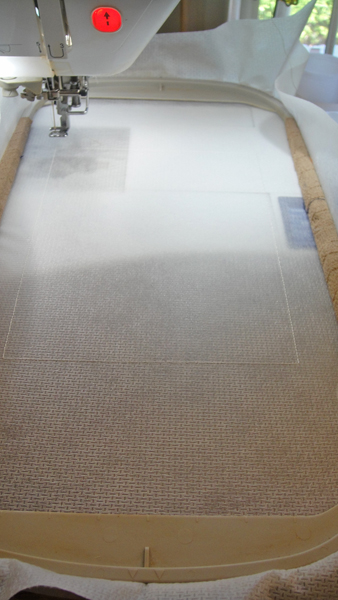
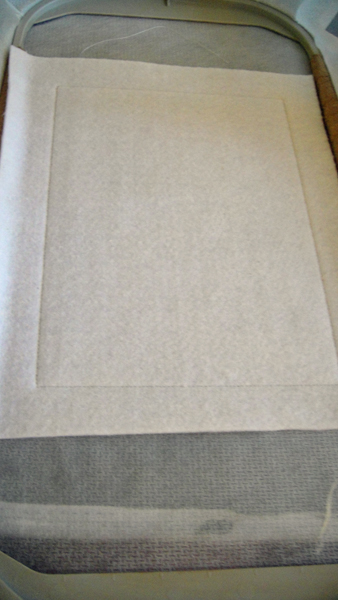
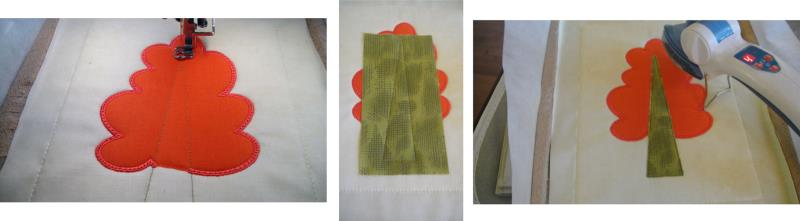
Spray adhesive on the Battilizer® and position over the placement line so that the Battilizer® exceeds the placement line by at least ½” on all sides. Run CS 2 to tack down the Battilizer®.
Step 4:
(Click Image to Enlarge)
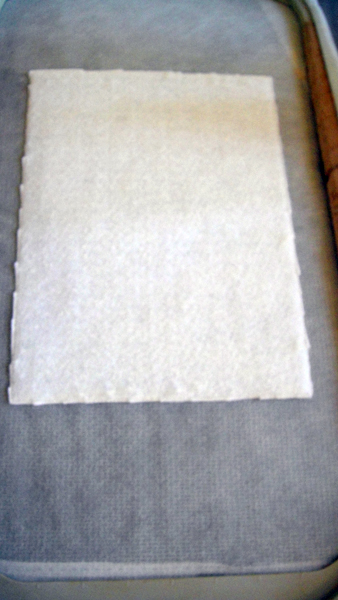
As these blocks are joined together without sashing we will want to remove the Battilizer® before the blocks are joined together. You can trim it out now – recommended – or trim it out after the blocks are joined together.
Step 5:
(Click Image to Enlarge)
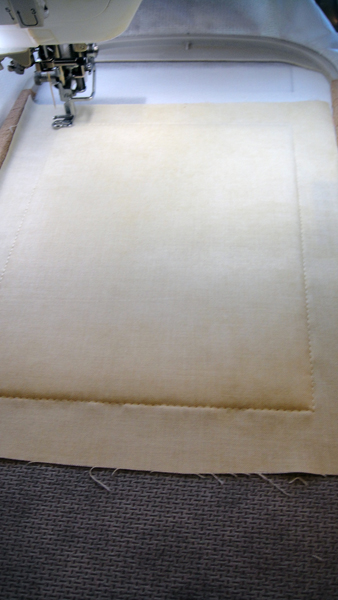
Spray adhesive on the background fabric and position over the Battilizer® so that the fabric exceeds the Battilizer® by ½” on all sides. Run CS 3 in water soluble thread to tack the fabric to the block.
Step 6:
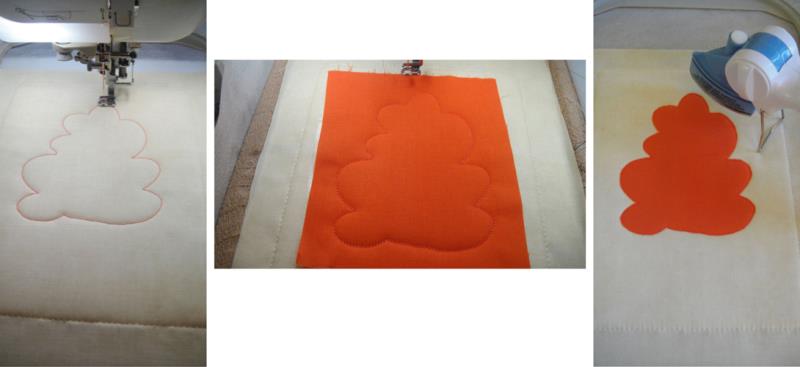
Run CS 4 in an orange thread to match your Dark Orange fabric as a placement line for the applique; remove the paper backing from the tree applique fabric spray the fabric back with adhesive and position over the outlines; run the next color stop to tack down the fabric; trim the fabric right up next to the tack down lines; press the applique; return the hoop to the machine and run the next color stop to border the tree top.
(Click Image to Enlarge)
Step 7:
CS 7, CS 8 and CS 9 can all be sewn in Guacamole (1106) to sew the placement line, tack down and to border the tree.
(Click Image to Enlarge)
Step 8:
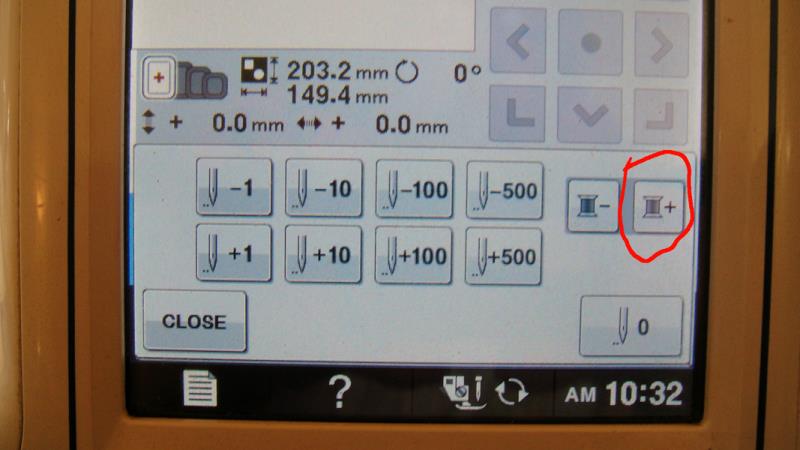
Color stop 10 that calls for water soluble thread is in these designs for those that want to put a background fabric on these quilt blocks. It is not needed for the way we are putting these blocks together for this pillow cover. When your machine shows it is ready for Color stop 10, look for a symbol on your machine such as this + thread symbol to move the machine forward one color stop and it will skip stitching CS 10.
(Click Image to Enlarge)
Step 9:
Run the last CS to quilt the block.
(Click Image to Enlarge)
Step 10:
(Click Image to Enlarge)
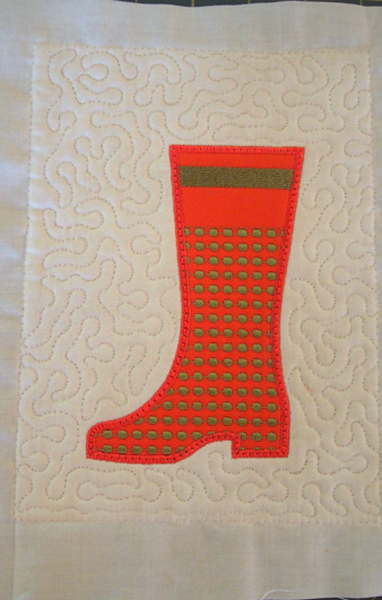
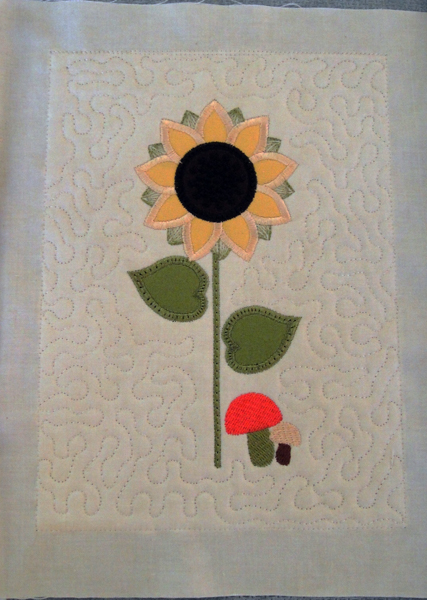
Design FALLP02 uses the same techniques as outlined above, except there is only one applique in this design. Cut for this block: a. Ivory background fabric and Battilizer® 10” x 8” b. Dark Orange and Heat N Bond Lite® 6 1/2” x 4 1/2” c. No show stabilizer to fit your hoop
Step 11:
Design FALLP03 also uses the same techniques used in Steps 2 through 9 except there are 4 appliques, the two leaves, the flower petals and the flower center. Follow the color chart using fabrics and applique pieces cut as follows: a. Ivory background fabric and Battilizer® 10” x 8” b. Solid olive fabric and Heat N Bond Lite cut 2 2” x 2” squares c. Soft Golden Yellow and Heat N Bond Lite® 3 ½” x 3 ½” d. Dark Chocolate fabric and Heat N Bond Lite® 2 ½” x 2 ½” e. No show stabilizer to fit your hoop
(Click Image to Enlarge)
Step 12:
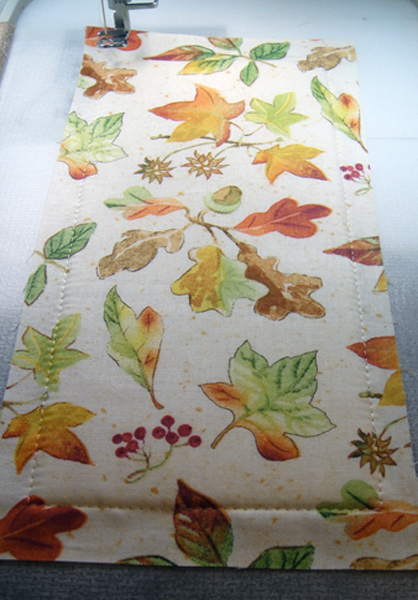
FALLP04 makes the top and bottom border pieces for this pillow cover. Make 6 of these. Cut 11” x 6” rectangles as follows: a. 2 of the Autumn Woods – Tossed Leaves b. 1 each of Dark Orange and Funky Fall Olive fabrics c. 2 of Joyful Blooms - Checks d. Cut 6 11” x 6” rectangles from the Battilizer®. Follow the techniques in Steps 3 through 5 and then run the last color stop to quilt the border pieces.
(Click Image to Enlarge)
Step 13:
FALLP05 makes the side border pieces for this pillow cover. Cut 1 each 10” x 6” rectangles of Dark Orange and Funky Fall Olive fabrics and cut 2 Battilizer® rectangles of the same size. Assemble the side border pieces as Step 12.
Step 14:
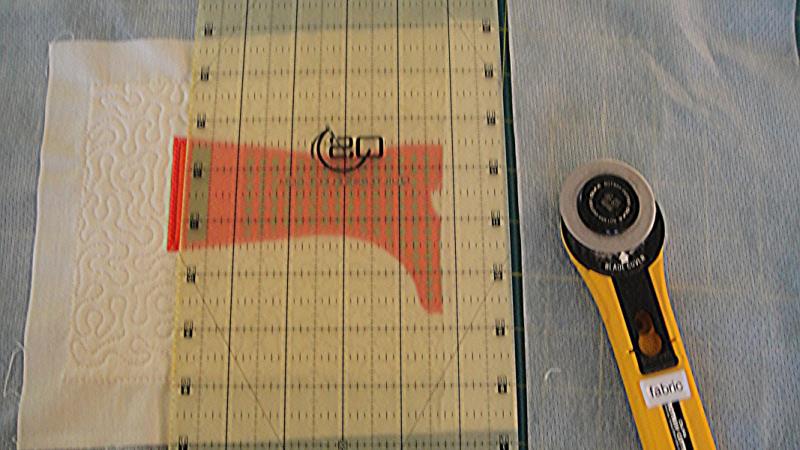
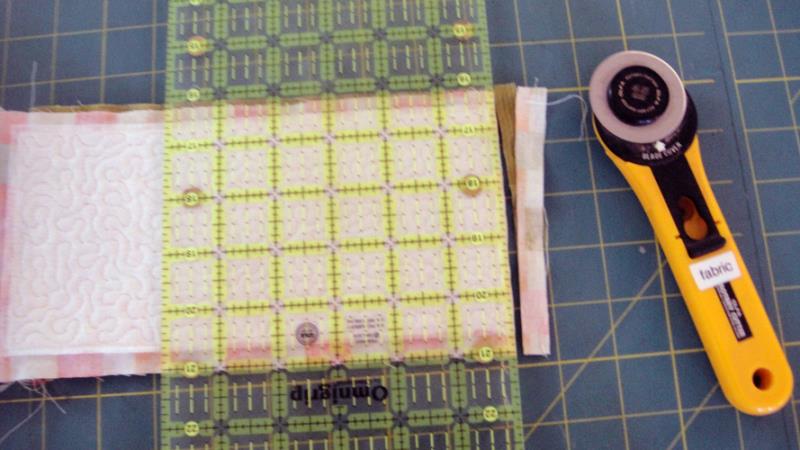
Lay the ½” mark of a see through ruler on the water soluble thread stitching and trim all edges of all blocks to ½”. Fold back the seam allowances and trim away the stabilizer as close as possible to the water soluble thread stitching.
(Click Image to Enlarge)
Step 15:
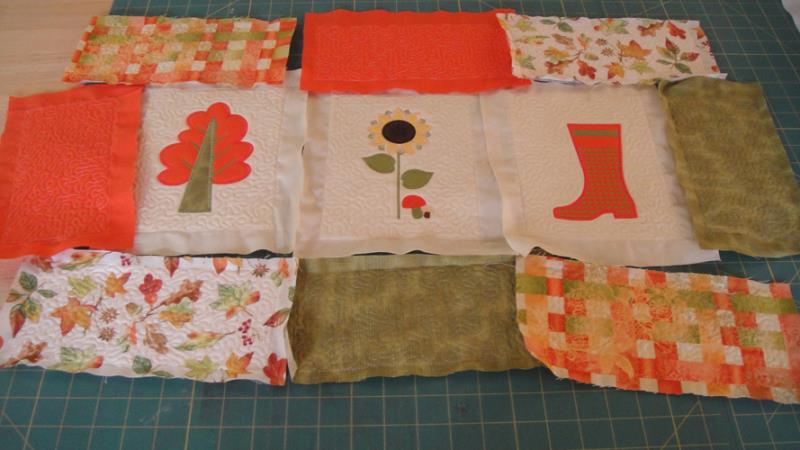
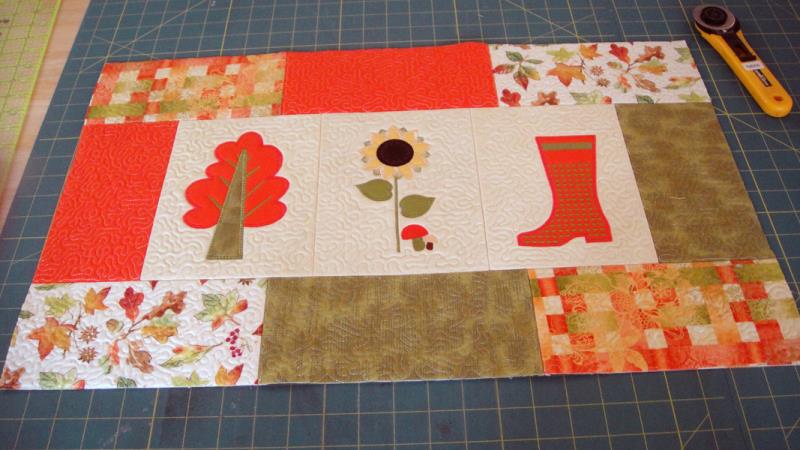
Lay the blocks out in the order in which you wish to sew them together.
(Click Image to Enlarge)
Step 16:
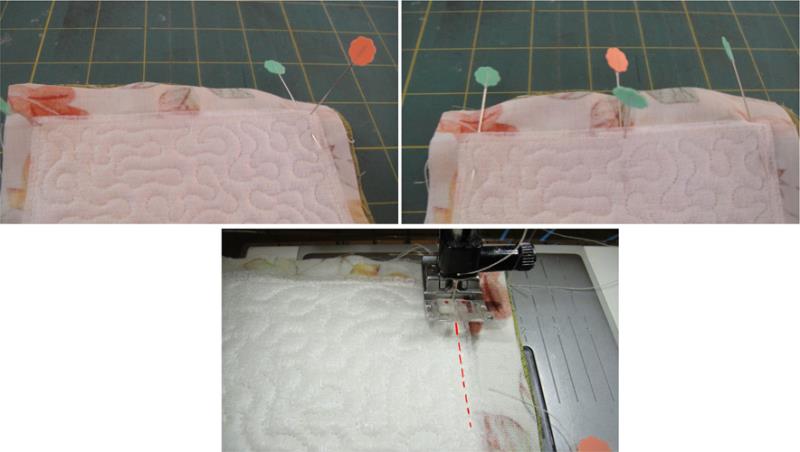
We will now join the blocks into rows and then join the rows together at the sewing machine. To achieve precision alignment of the blocks use the double pinning method. Place the first two border blocks of the bottom row right sides together. Place a pin vertically through the top right hand stitch of the first block, push the same pin through the exact corner stitch of the second block; then place a pin horizontally through the two blocks as close as possible to the vertical pin. Do the same pinning on the bottom corner stitch of the blocks and then align the center of the block and pin in the same way. Stitch the two blocks together with a 3.5mm straight stitch just on the inside of the water soluble thread stitching. Join the third block of the bottom row to the middle block in the same way.
(Click Image to Enlarge)
Step 17:
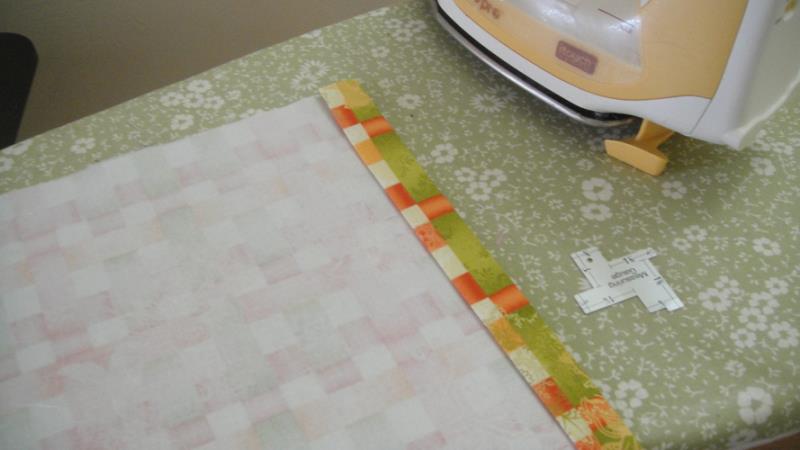
Trim the seam allowances to ¼”. Press the seam allowances open.
(Click Image to Enlarge)
Step 18:
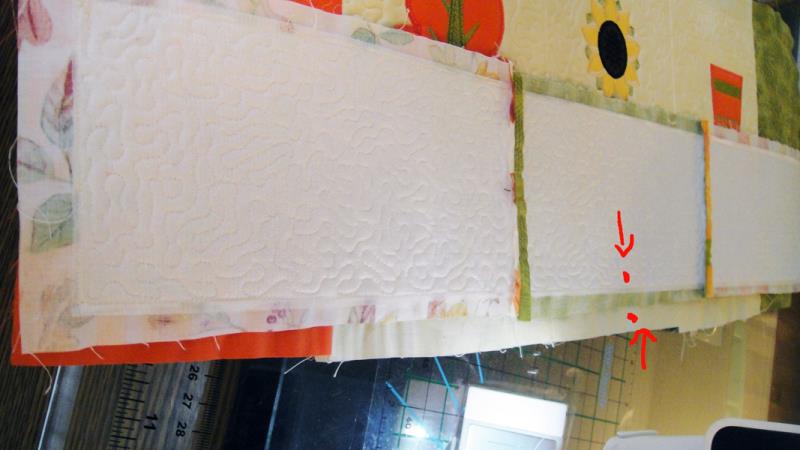
Join all the rows of the pillow top together. When you go to join the top and bottom rows to the middle row, the top and bottom rows will be approximately 1” longer than the middle row. This was done to allow for differences that might occur in seam allowances in how wide anyone making the project might have stitched their seam allowances. So when you align the top and bottom rows to pin them to the middle row, find the center of the rows and pin and align them first, then pin out in both directions from the center leaving what excess there is in the top and bottom rows extending beyond the middle rows.
(Click Image to Enlarge)
Step 19:
(Click Image to Enlarge)
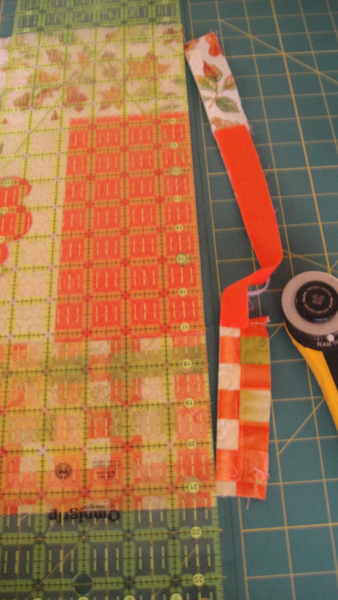
After all three rows are joined together, trim the pillow cover top down to the water soluble thread on all sides, i.e., trim all the way down to the quilting without leaving any seam allowances.
Step 20:
This is what your project should look like now. Measure the width of the project.
(Click Image to Enlarge)
Step 21:
Cut two pieces of the Joyful Blooms – Checks fabric the width of your pillow top by 15.5”. Cut two matching pieces of fusible knit interfacing and fuse to your pillow back piece. Turn in one long edge of each piece 1” and press, fold over 1” and press again. Stitch the hems down close to the inside edge.
(Click Image to Enlarge)
Step 22:
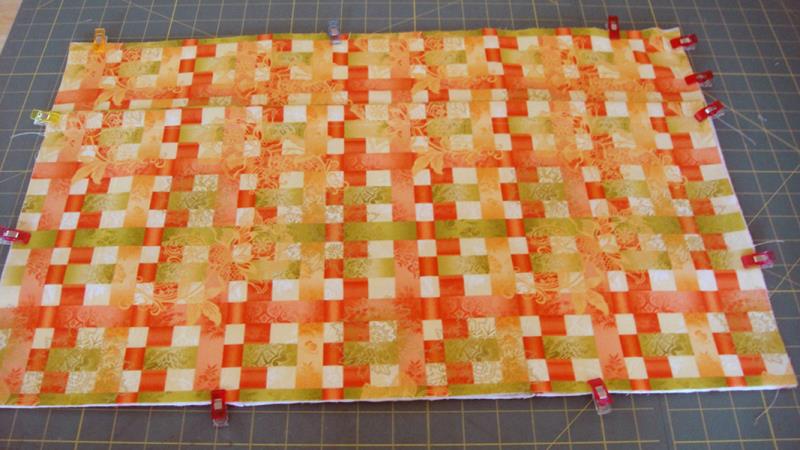
Lie the pillow top face down on the table. Clip or pin the two back pieces, right side up, to the pillow top overlapping the hemmed edges. Machine baste the pillow top to the backs with a scant ¼” seam allowance.
(Click Image to Enlarge)
Step 23:
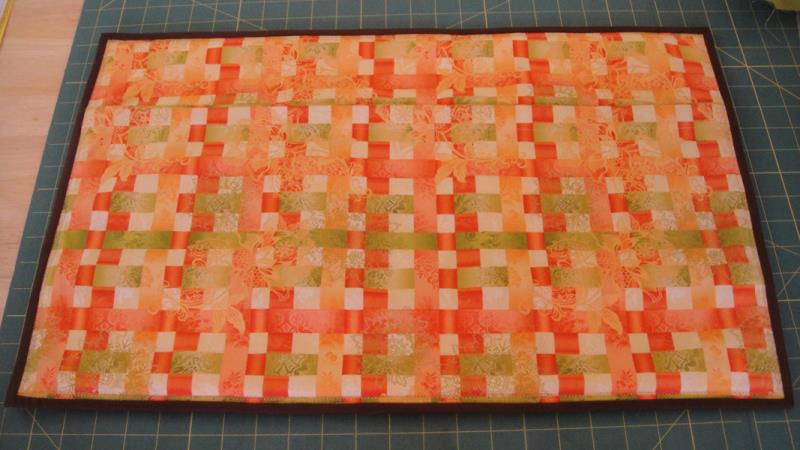
Cut 3 2 ¼” strips of Dark Chocolate fabric and join to create your binding. Sew the binding around the pillow top using your preferred method.
(Click Image to Enlarge)
Step 24:
Insert the pillow form. Congratulations your Fall in Love Pillow is complete!
Award winning Digitizer, Embroidery Educator, Author and a Consultant to the Industry, Pat Williams has 30 years of experience in the embroidery industry. Pat has won multiple awards for her digitizing expertise including the 2007 Impressions Awards Grand Championship, Best of Show as well as the 1st and 2nd Place Awards. Pat’s love of digitizing has afforded her the opportunity to write numerous articles for Impressions magazine in the United States and Images Magazine in Europe. In 2001 Pat was named “Embroidery Educator of the Year.” For many years Pat taught digitizing seminars at the ISS Shows in Long Beach, CA and for Compucon software. She now resides in Tucson, AZ.