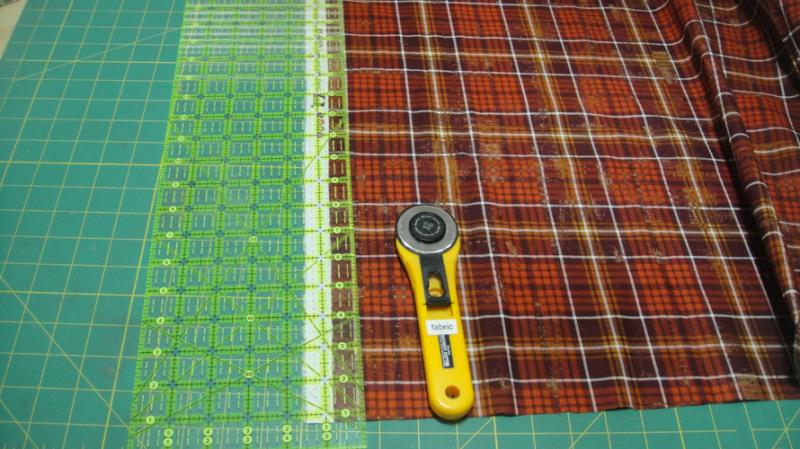
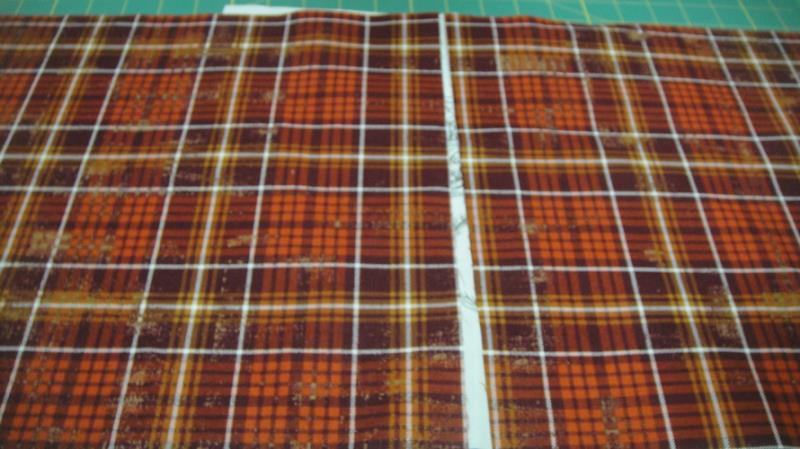
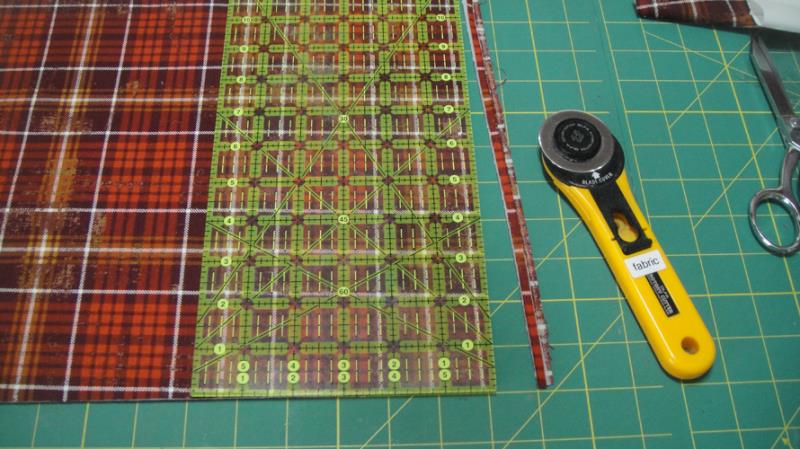
1. Cut out your fabrics: a. Plaid fabrics are rarely printed straight on the grain anymore. So if using plaid fabric, pick a line on the fabric to trim off the selvage and follow that line down the fabric. Then measure over 13” and follow another line in the plaid to cut your first strip. Cut two 13” squares for the ends of the table runner from that strip. b. Cut a 13” x 40” strip of plaid for the table runner back. c. Cut a 13” square of the center ivory fabric. d. Cut a 13” x 40” strip of fusible batting e. Cut 120” of bias binding 2 ½” wide from the contrast fabric f. Cut 3 13”squares of fusible knit interfacing
(Click Image to Enlarge)
Step 2:
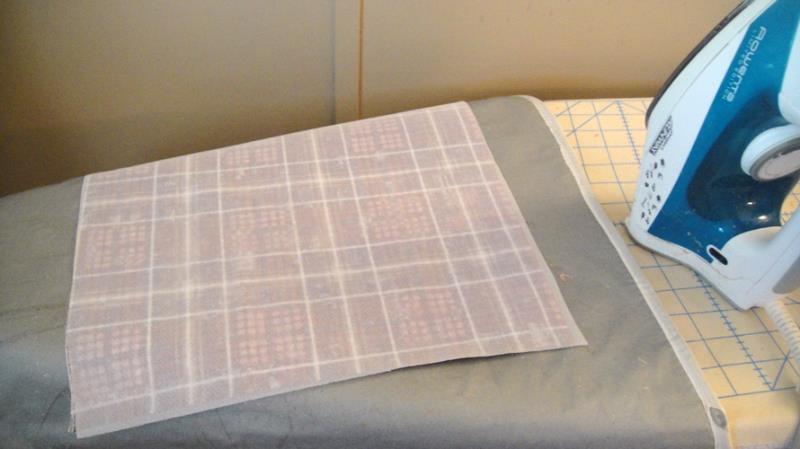
Press the 3 squares of the fusible knit interfacing to the 2 13” squares of plaid fabric and the ivory center square following the manufactures instructions. Note: An ironing mat was used on the ironing board in this picture to protect the regular ironing board cover from adhesive.
(Click Image to Enlarge)
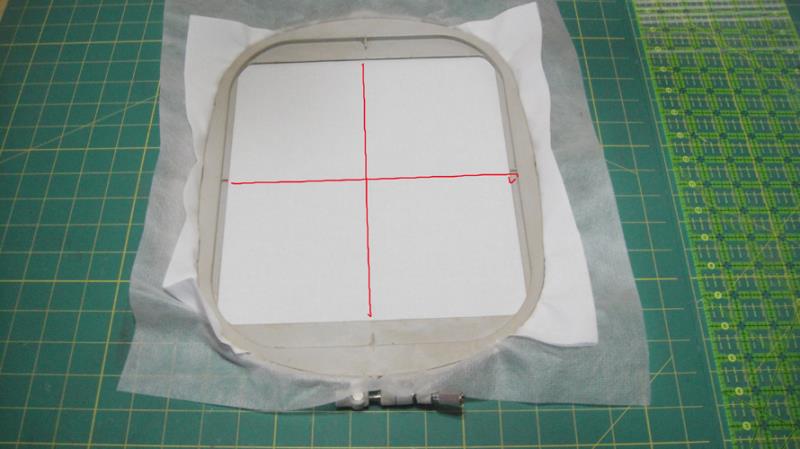
Step 3:
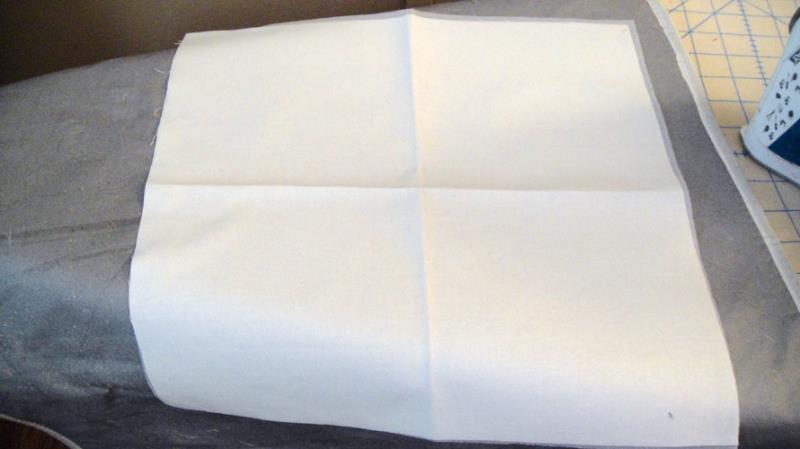
Lightly press center horizontal and vertical lines in the ivory fabric to mark the center of the square.
(Click Image to Enlarge)
Step 4:
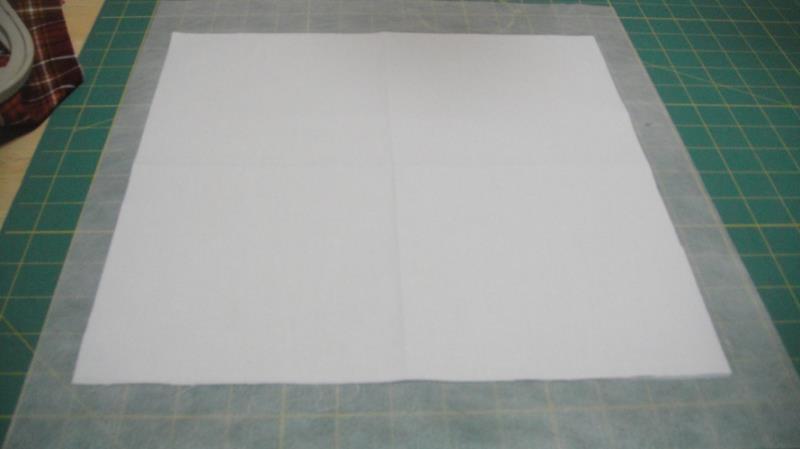
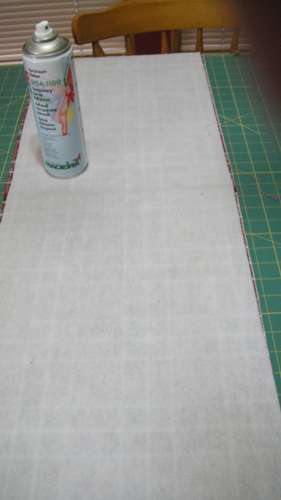
Spray adhesive on the back of the ivory square and center on the no show stabilizer.
(Click Image to Enlarge)
Step 5:
Hoop the stabilizer and fabric in the embroidery hoop centering the fabric.
(Click Image to Enlarge)
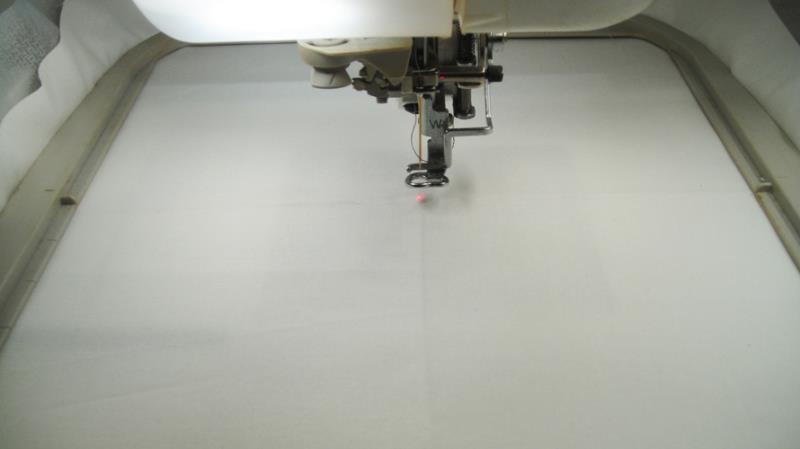
Step 6:
Center your needle over the pressed cross hairs in the fabric.
(Click Image to Enlarge)
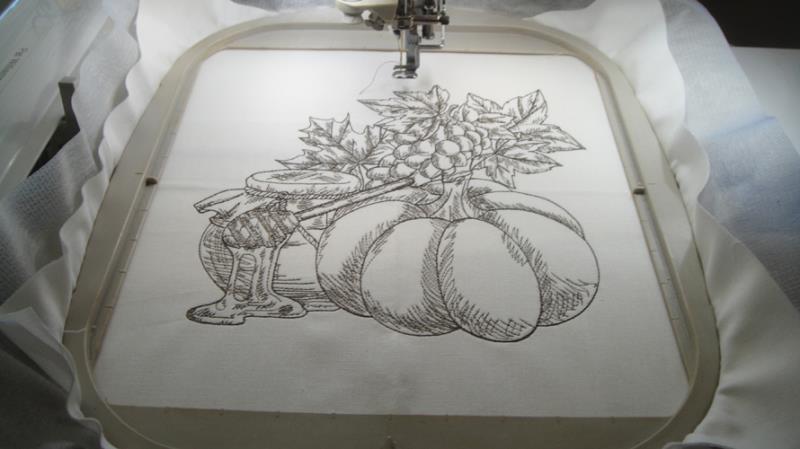
Step 7:
Embroider the design.
(Click Image to Enlarge)
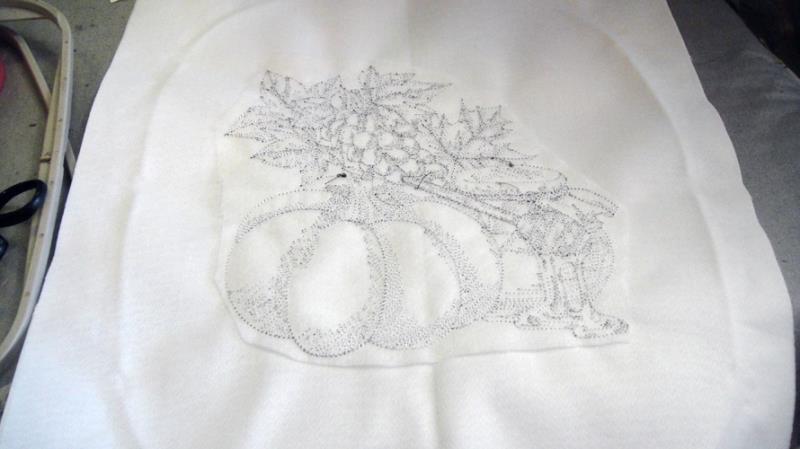
Step 8:
Trim the stabilizer around the embroidery.
(Click Image to Enlarge)
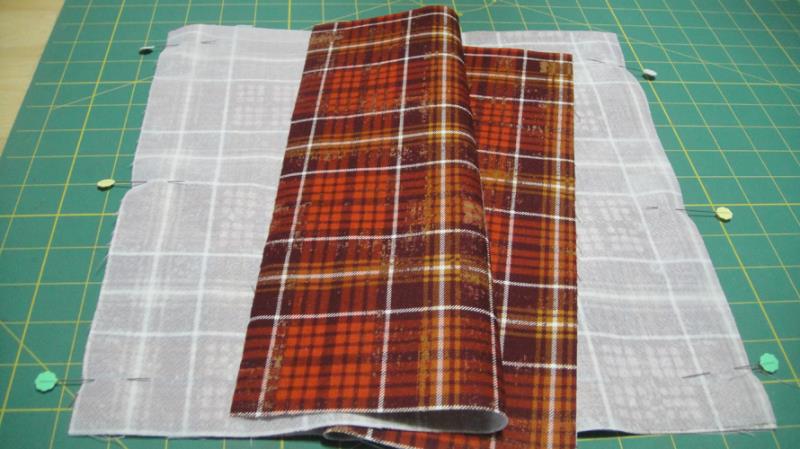
Step 9:
Lay out, and rotate if necessary, your two plaid fabric squares so that the matching plaids will be on each side of the table runner.
(Click Image to Enlarge)
Step 10:
Pin the matching plaid sides to the sides of the embroidered square.
(Click Image to Enlarge)
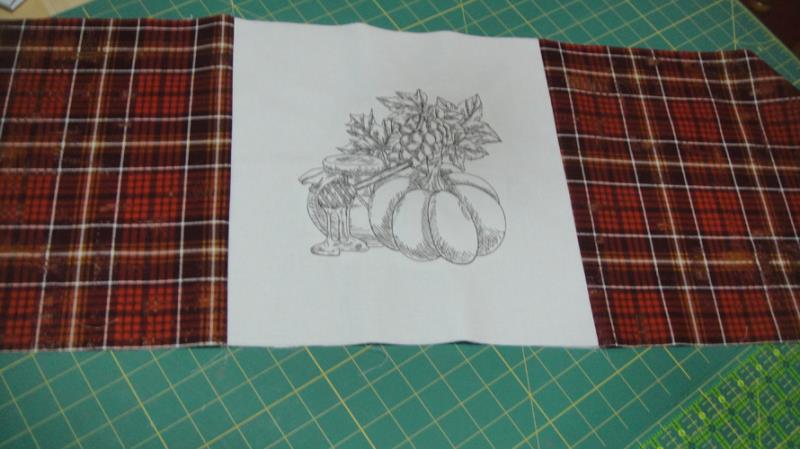
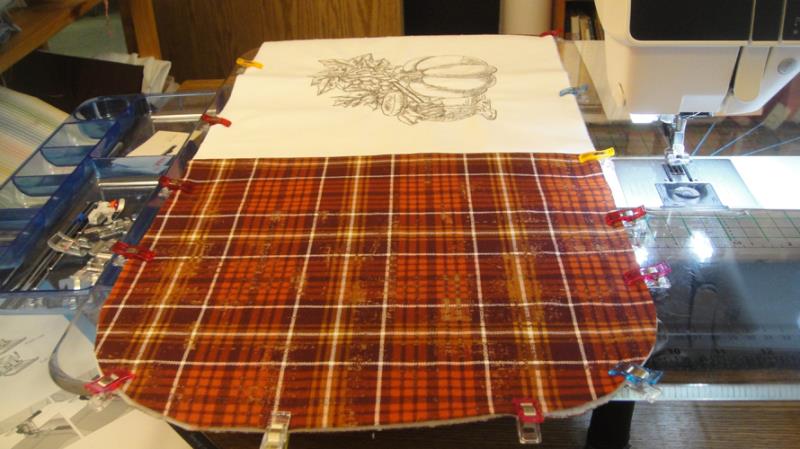
Step 11:
Stitch the side panels to the embroidered square with a ½” seam allowance.
(Click Image to Enlarge)
Step 12:
Trim the seam allowances to ¼” and press towards the plaid fabrics.
(Click Image to Enlarge)
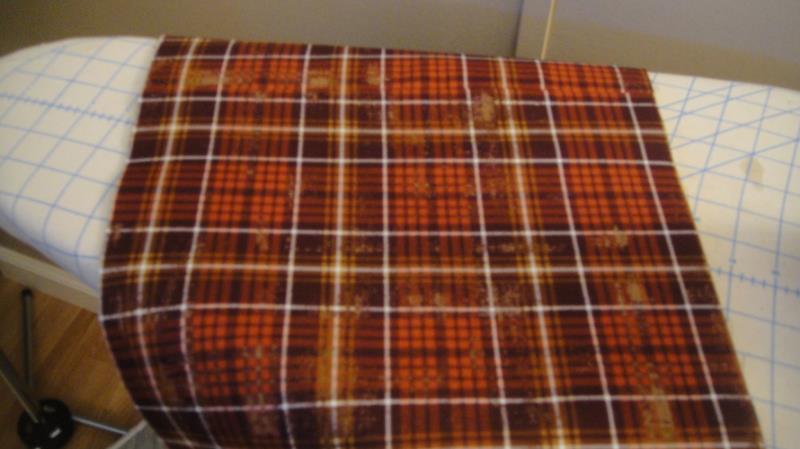
Step 13:
Following the manufacturer’s instructions fuse the batting to the back fabric.
(Click Image to Enlarge)
Step 14:
(Click Image to Enlarge)
Spray adhesive on the batting and smooth the table runner top over the batting.
Step 15:
Square up table runner by trimming all the edges so that all fabrics are even.
(Click Image to Enlarge)
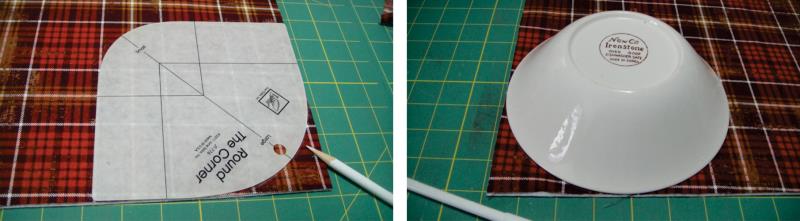
Step 16:
Use a rounded corner template or a bowl, plate or pot lid to mark a cutting line on each corner. Cut each corner with scissors.
(Click Image to Enlarge)
Step 17:
At this point we usually say bind as desired. That is true here as well, but I want to share with you a trick I just learned to make sewing the binding down easier.
(Click Image to Enlarge)
Step 18:
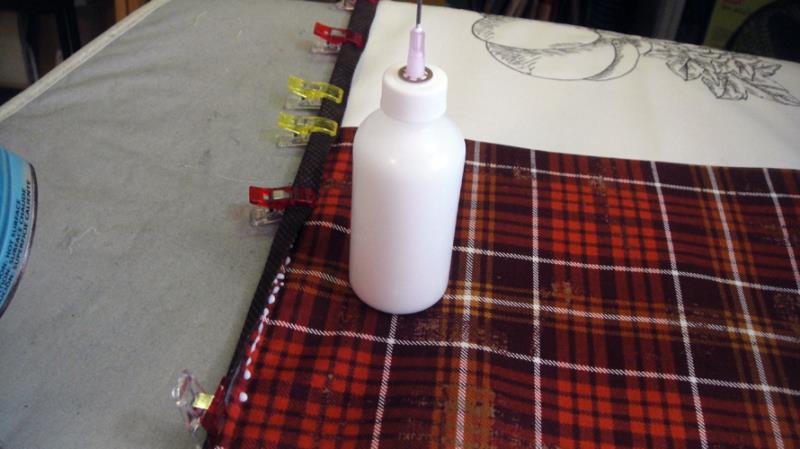
Join your bias cut binding strips (they need to be cut on the bias due to the rounded corners), starch and fold and press the bias binding in half lengthwise. Stitch to the back of the quilt with a ¼” seam allowance using your preferred method. Fold the binding to the front of the table runner. Then here is the trick. With a fine tip applicator put a thin line of the Elmer’s glue under the binding.
(Click Image to Enlarge)
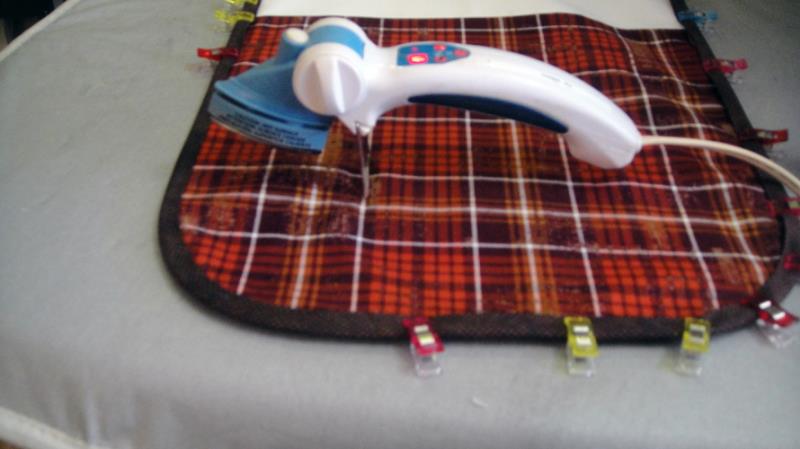
Step 19:
Then iron the glued area to dry the glue. I used an applique iron but you could use a regular iron as well. I just applied the glue and ironed about 2 to 3 inches at a time.
(Click Image to Enlarge)
Step 20:
Glue the bias down all around the table runner. This glue is water soluble so it will wash out of the table runner.
(Click Image to Enlarge)
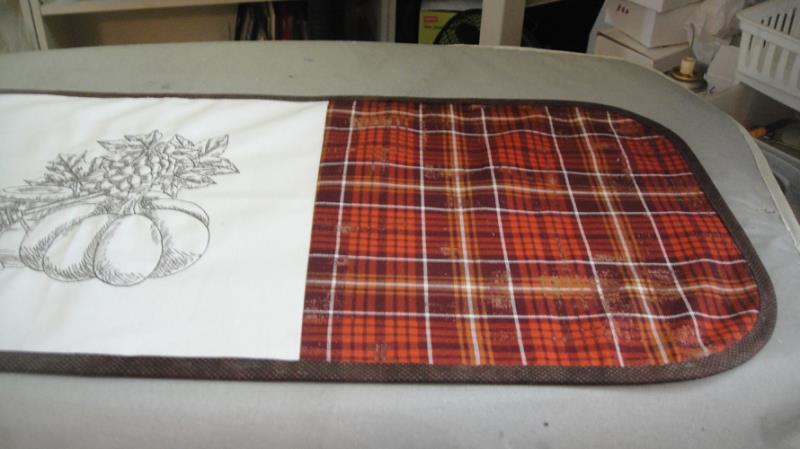
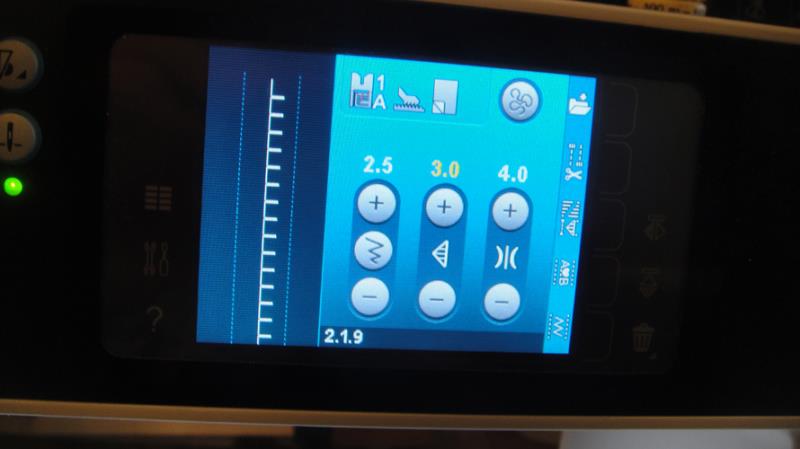
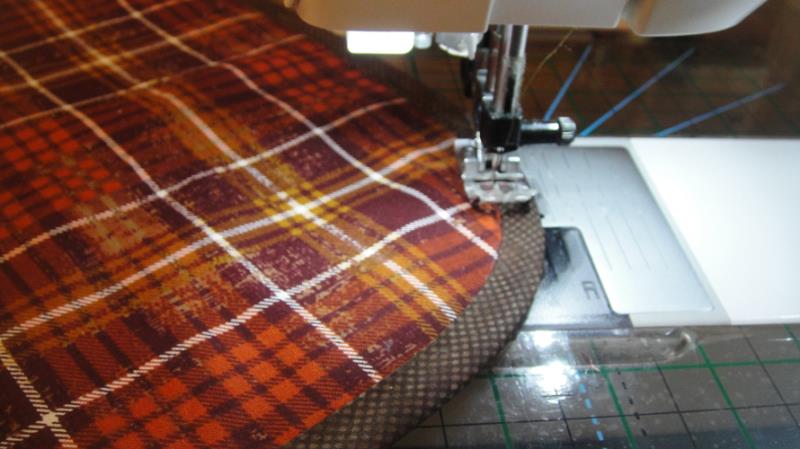
Step 21:
An E stitch was used to stitch the binding to this table runner, you may use a straight or decorative stitch to sew down yours.
(Click Image to Enlarge)
Step 22:
Having glued down the binding makes it so much easier to stitch it down without having pins or clips be in your way and ensured perfectly smooth rounded corners.
(Click Image to Enlarge)
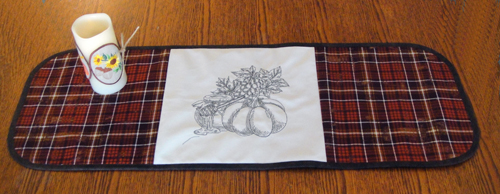
Step 23:
Congratulations your Fall Harvest Table Runner is complete! Look how pretty it is with our Thanksgiving Candle Cover on a flameless candle.
Award winning Digitizer, Embroidery Educator, Author and a Consultant to the Industry, Pat Williams has 30 years of experience in the embroidery industry. Pat has won multiple awards for her digitizing expertise including the 2007 Impressions Awards Grand Championship, Best of Show as well as the 1st and 2nd Place Awards. Pat’s love of digitizing has afforded her the opportunity to write numerous articles for Impressions magazine in the United States and Images Magazine in Europe. In 2001 Pat was named “Embroidery Educator of the Year.” For many years Pat taught digitizing seminars at the ISS Shows in Long Beach, CA and for Compucon software. She now resides in Tucson, AZ.