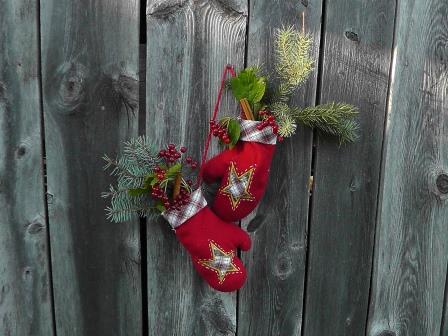
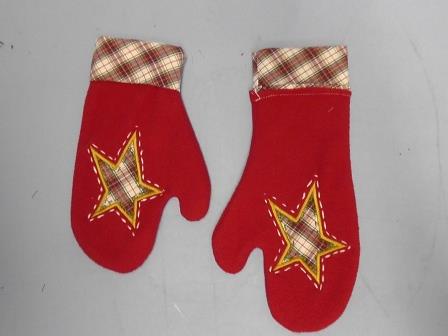
Often it is hard to let go of our children’s clothing when they outgrow it. This is a perfect project to reuse the clothing into some “Upcycled Merry Mittens” which will be a festive decoration and a nice reminder of the child who wore the clothing.
Step 1:
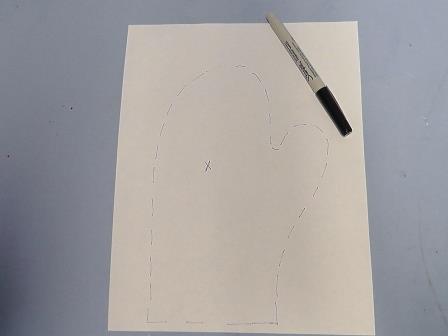
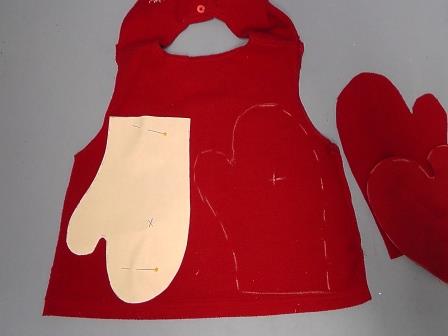
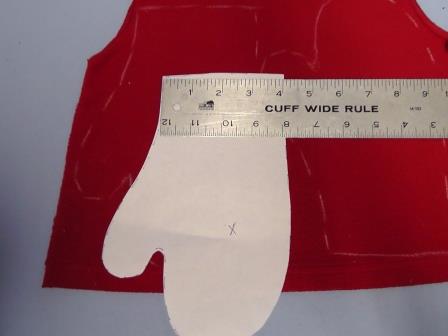
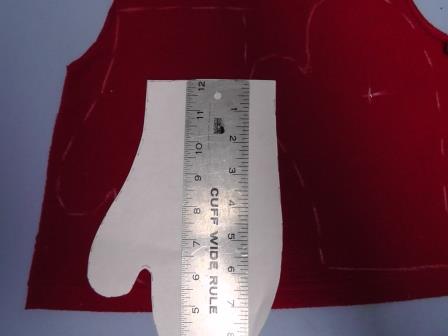
Begin by tracing around your hand in a mitten shape to create a pattern. Be sure to leave a large enough opening at the bottom and add in ¼” seam allowances. Mark the center for the design with an x and cut out the pattern.
Step 2:
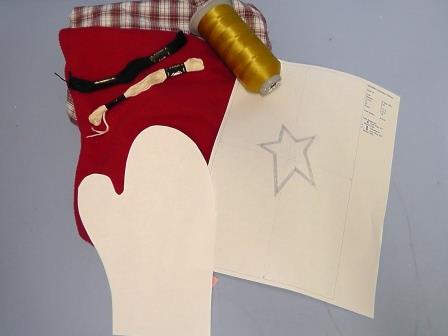
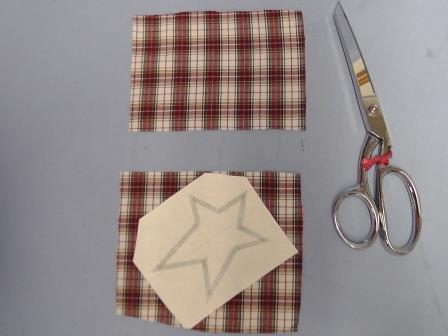
Gather the supplies needed and print off a paper template of the design. The red fabric is a little girls’ fleece top and the plaid is a little boys’ cotton shirt.
Step 3:
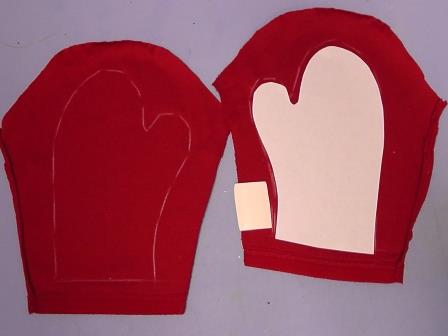
If using an old piece of clothing, carefully cut apart the garment along the seams and press the fabric pieces. Use the fabric to trace 2 right and 2 left mittens. Here the sleeves were used for one set of mittens
Step 4:
and the garment back was used for the second set. Mark the alignment point for stitching the design.
Step 5:
Measure the opening for the cuff; double this measurement (because one seam is being sewn, the seam allowance will automatically be included).
Step 6:
Determine how deep you would like the cuff; double the measurement and add ½” (for the seam allowances).
Step 7:
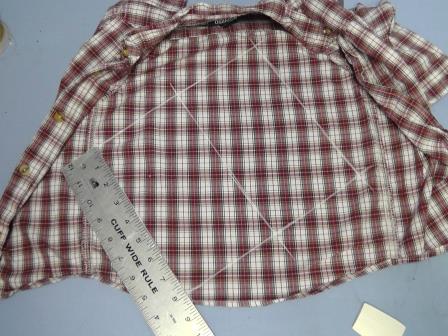
Using the shirt back, mark and cut two cuffs on the bias of the fabric.
Step 8:
Also cut two additional pieces of fabric larger than the star printed template. These will be the applique pieces.
Step 9:
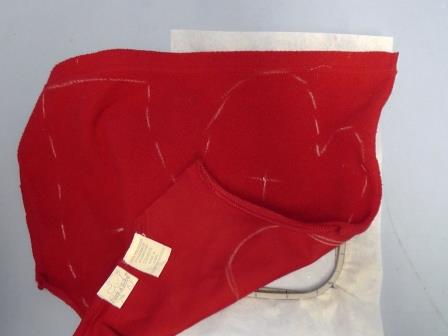
Because hooping will mar the fleece fibers, hoop a piece of tearaway stabilizer. Align and center one mitten front to the stabilizer.
Step 10:
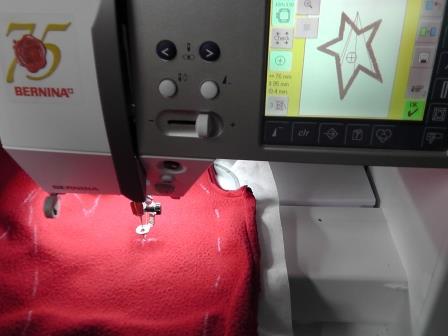
Load the embroidery design and align the design in the hoop to the mark on the mitten.
Step 11:
Stitch the first outline. Stop the machine.
Step 12:
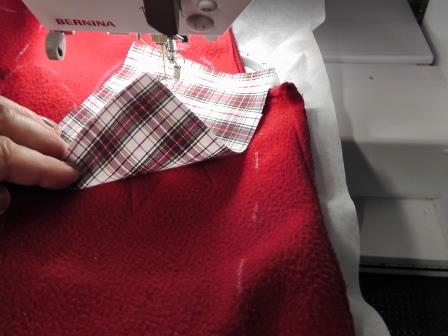
Place down one piece of the applique fabric.
Step 13:
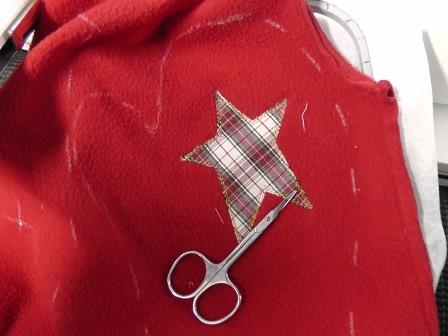
Start the machine and stitch the tack down. Remove the hoop from the machine and trim the excess fabric.
Step 14:
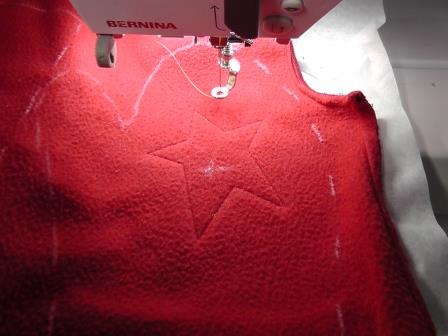
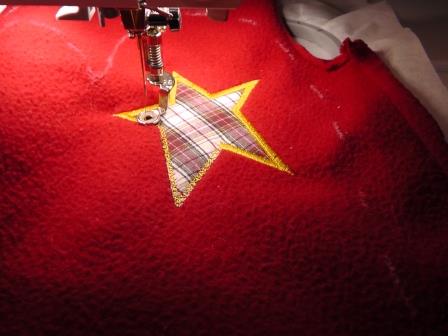
Return the hoop to the machine and stitch the cover stitch.
Step 15:
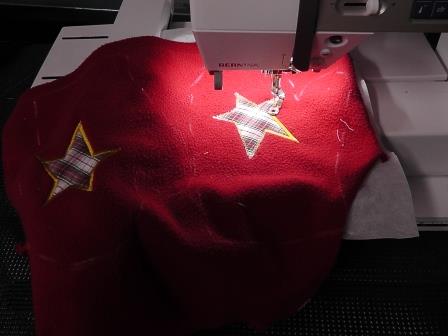
Repeat the steps of hooping and stitching for the second mitten.
Step 16:
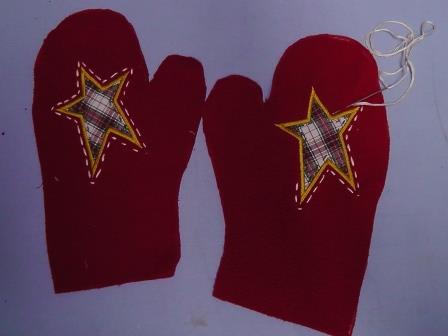
Remove the stabilizer and cut out the mittens. Use six strands of embroidery floss with the crewel needle to create running stitches inside and around the star as shown. For this project, dark green was used for stitching inside the stars and the cream embroidery floss was used to create stitching around the stars.
Step 17:
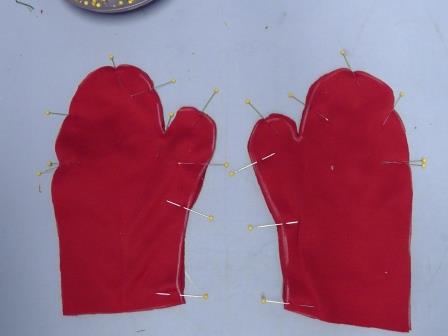
Match and pin the plain mittens, right sides together, to the embroidered mittens.
Step 18:
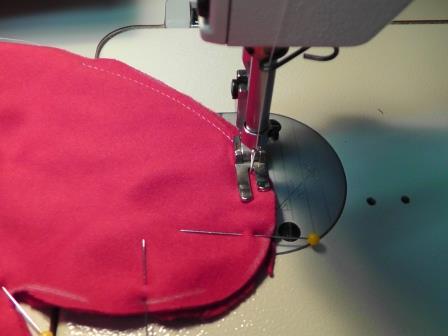
Stitch the mittens together using a ¼” seam allowance.
Step 19:
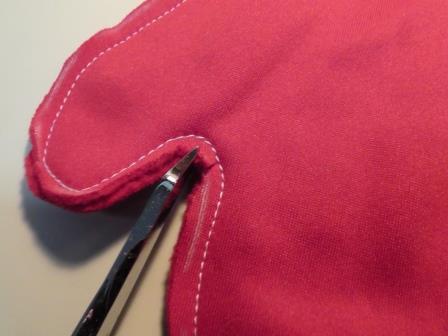
Clip the inside curve at the thumb then turn the mittens right side out.
Step 20:
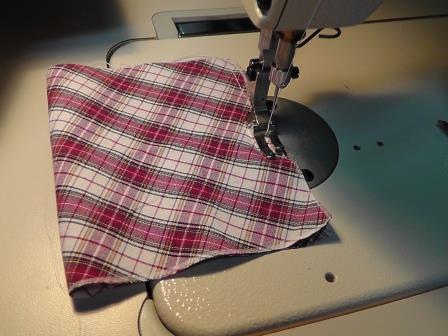
To create the cuffs, fold each cuff in half width-wise right sides together and sew a ¼” seam. Press open the seam allowance and fold the cuff in half, matching seams and cut edges.
Step 21:
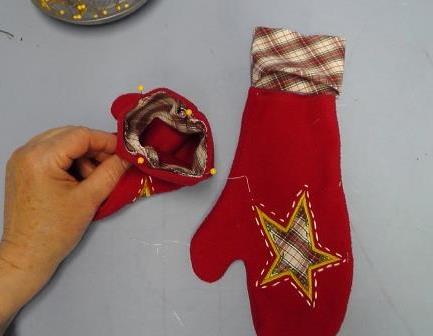
Pin the cuff to the inside of the mitten matching the cuff seam to the thumb-side seam allowance and match the cut edges of the cuff to the top edge of the mitten. Repeat for the other mitten and cuff.
Step 22:
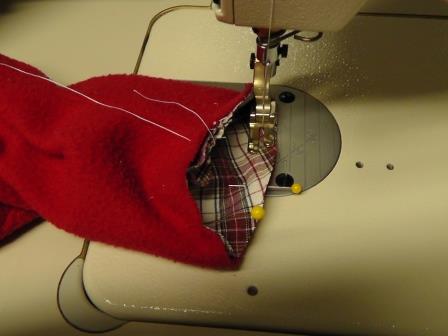
Sew the cuff to the mitten using a ¼” seam allowance.
Step 23:
Fold the cuff to the right side over the top of the mitten, encasing the seam allowance under the cuff.
Step 24:
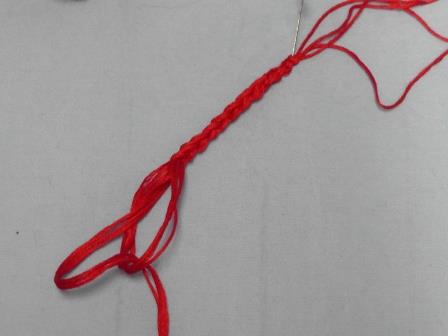
Using the red embroidery floss (or the floss to match the mitten color) create four six-strand sections and using a slip knot, fashion a slip knot chain the length desired.
Step 25:
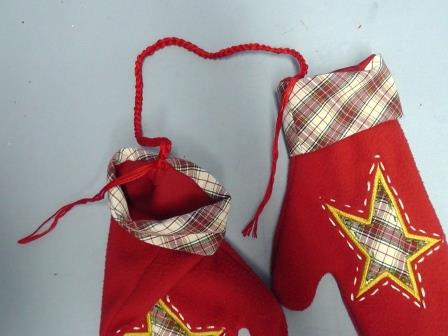
Using the crewel needle, attach each end to a mitten at the thumb seam side as shown.
Step 26:
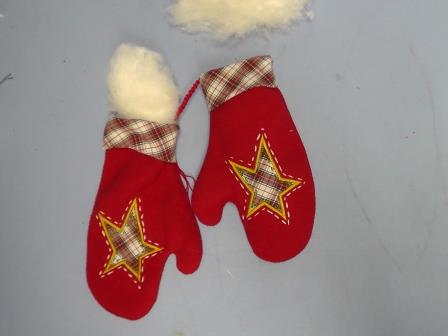
Use the fiberfil to lightly stiff the mittens to give them shape. Stuff the thumbs first then the body of each mitten.
Step 27:
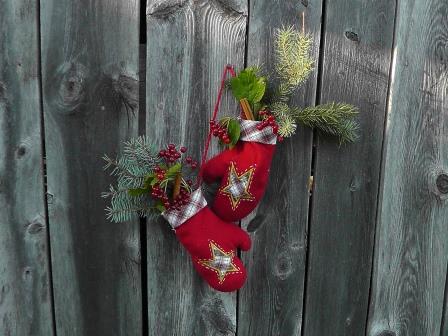
Use cinnamon sticks, pine and berries to decorate the mittens. Hang the “Upcycled Merry Mittens” and enjoy them throughout the holiday season.
Ramona Baird has been in the embroidery industry for over 23 years. She and her husband owned a commercial and retail embroidery store in Arizona for many years. She is an experienced digitizer having been mentored by award-winners Pat Williams and Lindee Goodall. Ramona is a contributor to “Creative Machine Embroidery” magazine having 5 covers to her credit. Ramona has worked for Wilcom America and served many years as Education Director for the American Sewing Guild. With a degree in fashion design, she is able to design and execute patterns which Pat Williams says are “out of the box” in creativity and application. Ramona likes to challenge the boundaries of embroidery and bring new and exciting designs, ideas, and projects to EmbroideryDesigns.com. She wants embroiderers of all levels to increase their skills and enjoyment in using their embroidery machine for gift-making and personal pleasure.