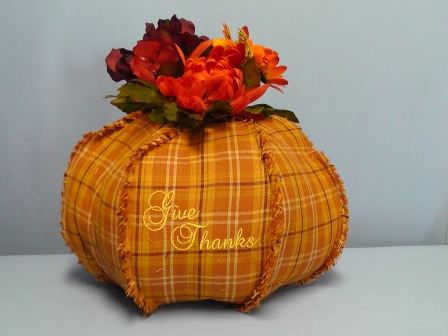
Make one or several pumpkins (large and small options are given in the pattern) to adorn your home this fall. Pattern pieces are traced onto the fabric then embroidered before the fabric is cut and stitched together to create the pumpkin. This project allows for lots of creative options. One pumpkin is done totally to show the process with other options given at the end of the instructions to give ideas for others that can be done. This project is so easy to do; you’ll soon have a whole grove to greet your visitors this fall! For this project, the stem and leaves given in the pattern and instructions were omitted and instead, purchased silk flowers with leaves were used to adorn the pumpkin top.
Step 1:
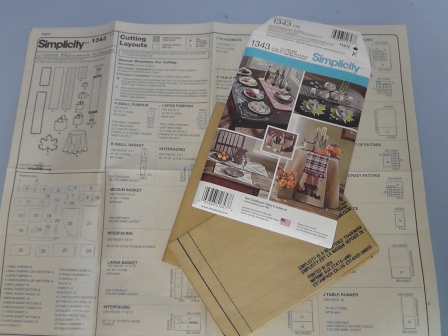
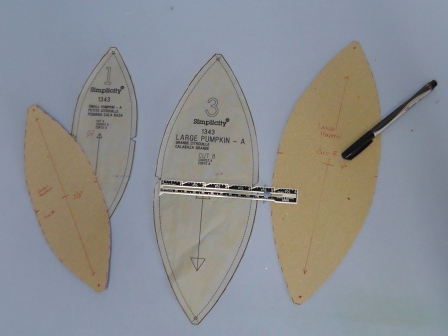
Purchase the pattern suggest or another fabric pumpkin pattern.
Step 2:
Read the instructions. There are two sizes for the pumpkins, large and small. The large pumpkin is shown in this project.
Step 3:
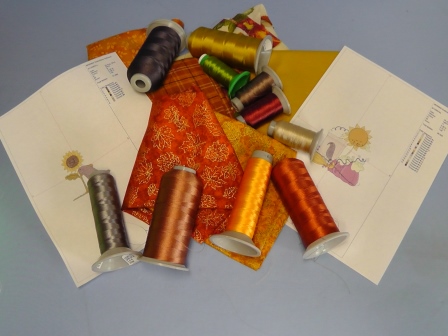
Shop your stash (this project is a great stash-buster!) or purchase fabrics for your pumpkin. The great thing about this project is you can make the pumpkin all in the same fabric like it is shown in the project or mix and match fabrics as you will see in the sample stitch-outs in the options at the end of these instructions.
Step 4:
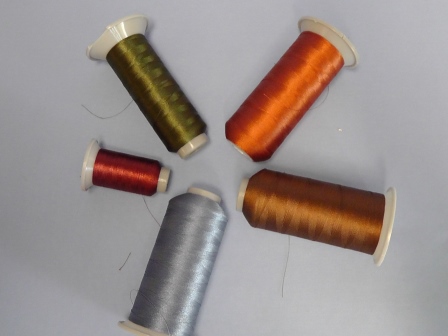
Choose embroidery threads that will coordinate with your fabrics.
Step 5:
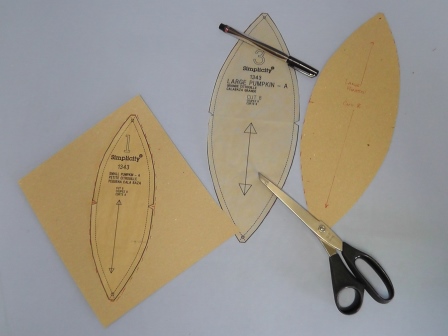
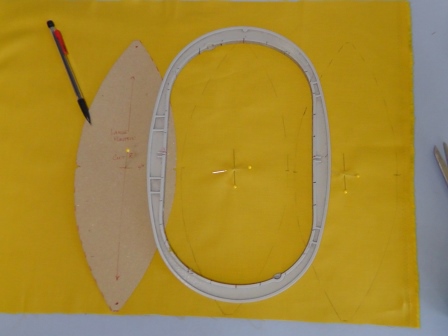
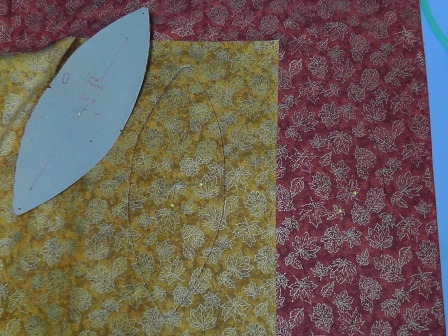
Because so many tracings of the pattern pieces are done, the pattern pieces are cut along the outside cutting lines and traced onto card stock. Be sure to include all the markings on the pattern pieces. Label the pattern as shown and cut out the traced pattern pieces.
Step 6:
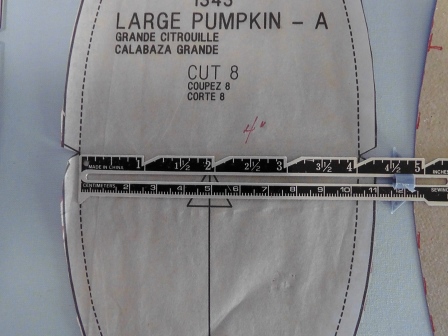
Now it is time to prepare the embroidery designs. Measure the center width of the finished size of each pattern piece in (from stitching line to stitching line). Here you can see the large one measures 4” and the smaller one is 2 ½”. The embroidery designs are edited to fit within these dimensions. Something to keep in mind is that the height of the embroidery designs needs to be kept within the tapered edges of the pattern piece. For most of the designs used for the project, only text was used and it was scaled to be no larger than 3.5” wide.
Step 7:
Find and mark the center of the pattern piece. The center is 2” between the notches. Transfer this mark to the cardboard pattern piece.
Step 8:
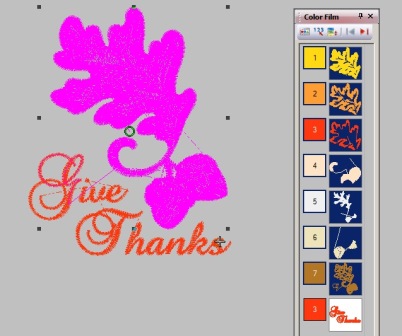
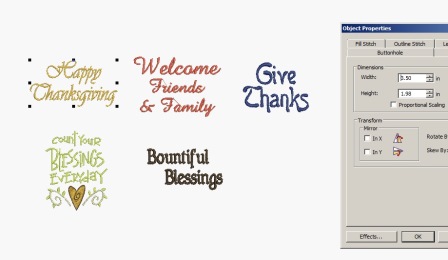
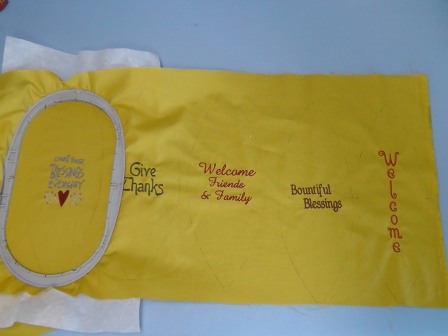
Open up the embroidery software. Import design “Give Thanks” (72082). Omit all of the design except for the text. Resize the design as needed for the pattern you are using. For the project, the design was set at 3.5” wide.
Step 9:
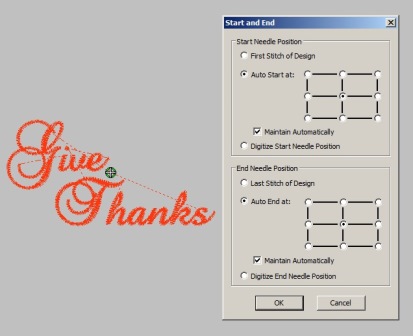
Be sure the center alignment point of the design is in the center. (Note: since only text is being used it is really not necessary to print paper templates of the design unless you’d like to.) Save the file and export it to the machine for stitching and open the design in the machine.
Step 10:
Prepare the fabric. Trace around the template onto the fabric the required number of times specified in the pattern using the disappearing fabric pen. Mark the center point with pins or the disappearing fabric pen. (Note: these steps are shown on plain fabric because it shows up better in the photos than the plaid fabric did and a pencil was used for the photos so the tracing would show up; you should use the fabric pen.) Hoop the fabric with a piece of tearaway stabilizer.
Step 11:
Load the hoop on the machine and align the center point of the design to the center point marked on the fabric. Stitch the design.
Step 12:
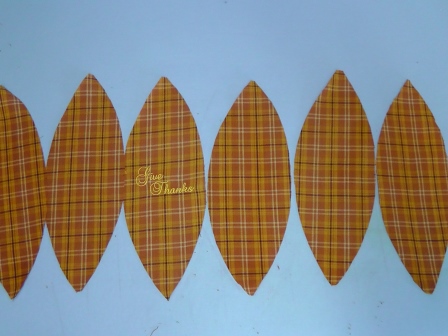
Remove the hoop from the machine and remove the stabilizer from the back of the fabric. Press the fabric well. Cut out all the pattern pieces as they were traced on the fabric.
Step 13:
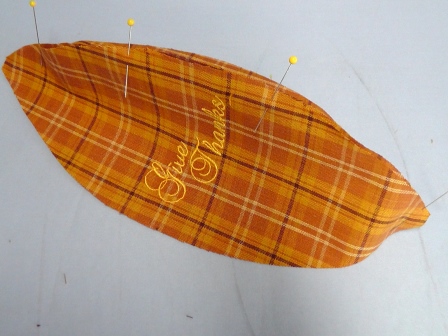
Follow the pattern instructions for assembling the pumpkin. Pin the pattern sections wrong sides together.
Step 14:
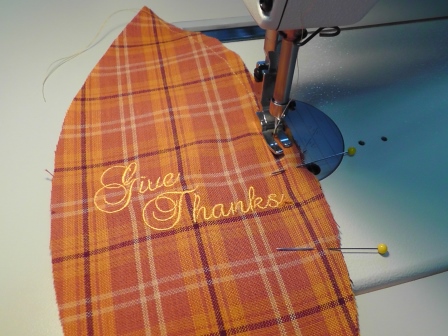
Stitch the sections together using a ¼” seam allowance and remove the pins as you sew. Continue sewing all the sections together, leaving an opening for stuffing.
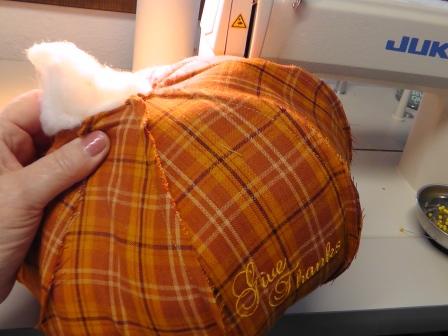
Step 15:
Stuff the pumpkin using fiberfill. Sew up the opening left for stuffing. (Note: on future pumpkins I do, I’m going to leave a larger opening at the bottom, stuff the pumpkin through the bottom opening and then use a running stitch to gather the opening and cinch it closed.)
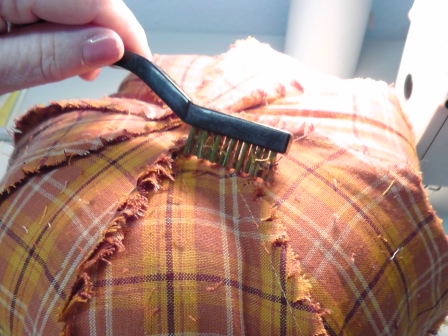
Step 16:
Use a stiff brush (or your fingers) to brush the seam edges and fray them.
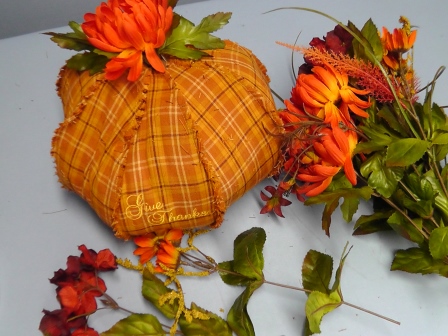
Step 17:
Using the wire cutter, cut sections from the floral spray to decorate the top opening of the fabric pumpkin.
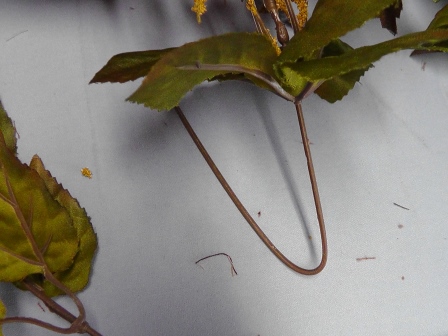
Step 18:
Bend the wires as shown to be inserted into the pumpkin top opening. Option: strip the flowers and leaves from the wire and hot glue them to the top.
Step 19:
Enjoy your Greeting Pumpkin.
Step 20:
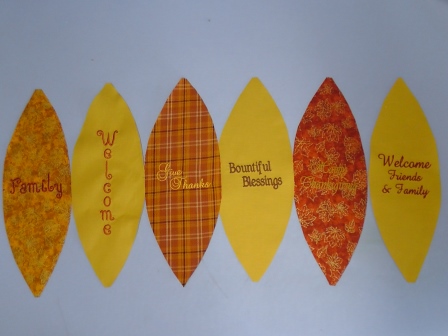
Now let’s take a look at some options. Prepare the other remaining designs like was done with the first by omitting all but the text (design 56334 was used in its entirety), aligning the center point and scaling the design to fit within the pumpkin panel. (Note: for the smaller pumpkin choose and edit the embroidery designs to fit within the smaller width of the pumpkin panel.)
Step 21:
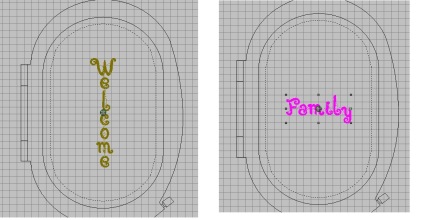
Use the font “Café Swirl Font” (BN01541) to create your own words like “Welcome” and “Family”. Select the letters and align them vertically or horizontally as shown.
Step 22:
Prepare additional pumpkin fabric by tracing around the template and hoop the fabric with stabilizer.
Step 23:
Align the fabric under the needle and stitch the chosen designs.
Step 24:
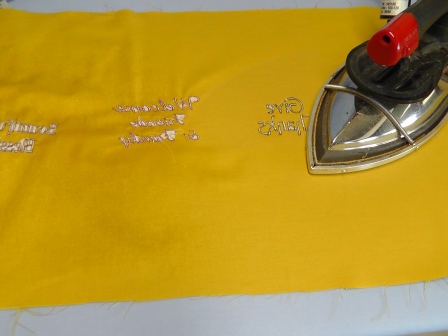
Remove the stabilizer and press the fabric.
Step 25:
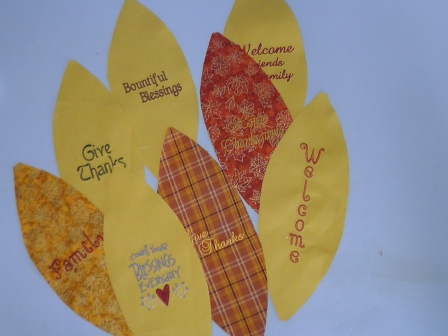
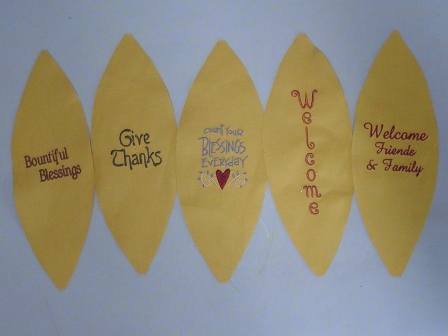
Cut out the pattern pieces along the drawn lines.
Step 26:
Plan ahead, or do all the panels and then decide how you will assemble the pumpkins. Get creative!
Step 27:
Use the same fabric for the whole pumpkin with different sayings on all the panels or only a few.
Step 28:
Or use alternating fabric panels for the pumpkin; the choice is yours. No matter what you decide, stitch, cut and sew the panels together as shown in the instructions.
Step 29:
Be creative in decorating your fabric pumpkins. Have fun and Happy Fall!
Ramona Baird has been in the embroidery industry for over 23 years. She and her husband owned a commercial and retail embroidery store in Arizona for many years. She is an experienced digitizer having been mentored by award-winners Pat Williams and Lindee Goodall. Ramona is a contributor to “Creative Machine Embroidery” magazine having 5 covers to her credit. Ramona has worked for Wilcom America and served many years as Education Director for the American Sewing Guild. With a degree in fashion design, she is able to design and execute patterns which Pat Williams says are “out of the box” in creativity and application. Ramona likes to challenge the boundaries of embroidery and bring new and exciting designs, ideas, and projects to EmbroideryDesigns.com. She wants embroiderers of all levels to increase their skills and enjoyment in using their embroidery machine for gift-making and personal pleasure.