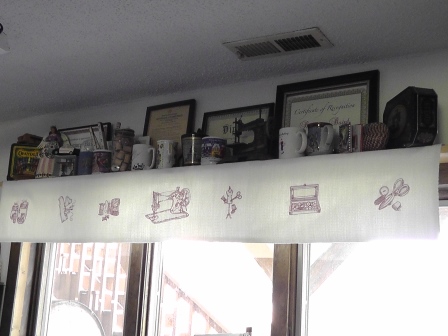
Redwork designs are fast stitching and when they are sewing themed, they are the perfect addition to a sewing room and have many uses. To create this project, measure the length and depth of the shelf whether it sits against a wall, it’s a bookcase shelf, or in this case over a window. Decide how deep you would like the drop - or stitching field - to be (there should be at least ½” above and below the tallest design in the row), add seam allowances, cut out the fabric, stitch the designs and create a lining to finish off the shelf scarf. An option instead of lining the shelf scarf is to just hem the edges all the way around. In an afternoon you can have a decorative shelf scarf with Redwork sewing-themed designs to brighten your sewing room or even a shelf of a book case that holds your sewing books.
Step 1:
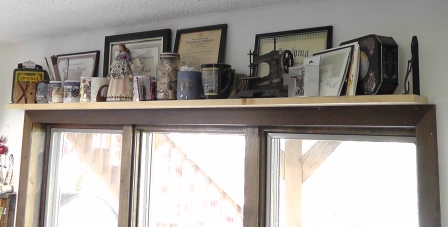
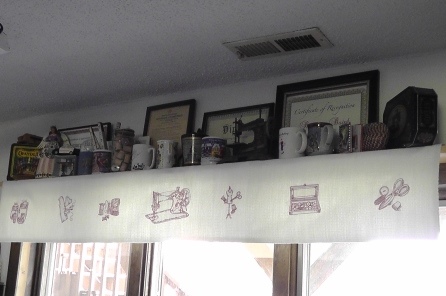
Look at the shelf to be measured and determine what measurements are needed. This shelf has brackets inside each end, so the shelf scarf will fall between the brackets. There is also a bracket in the middle, but that will be removed and re-screwed into position right through the fabric as the last step.
Step 2:
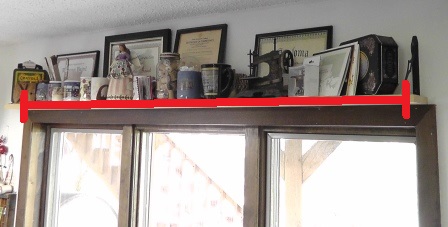
Measure the length of the shelf and write down that measurement.
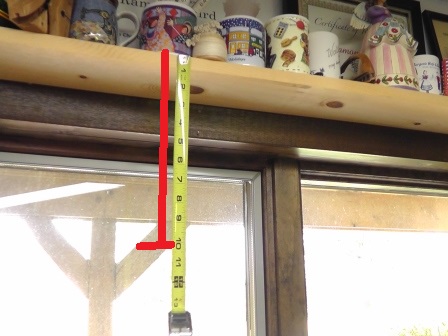
Step 3:
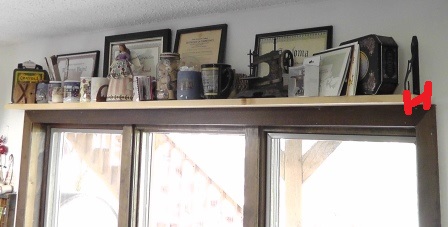
Measure the shelf depth and write down that measurement.
Step 4:
Measure the “drop” or how far down from the shelf top you’d like the fabric to fall.
Step 5:
Determine how much fabric to purchase. For this shelf, a length of fabric was purchased which measured the length of the shelf plus 1” (1/2” seam allowance on each end). The depth will be cut the depth of the shelf plus the drop plus ½” for a seam allowance and the lower front edge (the edge on the shelf top against the wall will be serged flat).
Step 6:
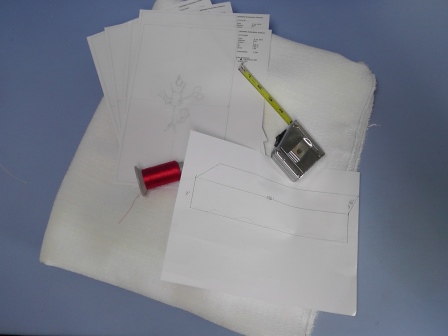
Purchase the fabric to be embroidered, the same amount of lining fabric, sewing thread to match the fabric, and embroidery thread. Print out the images of the designs.
Step 7:
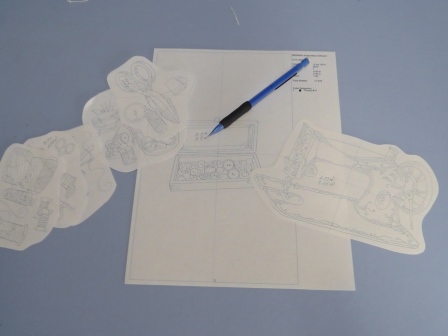
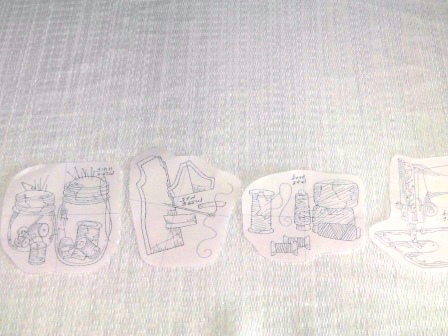
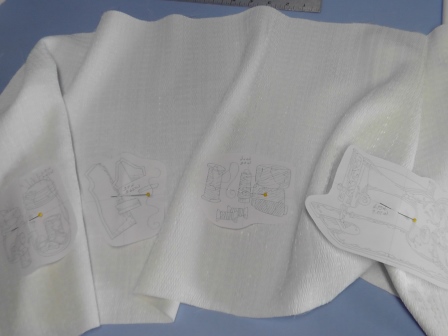
Cut out around the printed embroidery design images so they can be placed and pinned on the fabric for embroidery placement.
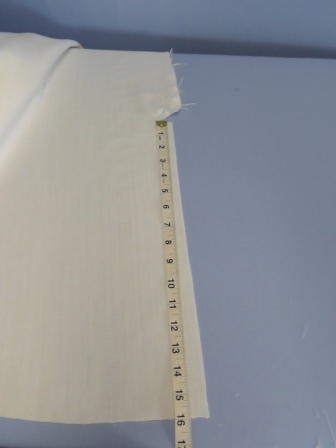
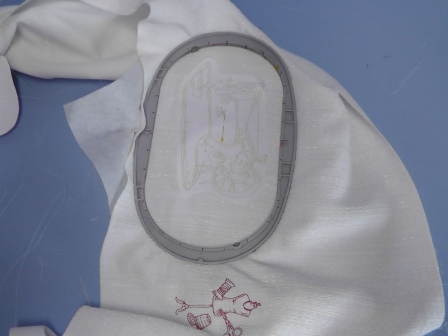
Step 8:
(Click Image to Enlarge)
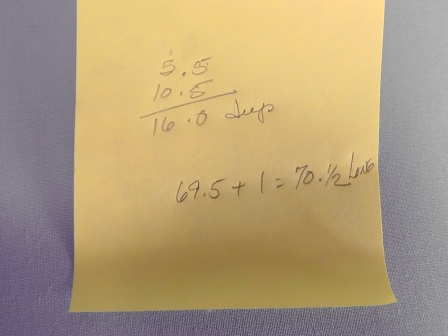
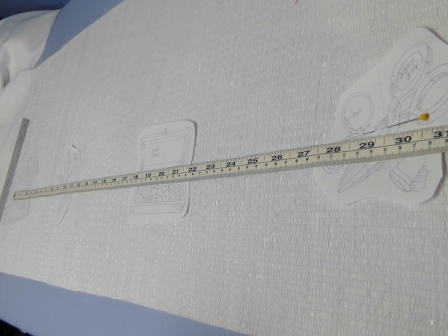
Measure and cut the fabric according to the previously determined measurements. For this shelf, the fabric was cut 79.5” long and 16” wide.
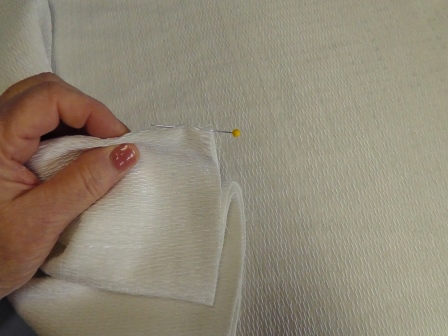
Step 9:
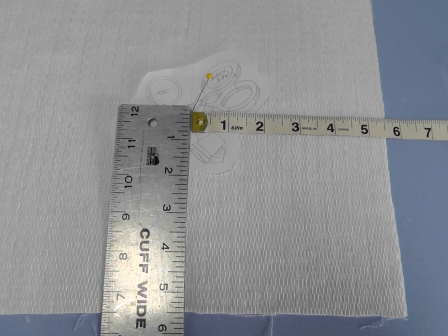
To begin the placement of the embroidery designs, find the center front of the fabric to be embroidered and place a pin.
Step 10:
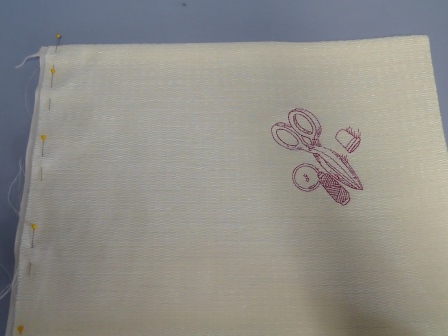
You may choose to layout the designs in the order you wish. For this project, the “Oldtime Sewing Machine” embroidery design was placed in the center. The drop is 10” finished, so the design was placed so it would be centered on the drop. There is a ½” seam allowance at the bottom of the drop, so that needed to be included in the measurement. For this project, each of the embroidery designs will be placed 5.5” above the lower cut edge of the fabric. Pin the embroidery template in place.
Step 11:
Determine which designs will be to the right side of the shelf scarf.
Step 12:
And which will be placed to the left side of the center design.
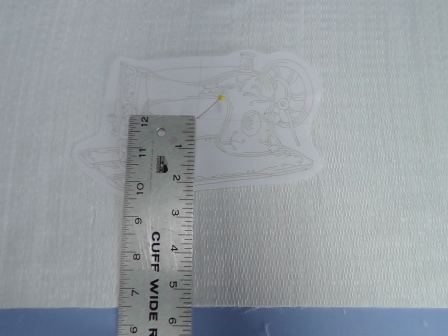
Step 13:
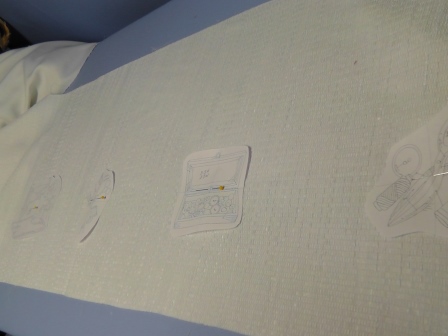
To keep a balanced look to the designs, the center of the far right design was placed 5.5” in from the right side (the left most design was also centered in 5.5” from the left cut edge of the fabric) and up 5.5” from the lower cut edge. Pin the embroidery template for that design in place.
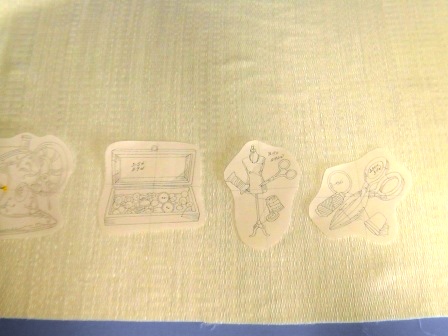
Step 14:
Center the remaining designs between the middle and end designs.
Step 15:
Pin the embroidery templates for each design in place.
Step 16:
Repeat for the designs that will be stitched to the left side of the middle sewing machine design.
Step 17:
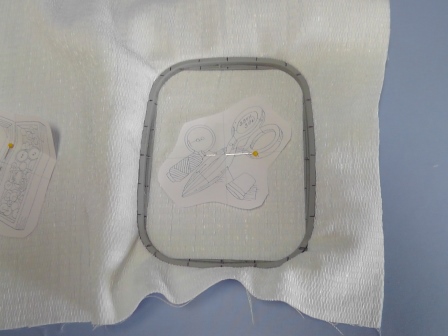
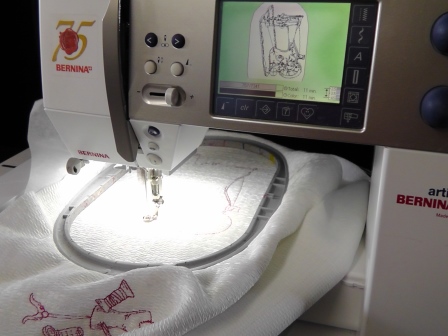
Beginning at the far right design, hoop the fabric with one piece of tearaway stabilizer, centering the template of the design in the hoop. Be sure to use the smallest hoop possible when stitching each design.
Step 18:
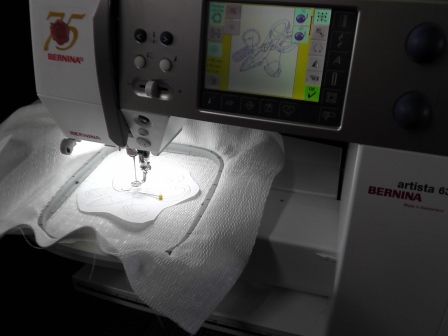
Place the hooped fabric on the machine and load the first design. Move the hoop so the center mark of the design template aligns under the needle.
Step 19:
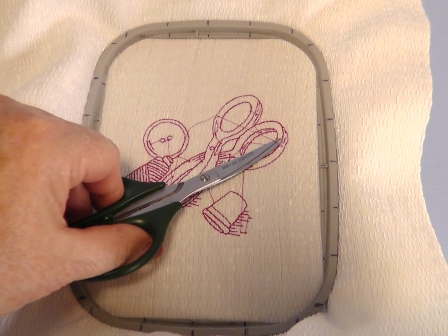
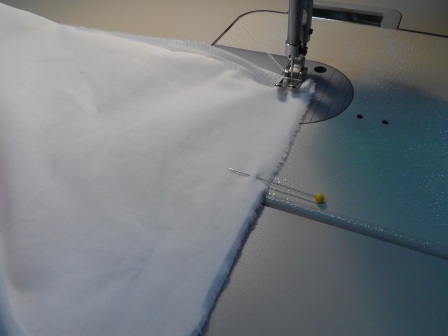
Remove the pin and the embroidery design template, and stitch the first design.
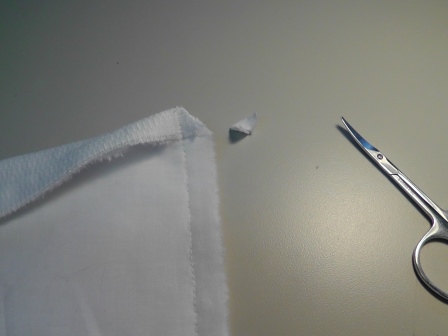
Step 20:
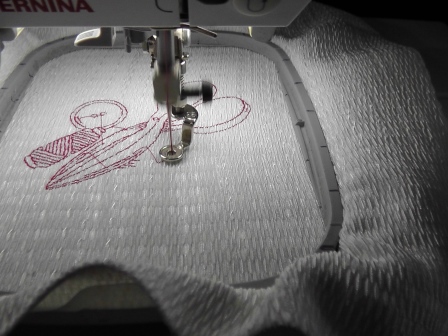
Trim the jump stitches. Often times it is easier to trim jump stitches while the fabric is still in the hoop. The tension on the fabric from the hoop makes trimming stitches easier.
Step 21:
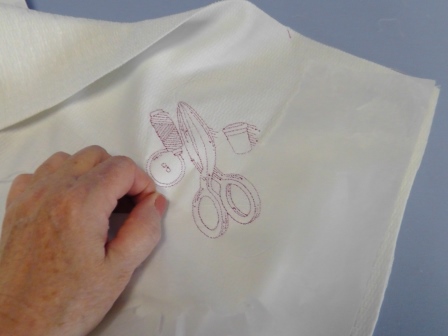
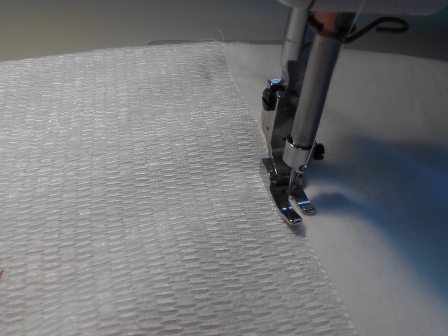
Remove the excess stabilizer from the back of the embroidered design.
Step 22:
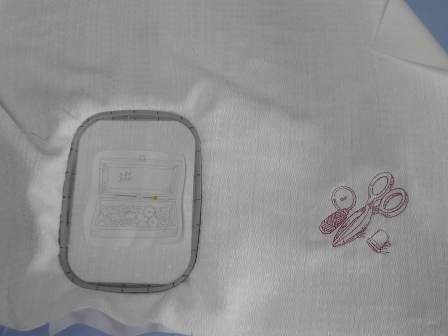
Hoop the next design with a piece of tearaway stabilizer.
Step 23:
Place the hoop on the machine and stitch the chosen design. Continue hooping and stitching the designs in sequence from right to left across the fabric.
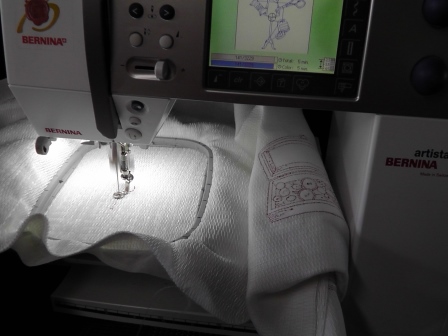
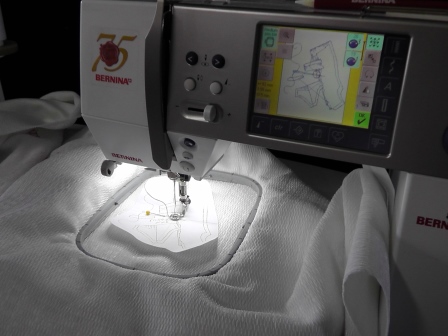
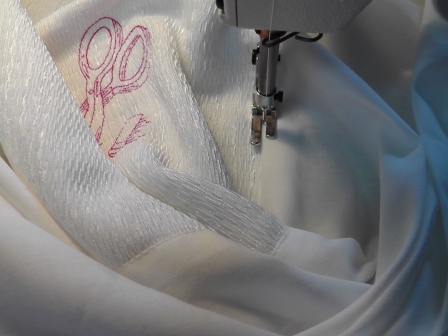
Step 24:
The “Oldtime Sewing Machine” design that was placed in the center is longer than the others, so the design needs to be turned in the hoop for stitching. Hoop the fabric as shown, using a piece of tearaway stabilizer.
Step 25:
Rotate the design at the machine in the correct orientation so it matches the layout of the paper template. Stitch the design.
Step 26:
Continue stitching the designs to the left of the sewing machine design. The length of fabric stitched may be long, so care must be taken to not get any of the excess fabric underneath the stitching area or under the arm of the embroidery module. It may be beneficial to hoop the fabric and rotate the design so the fabric stitches with the design upside down. This may or may not be necessary.
Step 27:
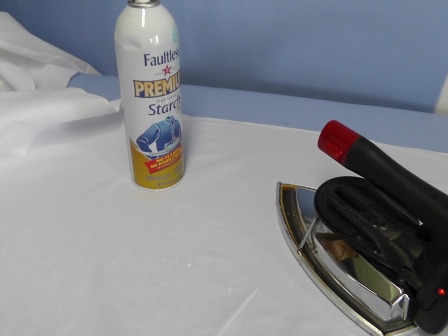
As the designs are stitching, cut and press the lining fabric. Use spray starch to make the fabric crisp.
Step 28:
After all the designs are stitched as laid out and the stabilizer removed, press the fabric well. Fold the embroidered fabric lengthwise and place a pin at the center. Repeat for the lining fabric.
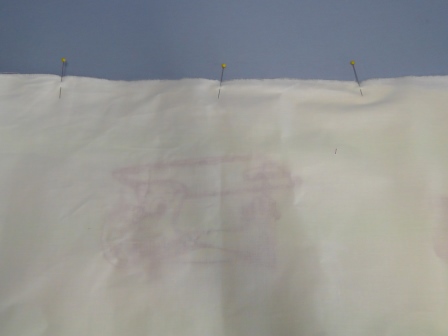
Step 29:
Match the pins and with the lining over the right side of the embroidered fabric, pin the long edge below the embroidery designs together, matching cut edges.
Step 30:
Stitch using a ½” seam allowance and remove the pins as you sew.
Step 31:
Press the seam allowance toward the lining and understitch.
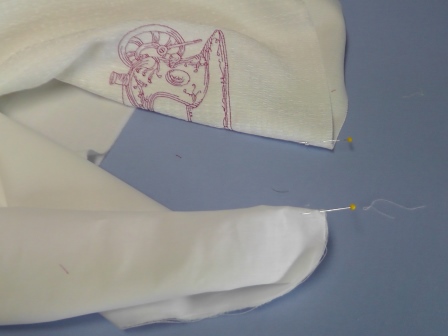
Step 32:
With right sides together, match and pin each short side. Sew each side seam using a ½” seam allowance.
Step 33:
Clip the corners. Press the seam allowance toward the lining.
Step 34:
Understitch each side seam getting as far down as you can.
Step 35:
Turn the fabric right side out and press the embroidered fabric and lining flat.
Step 36:
At the remaining unfinished long edge, pin the fabrics together.
Step 37:
Baste the lining and embroidered fabric together as pinned.
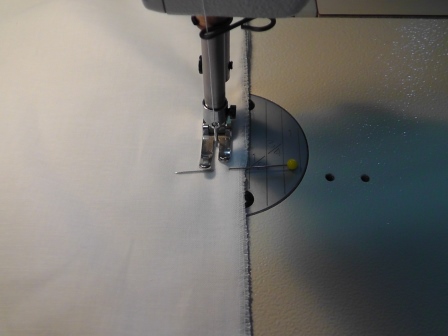
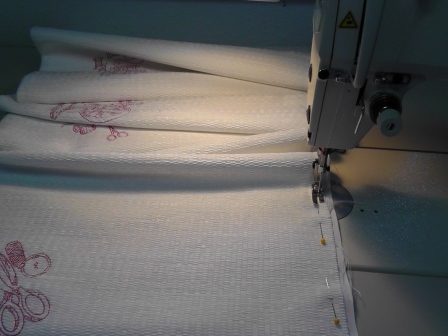
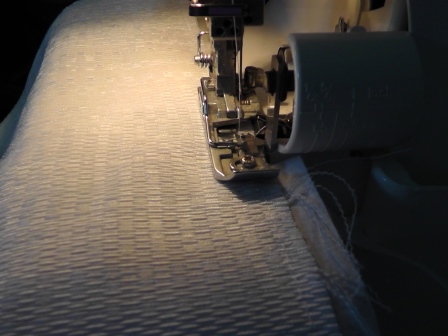
Step 38:
Serge along the long edge after basting. (Option: if you don’t have a serger, trim the fabrics even along the cut edges and zig-zag the cut edges together.)
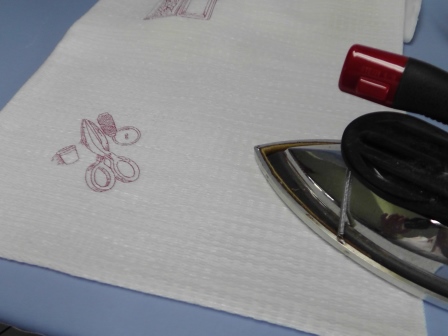
Step 39:
Press the shelf scarf well.
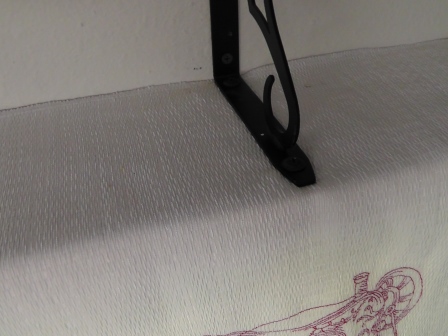
Step 40:
Place the shelf scarf on the shelf, butting the serged edge against the wall. For this shelf, the middle bracket was re-aligned to the original position and the screws were placed through the bracket into the wood right through the fabric layers. (Option: if the shelf you have has a middle bracket the scarf could be split and sewn in two pieces, or a slit could be created around the bracket area.)
Step 41:
Place the sewing knickknacks back in place and enjoy the new addition to your sewing room!
Ramona Baird has been in the embroidery industry for over 23 years. She and her husband owned a commercial and retail embroidery store in Arizona for many years. She is an experienced digitizer having been mentored by award-winners Pat Williams and Lindee Goodall. Ramona is a contributor to “Creative Machine Embroidery” magazine having 5 covers to her credit. Ramona has worked for Wilcom America and served many years as Education Director for the American Sewing Guild. With a degree in fashion design, she is able to design and execute patterns which Pat Williams says are “out of the box” in creativity and application. Ramona likes to challenge the boundaries of embroidery and bring new and exciting designs, ideas, and projects to EmbroideryDesigns.com. She wants embroiderers of all levels to increase their skills and enjoyment in using their embroidery machine for gift-making and personal pleasure.