It may be necessary to resize the designs to fit the finished size of the card. Use embroidery software to do this, or it may be done successfully at the machine. Card stock may be successfully stitched by using Poly Mesh stabilizer which supports the design and a small needle (9 or 11, sharp). When stitching on card stock, use light stitch count designs or Redwork designs. Your friends and family will be amazed you stitched the cards on your embroidery machine!
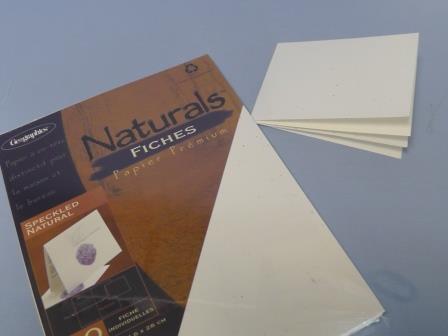
Step 1:
Purchase quarter fold card stock. Remove one sheet and fold according to the scored edges.
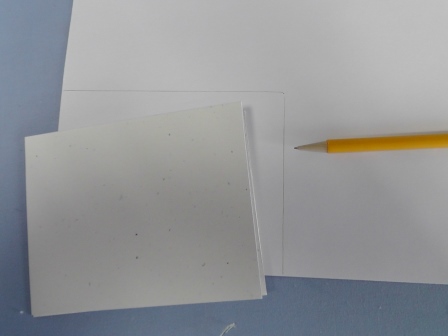
Step 2:
Trace the outline of the finished card size on a piece of paper.
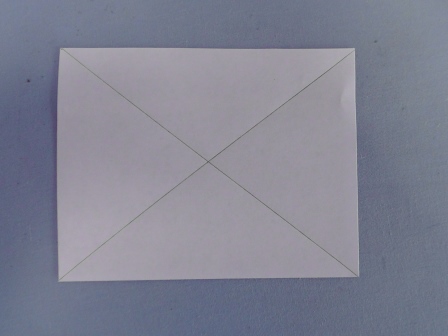
Step 3:
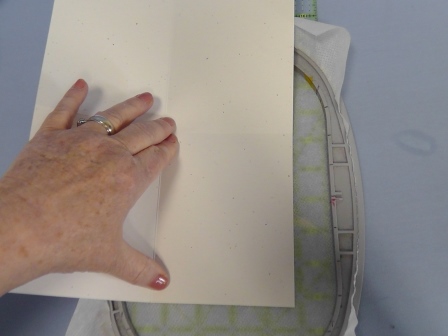
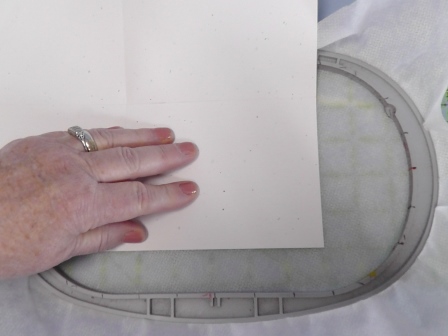
Draw a line from corner to corner across the cut sheet. The intersection is the center placement spot for the design alignment. Place this paper on top of the front of the card.
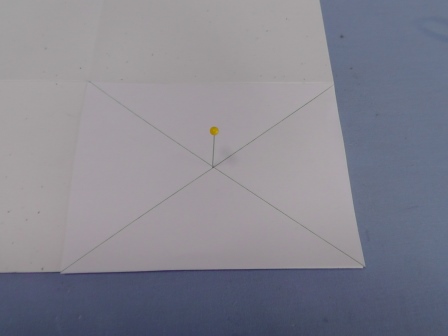
Step 4:
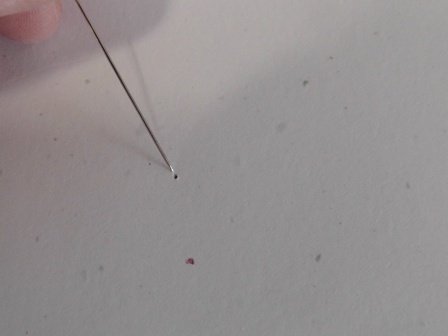
Open up the card; place a pin through the center of the paper into the card stock.
Step 5:
The hole created by the pin is the alignment point for the design on the card.
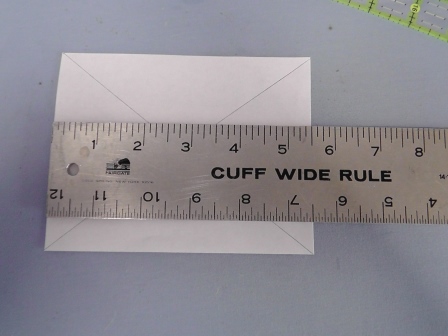
Step 6:
Use a ruler to measure the front of the card.
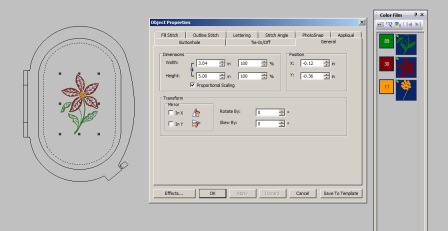
Step 7:
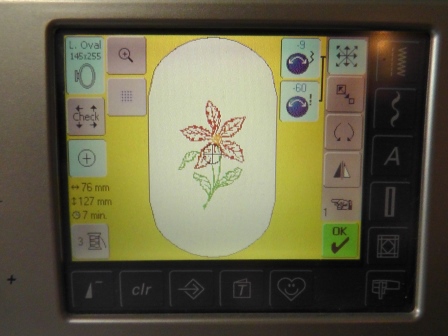
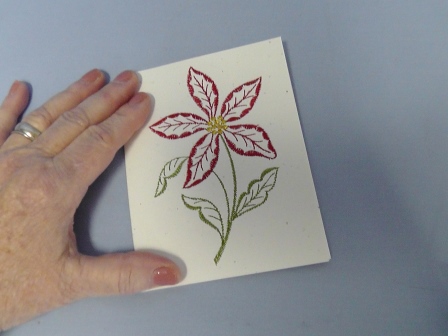
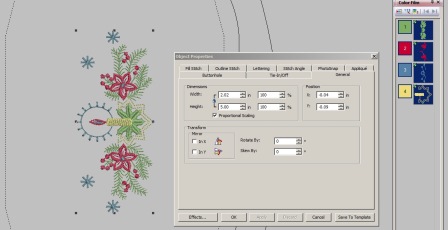
Load “Poinsettia” embroidery design 14971 in the software (or at the machine). Rotate the design as desired and make any color changes and resize the design to fit the finished size of the card front.
Step 8:
Hoop one layer of Poly Mesh stabilizer. Align the hoop on a ruler to aid in aligning the card in the hoop.
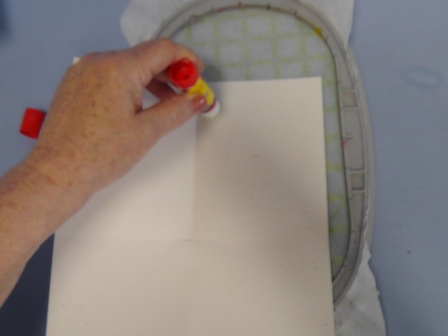
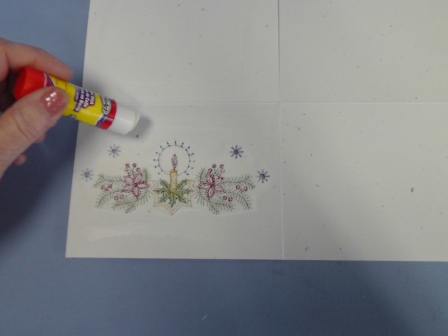
Step 9:
Using the glue stick, place glue around the outer edges of the underside of the area of the card to be embroidered. Do not get the glue in any area to be stitched.
Step 10:
Align the card in the hoop; press the card firmly to allow the glue to adhere to the stabilizer.
Step 11:
Load the design in the machine.
Step 12:
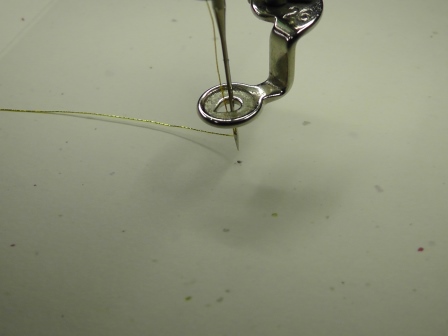
Align the needle to the center mark made by the pin on the card front.
Step 13:
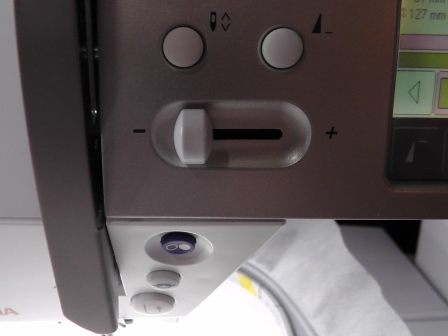
When stitching on paper, it may be necessary to slow the machine down. Start at a lower speed and gradually increase the machine speed to about the mid-way point as long as there is no distortion of the stitching on the paper.
Step 14:
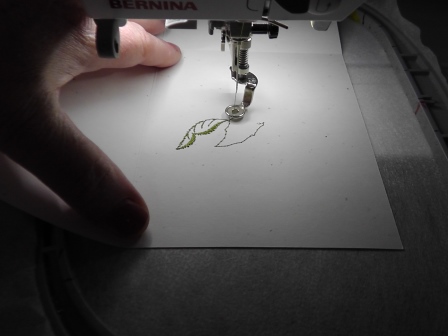
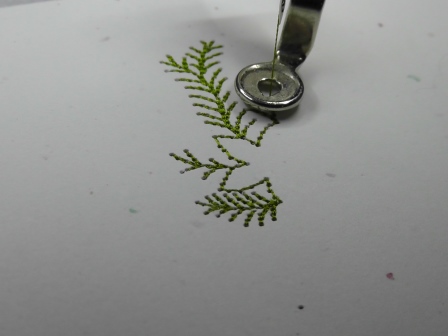
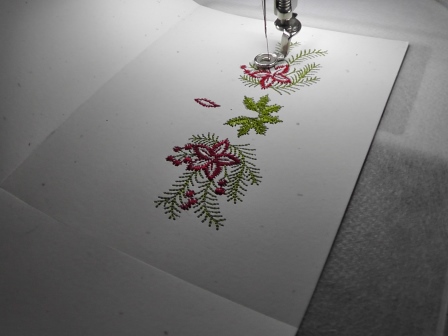
Place the first color on the machine, and begin stitching.
Step 15:
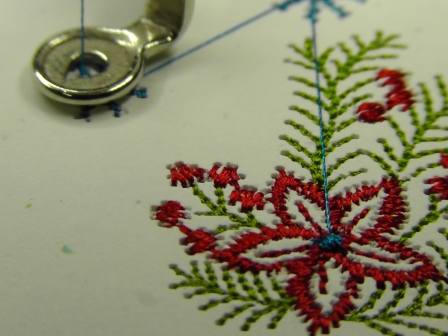
Continue stitching, following the color sequence.
Step 16:
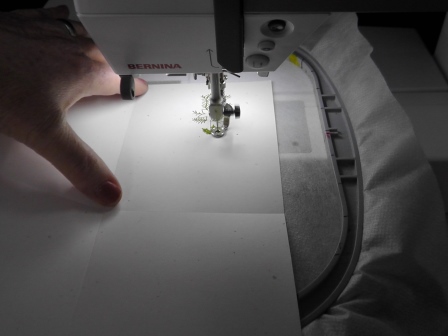
Because the card stock cannot be hooped, it may be necessary to lightly place your fingers along the outer edge of the hoop to lightly hold the card stock in place. (Note: if you do this, do it very carefully and be sure to keep your fingers out of the way of the needle stitching area.)
Step 17:
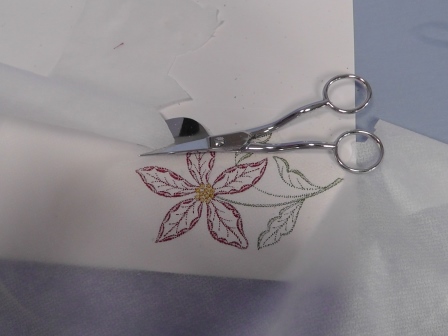
After the stitching is completed, remove the card and stabilizer from the hoop.
Step 18:
Flip the card over, and trim the stabilizer close to the stitching. If you have them, an applique scissors works very well.
Step 19:
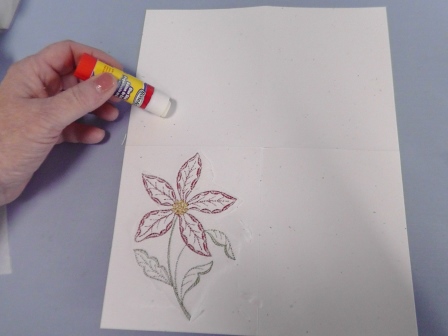
Using the glue stick, apply glue to the back of the side of the card with the embroidery design.
Step 20:
Refold and press the glue firmly to hold the card stock together.
Step 21:
Repeat the same steps for the other design. Load design “Christmas Candle” 77433 in the software. Recolor, and resize the design so it fits the front of the folded card stock. Rotate the design if needed.
Step 22:
Find the center mark on the cardstock, hoop the stabilizer, and align the card in the hoop as was done with the last card.
Step 23:
Place the first thread color on the machine and start the machine stitching.
Step 24:
Continue stitching changing thread colors as designated in the color change sequence.
Step 25:
Be sure to trim the jump threads as you go.
Step 26:
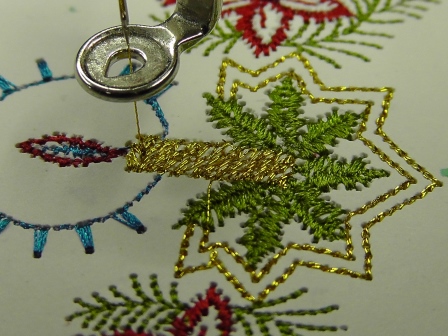
Try some fun threads, like metallic, on the card stock, too.
Step 27:
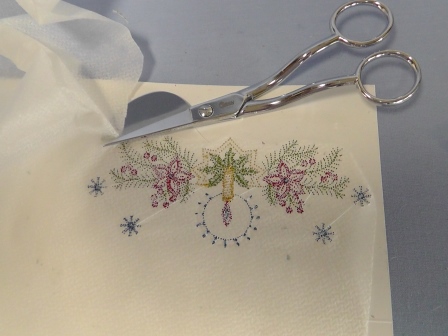
After the embroidery is finished, remove the card and stabilizer from the hoop and trim away the excess stabilizer.
Step 28:
Place glue on the back of the card stock.
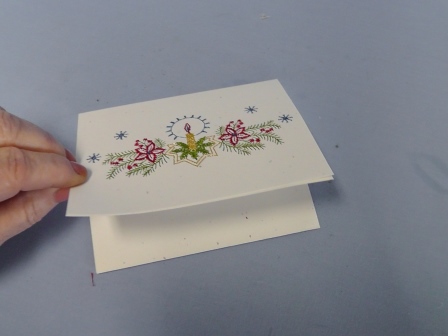
Step 29:
Refold and press the paper together.
Step 30:
Allow the glue to dry well. Add personalized sentiments and mail your cards.
Ramona Baird has been in the embroidery industry for over 23 years. She and her husband owned a commercial and retail embroidery store in Arizona for many years. She is an experienced digitizer having been mentored by award-winners Pat Williams and Lindee Goodall. Ramona is a contributor to “Creative Machine Embroidery” magazine having 5 covers to her credit. Ramona has worked for Wilcom America and served many years as Education Director for the American Sewing Guild. With a degree in fashion design, she is able to design and execute patterns which Pat Williams says are “out of the box” in creativity and application. Ramona likes to challenge the boundaries of embroidery and bring new and exciting designs, ideas, and projects to EmbroideryDesigns.com. She wants embroiderers of all levels to increase their skills and enjoyment in using their embroidery machine for gift-making and personal pleasure.