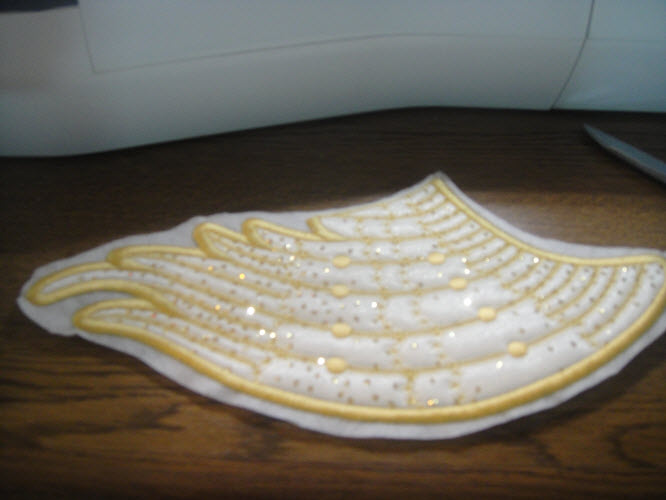
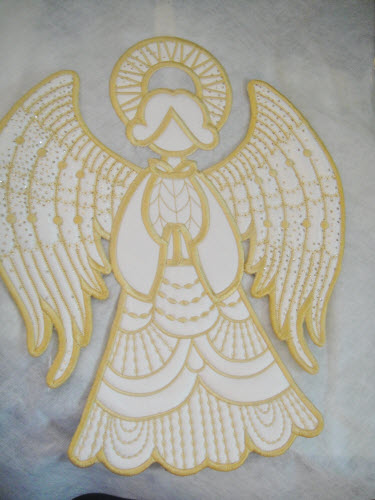
12 ¾” tall and 10 ¾” wide this beautiful Elegant Angel is made in four separate hoopings that are all joined together in the last hooping. Fun to make, beautiful to behold and will be lovely hanging on your front door or over the mantle.
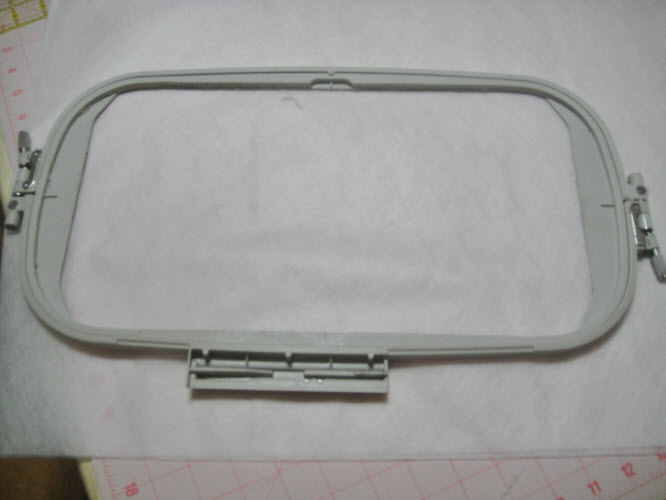
There are four files used to make this angel. It is important to make the files in the proper order so that all required pieces are ready to be added when you sew the last file as they are all joined together in the hoop when the last file is sewn. Therefore sew the ANGWH01 first, ANGWH02 second, ANGWH03 third and ANGWH04 last. The sample was sewn in a 12” x 7” hoop as that is what my large hoop measures, however all pieces are sized so that they should fit in a 6” x 10” hoop as well.
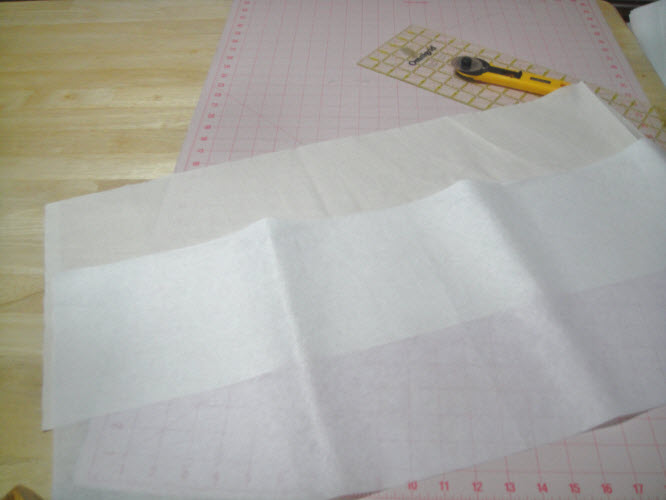
Step 1:
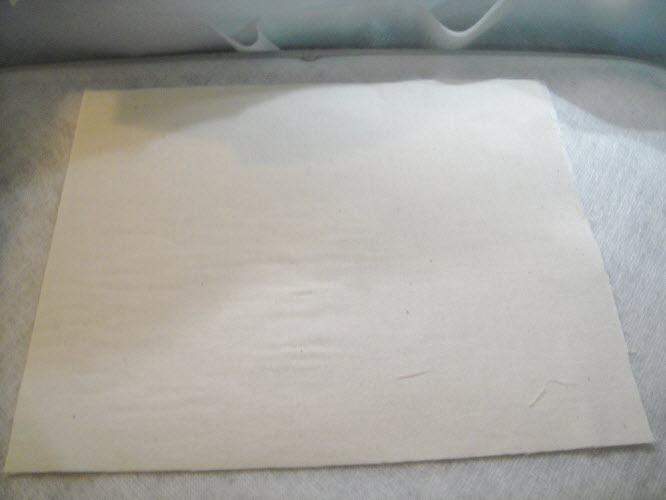
Cut your 1/3 yard of cotton back fabric and 1/3 yard of Pellon Craft Fuse to 27” in length.
(Click Image to Enlarge)
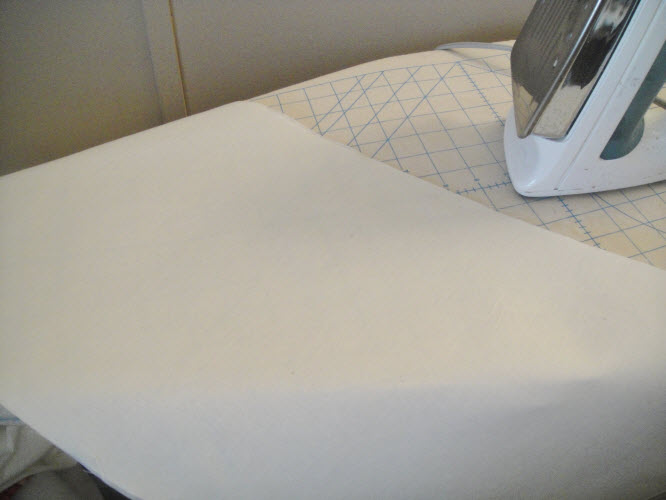
Step 2:
Fuse together following the manufacturer’s instructions.
(Click Image to Enlarge)
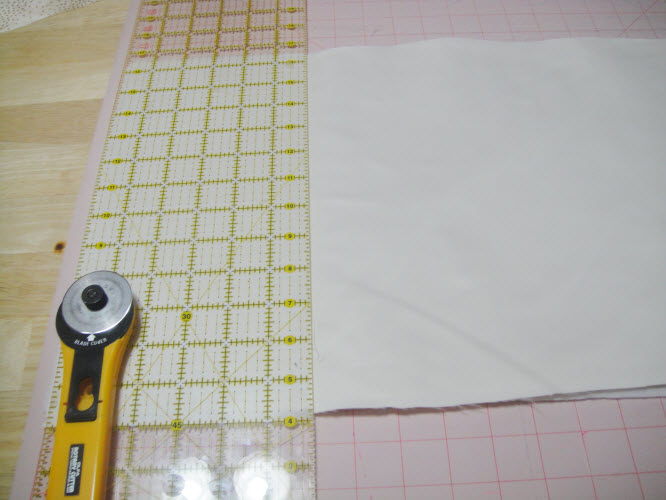
Step 3:
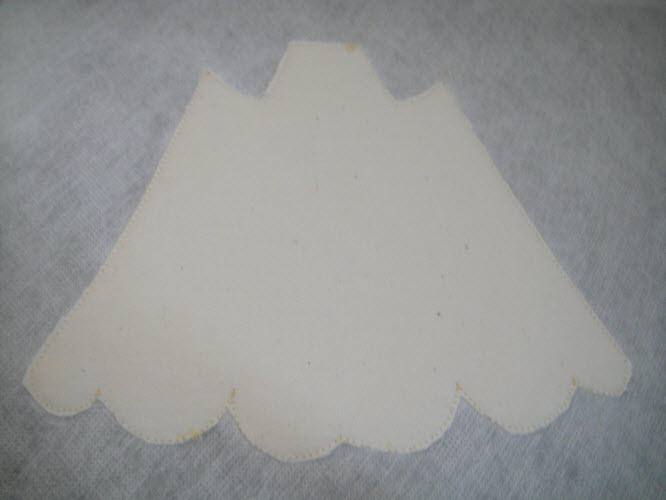
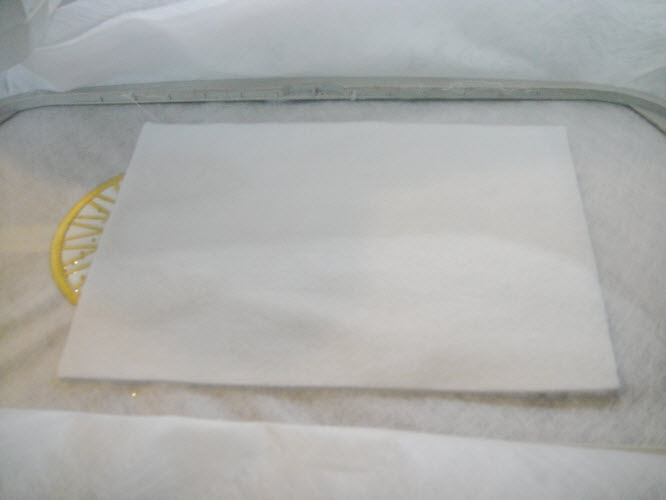
Sub cut the fused back fabric into 2 12” x 6” rectangles for the wings; a 7” x 9.5” rectangle for the skirt; a 4” x 6” rectangle for the halo and a 8” x 6” rectangle for the body and face.
(Click Image to Enlarge)
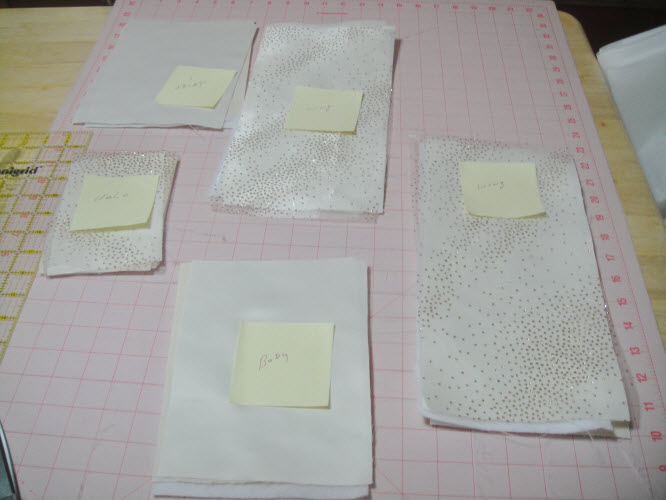
Step 4:
Cut the satin and Pellon Thermolam® Plus into the same size rectangles as above. Cut the glittered organza into 2 12” x 6” rectangles for the wings and 1 4”x 6” rectangle for the halo. Separate into 5 stacks; one each for the wings, skirt, body and halo and label each stack.
(Click Image to Enlarge)
Step 5:
Cut double layers of fibrous water soluble stabilizer for four hoopings.
(Click Image to Enlarge)
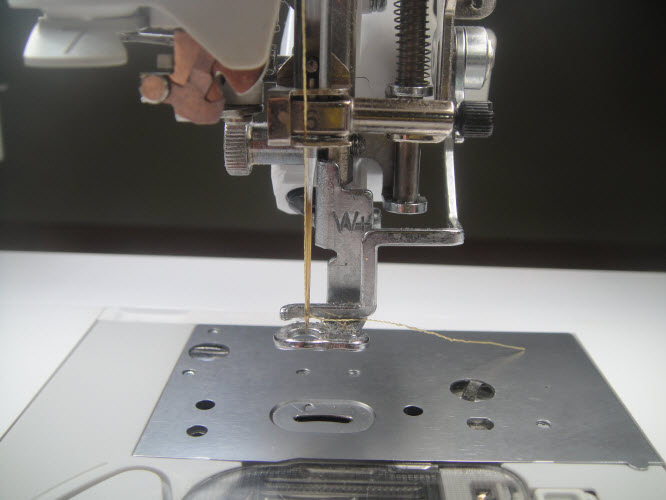
Step 6:
Since we will be sewing through 4 and 5 layers of fabrics at a time, this is a good time to put a new needle in your machine. The Schmetz® Embroidery Gold needles have proven to be exceptional needles for designs of this type.
(Click Image to Enlarge)
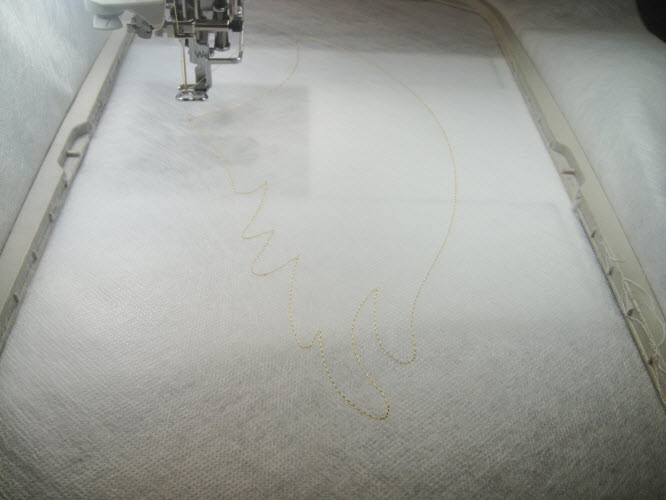
Step 7:
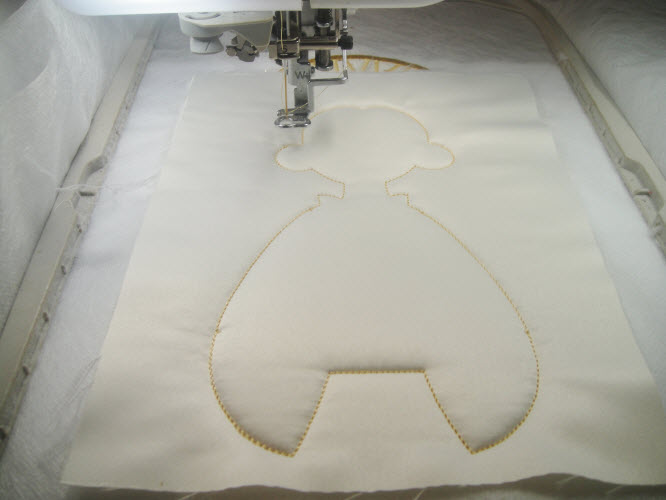
Hoop the fibrous water soluble in your hoop. Load design ANGWH01 into your machine. Though there are colors stops in the design in order to stop the machine all the stitching is done in one color. Run the 1st color sequence which is an outline of the wing.
(Click Image to Enlarge)
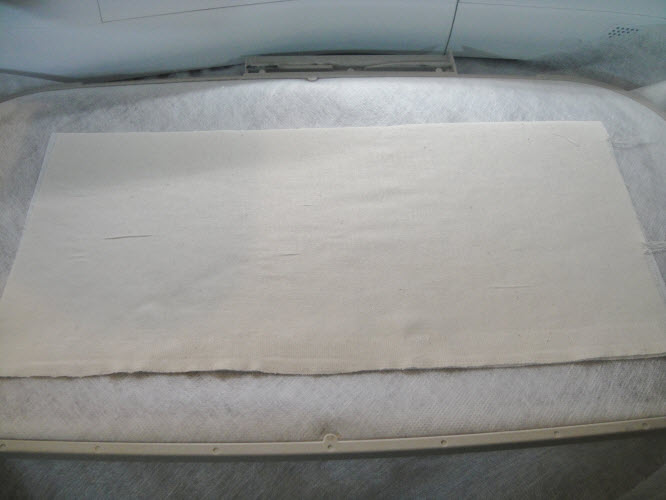
Step 8:
Remove the hoop from the machine, do not unhoop. Turn the hoop over and spray inside the outline with spray adhesive. Place the back fabric/craft fuse rectangle over the outline, fabric side up.
(Click Image to Enlarge)
Step 9:
Turn the hoop right side up. Spray the outline with spray adhesive, and place the rectangle of Pellon Thermolam Plus over the outline. Smooth into place.
(Click Image to Enlarge)
Step 10:
Spray the Thermolam Plus with spray adhesive and place the satin – right side up – over the Thermolam Plus.
(Click Image to Enlarge)
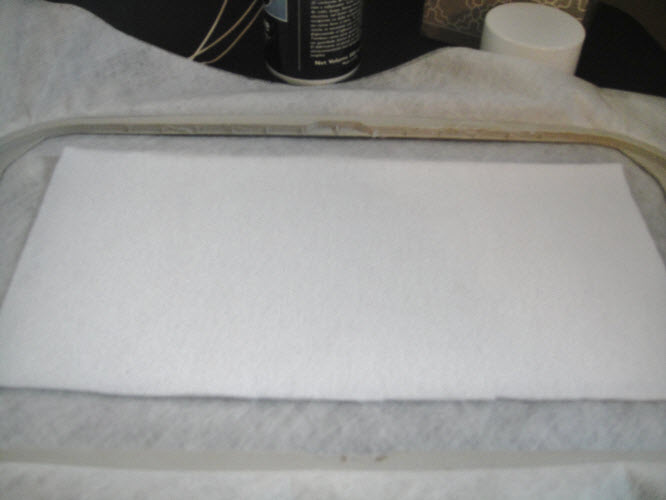
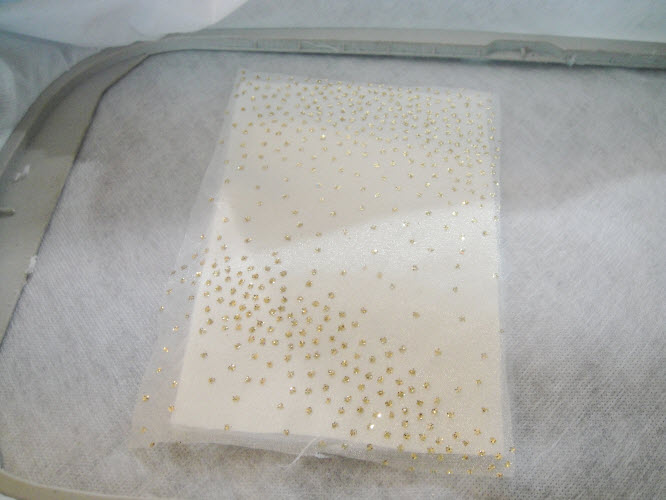
Step 11:
Spray the satin lightly with spray adhesive. Place the glittered organza over the satin.
(Click Image to Enlarge)
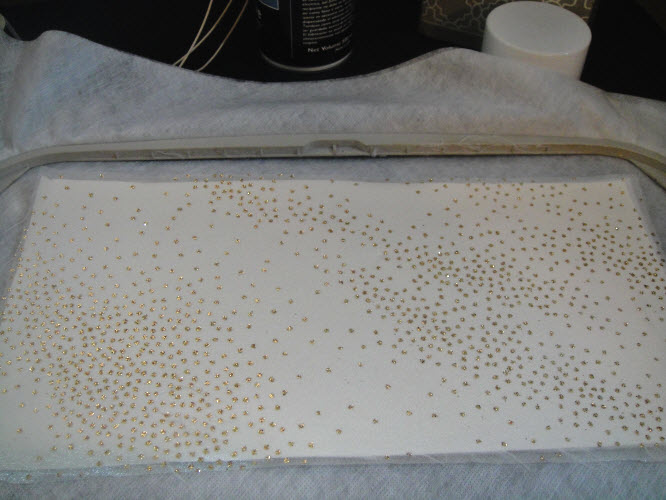
Step 12:
(Click Image to Enlarge)
Return the hoop to the machine making sure the back layer remains in place. Run color stop 2 which is the tack down line for all the layers.
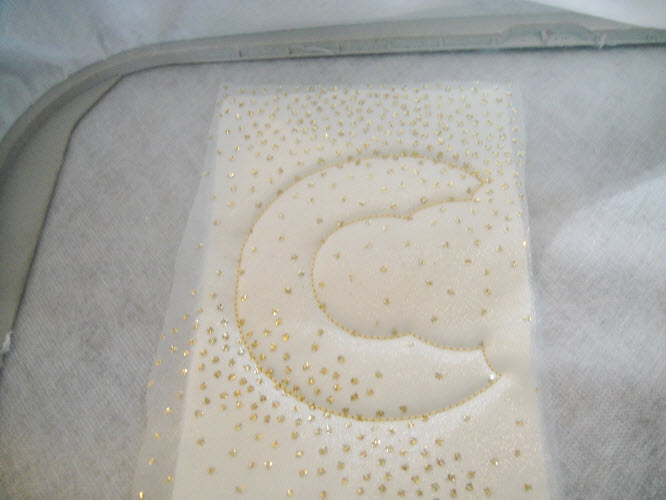
Step 13:
Remove the hoop from the machine. With very sharp small scissors we will now trim the excess fabrics from around the outline. With the first trimming you may trim the glitter and the satin as one layer or trim them separately. Choose which every method works best for you. You want to be able to trim right up to the tack down line.
(Click Image to Enlarge)
Step 14:
This is what it will look like after the satin and glittered organza is trimmed.
(Click Image to Enlarge)
Step 15:
Trim the excess Thermolam® as close to the tack down lines as possible.
(Click Image to Enlarge)
Step 16:
Turn the hoop over and trim the back fabric/craft fuse stabilizer as close to the tack down stitches as possible.
(Click Image to Enlarge)
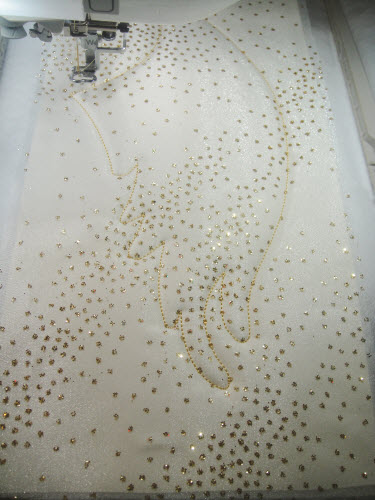
Step 17:
(Click Image to Enlarge)
Return the hoop to the machine and run the last color sequence to complete the wing.
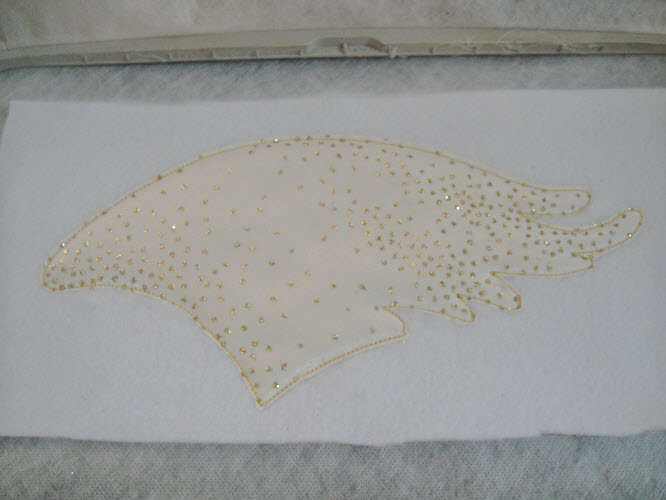
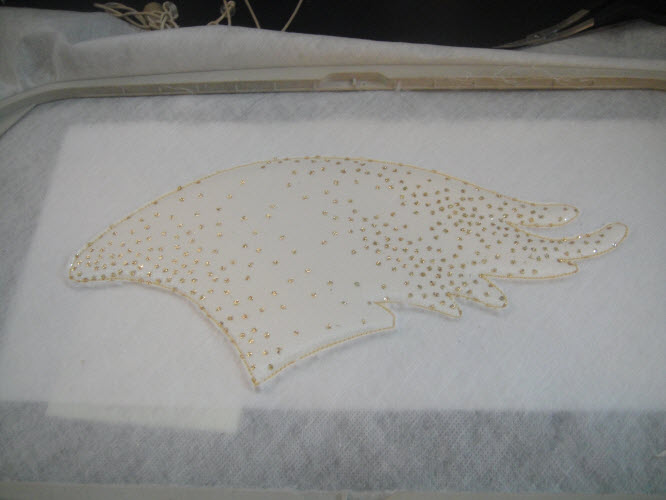
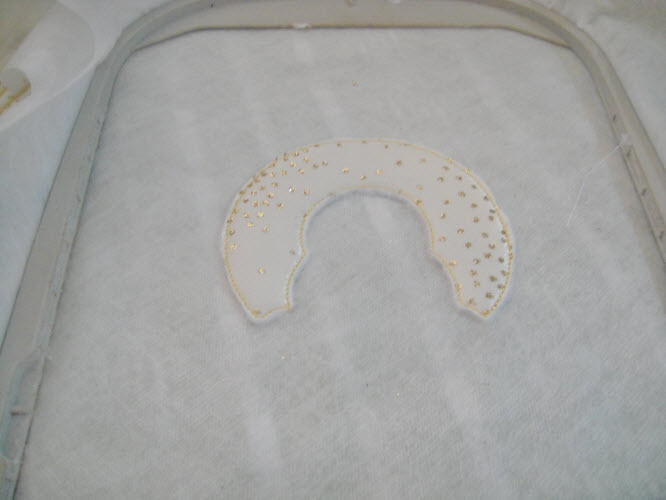
Step 18:
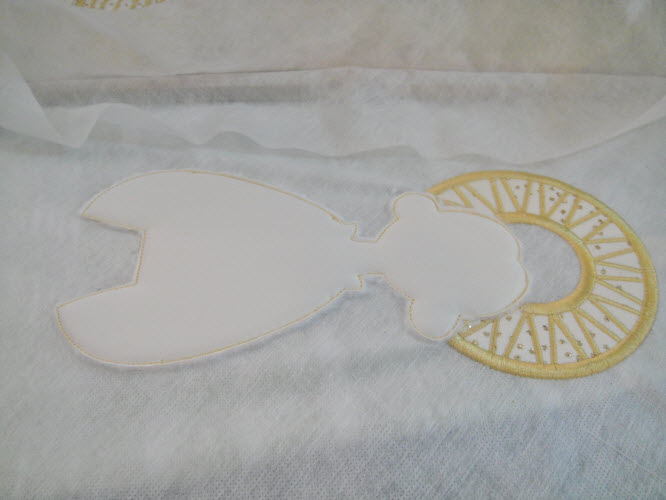
Unhoop the wing, roughly cut the wing from the excess stabilizer and lay aside for now.
(Click Image to Enlarge)
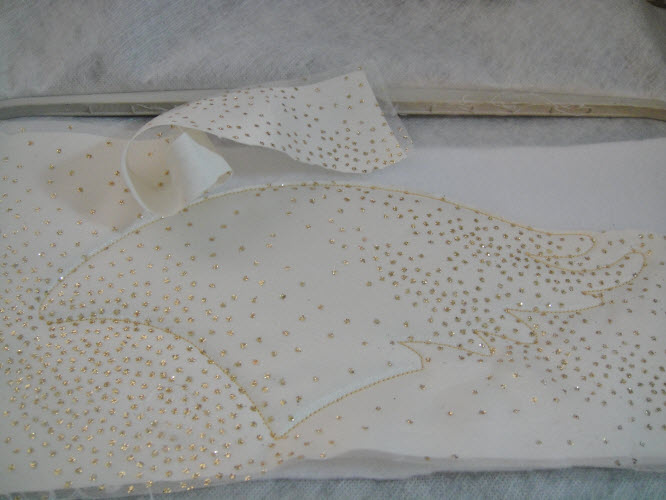
Step 19:
(Click Image to Enlarge)
Repeat steps 7 through 18 for the left wing using design ANGWH02.
Step 20:
For the skirt, hoop the two layers of fibrous water soluble stabilizer; run the outline; remove the hoop; spray with adhesive and place the back fabric/craft fuse layer on the back of the stabilizer.
(Click Image to Enlarge)
Step 21:
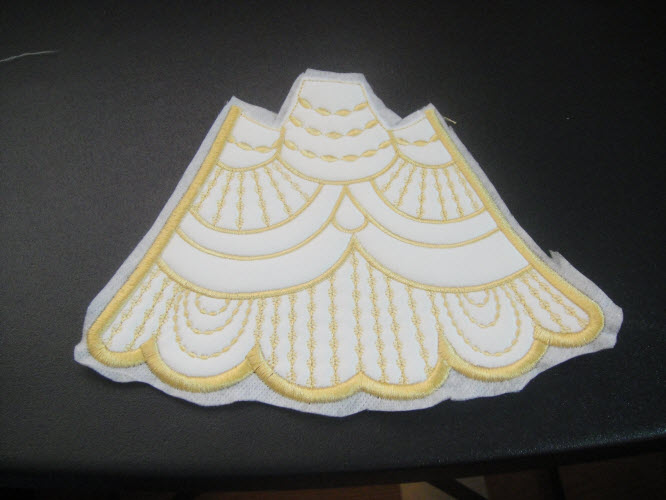
Spray with adhesive and place the Themolam® and satin on the front of the outline as you did for the wings. There is no glitter organza layer on the skirt unless you decide you want to do that. Run the tack down line.
(Click Image to Enlarge)
Step 22:
Remove the hoop from the machine; do not unhoop; trim the satin layer; the Thermolam; and the back fabric as before.
(Click Image to Enlarge)
Step 23:
Run the last color sequence to do the decorative stitching and border on the skirt. Cut roughly away from the excess stabilizer.
(Click Image to Enlarge)
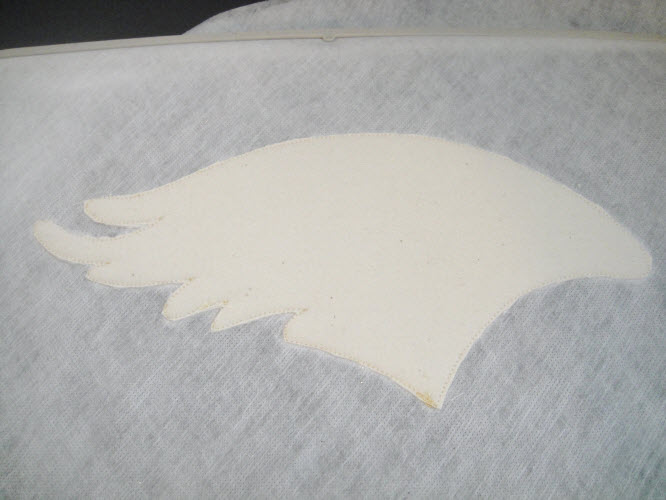
Step 24:
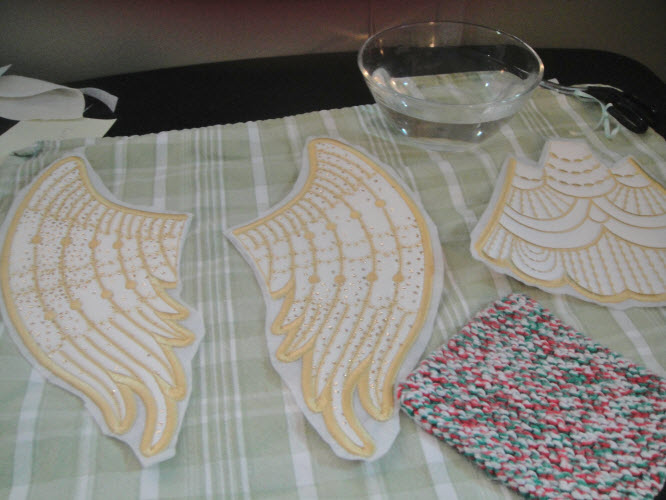
Before we sew the last design file we need to remove the excess stabilizer from the wings and the skirt. Assemble a small bowl of hot water, a small sponge or cloth and the three pieces you have sewn out.
(Click Image to Enlarge)
Step 25:
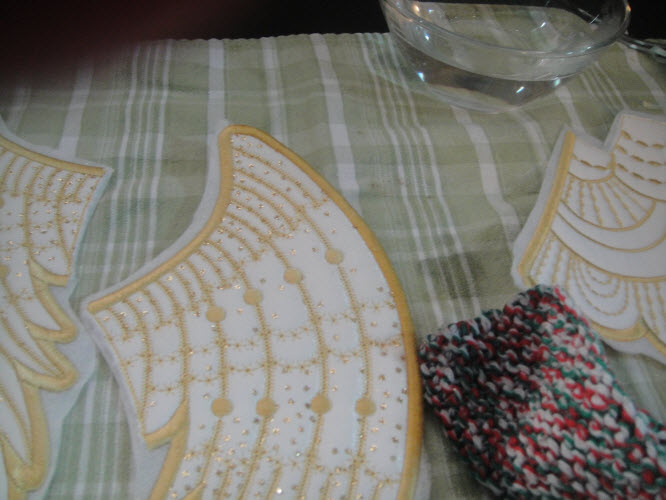
Dip the cloth in the hot water and run along the edges of the embroidered pieces to remove the stabilizer.
(Click Image to Enlarge)
Step 26:
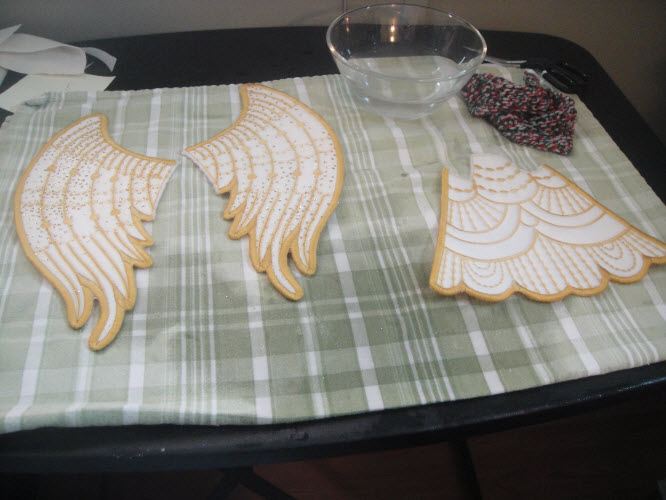
You will need these three pieces to be dry before you can proceed with the embroidery. A hair dryer comes in handy if you are in a hurry.
(Click Image to Enlarge)
Step 27:
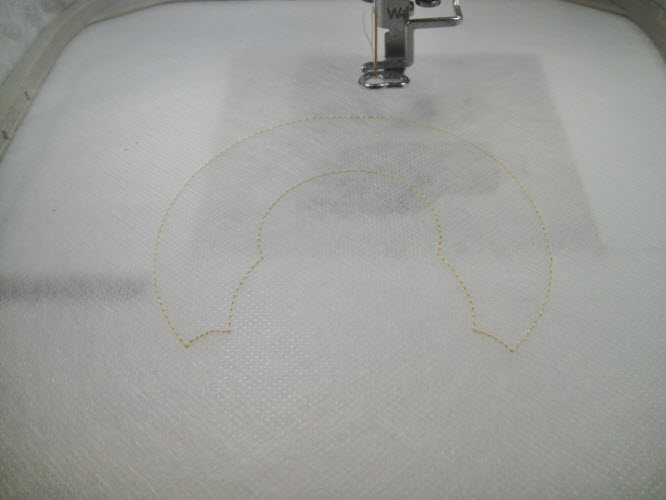
Load design ANGWH04 into your machine. Hoop two layers of water soluble stabilizer in your hoop. Run the 1st color sequence which is the outline of the halo.
(Click Image to Enlarge)
Step 28:
Remove the hoop from the machine, do not unhoop. Spray and place the back fabric/craft use layer on the back of the hoop. Spraying individually between layers, lay the Thermolam®, satin and glitter organza over the outline on the top of the hoop.
(Click Image to Enlarge)
Step 29:
Return the hoop to the machine and stitch the second color sequence which is the tack down for all the fabric layers.
(Click Image to Enlarge)
Step 30:
Trim all excess fabric from the front and back of the halo.
(Click Image to Enlarge)
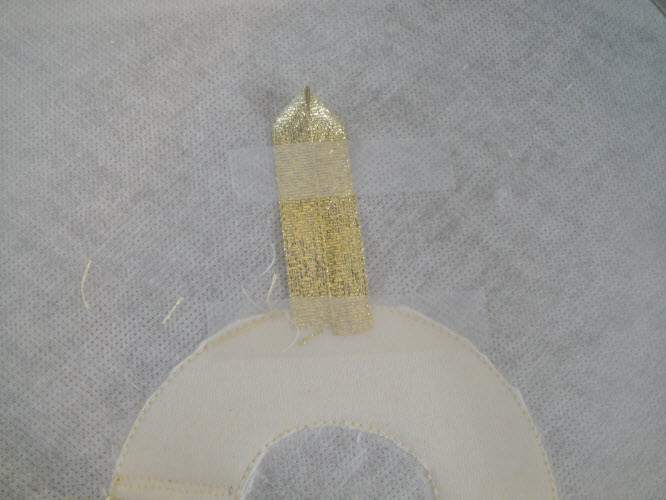
Step 31:
Before returning the hoop to the machine take a 4.5” piece of ribbon (metallic ribbon was used in the sample), place the ends of the ribbon side by side about ¼” inside the halo and scotch tape in place. Place scotch tape at the top of the loop too just to keep it from falling into the embroidery area.
(Click Image to Enlarge)
Step 32:
Return the hoop to the machine and run the next color sequence which is the outline for the head and body.
Step 33:
Remove the hoop but do not unhoop. Layer the Thermolam® and satin on top of the outline with spray adhesive. There is no glitter organza fabric on the face and body. Place the back fabric/craft fuse layer over the outline on the back of the hoop.
(Click Image to Enlarge)
Step 34:
Return the hoop to the machine and run the tack down line for the head and body.
(Click Image to Enlarge)
Step 35:
Remove the hoop from the machine and trim the excess fabric, Thermolam® and back fabrics.
(Click Image to Enlarge)
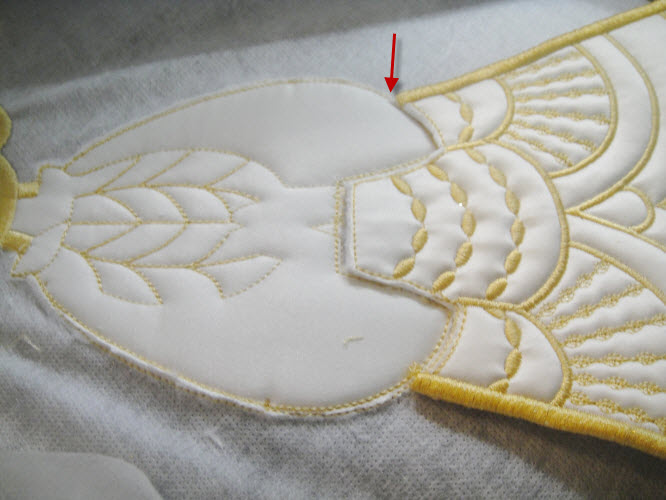
Step 36:
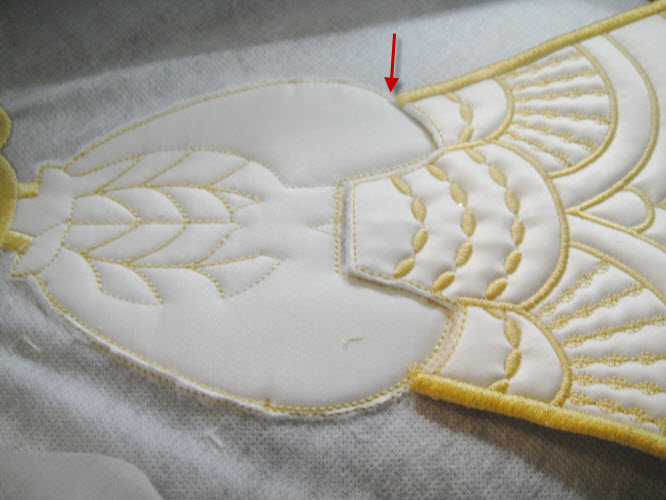
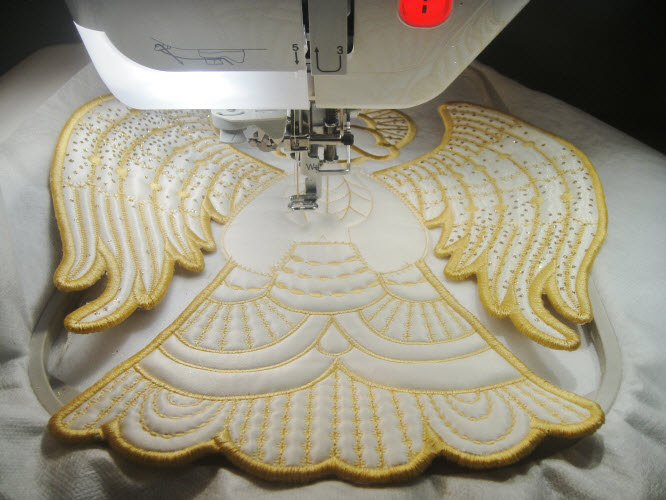
Return the hoop to the machine. The inner bodice and other detail stitching will sew. The machine will stop just about where the red arrow is in this picture.
(Click Image to Enlarge)
Step 37:
It is easiest if you remove the hoop again at this point. Spray a little adhesive on the stabilizer at the bottom of the body. Fit the shape of the skirt into the open area at the bottom of the body.
(Click Image to Enlarge)
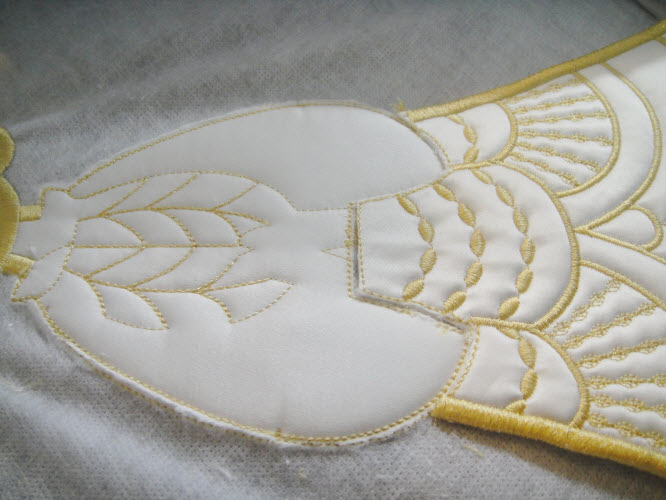
Step 38:
This skirt should fit into the bodice like a jigsaw puzzle piece. If it doesn’t fit, trim little extra pieces off until you get a good fit.
(Click Image to Enlarge)
Step 39:
Once you have the skirt in place run the next color sequence which will zigzag the two sections together.
(Click Image to Enlarge)
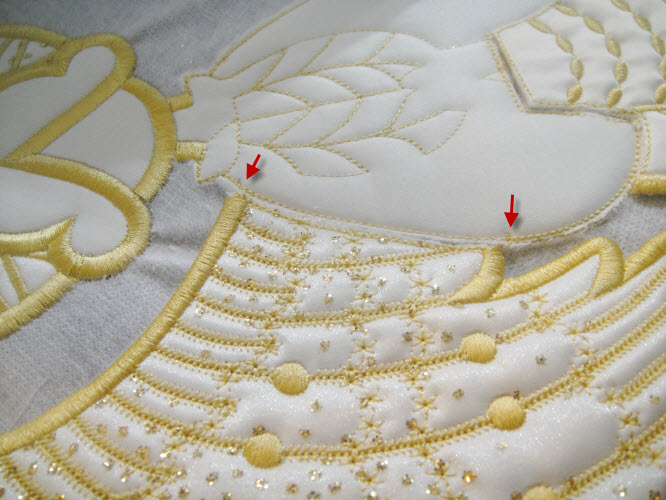
Step 40:
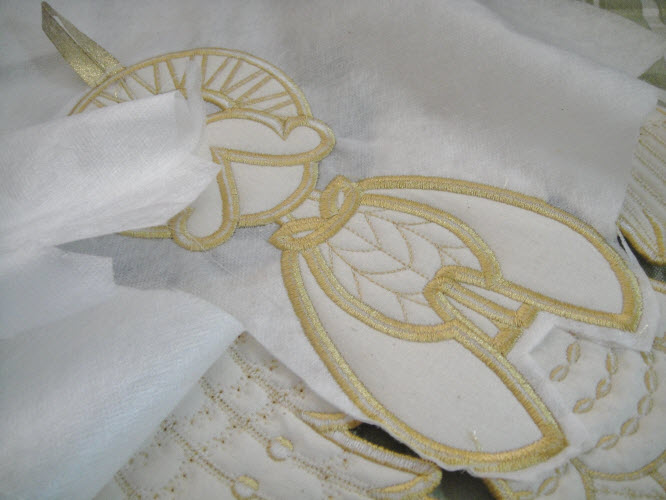
Remove the hoop from the machine. On the each side of the sleeve there are two little stitches that are used to mark the placement of the wings. The stitches are tiny, as there isn’t a lot of space to work with there, but they show you where to line up the wing.
(Click Image to Enlarge)
Step 41:
Spray a little adhesive on the stabilizer next to the wing placement lines and position the wing. Stitch the next color sequence which will zigzag the wing into place.
(Click Image to Enlarge)
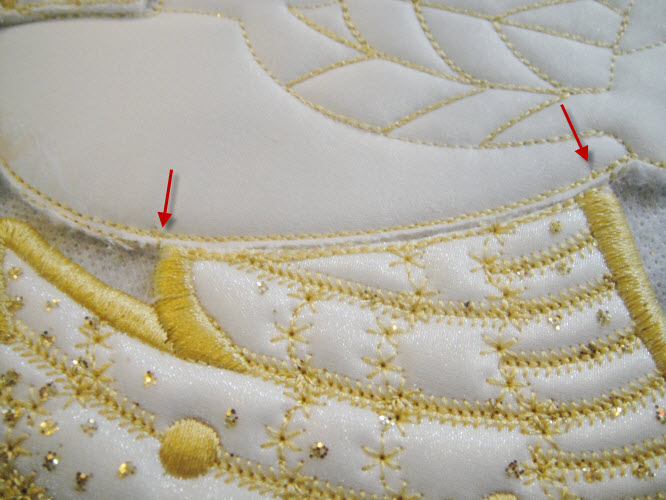
Step 42:
Remove the hoop from the machine and place the right wing into place as you did the left.
(Click Image to Enlarge)
Step 43:
Return the hoop to the machine and a tack down zigzag will attach the right wing to the body. The project will now look like this.
(Click Image to Enlarge)
Step 44:
(Click Image to Enlarge)
Run the last color sequence to complete the borders and detail on the body and head and will firmly attach the wings and skirt.
Step 45:
Remove the project from the hoop and cut away the excess stabilizer from the back of the design being careful not to cut your ribbon hanger.
(Click Image to Enlarge)
Step 46:
(Click Image to Enlarge)
Get hot water again and remove the excess stabilizer with a sponge or small cloth. Allow the project to dry.
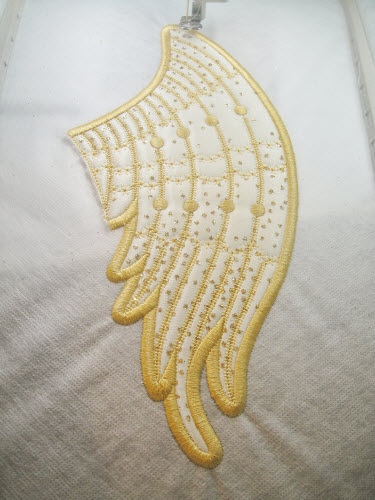
Step 47:
(Click Image to Enlarge)
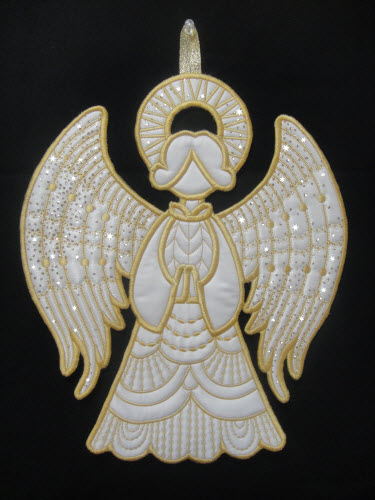
Congratulations your Elegant Angel Wall Hanging is complete.
Award winning Digitizer, Embroidery Educator, Author and a Consultant to the Industry, Pat Williams has 30 years of experience in the embroidery industry. Pat has won multiple awards for her digitizing expertise including the 2007 Impressions Awards Grand Championship, Best of Show as well as the 1st and 2nd Place Awards. Pat’s love of digitizing has afforded her the opportunity to write numerous articles for Impressions magazine in the United States and Images Magazine in Europe. In 2001 Pat was named “Embroidery Educator of the Year.” For many years Pat taught digitizing seminars at the ISS Shows in Long Beach, CA and for Compucon software. She now resides in Tucson, AZ.