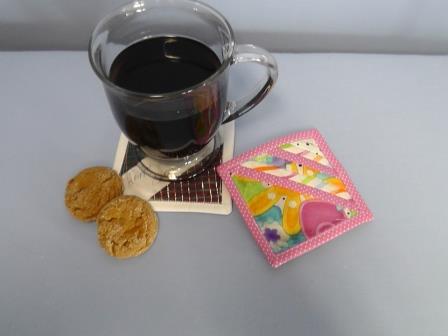
Use scraps of quilting cotton fabric to create fabulous quilt blocks done in the hoop. Bind the finished blocks, add cork to the back, and you’ll have a wonderful set of coasters in no time at all.
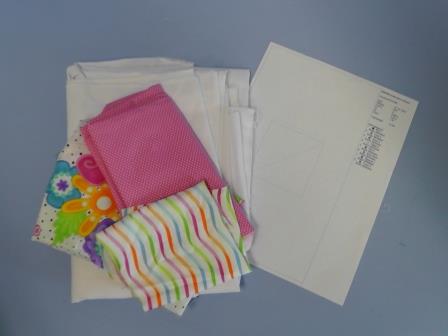
Create one or several to make sets of these ITH Quilt Blocks. Use leftover scraps of cotton fabrics, plus strips for binding the coasters, and make the coasters for each season.
Load the design into the machine and follow the color sequence for stitching. The first fabric is placed right side up and subsequent fabrics in the block are faced right side down, the seam line stitched, trimmed to 1/4”, and the fabric pressed down over the seam allowance. Be sure not to un-hoop the fabric when removing the hoop from the machine for trimming the seam allowances and pressing the seams and fabric. The steps are repeated until the block is completed. Though there are several colors listed (each color represents a stop at the machine to place down the fabric), only one thread color is needed.
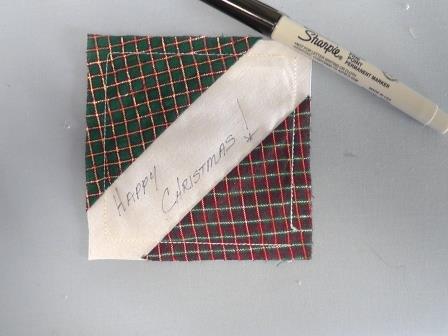
The "Signature Quilt Design" has a center strip that allows personalization. Hand-write a sentiment or use the fonts in embroidery software or at the machine if stitching of the sentiment is desired. After the blocks are stitched, all that is left is to bind them and then glue a piece of cork to the back.
Step 1:
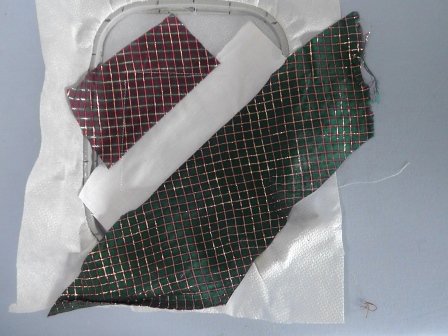
Choose the fabrics for the ITH “Sunshine Quilt Design” block. Scraps may be used. Theme the fabrics for seasons if you’d like. Print out the color sequence sheet.
Step 2:
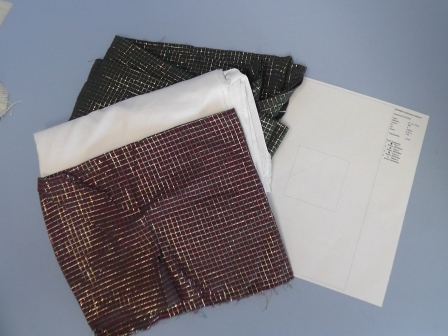
Choose the fabrics and print out the color sequence sheet for the “Signature Quilt Design” block.
Step 3:
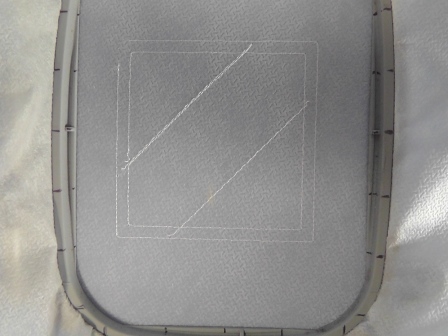
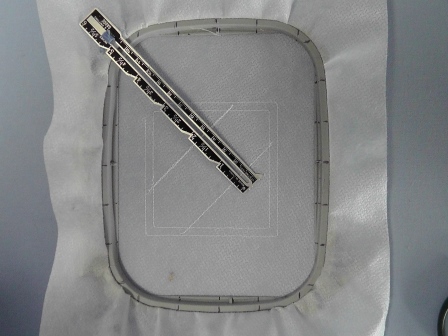
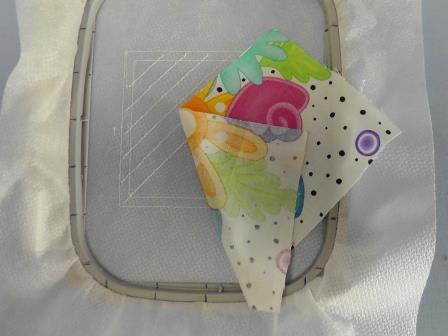
Load design “Signature Quilt Design. Hoop one layer of poly mesh stabilizer. Tap the button on the machine that allows the machine to stitch the entire design without stopping. Stitch the design. I found it helpful to stitch the entire design without any fabric first, so I knew where to place the fabric pieces. Watch the design stitch out so you know the sequence of fabric placement and stitching.
Step 4:
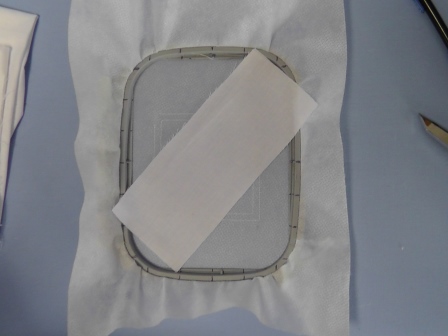
Measure the areas to cut the fabric pieces. Cut strips of fabric larger than these areas.
Step 5:
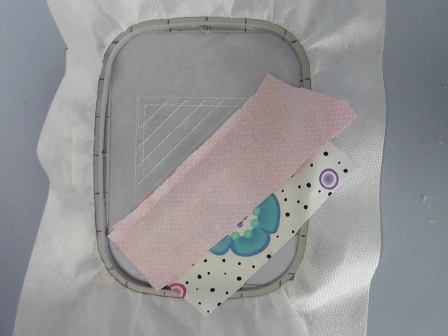
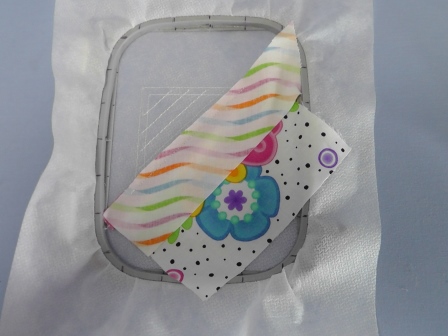
Place the first fabric, right side up, in the center area of the design.
Step 6:
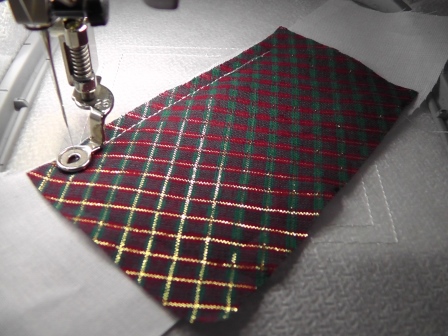
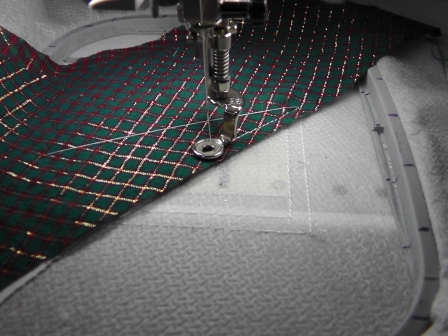
Place the second fabric, right side down. Advance to color stop 2 (color one was already stitched when the design was stitched on the stabilizer). Press the start button to stitch the seam line. Remove the hoop from the machine, but do not remove the fabric from the hoop. Trim the fabric leaving a ¼” seam line. Press to set the stitches.
Step 7:
Flip the fabric over the seam line and press again.
Step 8:
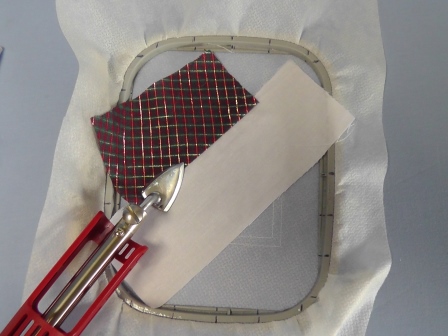
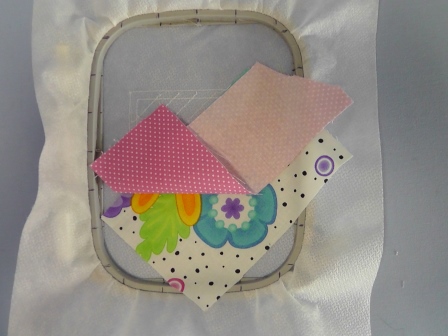
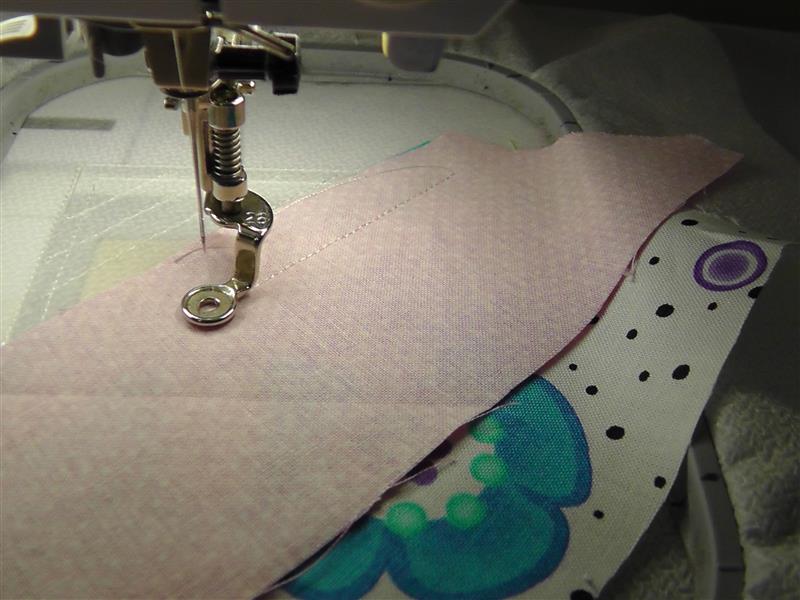
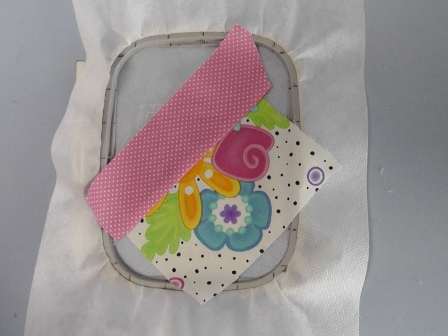
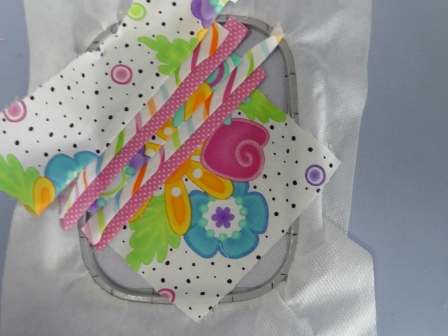
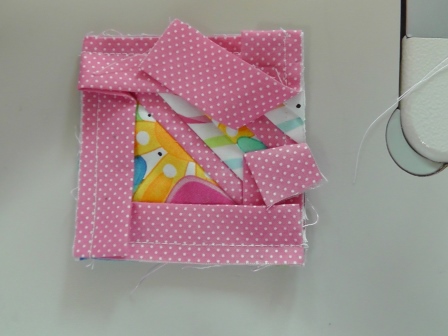
Place the hoop back on the machine. Place the third fabric right side down. Press the start button and stitch the next seam.
Step 9:
Remove the hoop from the machine, trim the fabrics leaving a ¼” seam allowance. Flip the fabric over the seam allowance and press well.
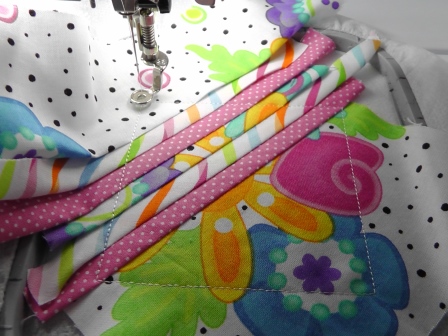
Step 10:
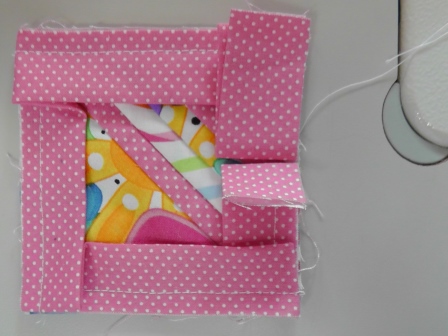
Place the hoop back on the machine and stitch the last color which will outline the quilt block and catch the outside edges of the fabric pieces.
(Click Image to Enlarge)
Step 11:
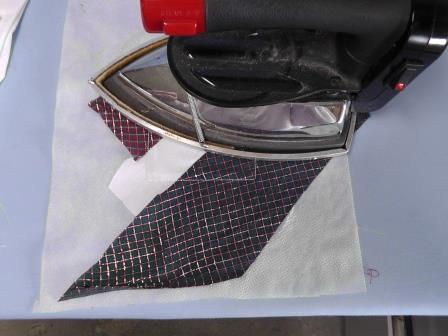
Remove the fabric from the hoop and press well.
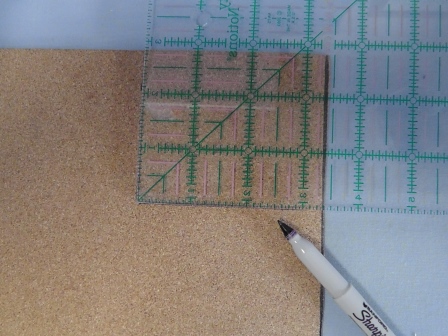
Step 12:
Measure and trim the outer edges of the quilt block, leaving ¼” all the way around. Write a sentiment with a permanent marker. Set the block aside until the final finishing steps.
Step 13:
Load design “Sunshine Quilt Design” on the machine. Hoop one layer of poly mesh stabilizer. Stitch the entire design on the stabilizer without fabric. Watch the design stitch so you know where to place the fabric and which stitching lines will create the seam lines.
Step 14:
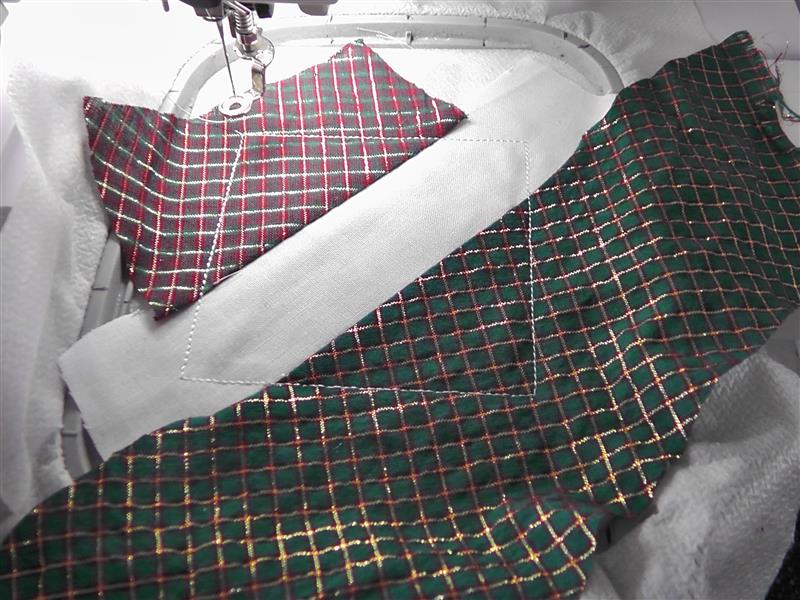
Measure, cut and place the first fabric right side up over the largest area of the design.
Step 15:
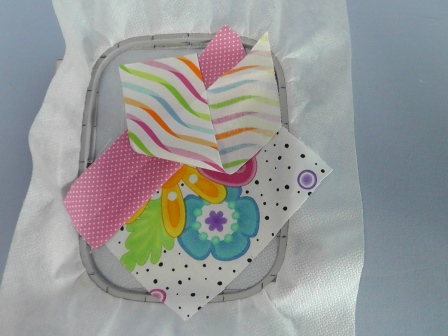
Measure, cut and place the next fabric right side down over the first fabric.
Step 16:
Place the hoop on the machine. Re-start the design and skip ahead to color 2 (color one can be omitted because it was stitched when the entire stitchout was done in the previous step) to stitch the seam line.
(Click Image to Enlarge)
Step 17:
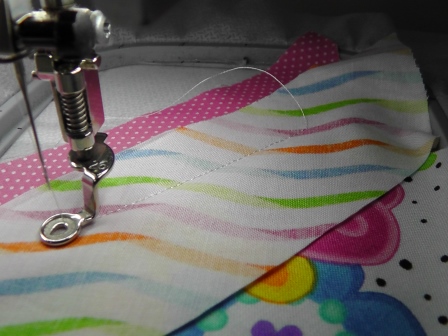
Remove the hoop from the machine, but do not remove the fabric from the hoop. Trim the fabrics leaving a ¼” seam allowance.
Step 18:
Press the fabric over the seam allowance.
Step 19:
Place the next fabric, right side down over the previous fabric.
Step 20:
Place the hoop on the machine and stitch the next color which will create the seam line.
Step 21:
Trim the fabrics leaving ¼” seam allowance. Press the fabric over the seam allowance.
Step 22:
Repeat the steps of placing the fabric right side down, sewing the seam, trimming and pressing the fabric over the seam allowance for the remaining steps in the color sequence.
Step 23:
Place the hoop back on the machine and stitch the final color which will sew the outline of the quilt block and tack down all the outer edges of the fabrics. Trim the quilt block leaving a ¼” seam allowance around edges of the outline stitch.
Step 24:
Finish for both coasters:
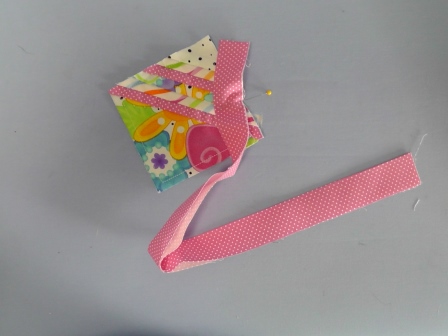
To create the binding, measure along each side along the stitching line. Add the measurements together and add 6” to that total to cut the binding.
Step 25:
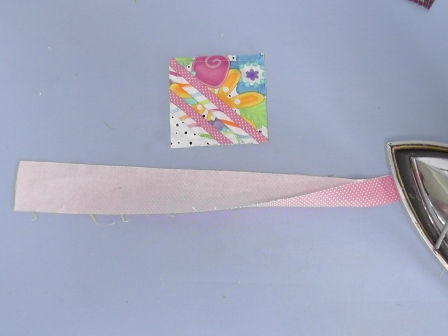
Cut the binding strip (either on grain or on the bias) 2” wide by the measured length plus about 6" for mitering the corners and finishing the ends(in the project, the binding strip was cut 2” x 18”). Fold and press the strip in half lengthwise.
Step 26:
Beginning in the middle of one side, pin the binding in place, meeting cut edges. Leave a tail of about 3” unpinned.
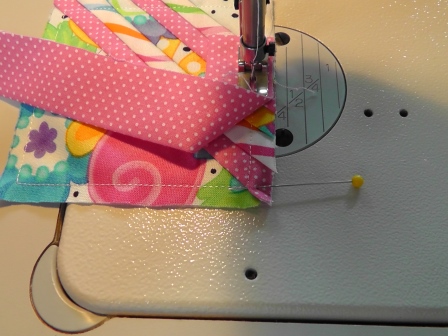
Step 27:
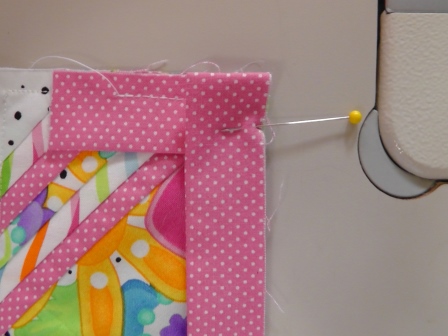
At a regular sewing machine, stitch the binding on, using a ¼” seam allowance. To create the mitered corners (this mitering technique was created by Liz Porter of "Fons and Porter"), place a pin at the corner of the stitching line.
Step 28:
Sew to the pin and stop with the needle in the fabric.
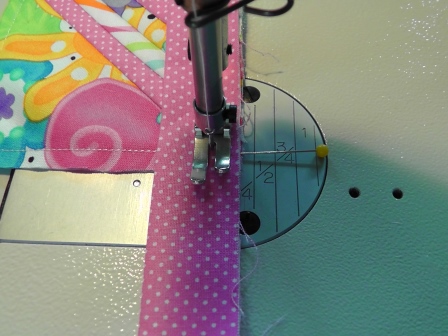
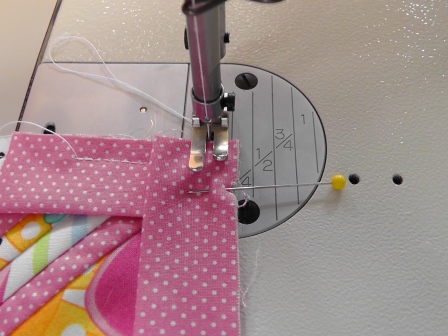
Step 29:
Rotate the fabric 90 degrees, and reverse sew off the fabric. Remove the fabric from under the needle.
Step 30:
To form the miter, flip the binding strip up at a 45 degree angle.
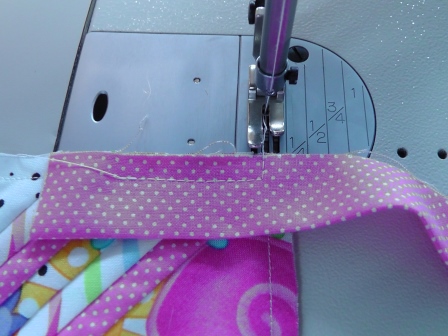
Step 31:
The fold the strip back down, so the fold is in line with the top cut edge and pin in place.
Step 32:
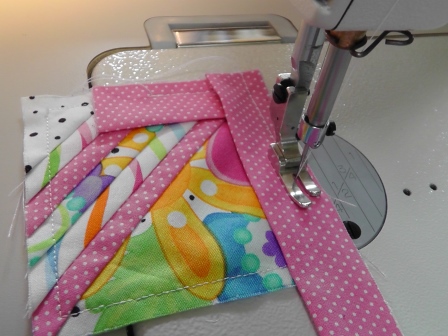
Begin stitching at the top and stitch down the side using a ¼” seam allowance, removing pins as you go.
Step 33:
Sew down to the next corner.
Step 34:
Repeat the process, of forming the miters at each corner and sewing on the binding.
Step 35:
After sewing the forth corner, sew about an inch and backstitch. Remove the fabric from the machine to close the binding seam.
Step 36:
This is such a small project that forming a bias connection is difficult. So for this project, fold back the loose tails of the binding until they barely meet. Trim each tail ¼” away from the fold.
Step 37:
Open up the tails, place right sides together and stitch a 1/4" seam. Press the seam open.
Step 38:
Fold the binding back in half and finish sewing the binding to the quilt block.
Step 39:
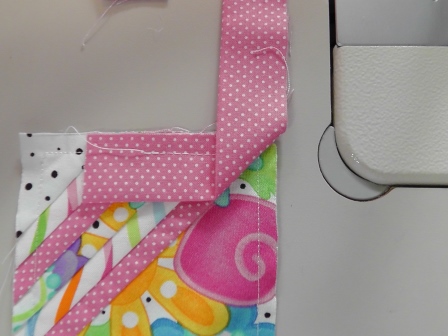
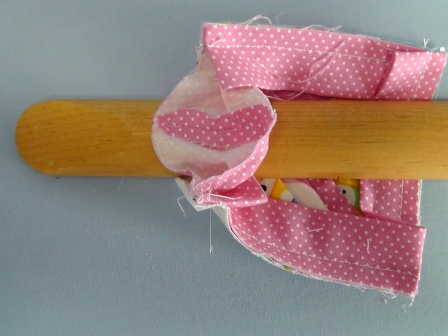
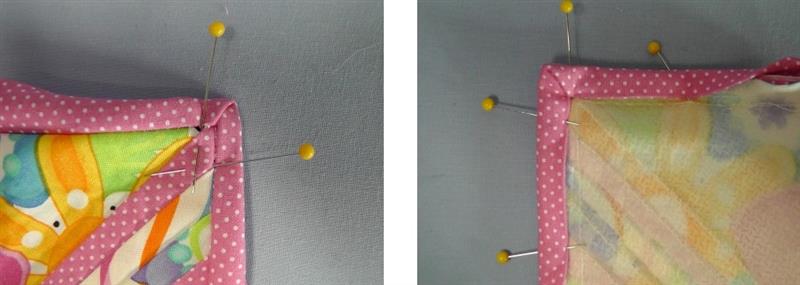
Wrap the binding to the back over the cut edge and pin in place, forming miters at the corners both on the front and back and pin in place.
(Click Image to Enlarge)
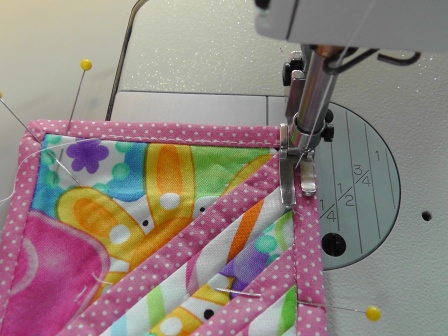
Step 40:
Using the same embroidery thread, edgestitch the binding in place (or if you prefer, stitch in the ditch or well of the seam to make the stitching more invisible).
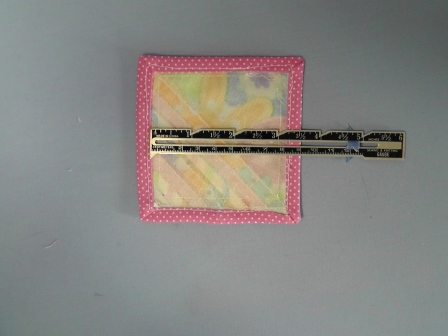
Step 41:
Measure the back of the coaster, including about 1/8” of the binding.
Step 42:
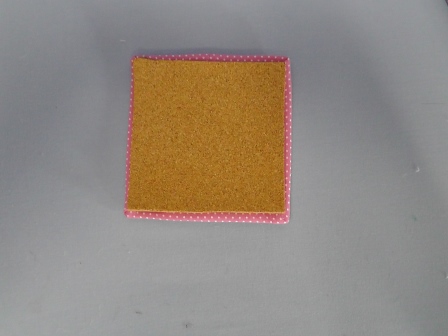
Measure and cut the cork to fit this measurement (use old scissors to cut the cork).
Step 43:
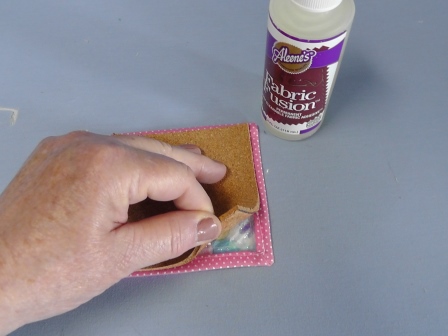
Place glue on the cork and place the glued side against the back of the coaster.
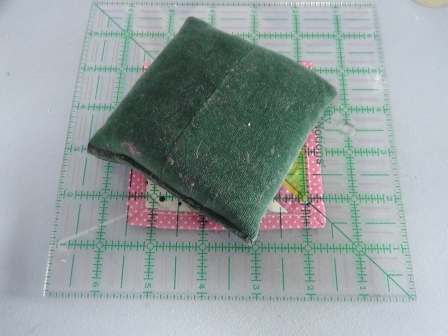
Step 44:
Use weights to hold the cork to the quilt block until it is dry.
Step 45:
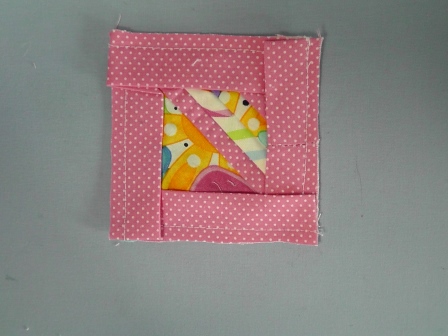
The back of the coaster will have a neat and tidy appearance and help protect furniture when the ITH Quilt Block Coaster is used.
Step 46:
Create several of these coasters and give sets as gifts that will be appreciated and a nice remembrance of your thoughtfulness.
Ramona Baird has been in the embroidery industry for over 23 years. She and her husband owned a commercial and retail embroidery store in Arizona for many years. She is an experienced digitizer having been mentored by award-winners Pat Williams and Lindee Goodall. Ramona is a contributor to “Creative Machine Embroidery” magazine having 5 covers to her credit. Ramona has worked for Wilcom America and served many years as Education Director for the American Sewing Guild. With a degree in fashion design, she is able to design and execute patterns which Pat Williams says are “out of the box” in creativity and application. Ramona likes to challenge the boundaries of embroidery and bring new and exciting designs, ideas, and projects to EmbroideryDesigns.com. She wants embroiderers of all levels to increase their skills and enjoyment in using their embroidery machine for gift-making and personal pleasure.