Border OptionsHugging border, circle, square, or rectangle — with a 3mm satin stitch.
Backing OptionsAvailable with iron-on, sew-on, or velcro backing.
Fast ShippingShipped quickly from the USA.
Free Online Tools
Powerful embroidery utilities that save time and prevent costly mistakes.
Stitch AssistantRECOMMENDED
Get the exact stabilizer, machine settings, needle, and thread color sequence for every embroidery design you purchase — based on that design's stitch density, dimensions, and color count.
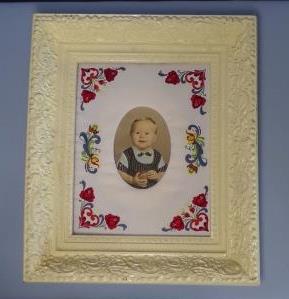
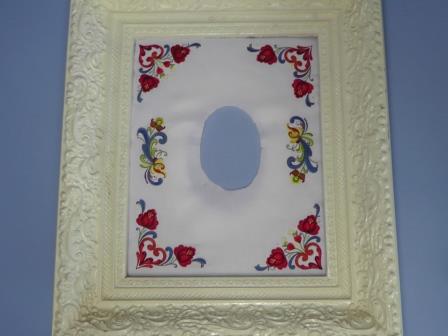
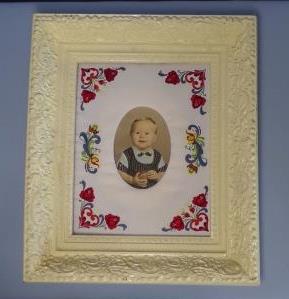
Enhance your photographs with a beautifully crafted Rosemaling Picture Mat. This elegant accessory features intricate floral designs that add a touch of artistry to any photo display. Perfect for framing cherished memories with a decorative flair. Step-by-step instructions are included.
Because frame and mat sizes will vary, general instructions are given. Use these instructions to fit the Rosemaling embroidery designs to what you have.
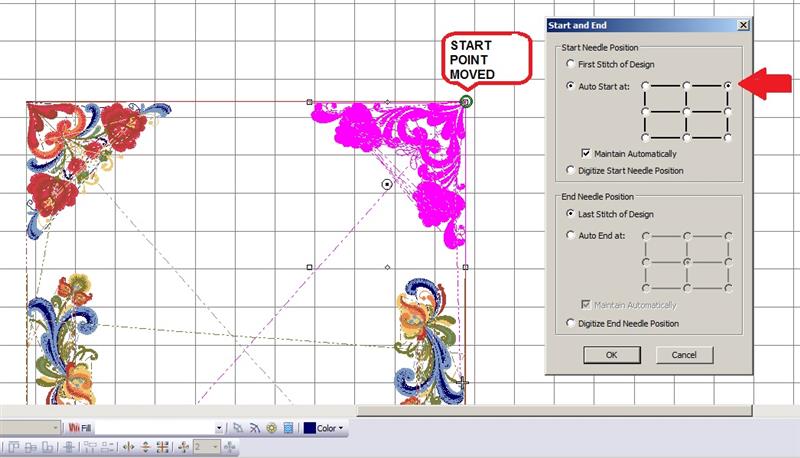
Embroidery software makes planning of design placement very easy. After the designs are placed, alignment points may be moved on each design to allow for easier alignment of the designs on the fabric at the machine. Most embroidery software will allow editing of the alignment point of a design. Stock embroidery designs are digitized with the alignment point in the center of the design. Most times it is called the “start point”. I call it the alignment point; it is the point where the design is aligned to the fabric and in the hoop. This point may be moved anywhere in the design for accuracy in alignment on the fabric. From the alignment point, the machine is started, and jumps from the alignment point to the first stitch of the design.
Step 1:
Gather all the materials needed for the project. Starch the fabric well. Open the embroidery software. The project begins by creating a layout for the embroidery designs sizing it to the picture mat. If you don't have embroidery software, print out a paper template of each design and form the layout with the templates over the picture mat.
Step 2:
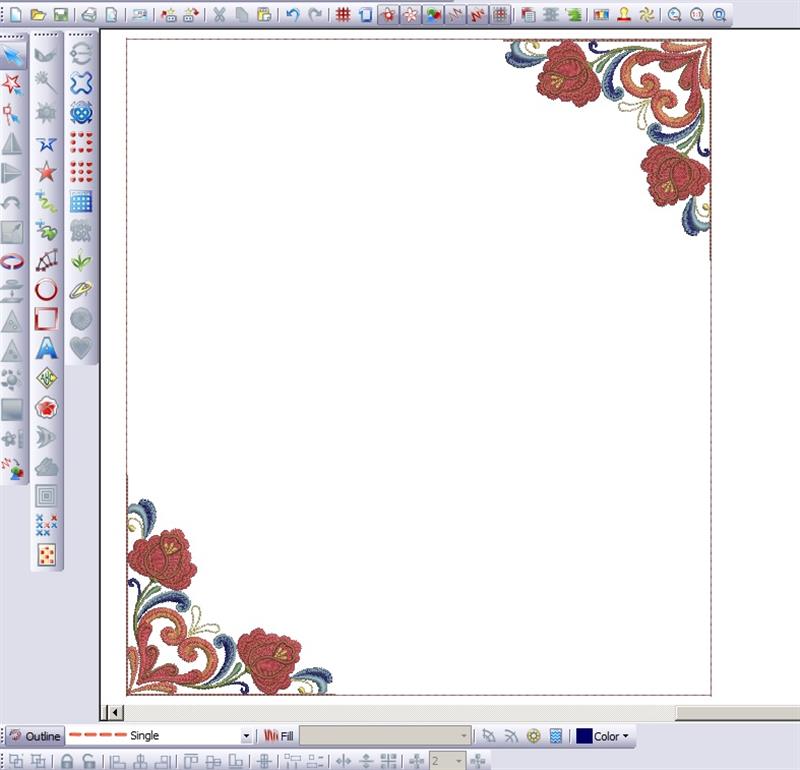
In embroidery software, draw a rectangle to represent the outer edges of the mat (project: 11” x 13” rectangle was drawn). Insert the “Rosemaling Roses” design APE1471_010. Rotate and move the design to the lower left hand corner of the rectangle. Select, copy, paste and rotate the copied design and move it to the upper right hand corner of the rectangle as shown.
(Click Image to Enlarge)
Step 3:
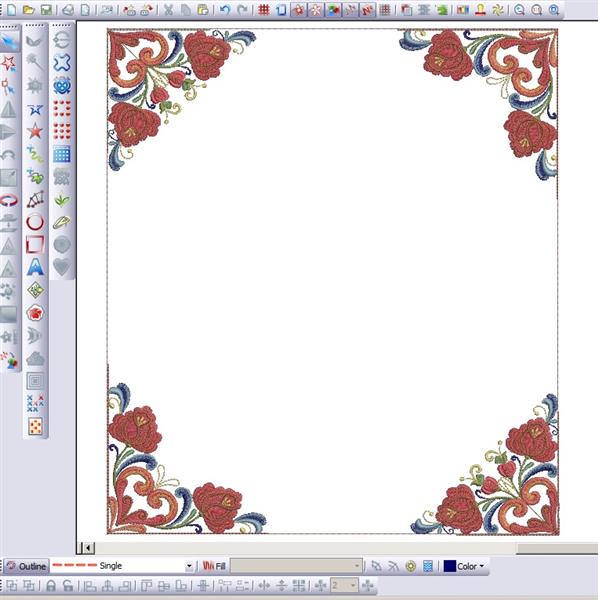
Insert “Rosemaling Roses” design APE1471_009. Rotate and move it to the lower right hand corner of the rectangle. Select copy and paste the design; rotate and move the copied design to the upper left hand corner of the rectangle.
(Click Image to Enlarge)
Step 4:
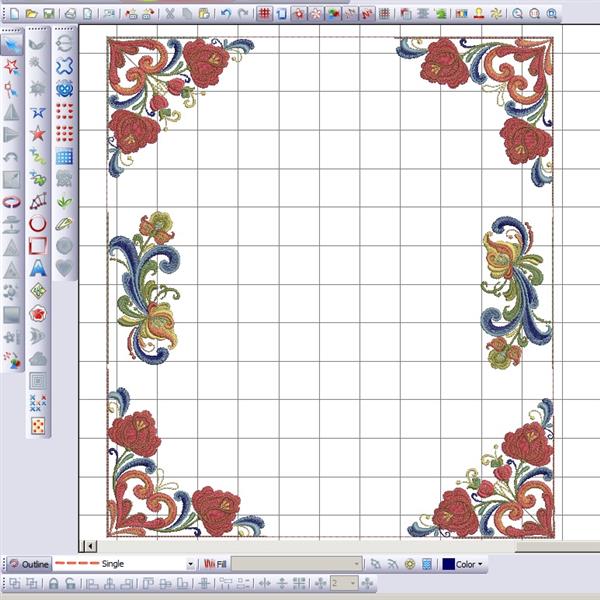
Insert the “Rosemaling Décor” design APE1465_001. Move the design to the left edge of the rectangle centered between the corner designs. Select copy and paste the design; mirror and rotate the copied design 180 degrees and move it to the right side of the rectangle centered between the right side corner pieces. This completes the layout (be sure to save the layout). Next is to re-locate the alignment (start) points for each design to make alignment easier on the fabric at the machine.
(Click Image to Enlarge)
Step 5:
For the corner designs, move the alignment or “start point” to the corner. Check the help menu in the software if you are unsure of how to do this in your software. In my software it is under the “Arrange” menu, “Start and End” and the desired position is selected then "OK" clicked to keep and move the alignment point. In moving the point instead of aligning the design in the center at the machine, it will now be aligned in the corner.
(Click Image to Enlarge)
Step 6:
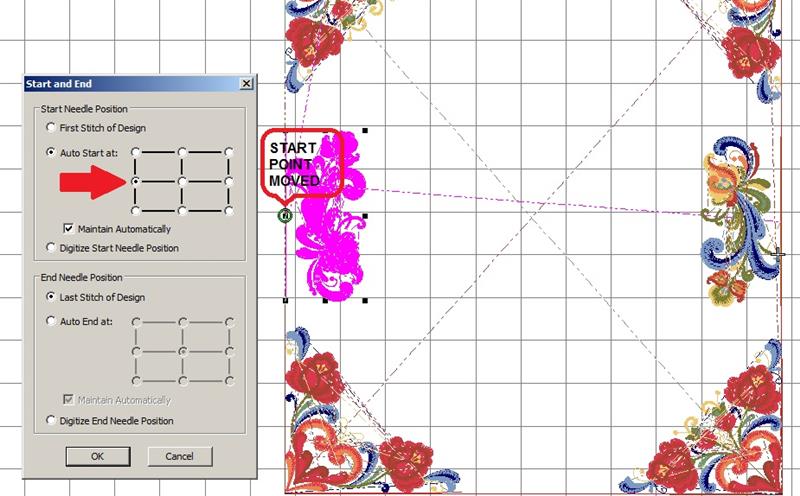
For each center design, move the alignment point to the outside center as shown.
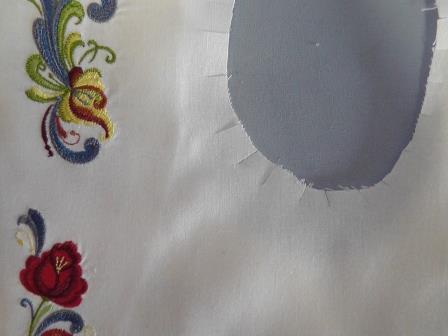
(Click Image to Enlarge)
Step 7:
(Click Image to Enlarge)
Save each of the designs as individual files for the machine (not the whole setup unless you have a hoop big enough to accommodate the entire layout). Print paper templates for each design.
Step 8:
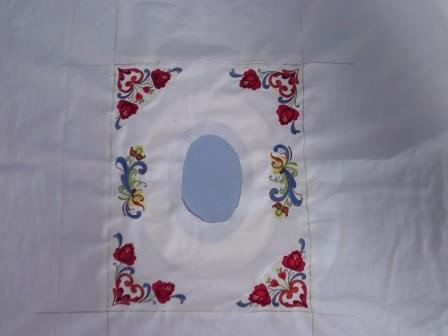
The fabric should be cut with ample room for hooping. In the center of the fabric, trace around the outside of the picture mat. Find the center of each left and right line (this will help when aligning the left and right center designs)
Step 9:
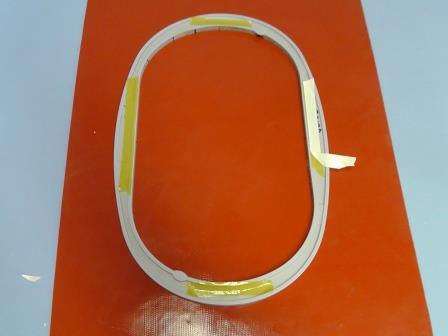
To aid in hooping, place pieces of embroidery tape along the underside of the upper hoop. Remove the protective paper to expose the adhesive.
Step 10:
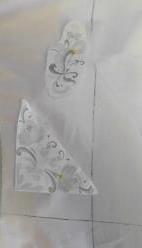
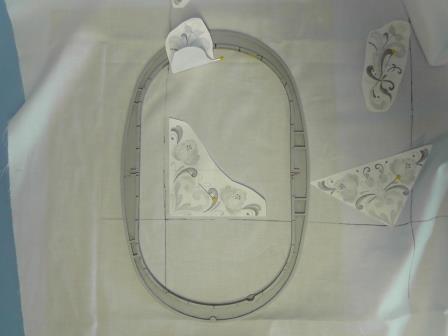
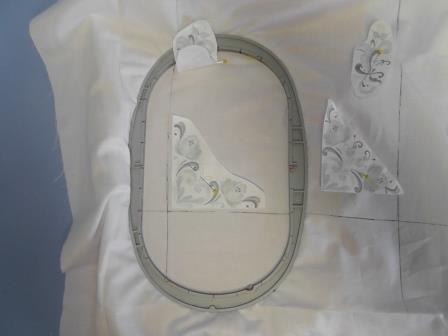
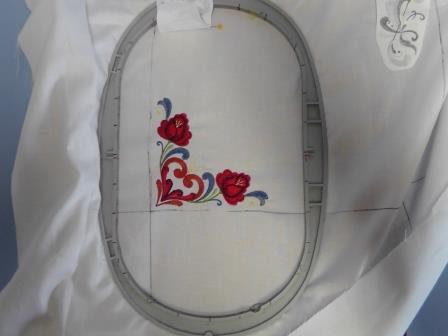
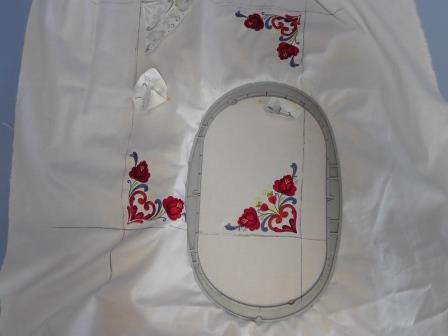
Align the paper templates to the corners and center sides of the fabric as they were laid out in the software (I kept the designs ¼” inside the marked lines of the fabric so when the fabric is placed in the frame after embroidery, I was assured the entire design would show. Check your frame to see how much the mat hides under the frame after it is inserted.). Pin the templates in place. Beginning with the design in the lower left, place the upper hoop (with the tape on the underside) on the fabric and align the design in the upper hoop. Note: I marked my hoop with a permanent black marker at 1” intervals on all sides to aid in alignment.
Step 11:
Place a piece of tearaway stabilizer over the under hoop. Lift the upper hoop with the fabric (the tape keeps it in place!) and place it inside the under hoop.
Step 12:
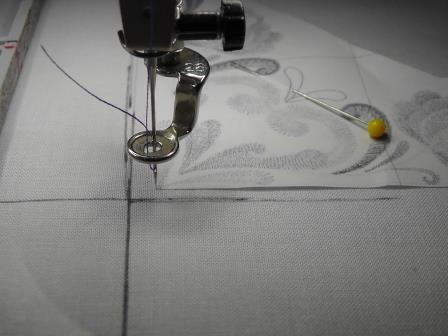
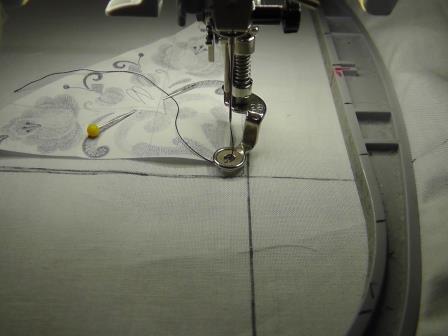
Load design “Rosemaling Roses” design APE1471_010 into the machine. Place the hoop on the machine and align the needle to the lower left corner point of the paper template.
Step 13:
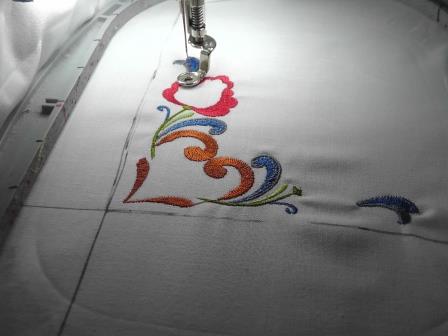
Remove the paper template and embroider the design following the color sequence.
Step 14:
Remove the design from the hoop and carefully remove the stabilizer from the back.
Step 15:
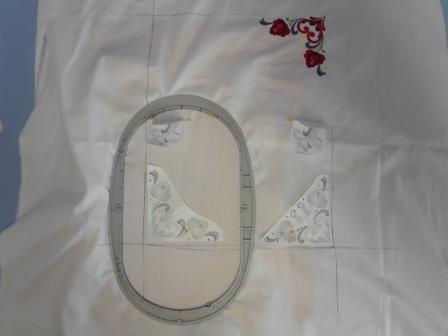
Turn the fabric around 180 degrees and repeat the steps of alignment, hooping and stitching (this will be the upper right hand corner when the project is finished). Stitch the design then remove the stabilizer.
Step 16:
Hoop the fabric for the lower right hand corner design, following the same process.
Step 17:
Load design “Rosemaling Roses” design APE1471_009 in the machine. Align the needle to the lower right hand corner of the design.
Step 18:
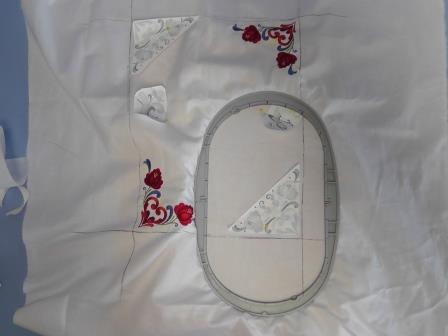
Stitch the design following the color sequence. Remove the fabric from the hoop and remove the stabilizer from the back. Rotate the fabric and repeat for the upper left corner.
Step 19:
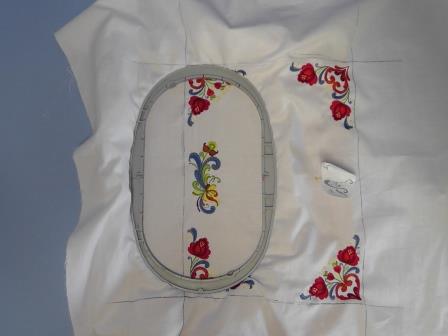
Hoop the fabric, load design “Rosemaling Décor” design APE1465_001. Align the design at the machine to the left center of the drawn line. Stitch the design following the color sequence. Remove the fabric from the hoop and remove the stabilizer from the back of the design.
Step 20:
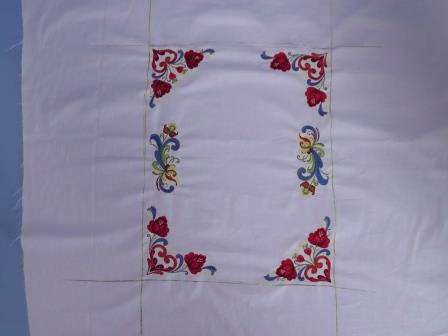
Repeat for the remaining right center design.
Step 21:
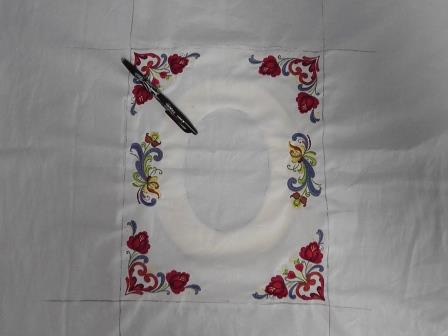
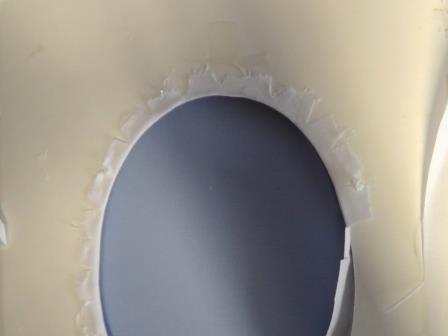
Place the mat under the stitched fabric aligning it to the original lines traced. Mark around the center oval to be cut out.
Step 22:
Cut out loosely around the center, leaving about ½” of seam allowance.
Step 23:
(Click Image to Enlarge)
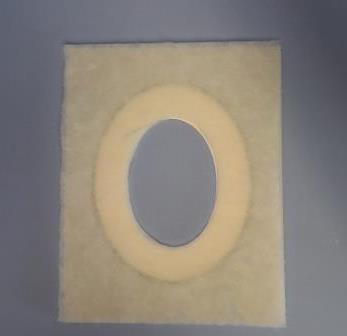
Lay the quilt batting under the mat. Draw around the center oval and cut out. The batting should be the exact size of the mat.
Step 24:
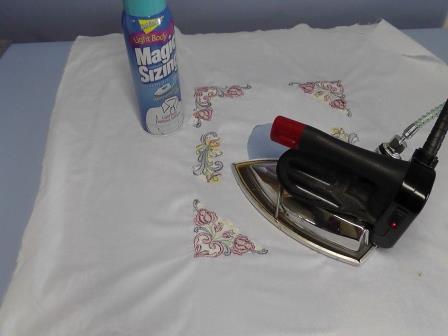
Press the fabric well using more starch if necessary. Press the fabric from the wrong side.
Step 25:
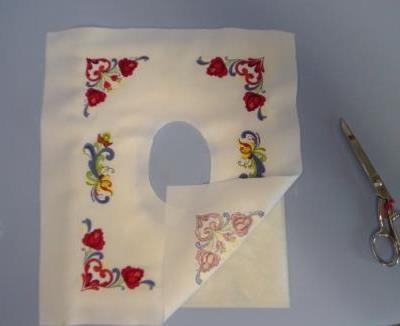
Place the mat down, then the batting over the mat, and then align the embroidered and starched fabric over the top of the batting. Trim away the excess fabric from the outer edges, leaving about 1” around all sides for turning under and gluing in place.
Step 26:
Clip around the inner oval to release the fabric to wrap around to the underside of the mat.
Step 27:
Before finishing up, double check that everything aligns in the frame properly.
Step 28:
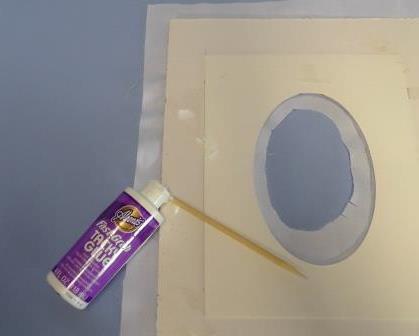
Carefully turn everything over (do not disturb the alignment) and use the glue to adhere the fabric to the underside of the mat. Apply small amounts of glue and then wrap the fabric to the back side of the mat (hint: use a small stick to apply the glue exactly where needed).
Step 29:
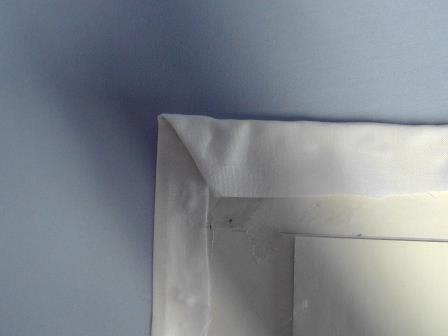
Fold each of the four corners to form a miter and glue in place.
Step 30:
Working small areas at a time, place small amounts of glue and wrap the clipped fabric around the inner oval.
Step 31:
Let the glue dry completely.
Step 32:
(Click Image to Enlarge)
Place the embroidered mat into the picture frame and then center the picture inside the oval opening.
Ramona Baird has been in the embroidery industry for over 23 years. She and her husband owned a commercial and retail embroidery store in Arizona for many years. She is an experienced digitizer having been mentored by award-winners Pat Williams and Lindee Goodall. Ramona is a contributor to “Creative Machine Embroidery” magazine having 5 covers to her credit. Ramona has worked for Wilcom America and served many years as Education Director for the American Sewing Guild. With a degree in fashion design, she is able to design and execute patterns which Pat Williams says are “out of the box” in creativity and application. Ramona likes to challenge the boundaries of embroidery and bring new and exciting designs, ideas, and projects to EmbroideryDesigns.com. She wants embroiderers of all levels to increase their skills and enjoyment in using their embroidery machine for gift-making and personal pleasure.