





PROJECT INSTRUCTIONS


PROJECT INSTRUCTIONS

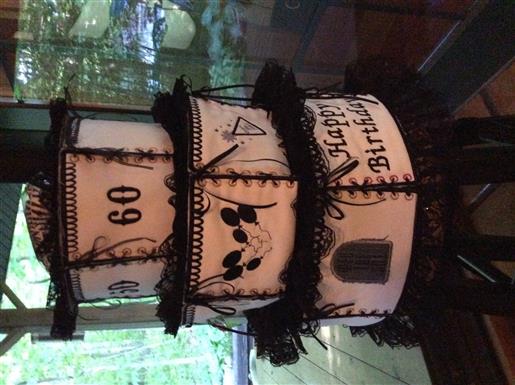
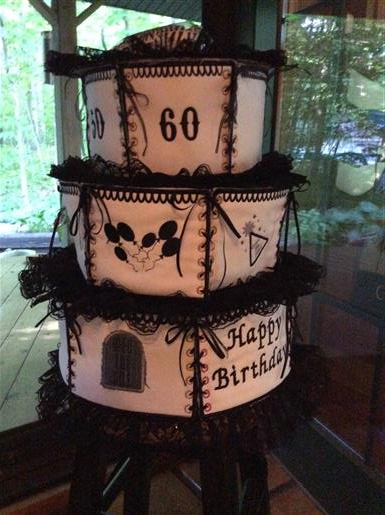
Embroidered Cake Embroidery Project
By
Linda Pitmon
on
August 15, 2014
Description
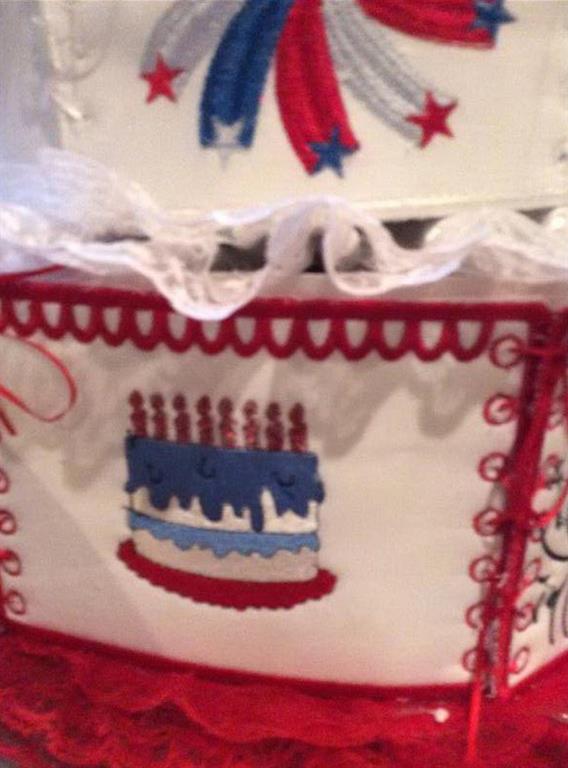
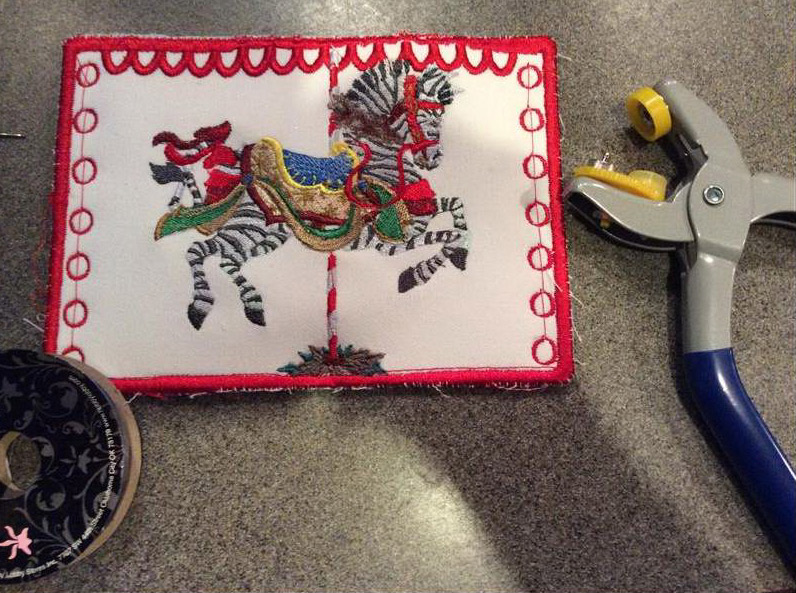
3 tier cake with many possibilities. Just did a 4th of July and a carousel cake.
Step
of
Materials
Project Preview Video

Carousel Horse
$8.69
Circle Price: $6.52

1st Birthday Boy
$4.99
Circle Price: $4.49

Carousel Horse
$4.44
Circle Price: $3.33

AMERICANA CUPCAKE
$4.39
Circle Price: $3.29

ITS MY 1ST BIRTHDAY
$4.39
Circle Price: $3.29

Turning 1 Today
$3.89
Circle Price: $2.92

Double Digits
$5.99
$1.99
Circle Price: $1.99

Me 60
$5.49
$1.99
Circle Price: $1.99

Patriotic Cake
$4.19
$1.99
Circle Price: $1.99

QUICK VIEW
Water Soluble Stabilizer - 12" x 25 Yds
$32.46
$25.97
Circle Price: $25.97
{{ item.name }}
{{ item.listPriceDisplay }}{{ item.salePriceDisplay }}
Circle Price:
{{ item.clubPriceDisplay }}




| Final Product: What You Will Create |
 |
|
| Linda Pitmon |
Projects You May Like
Meet the Author:
Linda Pitmon
Love challenges.
Feedback
Characters Remaining
Please Login to Submit a Feedback
Invalid Characters, Please enter a valid Comment
Please enter a valid Comment
Reviewed On
Link is Broken, Please check the URL