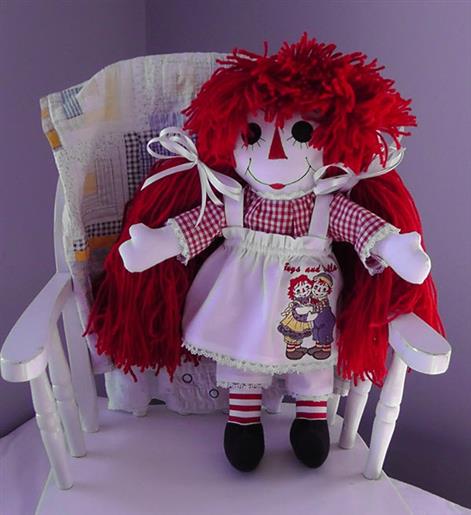
Use a commercial doll pattern to create a hugable doll for a special toddler. This doll, with its embroidered face, is sure to be a constant companion in their playtime activities.
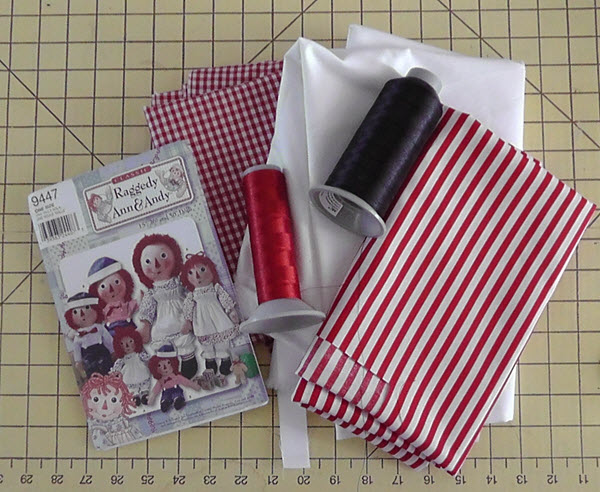
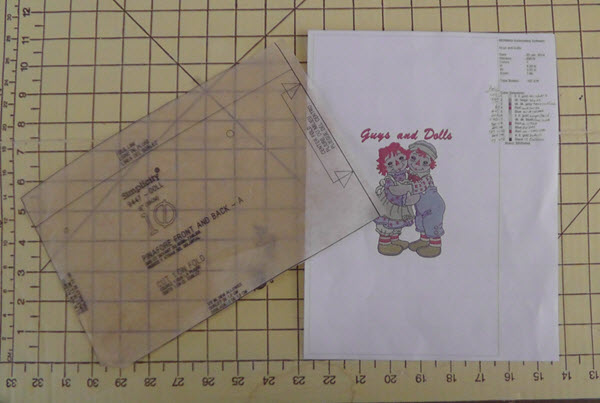
For this project Simplicity 9447 Classic Raggedy Ann & Andy™ 15” pattern was used. There are many similar patterns on the market which may also be used.
Notions and fabric yardage are specified on the back of the pattern envelope for each size doll.
100% cotton fabrics were used for the doll body, pantaloons, dress and pinafore. White for the body, pantaloons, and pinafore and red/white gingham for the dress.
Small square of red fabric backed with fusible knit interfacing for heart applique.
Polyester embroidery thread for the doll body: Black for the eyes and mouth, red for the nose, lips, and heart and white for the heart lettering.
Polyester embroidery thread for the Guys and Dolls pinafore design, as specified in the color chart.
Regular sewing thread to match the fabrics.
4 x 4 hoop for pinafore design and a 5” x 7” hoop or larger to embroider the face and heart on the body.
Tearaway stabilizer for the face and heart.
Poly mesh stabilizer and tearaway stabilizer for embroidering the pinafore.
Hook and loop tape to close the back of the dress.
The pattern envelope contains three sizes. The 15” pattern was used in this project. The embroidery designs need to be scaled to fit the pattern size.
Step 1:
To prepare the fabric, prewash and press the fabric.
(Click Image to Enlarge)
Step 2:
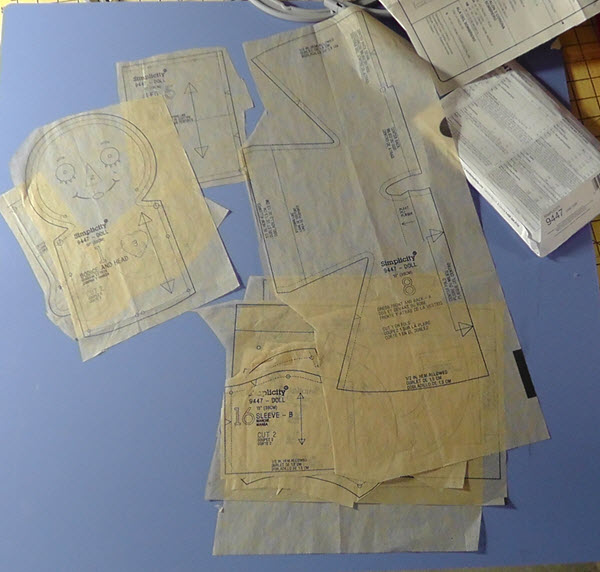
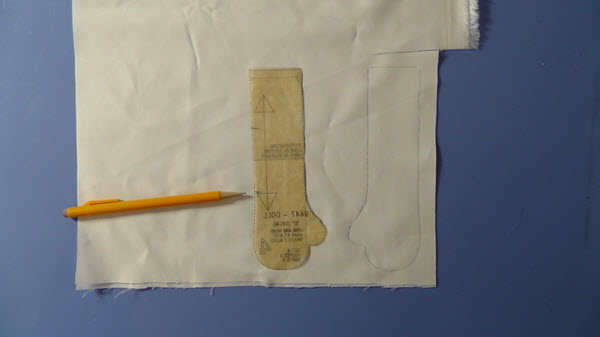
Cut the pattern pieces apart roughly. Sort the pattern pieces for the body, the dress, the pinafore and the pantaloons. Press the pattern pieces with a dry iron to remove the wrinkles.
(Click Image to Enlarge)
Step 3:
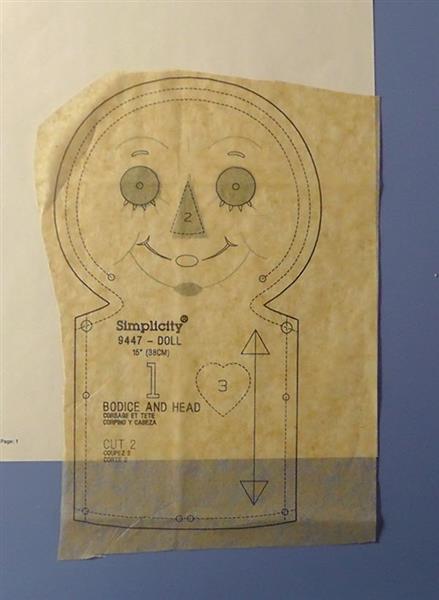
Print out the face design Girl Doll Face at actual size.
(Click Image to Enlarge)
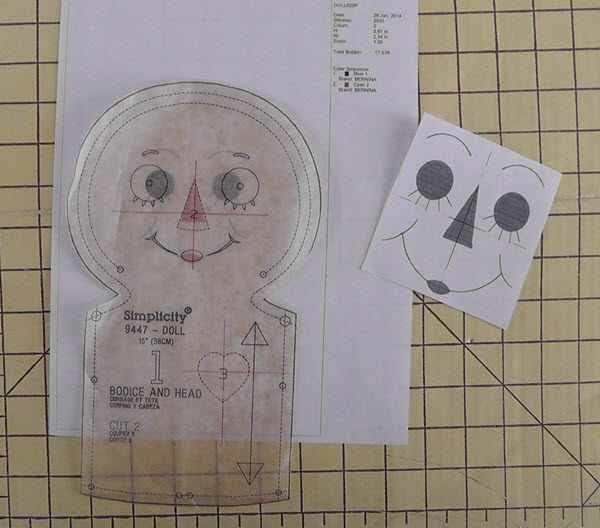
Step 4:
Place the printed face behind the pattern and decide how much the design needs to be increased or decreased for the pattern face.
(Click Image to Enlarge)
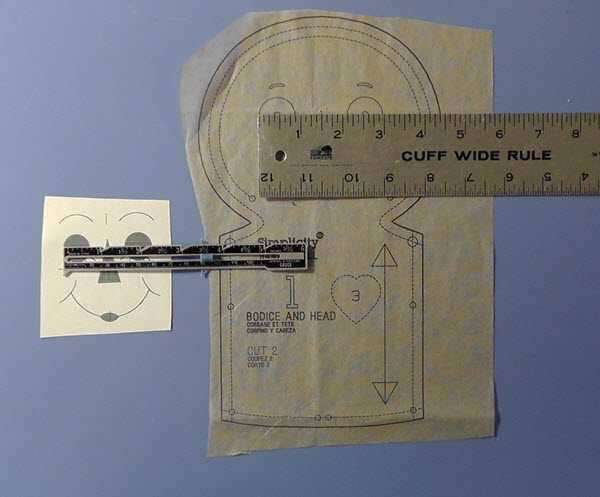
Step 5:
Alternately, measure the pattern from eye to and the design print-out eye to eye to determine the measurement. At the machine or in software, resize the design to fit the pattern.
(Click Image to Enlarge)
Step 6:
Enlarge or decrease the design, print the embroidery design again and test behind the pattern. The mouth may also be adjusted up or down if you have the software in which select those elements, group them, and move them up or down as desired. In this project the mouth was left just as is.
(Click Image to Enlarge)
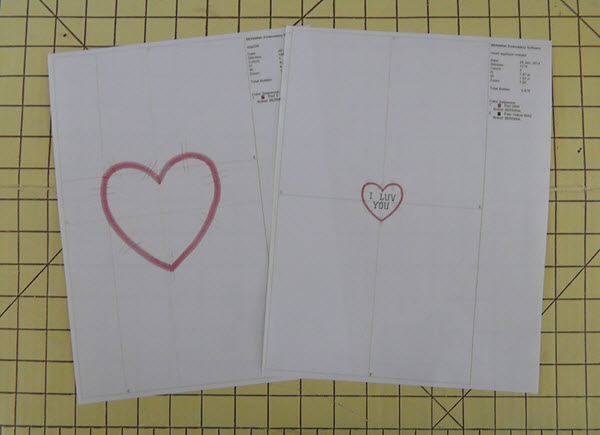
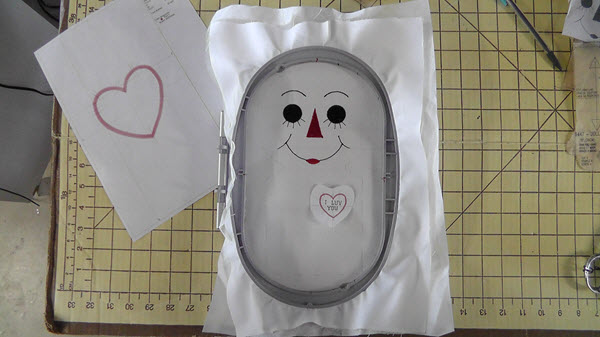
Step 7:
Print out the heart design Patchwork Heart Applique at actual size. Resize the design (if needed) using the image on the doll body pattern as a guide. Add “I LUV YOU” text to the design in software. (Optional: after the heart design stitches on the body, use the text function on the machine to add the lettering.)
(Click Image to Enlarge)
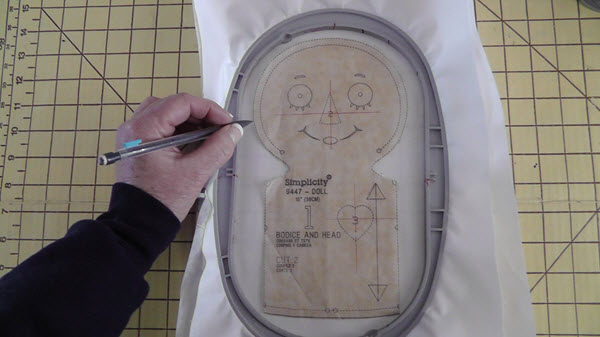
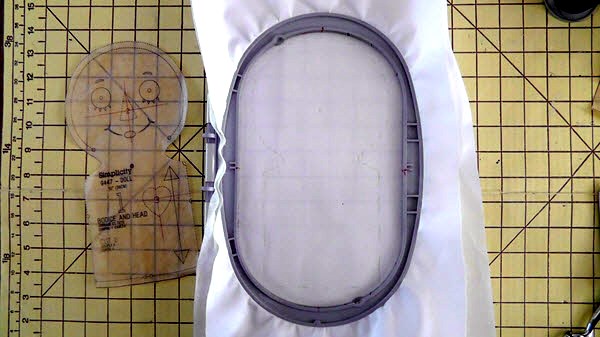
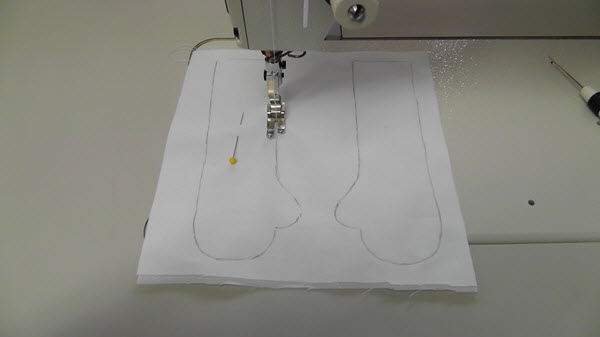
Step 8:
After hooping the fabric, place the doll body pattern in the hoop and trace around the pattern. This will be the stitching line for the doll body after the embroidery is done.
(Click Image to Enlarge)
Step 9:
Mark the placement line for the face and the heart designs on the fabric.
(Click Image to Enlarge)
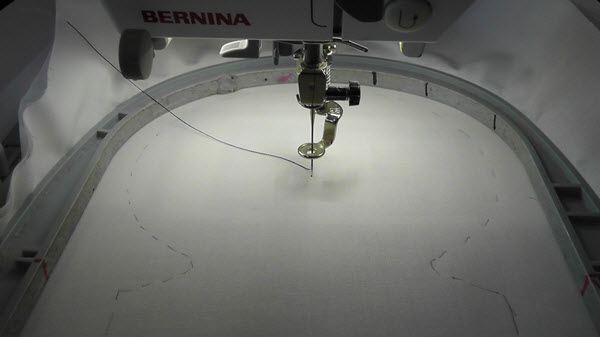
Step 10:
Align the machine needle to the start point of the face design. Stitch the design changing thread colors as designated and trimming jump threads.
(Click Image to Enlarge)
Step 11:
Embroidery the face design following the color sequence.
(Click Image to Enlarge)
Step 12:
Align the needle to the fabric for the heart design.
(Click Image to Enlarge)
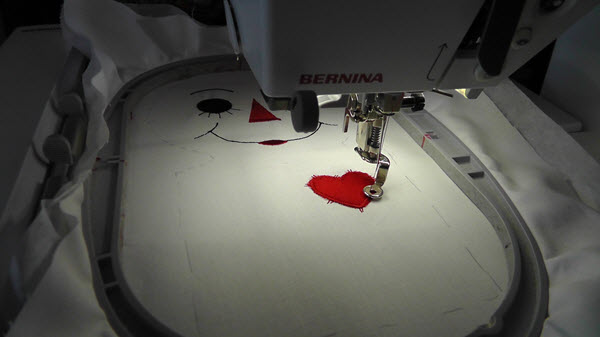
Step 13:
Embroider the first color of the heart design, which is the placement line for the applique fabric.
(Click Image to Enlarge)
Step 14:
Interface the red applique fabric on the back side. Fusible knit interfacing was used for the project. Place the fabric right side up over the outline.
(Click Image to Enlarge)
Step 15:
Place down the applique fabric. Stitch the next color which is the tack down. Stop the machine and trim away any excess fabric around the edges.
(Click Image to Enlarge)
Step 16:
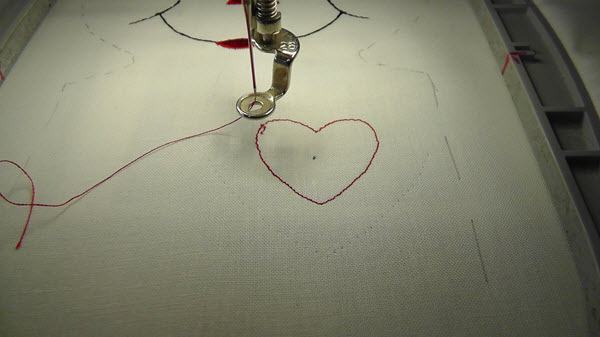
Start the machine to stitch the next color which will be the outline and satin stitching around the heart.
(Click Image to Enlarge)
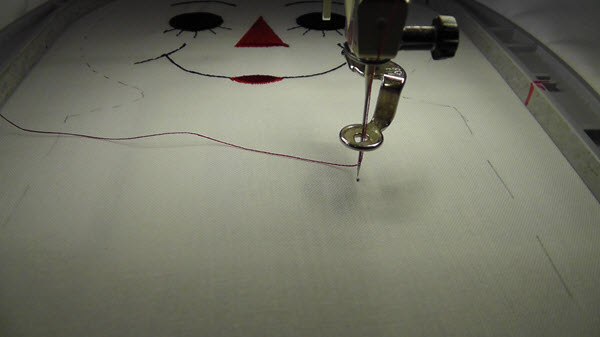
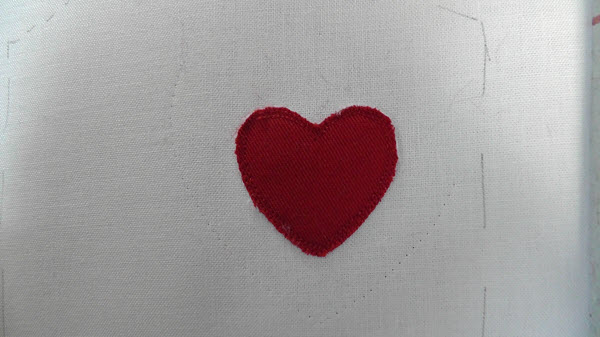
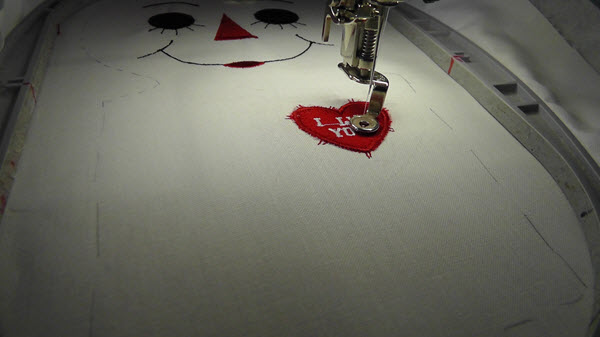
Step 17:
Change to white thread and stitch the text “I LUV YOU”. (Optional: If the lettering was not done in software, add machine lettering at this point if desired). Remove the fabric from the hoop. Remove the stabilizer, press the fabric from the wrong side and set the piece aside until the doll is assembled.
(Click Image to Enlarge)
Step 18:
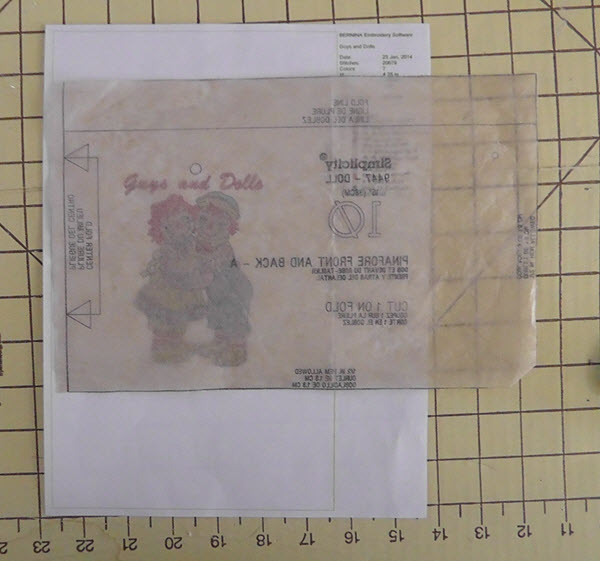
Prepare the design for the pinafore. Print out the design Guys and Dolls at actual size. Determine the placement on the pattern.
(Click Image to Enlarge)
Step 19:
In the project, the design was aligned below the large dot for the strap placement to be sewn on the left side of the pinafore skirt.
(Click Image to Enlarge)
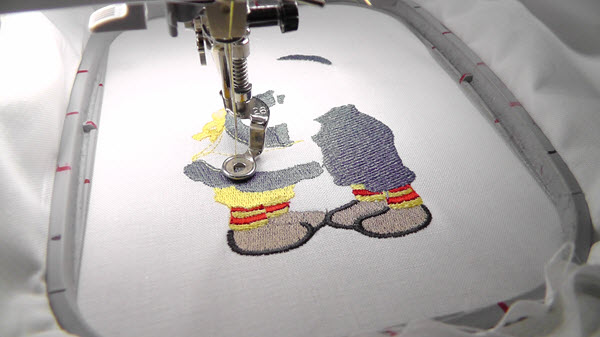
Step 20:
Cut a larger piece of fabric than needed for the entire pinafore skirt to allow enough fabric for hooping. Because this design is small but has a substantial amount of stitches, hoop the fabric with the poly mesh stabilizer behind the fabric and float a piece of tearaway stabilizer under the poly mesh. This will help keep the design crisp. Stitch the design following the color sequence.
(Click Image to Enlarge)
Step 21:
Stitch the entire design. Remove the fabric from the hoop. Trim the stabilizer and press the fabric. Use the original pattern piece to cut out the pinafore skirt. Set aside until construction of the pinafore begins.
(Click Image to Enlarge)
Step 22:
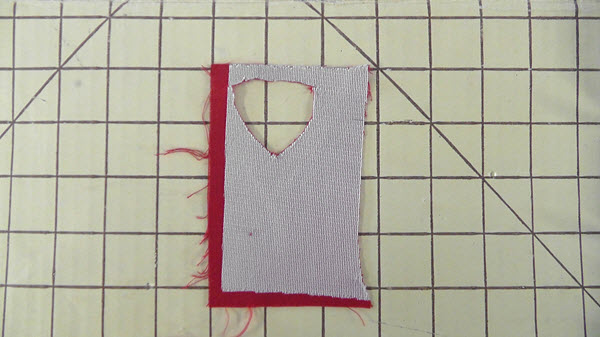
Follow the pattern instructions for constructing the doll and clothing. Here are some tips for sewing the doll not given in the pattern instructions. Use them if you wish, or just follow the pattern instructions as written. Trim away the seam allowance on the pattern piece, leaving the seam allowance at the top intact of the arm. Trace around the arm pattern, mirroring the second one, to create a left and a right arm. Place a second piece of fabric behind the one with the traced pattern pieces. Pin both pieces of fabric together.
(Click Image to Enlarge)
Step 23:
Using a small stitch length (1.5-2.0 mm), stitch right on the pencil line, leaving an opening as noted in the pattern instructions.
(Click Image to Enlarge)
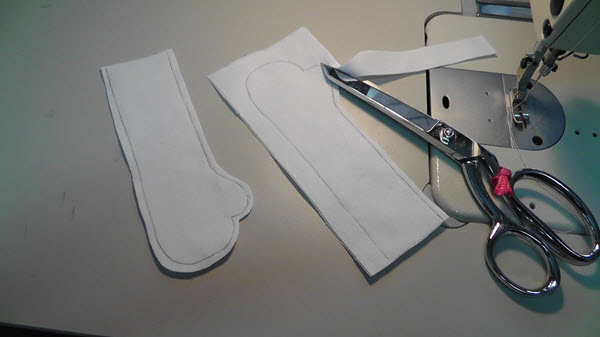
Step 24:
Trim the excess fabric away leaving scant ¼” seam allowance. Set aside until needed during the construction process.
(Click Image to Enlarge)
Step 25:
Repeat for the doll body (tracing of the sewing line was done in the hoop already) and legs. Follow the commercial pattern instructions for sewing the doll body together to the point of stuffing and leaving the openings as indicated for stuffing.
(Click Image to Enlarge)
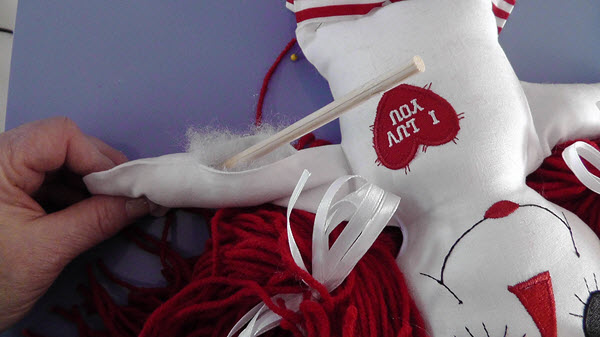
Step 26:
Stuff the doll as instructed. Using a wooden stick makes stuffing easier. Sometime a stick is inserted into the bag of stuffing purchased.
(Click Image to Enlarge)
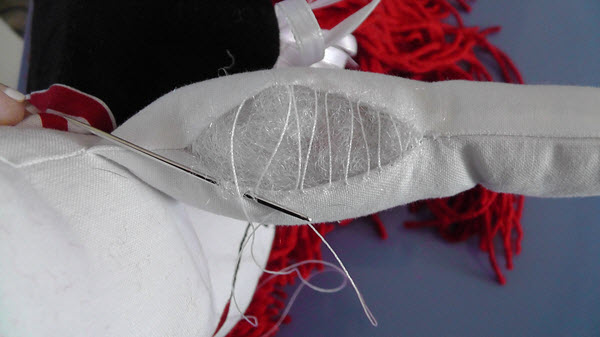
Step 27:
Use a ladder stitch to close the seams that remained open for stuffing.
(Click Image to Enlarge)
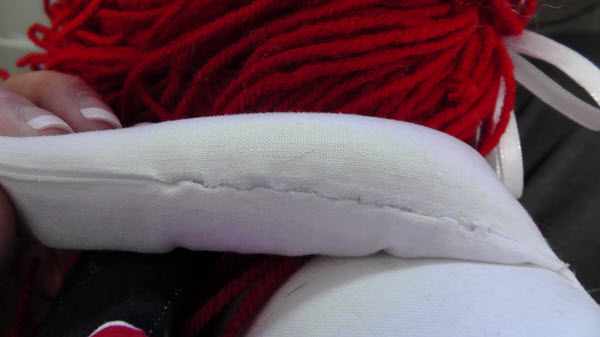
Step 28:
When the thread is pulled up and secured, the closure is very neat and tidy.
(Click Image to Enlarge)
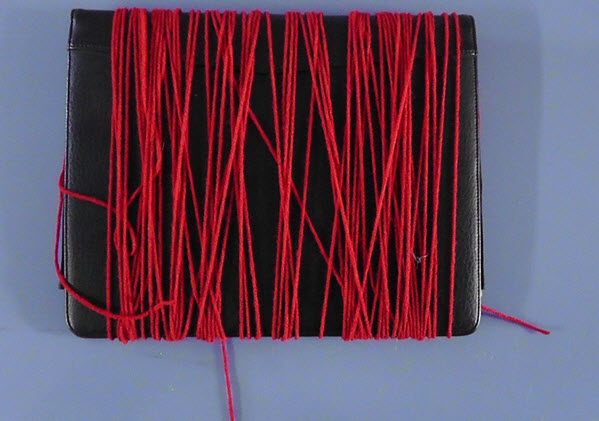
Step 29:
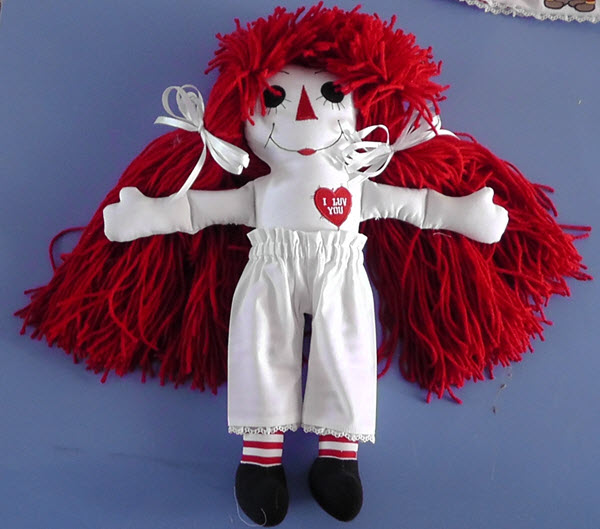
Instructions for the dimension of the cardboard to wrap the hair around are given on the back of the pattern envelope. I found a portfolio I had that was the exact dimensions and it worked well because it was not flimsy like cardboard. Wrap all the yarn as shown in the pattern instructions.
(Click Image to Enlarge)
Step 30:
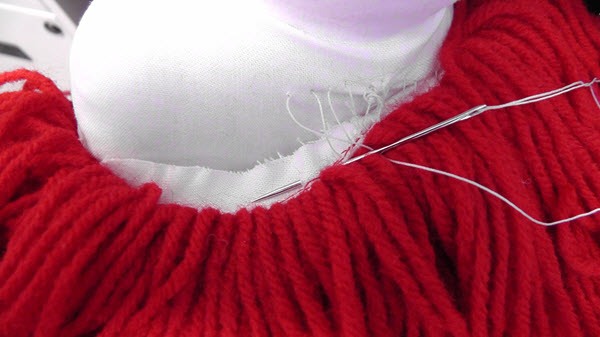
Follow the pattern instructions for sewing the yarn hair onto the wig. Note: in this project I left the hair much longer than the pattern indicated because I wanted pig tails on this doll. This was done by sewing the yarn to the wig top according to the instructions. Before sewing the sides and bottom of the yarn down, the yarn loop was first cut from the underside close to the first stitching at the top, thus releasing the loop of yarn into a straight hank of yarn hair.
Lay the hair flat on a surface and then sew the remaining three sides of the wig to the yarn hair following the pattern instructions. Attach the wig to the doll head using a ladder stitch. Note: in this project I went around the wig with the hand stitching a first time securing it with larger stitches to hold it in place, then went back around the entire wig a second time with a curved needle and smaller stitches to secure it firmly to the doll.
(Click Image to Enlarge)
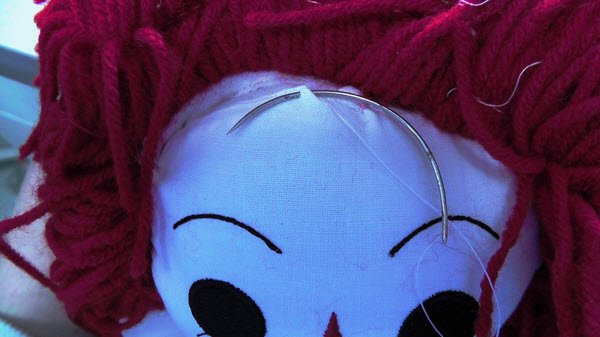
Step 31:
Sometimes using a curved needle is easier than using a straight needle when working with a doll. Curved needles may be found in the needle section or upholstery section of the sewing store.
(Click Image to Enlarge)
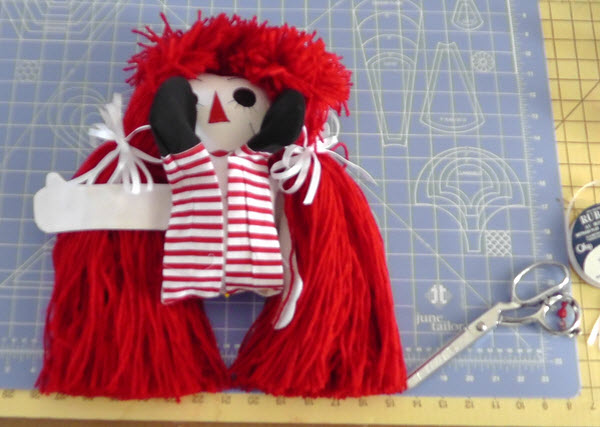
Step 32:
After the hair was attached, the hair was divided evenly for pigtails and white ¼” ribbon bows were tied on the hair. The doll was laid on the edge of the cutting board, and the edge of the cutting board was used to evenly trim the hair.
(Click Image to Enlarge)
Step 33:
Trim up any hair ends and give the doll a cute haircut on top to make the hair shaggy on top.
(Click Image to Enlarge)
Step 34:
Follow the instructions for creating the pinafore. Starch the fabric to make it easier to handle.
(Click Image to Enlarge)
Step 35:
Complete the skirt of the pinafore adding lace to the bottom.
(Click Image to Enlarge)
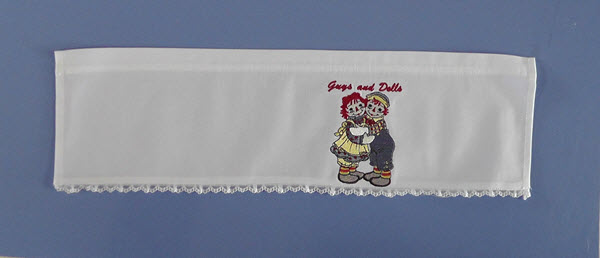
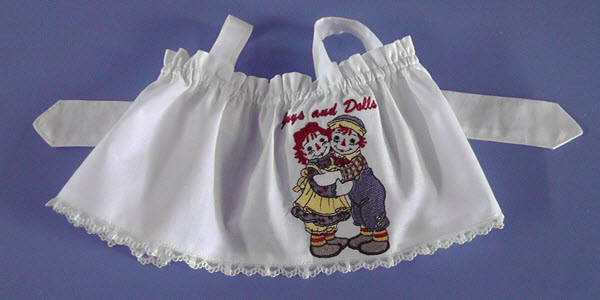
Step 36:
Add the straps and ties to the pinafore. In this project, instead of using buttons on the dress to fasten the straps, the strap back was sewn directly on the back of the pinafore skirt.
(Click Image to Enlarge)
Step 37:
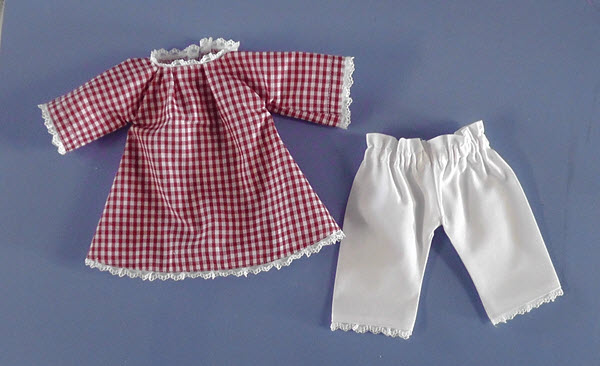
Complete the pantaloons and dress following the commercial pattern instructions. In this project, hook and loop tape was used to close the back of the dress. Sew them on using the instructions on the hook and loop tape packaging.
(Click Image to Enlarge)
Step 38:
Place the pantaloons on the doll.
(Click Image to Enlarge)
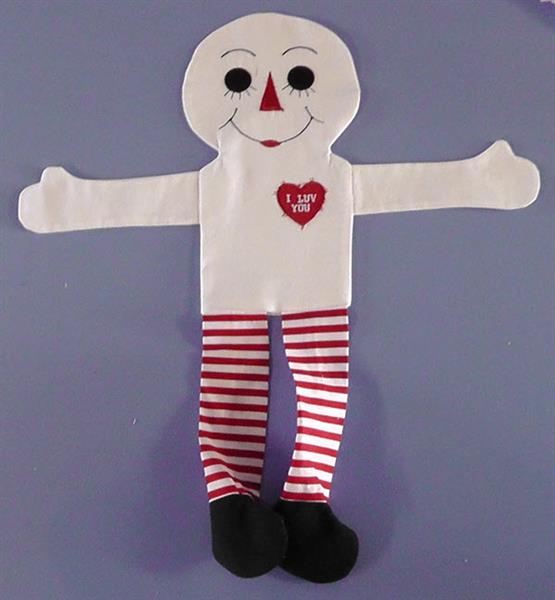
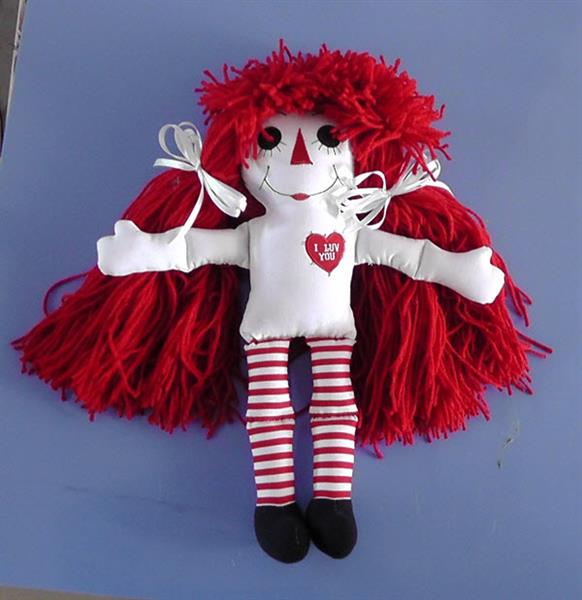
Step 39:
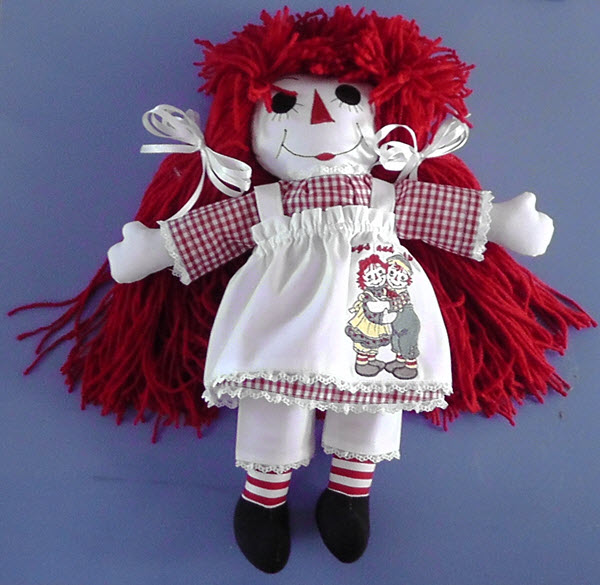
Add the dress and embroidered pinafore. Watch the big smile when you give this doll to your favorite little toddler as a newly favored companion.
Ramona Baird has been in the embroidery industry for over 23 years. She and her husband owned a commercial and retail embroidery store in Arizona for many years. She is an experienced digitizer having been mentored by award-winners Pat Williams and Lindee Goodall. Ramona is a contributor to “Creative Machine Embroidery” magazine having 5 covers to her credit. Ramona has worked for Wilcom America and served many years as Education Director for the American Sewing Guild. With a degree in fashion design, she is able to design and execute patterns which Pat Williams says are “out of the box” in creativity and application. Ramona likes to challenge the boundaries of embroidery and bring new and exciting designs, ideas, and projects to EmbroideryDesigns.com. She wants embroiderers of all levels to increase their skills and enjoyment in using their embroidery machine for gift-making and personal pleasure.