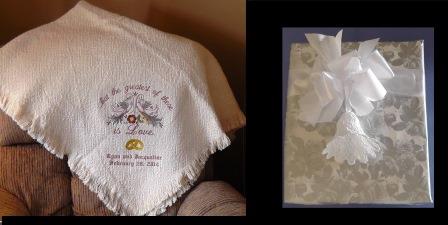
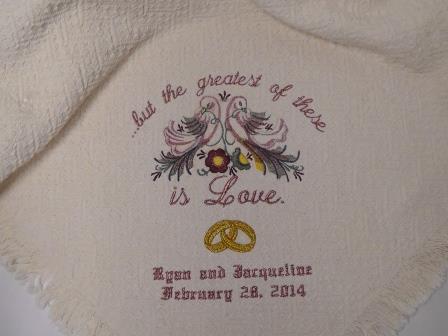
A personalized afghan is a beautiful reminder of a wedding day and is always the perfect gift when you embroider. Choose wedding themed designs and add the couples names and wedding date for a truly treasured keepsake.
Embroidery threads to compliment the home of the newlyweds (metallic copper and metallic gold were used for the text and rings and in portions of the large design)
Tearaway stabilizer (two layers per hooping)
Water soluble stabilizer (to place on top before stitching)
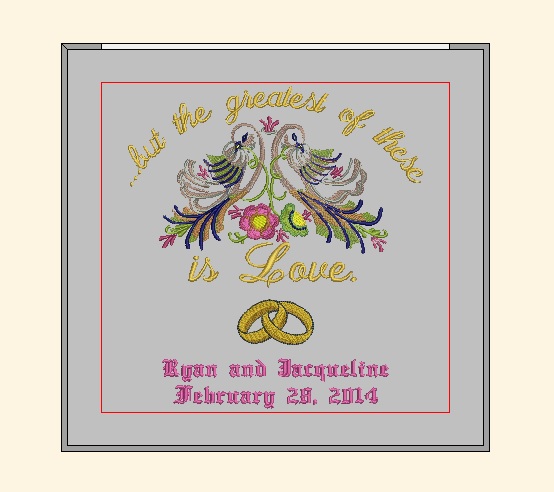
Grand Slam Designs Wedding Love Quilt embroidery design is a large design (7.27" x 10.25"). Be sure before beginning this project that you have an embroidery hoop to accommodate the design. If your hoop will not accommodate this size design, choose another design that will work with your machine.
For this project, all the designs were combined in software and the stitching was done in one hooping on a compact-commercial 6-needle machine. Text for the names and wedding date was added using the embroidery software keyboard lettering. If you have a smaller hoop, several hoopings will be required with alignment done for each hooping.
Step 1:
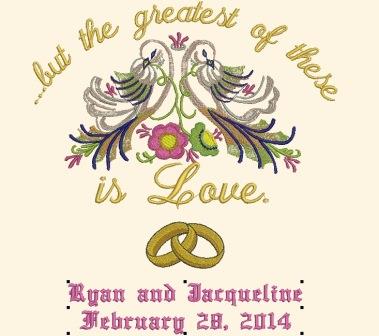
Setup for the entire design was done in embroidery software. None of the designs was resized. Colors were adjusted to fit the newlyweds color scheme for their home. Begin by setting the hoop size. Import “Grand Slam Designs Wedding Love Quilt embroidery design”. Adjust the thread colors as desired. For this project, the text was stitched in copper metallic thread.
Step 2:
(Click Image to Enlarge)
Import design “Grand Slam Designs Rings embroidery design”. Recolor the rings as desired. In this project, the rings were stitched completely with gold metallic thread. Align and center the rings with the first design.
Step 3:
(Click Image to Enlarge)
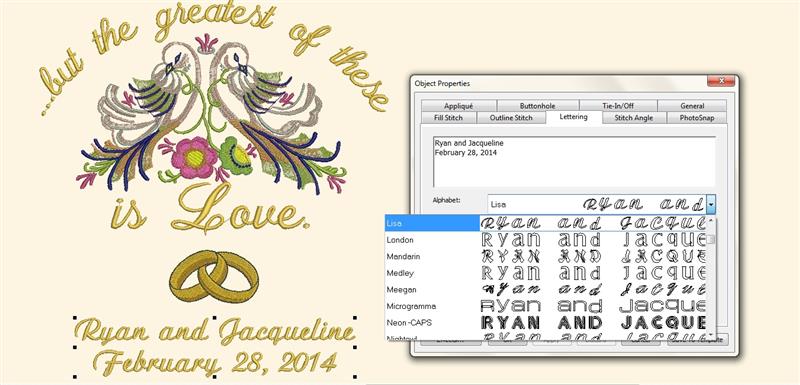
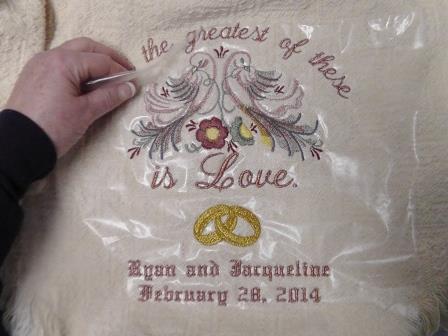
Using the software keyboard lettering, add the bride and groom names on line one, and the wedding date on line two.
Step 4:
Experiment with different fonts and sizes until you are pleased with the look.
(Click Image to Enlarge)
Step 5:
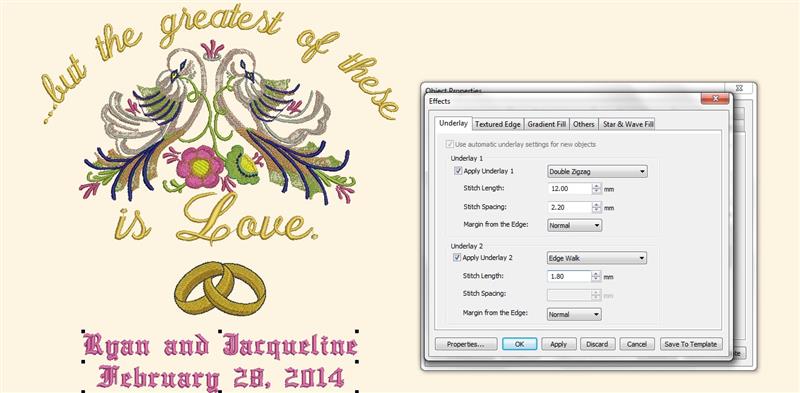
Be sure to set the underlay for the type of fabric being embroidered. For this cotton afghan, double zigzag and edge walk underlay was used.
(Click Image to Enlarge)
Step 6:
Center the designs and check spacing. Also check to be sure all the designs are within the parameter of the hoop for stitching. Test stitch the design. Print out the finished design to check placement on the afghan.
(Click Image to Enlarge)
Step 7:
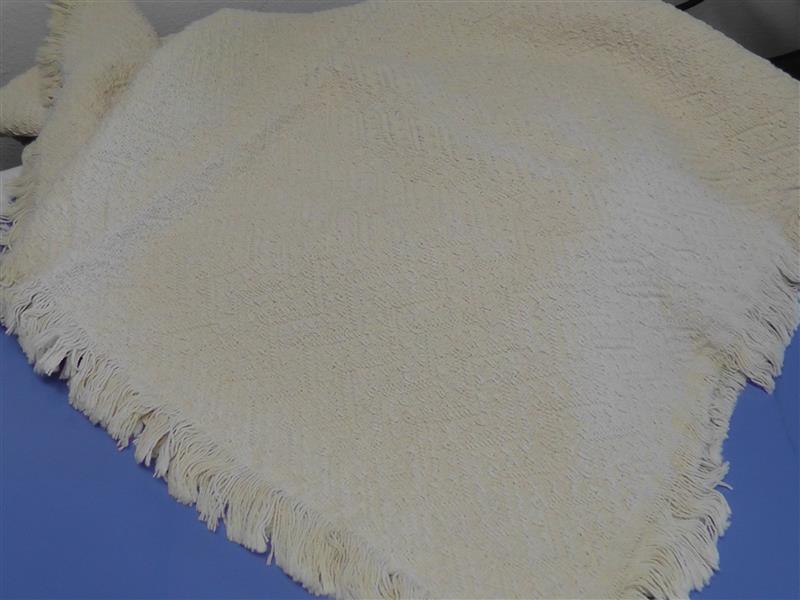
Open up the afghan and determine placement of the design. For this project, the design is aligned to the corner and the bottom of the design approximately 6” from the corner point.
(Click Image to Enlarge)
Step 8:
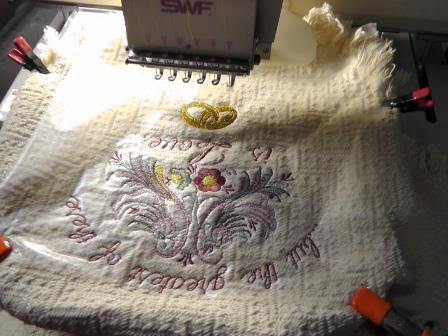
Load the design on the machine. The excess fabric needs to fall outside the stitching area. To do this, the design needs to be rotated 180 degrees (this could also be done in the embroidery software).
Step 9:
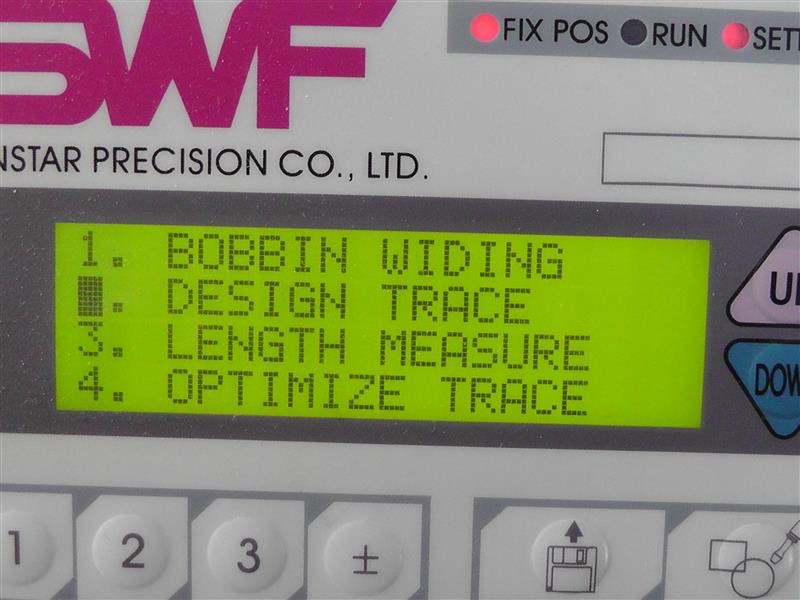
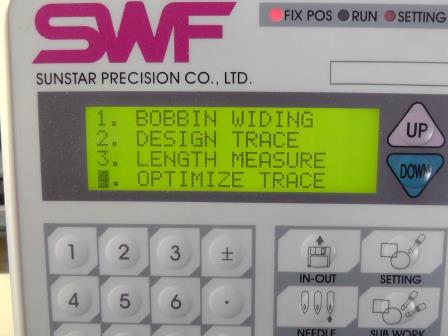
For a design that will max out the hoop like this one, I always check the design the design trace with an empty hoop.
(Click Image to Enlarge)
Step 10:
The design actually goes in an arc, but the trace will do all the outer parameters of the design. As you can see, the design looks like it will hit the hoop.
Step 11:
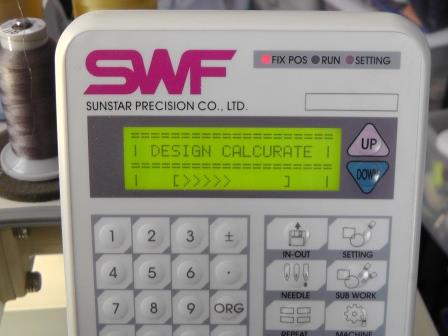
On this multi-needle machine, an actual or “optimized” trace may be done which will draw on the actual outline of the design.
Step 12:
The design calculates the actual outline and then will begin the trace.
Step 13:
In doing the optimized trace, the design clears the hoop at the top and sides.
Step 14:
And also at the bottom. Double check the trace to be sure the design clears the hoop easily.
Step 15:
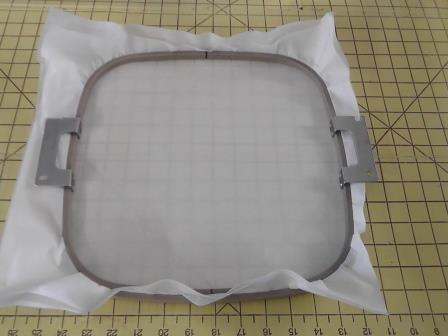
Hoop two layers of tearaway stabilizer.
Step 16:
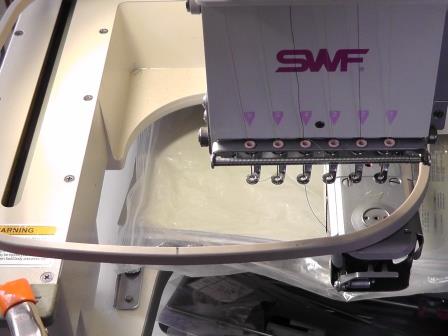
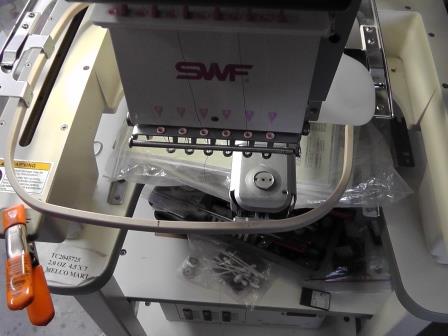
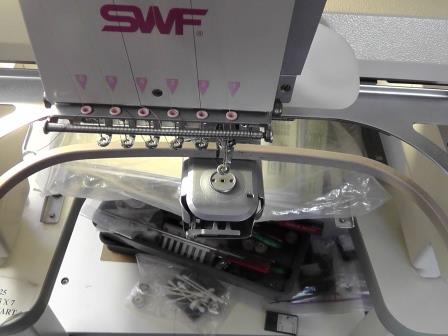
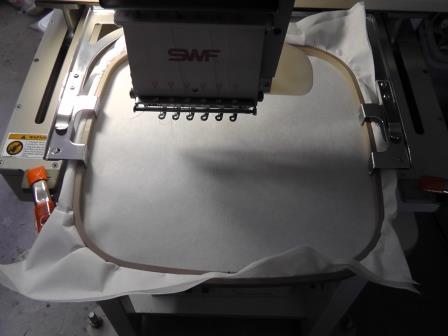
Place the hoop on the machine.
Step 17:
(Click Image to Enlarge)
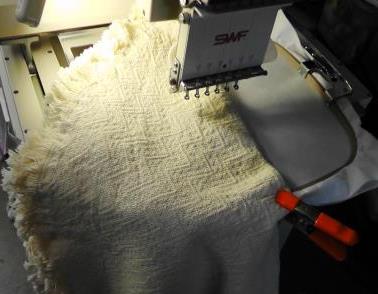
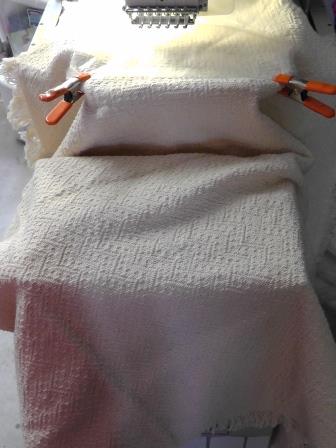
Center the afghan on the hoop by folding the afghan in half from the corner and aligning the folded edge to the center of the hoop.
Step 18:
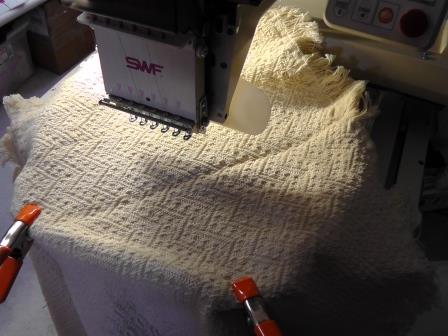
Open up and smooth out the afghan. On this machine, I use electrical clamps to hold items like this in place.( If your machine is capable, or in software, a basting stitch may also be created to stitch first to tack the afghan to the stabilizer to also help hold the afghan in place.)
Step 19:
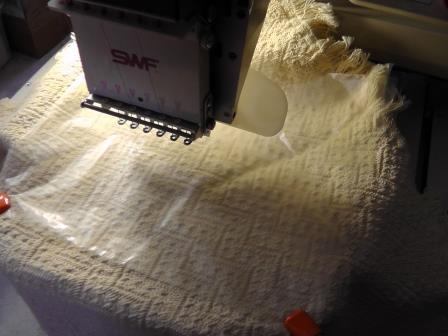
Place a layer of water soluble stabilizer on top of the afghan prior to stitching. The water soluble stabilizer helps keep the stitches up on top of the thicker cotton threads of the afghan.
Step 20:
(Click Image to Enlarge)
If needed, support the weight of the remaining portion of the afghan on a TV type tray or box. Do another trace to be sure that it will not interfere with the stitching.
Step 21:
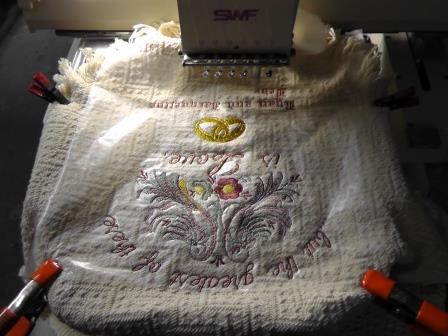
Stitch following the color sequence.
Step 22:
When stitching the names and date, be sure the point of the afghan does not flip over and get caught in the stitching.
Step 23:
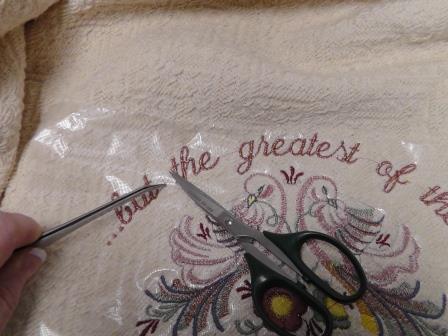
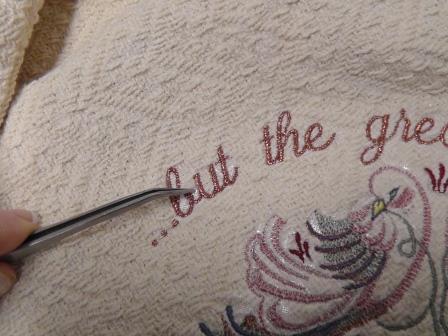
After the stitching is completed, remove the hoop from the machine. Use tweezers and scissors to trim any jump threads.
Step 24:
Remove the water soluble stabilizer.
Step 25:
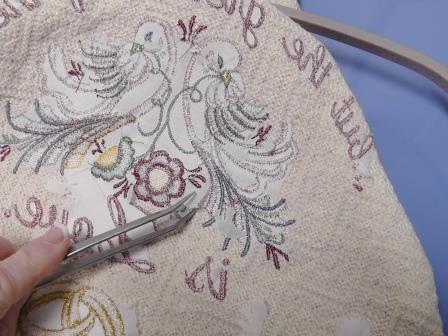
Use tweezers to remove any small areas within the embroidery.
Step 26:
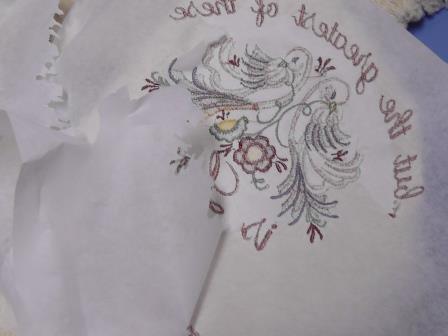
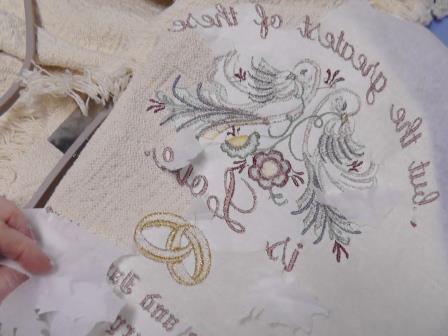
Remove the tearaway stabilizer one layer at a time.
Step 27:
Try and remove as much stabilizer as possible.
Step 28:
Use tweezers to remove smaller areas of the stabilizer.
Step 29:
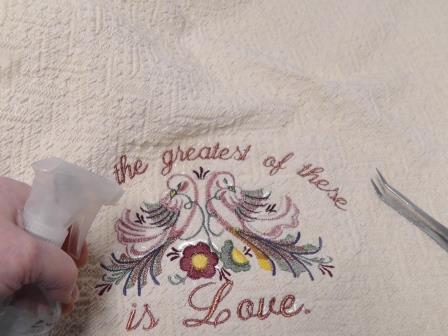
Spritz any water soluble with water to remove any tiny pieces not gotten with the tweezers.
Step 30:
Allow the afghan to dry completely before packaging.
Step 31:
Fold the afghan, place in a box with tissue paper for wrapping.
Step 32:
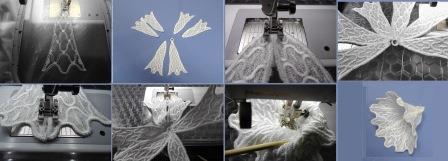
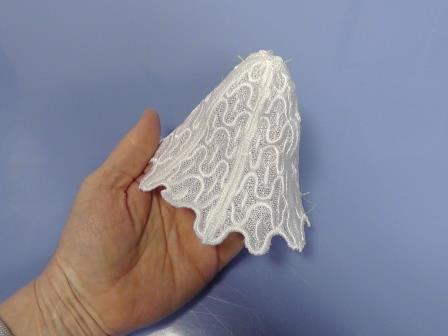
Load design “Stitchitize Ornamental Lace Bell”. Stitch the design on two layers of water soluble stabilizer. (There are two parts to the design FS132a and Fs132b. Stitch one of Fs132a (with loop) and five of Fx132b.)
Step 33:
Follow the instructions that come with the downloaded design to stitch and assemble the bell.
Step 34:
Rinse the bell and let dry.
Step 35:
(Click Image to Enlarge)
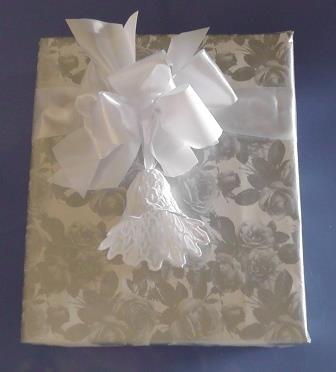
Wrap the afghan in the box, add ribbon bow and tie the bell to the package.
Ramona Baird has been in the embroidery industry for over 23 years. She and her husband owned a commercial and retail embroidery store in Arizona for many years. She is an experienced digitizer having been mentored by award-winners Pat Williams and Lindee Goodall. Ramona is a contributor to “Creative Machine Embroidery” magazine having 5 covers to her credit. Ramona has worked for Wilcom America and served many years as Education Director for the American Sewing Guild. With a degree in fashion design, she is able to design and execute patterns which Pat Williams says are “out of the box” in creativity and application. Ramona likes to challenge the boundaries of embroidery and bring new and exciting designs, ideas, and projects to EmbroideryDesigns.com. She wants embroiderers of all levels to increase their skills and enjoyment in using their embroidery machine for gift-making and personal pleasure.