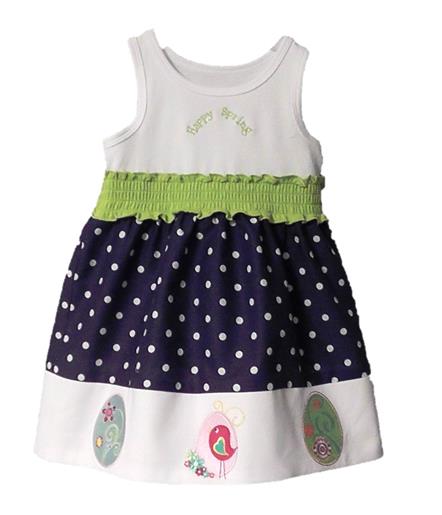
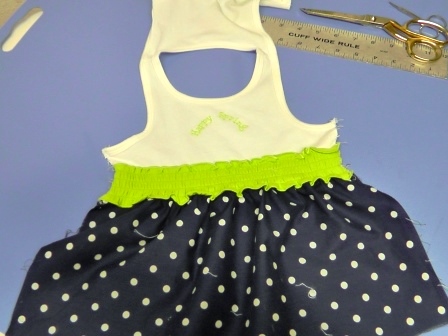
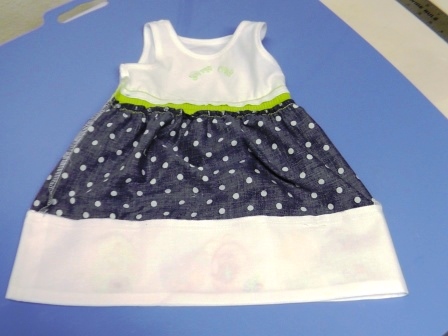
After a long winter, it’s delightful to get out spring themed embroidery threads and create colorful embroidery designs while waiting for the flowers to peek out from under the melting snow. A purchased dress provided the basis for this project.
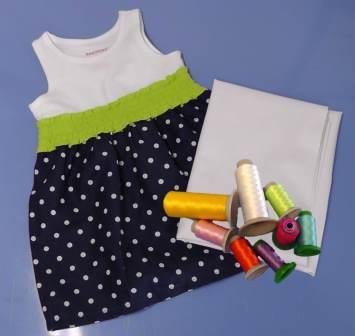
Purchased dress in the size needed (project dress is a size 18 months)
Fabric for the band (amount will depend on the size of the dress and depth of the band). For this size 18 month dress, 1-yard of white quilting cotton was purchased to ensure enough for testing designs and embroidering the band. The band was cut to size after the fabric was embroidered. Purchase enough fabric to fit in the hoop and for a facing the band.
Embroidery thread to coordinate with dress colors
Tearaway stabilizer (for all embroidery designs)
Temporary spray adhesive (to adhere knit bodice to tearaway stabilizer for embroidery)
Water soluble stabilizer (for knit top embroidery)
Note: since all dress sizes will be different, and skirt widths will differ as well, general instructions are being given so you can figure out what you need for the dress you will be working with. Egg designs were resized to 3”; two designs used only portions of the design as noted in the instructions.
Step 1:
(Click Image to Enlarge)
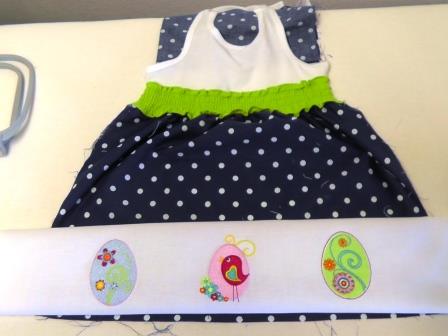
Purchase the dress, and band fabric. Choose embroidery thread colors that will complement the colors in the dress. Use the same colors throughout each egg design to bring continuity to the overall dress design. Measure width of the skirt front and width of the skirt back (usually these will be the same on smaller sized dresses with gathered skirts, but check) along the hemline. Determine the depth of the band desired. A 4” finished band was used on this dress.
Step 2:
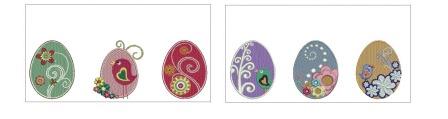
Prepare all the egg designs. All the eggs were size to 3” in height.
1. Ann The Gran "First Sign of Spring" design was resized, then the text deleted from the design.
2. Ann The Gran "Easter Bird Egg" design was mirrored after it was resized.
3. Ann The Gran "Spring Egg" design - the egg was omitted and only the text used on the dress bodice.
Step 3:
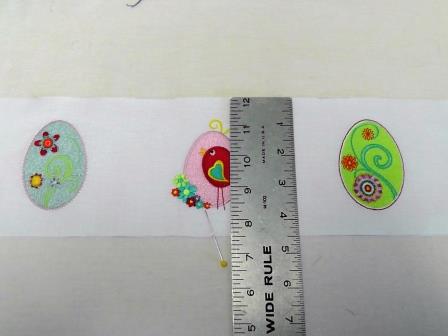
Plan the placement of the eggs. This is easily done in software. Draw rectangles to represent the skirt front and back bands measurements taken from the skirt. Recolor the eggs for the embroidery thread colors you will be using that will complement the dress colors. Place the eggs in the rectangles and allow the software to evenly space them. Then use the measure tool in the software to measure the distance between the eggs. This measurement will be transferred to the band for embroidery. For this dress, the distance between egg centers was 5”.
Step 4:
(Click Image to Enlarge)
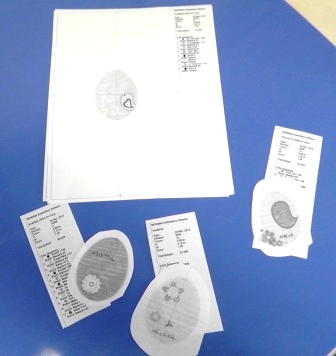
Print the egg designs at actual size. Cut out the designs and mark them with the design number. Set aside the color change chart to use during the embroidery process.
Step 5:
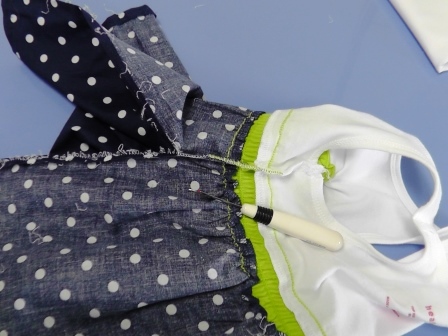
The hem and side seams of this dress were opened up to make embroidery on the knit bodice easier, and also for cutting and sewing on the band. Use a seam ripper and open up the side seams on the dress.
Step 6:
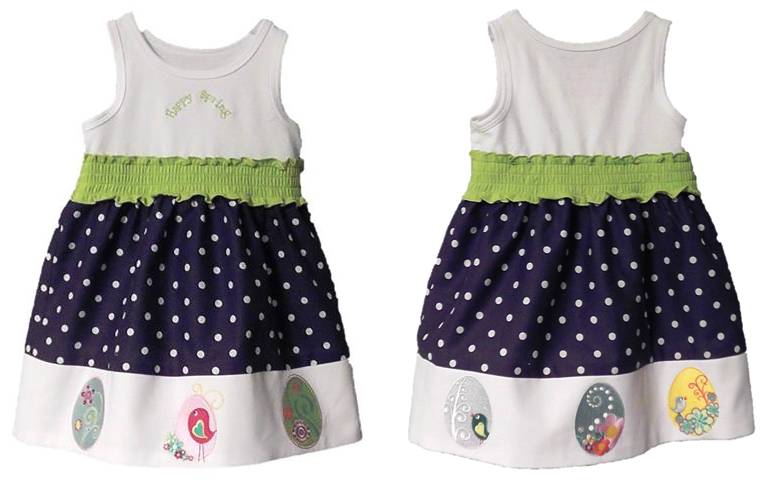
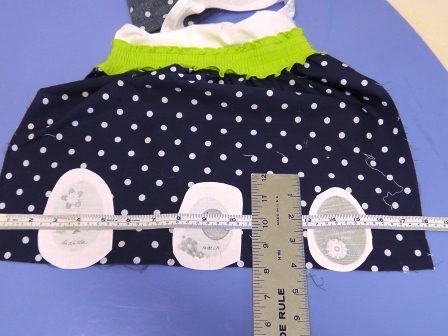
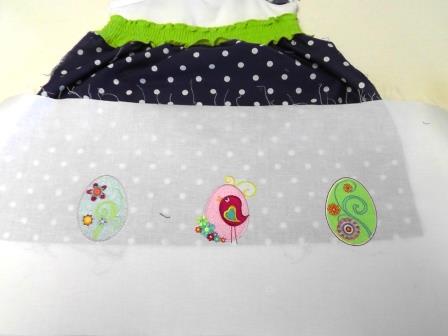
The embroidery may be done directly on the skirt of the dress, but for this project the embroidery was done on white fabric and then the bottom of the skirt removed and replaced by the embroidered band to re-create the original length of the skirt. Plan the placement of the eggs if you don’t have embroidery software. For this project three eggs were used on the skirt front band, and three on the skirt back band. The egg centers were placed 5” apart. Measure up from the bottom edge of the skirt to make all the eggs the same distance from the bottom of the skirt. If you are embroidering directly on the skirt, after planning the placement, embroider the eggs following the color sequence.
Step 7:
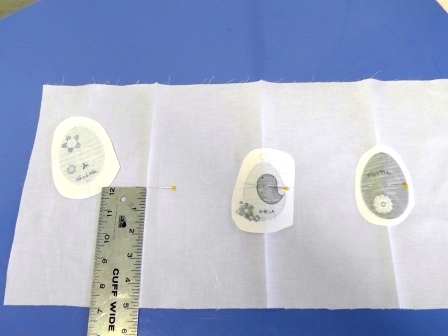
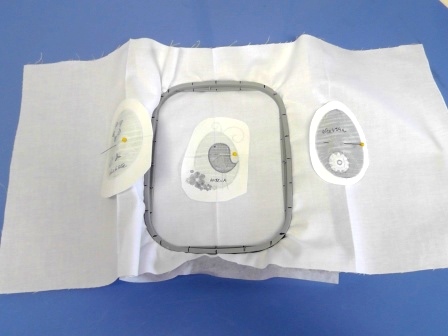
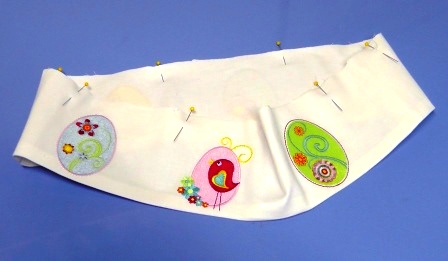
To embroider a band, two layers of fabric were cut 10” high and 18” wide. Each piece was folded in half widthwise and a crease pressed to mark the center of the band. Two more crease marks were pressed in 5” on either side of the first. The center marks of the design were placed 5” up from the bottom cut edge of the fabric, and the paper templates pinned at this mark on the crease. Follow the pictures in the project for where the designs were placed, or place them in the order you would like.
Step 8:
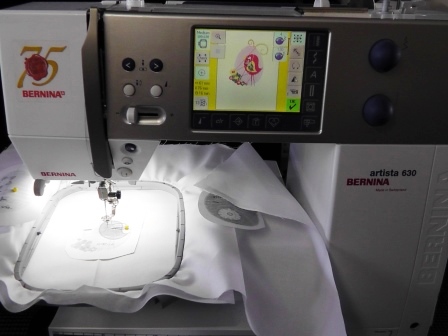
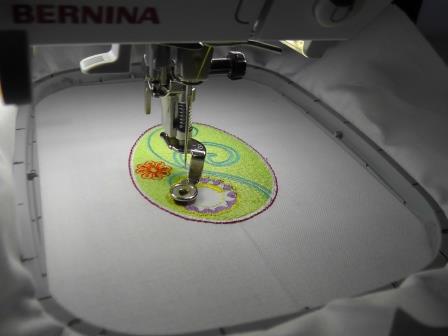
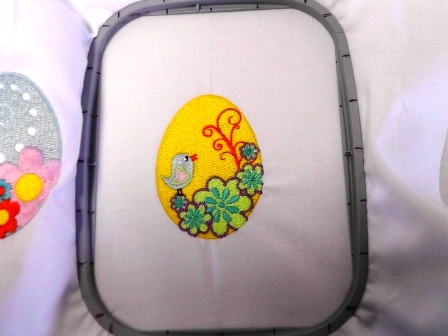
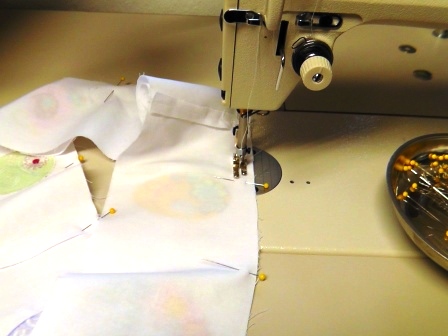
Beginning with the front band, hoop the fabric with one layer of tearaway stabilizer at the center crease.
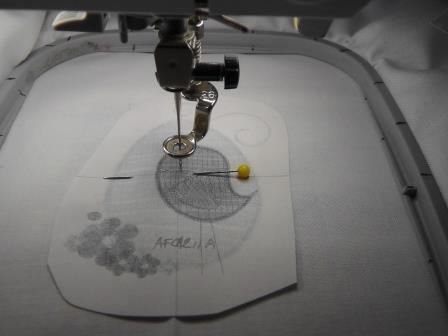
Be sure the needle aligns in the exact center of the paper template of the design.
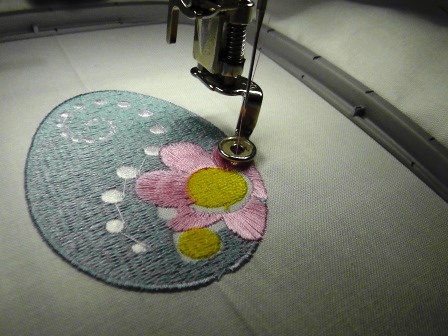
Step 11:
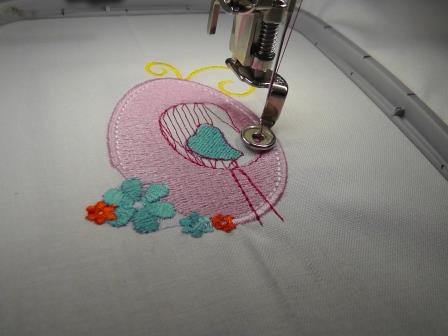
Stitch the design following the color sequence. After the embroidery is finished, remove the design from the hoop and remove the stabilizer.
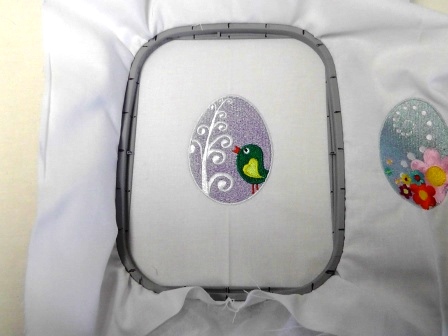
Step 12:
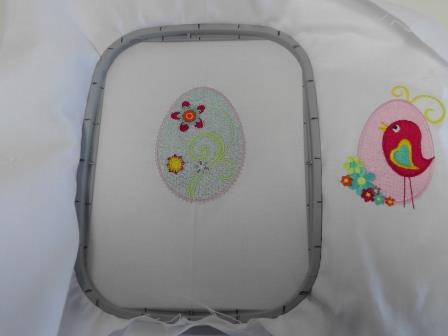
Load the "Spring Egg” design on the machine. Hoop the fabric at the left crease with one layer of tearaway stabilizer; align and stitch the design following the color sequence. After the embroidery is finished, remove the design from the hoop and remove the stabilizer.
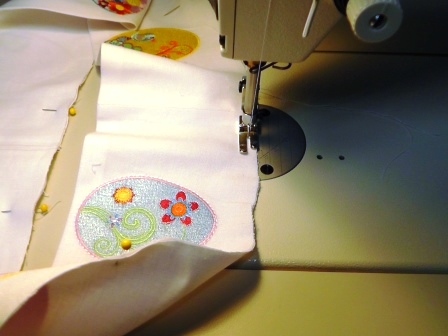
Step 13:
Load the "Flower Egg" design on the machine. Hoop the fabric at the right crease with one layer of tearaway stabilizer; align and stitch the design following the color sequence. After the embroidery is finished, remove the design from the hoop and remove the stabilizer.
Step 14:
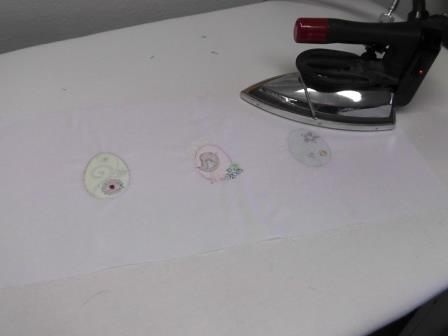
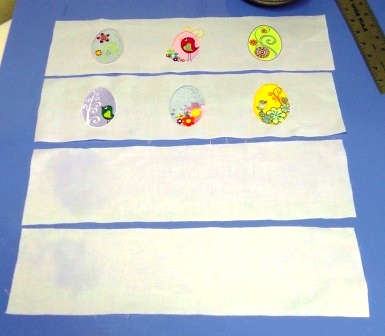
After all the designs for the band front are embroidered, press the fabric.
Step 15:
If the fabrics allow, the fabric band could be cut down and sewn onto the skirt of the dress. For these fabrics, the dark navy shows through the white fabric so that is not possible.
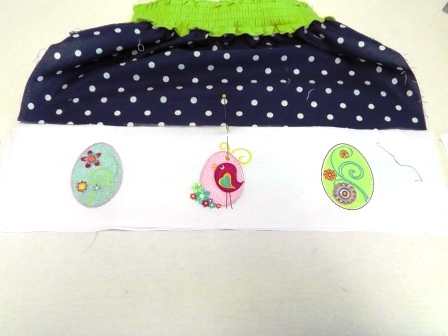
Step 16:
The skirt needs to be cut off and the white fabric sewn on as a band. Plan the depth of the band if not already done so. This project will have a 4” finished band.
Step 17:
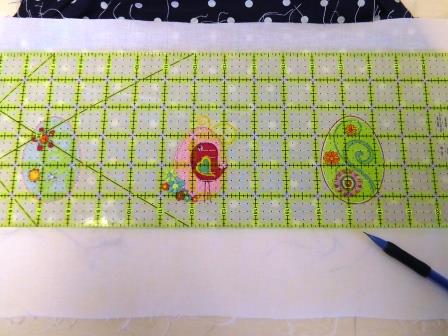
Measure and cut the band; be sure to add seam allowances. The band for this dress was marked and cut ¾” above and below the embroidered designs. This allowed for ½” seam allowances.
Step 18:
Cut a second piece of fabric the same size as the embroidered front band. This will be to line the front band.
Step 19:
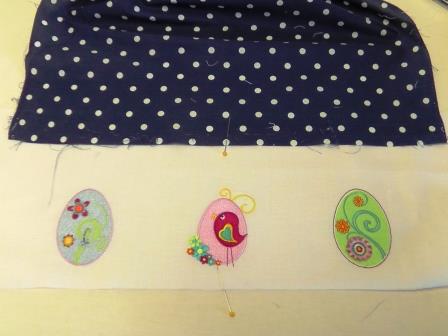
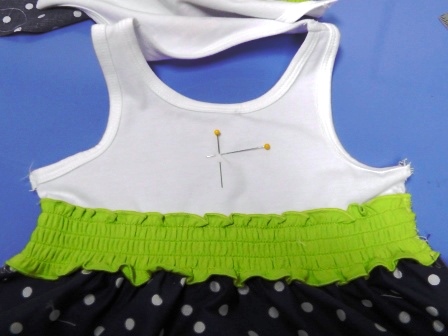
Find the center of the skirt and the center of the front band. Place pins at the center points of each.
Step 20:
Since the band will be used for the bottom of the skirt, the bottom of the skirt needs to be cut off so the band will then finish the skirt at the original length. Measure the band as cut.
Step 21:
Measure from the bottom cut edge of the skirt up the amount of the band, less the seam allowance. The cut band measured 4 ½”, including seam allowances. A ½” seam allowance will be allowed to sew the skirt to the band, so 4” of the skirt will be cut off. Measure from the bottom cut edge of the skirt and mark the amount to be cut off of the skirt. Don’t cut off the skirt yet.
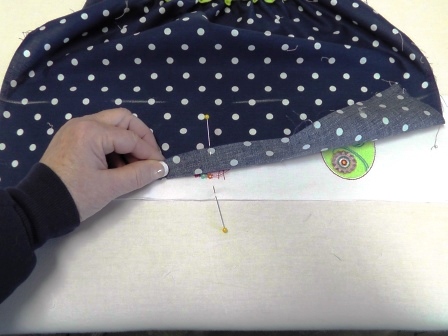
Step 22:
Before cutting off the skirt, the band needs to be cut to the same shape as the bottom of the skirt. Place the back of the skirt over the right side of the front band, matching centers and bottom cut edges.
Step 23:
Cut the band and lining to the shape of the skirt along the skirt side seams.
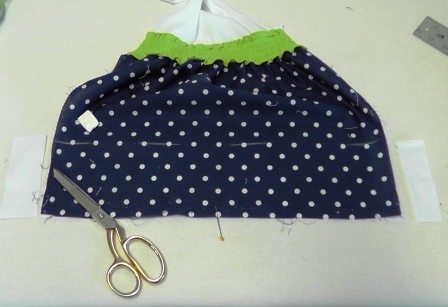
Step 24:
Now cut off the bottom of the skirt at the marked line. The band will be a continuation of the skirt when it is all sewn together.
Step 25:
The back band fabric was already cut and creased. Load "Floral Easter Egg" design on the machine. Hoop the fabric at the center crease with one layer of tearaway stabilizer; align and stitch the design following the color sequence. When the embroidery is finished, remove the fabric from the hoop and remove the stabilizer.
Step 26:
Load the "First Sign of Spring" design on the machine. Hoop the fabric at the right crease with one layer of tearaway stabilizer; align and stitch the design following the color sequence. When the embroidery is finished, remove the fabric from the hoop and remove the stabilizer.
Step 27:
Load the "Easter Bird Egg" design on the machine. Hoop the fabric at the left crease with one layer of tearaway stabilizer; align and stitch the design following the color sequence. When the embroidery is finished, remove the fabric from the hoop and remove the stabilizer.
Step 28:
(Click Image to Enlarge)
Trim the back skirt band and cut a lining as was done for the first band. Mark and cut the skirt back of the dress like was done on the skirt front.
Step 29:
Now it is time to sew the band and band lining pieces together. Place the embroidered bands, right sides together. Place the band linings right sides together. Pin the side edges of each. Sew band side seams and the band lining side seams sides together. Press all the seams open.
Step 30:
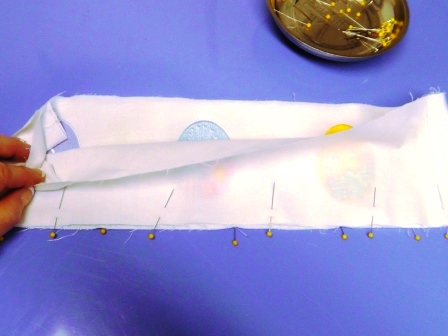
Pin the band lining to the band and the hem edge, matching side seams and meeting bottom cut edges.
Step 31:
Sew the band at the hem using a ½” seam allowance. Press the seam allowance toward the lining. Understitch the band.
Step 32:
Press the band up along the hem edge, meeting top cut edges and pinning them in place.
Step 33:
Baste the top edges of the band together.
Step 34:
Before attaching the band to the skirt, stitch the “Happy Spring” text from the "Spring Egg" design. Find the center front of the bodice.
Step 35:
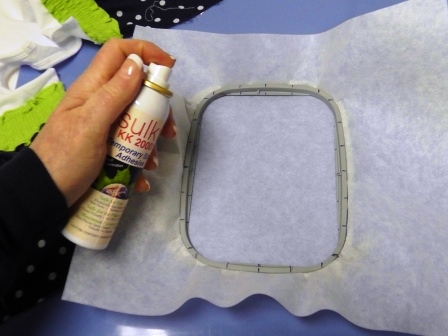
Hoop one layer of tearaway stabilizer. Spray with temporary spray adhesive, then center the bodice over the stabilizer.
Step 36:
Load the design into the machine. Place a piece of washaway stabilizer over the fabric if it is knit, then embroider the design.
Step 37:
Remove the stabilizers from the embroidery.
Step 38:
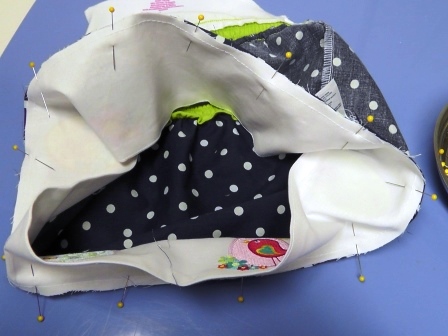
Now it is time to sew the dress back together. Place right sides together and pin matching any seams or trims.
Step 39:
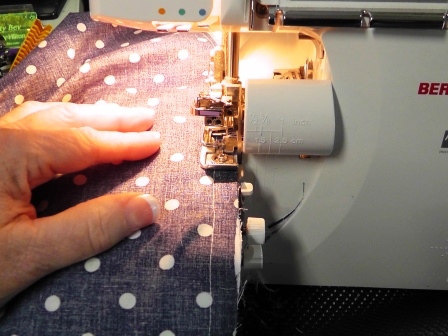
Sew both side seams using the original seam allowance.
Step 40:
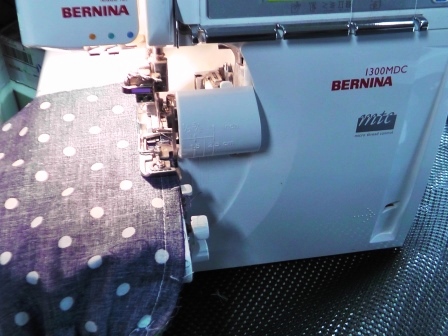
Serge or otherwise finish the seam allowance.
Step 41:
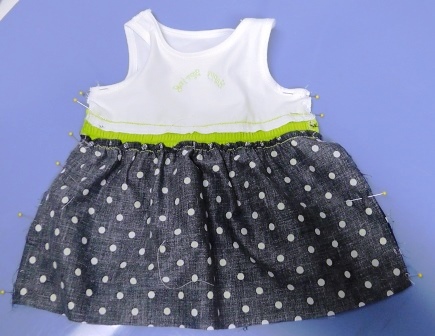
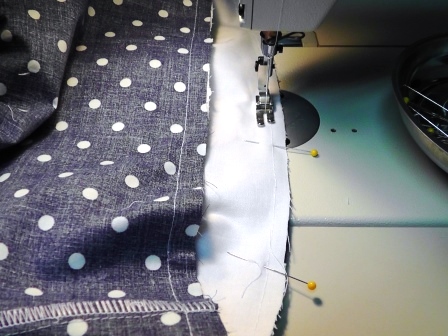
Pin the band to the skirt bottom, matching side seams and the top cut edge of the band to the bottom cut edge of the skirt.
Step 42:
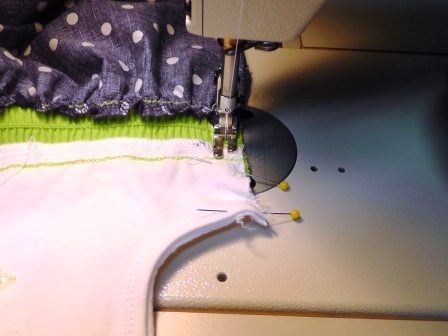
Sew the band to the skirt bottom using a ½” seam allowance.
Ramona Baird has been in the embroidery industry for over 23 years. She and her husband owned a commercial and retail embroidery store in Arizona for many years. She is an experienced digitizer having been mentored by award-winners Pat Williams and Lindee Goodall. Ramona is a contributor to “Creative Machine Embroidery” magazine having 5 covers to her credit. Ramona has worked for Wilcom America and served many years as Education Director for the American Sewing Guild. With a degree in fashion design, she is able to design and execute patterns which Pat Williams says are “out of the box” in creativity and application. Ramona likes to challenge the boundaries of embroidery and bring new and exciting designs, ideas, and projects to EmbroideryDesigns.com. She wants embroiderers of all levels to increase their skills and enjoyment in using their embroidery machine for gift-making and personal pleasure.