This project is for the decorated eggs only. They are shown in a basket made from Easter and spring fabrics using instructions in the book, “It’s a Wrap: Sewing Fabric Purses, Baskets, and Bowls” by Susan Breier and decorated w/ wire ribbon organza bows.
Water soluble stabilizer. The amount depends on the number of designs being stitched and the hoop size being used. In the project shown, Sulky®Fabric-Solvy™ was used, but other products such as Floriani Web N Gone® may also be used.
Embroidery thread. Your choice of polyester, rayon, or any other embroidery thread in the colors you wish. The embroidery thread was used in the top, and embroidery bobbin thread was used on the bottom.
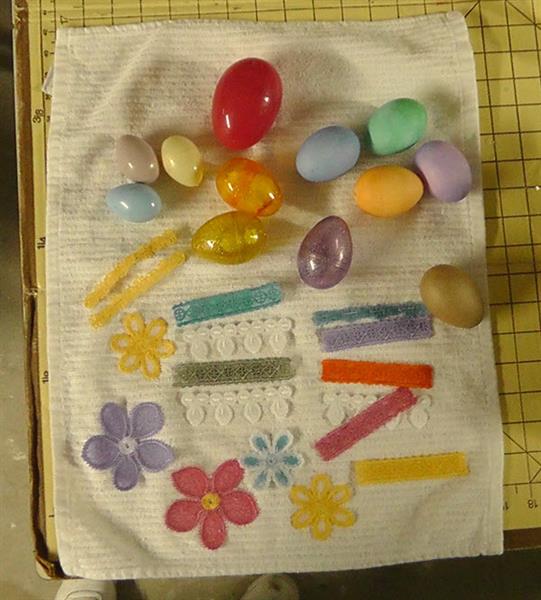
Eggs to decorate. A selection of dyed hand-blown real eggs, paper mache’ eggs and plastic eggs in various sizes were used for this project.
If using real eggs, wash them, blow them out, and then dye them using your favorite dying method. Dry the shells thoroughly before proceeding with decorations
If using paper mache’ eggs, they may be used as is, decorated with pieces of fabric glued to the surface (decoupage), or painted before decorating. Be sure the glue or paint is completely dry before proceeding with the decorating process.
Plastic eggs come in a variety of sizes and colors. When attaching the FSL, attach it below the seam line to still be able to open up the egg.
Colorful cording (paper mache’ egg is wrapped with the cord and this will be shown in the instructions).
Pearls, beads, sequins, rhinestones and other findings to decorate the FSL embroidery designs after they are glued to the egg. Use what you have on hand; be creative!
Bowl of water to rinse the FSL after stitching (follow directions on the packaging for rinsing water temperature).
Glue gun and glue sticks (or tacky white glue).
Basket in which to place the eggs.
Decorative grass for the basket.
Little chicks to decorate the basket.
Wire edge organza ribbon for the bows (yardage depends on the size bows being made. This project used 8 yards; four yards for each bow and tie).
This project is for the decorated eggs only. They are shown in a basket made from Easter and spring fabrics using instructions in the book, “It’s a Wrap: Sewing Fabric Purses, Baskets, and Bowls” by Susan Breier and decorated with wire ribbon organza bows.
This is one of the easiest projects you will ever do. FSL is usually only one or two colors, and depending on the size of the designs, more than one may be “ganged up” in the hoop (in software or at the machine) and sewn requiring only thread changes to stitch the desired color on each design. Leave at least an inch between designs being sewn for the designs in this project.
Preparation:
• Because your choice of eggs will vary from what was done in the project, techniques will be shown. You should adapt the techniques to the eggs you choose to use in your project.
• Test the designs. It is not recommended that FSL (free standing lace) designs be resized because of the special way in which they must be digitized to hold together after the stabilizer is rinsed out.
• Measure the circumference of each egg and determine if one or more sew-out of the design will be needed to completely go around the egg and plan the design layout and sewing accordingly for the number of eggs you will be using your project.
• In software (or at the machine), place several designs in one hooping for sewing. Be sure each FSL design is a different color so the machine will stop between each design allowing for a thread color change as needed. Leave approximately 1” between each design when ganging up several designs in one hooping.
• In stitching the designs for this project, because several were ganged up in each hooping, two layers of water soluble stabilizer were hooped together as one.
Stitching
Step 1:
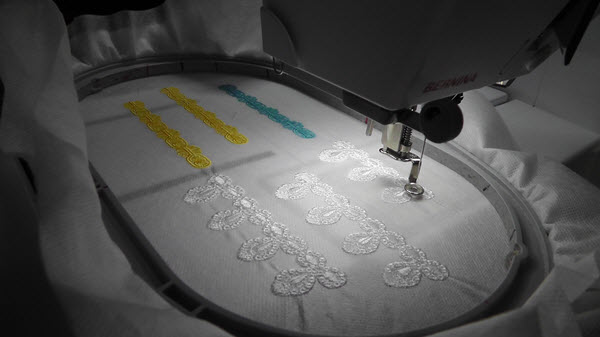
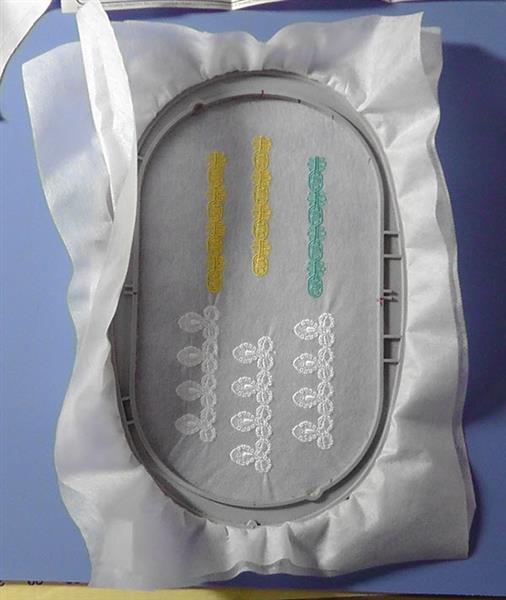
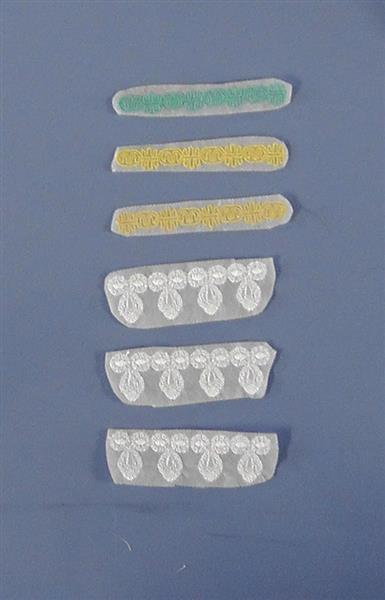
After measuring the eggs and choosing the FSL design for each egg, gang up the designs in the hoop and stitch. Shown in the hoop: Grand Slam Designs FSL Border and FSL Decorative Edging.
(Click Image to Enlarge)
a.)
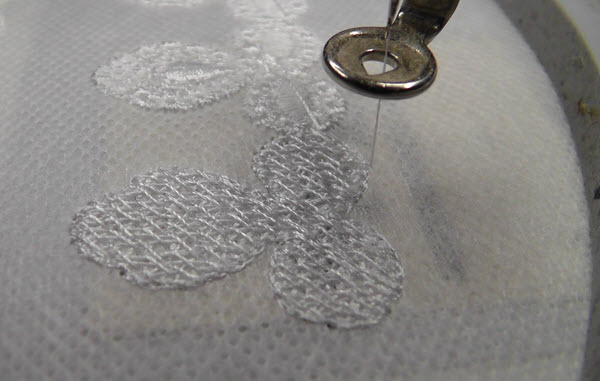
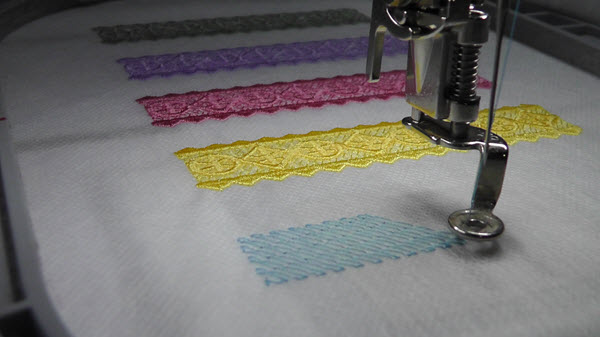
Take a look at the designs as they are stitching and notice the crosshatch pattern that is laid down to hold the FSL together. It’s fascinating to watch how the digitizer put together the design by watching it stitch!
(Click Image to Enlarge)
b.)
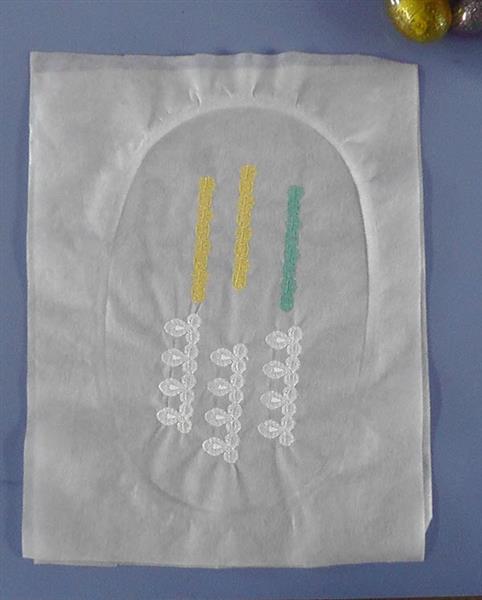
Finish stitching the designs. Remove the hoop from the machine and trim all the jump threads.
(Click Image to Enlarge)
c.)
Remove the stabilizer from the hoop.
(Click Image to Enlarge)
d.)
(Click Image to Enlarge)
Trim the stabilizer away, leaving approximately ¼” of stabilizer around all edges of the designs.
e.)
Set the designs aside until the rest of the designs are stitched.
Step 2:
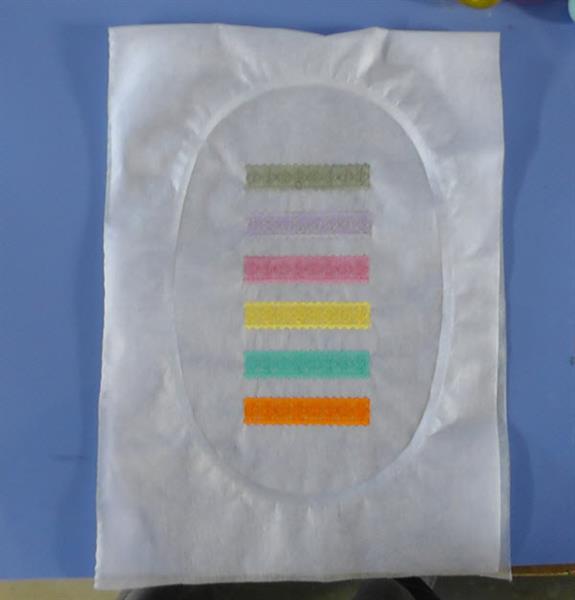
Hoop two pieces of water soluble stabilizer together as one. Load and stitch several FSL Decorative Edging by Grand Slam Designs. Trim the jump threads and change thread colors between designs as you planned.
(Click Image to Enlarge)
a.)
Remove the stabilizer from the hoop.
(Click Image to Enlarge)
b.)
Trim the stabilizer away from the designs leaving approximately ¼” of stabilizer around all edges of the design.
Step 3:
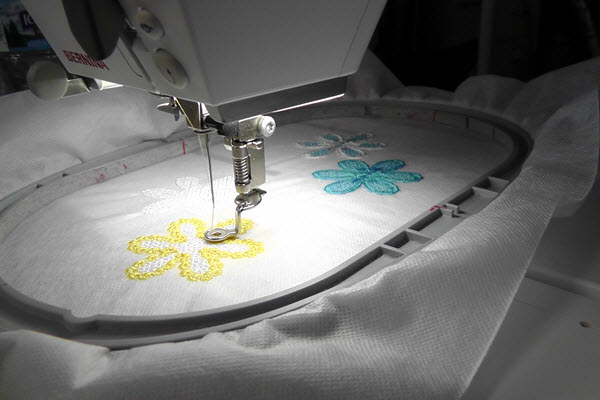
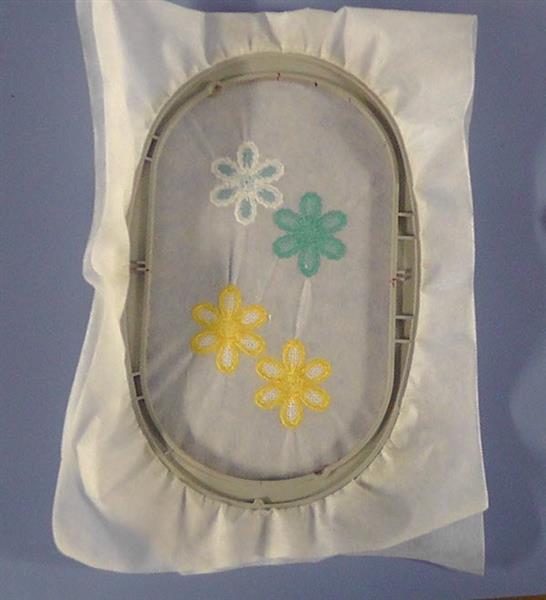
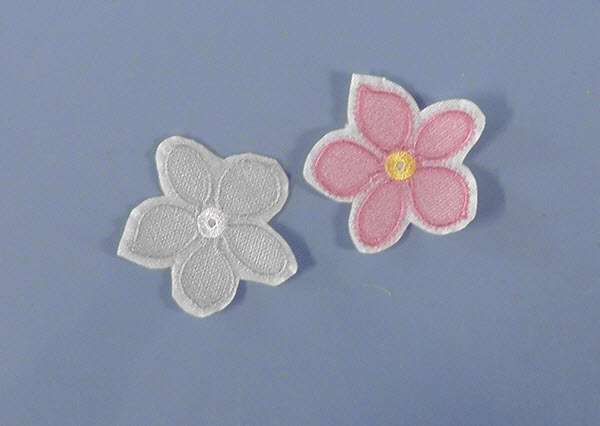
Hoop two pieces of water soluble stabilizer together as one. Load and stitch FSL Yellow Daisy by Day Dream Designs. Change thread colors in and between the designs as you planned.
(Click Image to Enlarge)
a.)
After the stitching has been completed, remove the hoop from the machine and trim all the jump threads in the designs.
(Click Image to Enlarge)
b.)
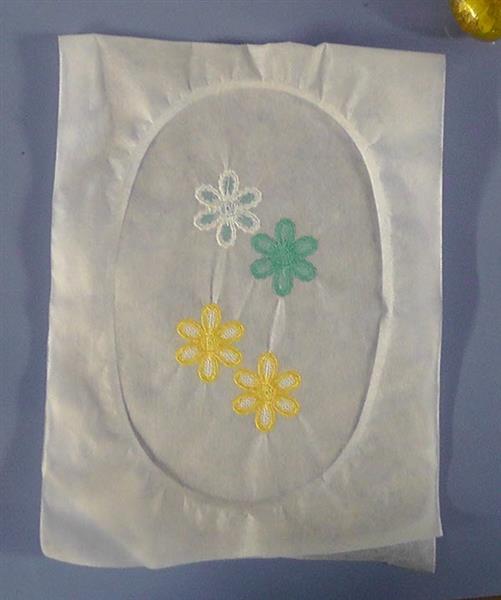
Remove the stabilizer from the hoop.
(Click Image to Enlarge)
c.)
Trim the stabilizer away, leaving approximately ¼” of stabilizer around all edges of the design.
(Click Image to Enlarge)
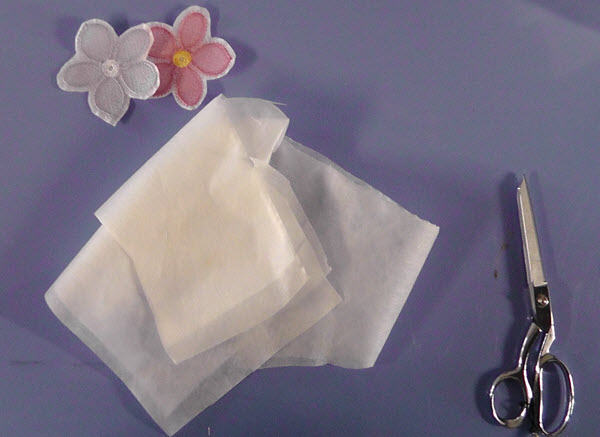
Step 4:
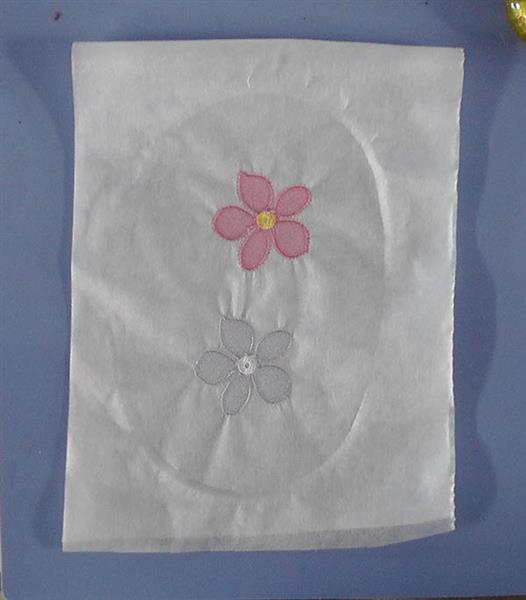
Hoop two pieces of water soluble stabilizer as one. Load and stitch two FSL Rose Blossom by Day Dream Designs (flowers for bows) changing thread colors as planned. Remove the hoop from the machine and trim the jump threads.
(Click Image to Enlarge)
a.)
Remove the stabilizer from the hoop.
(Click Image to Enlarge)
b.)
Trim the stabilizer away from the designs leaving approximately ¼” of stabilizer around all edges of the design.
(Click Image to Enlarge)
Removing the Stabilizer
Step 5:
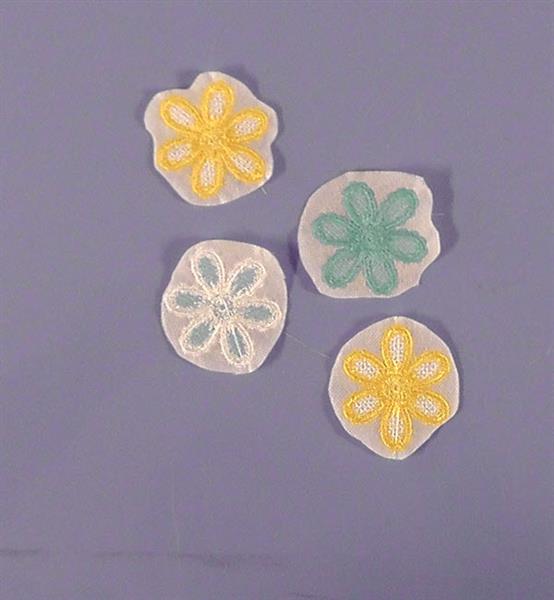
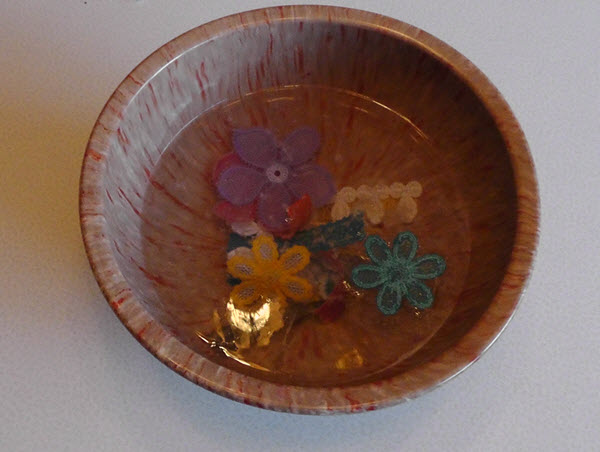
Following the manufacturers’ directions for water temperature and soaking, place all the FSL designs in a bowl of water. Do not soak the designs until the entire stabilizer is removed. Instead, soak away only the visible stabilizer. This will allow some of the stabilizer to remain in the designs so that the designs will be somewhat stiff when dry.
(Click Image to Enlarge)
a.)
Remove the designs from the water and lay the designs flat on a towel.
(Click Image to Enlarge)
b.)
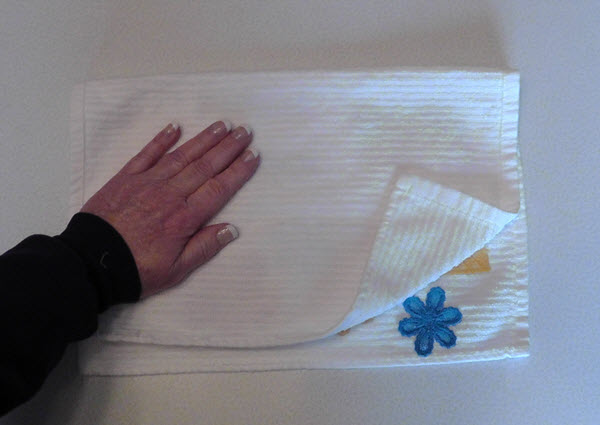
Place the other end of the towel over the designs and pat out the excess water.
(Click Image to Enlarge)
c.)
Open up the towel and let the designs dry thoroughly.
Decorating Eggs
Note: Use one or two pieces (or more depending on the size of the egg being used) of FSL to go all the way around each egg when decorating, meeting the edges together and trimming away any excess not needed.
Step 6:
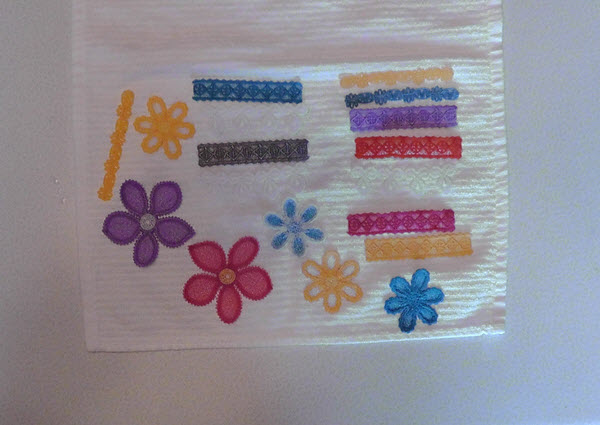
Sort out the eggs and designs and decide how each will be decorated as was planned.
(Click Image to Enlarge)
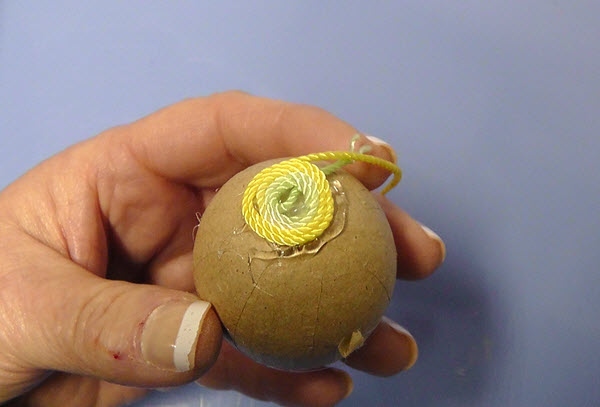
Step 7:
Paper mache’ eggs are very lightweight and fun to decorate. Use some colorful cording affixed with hot glue (or tacky glue may be used), to give a unique look and texture to the egg.
a.)
Begin by placing a small amount of hot glue at the bottom of the egg and begin coiling the cord around the egg, securing the end under the coil.
(Click Image to Enlarge)
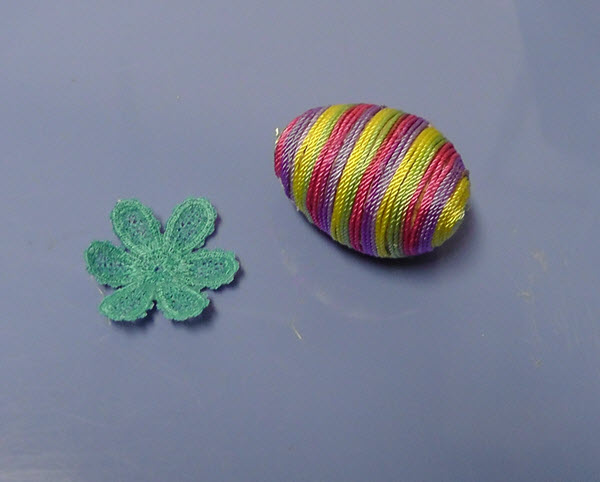
b.)
Add more glue and continue wrapping the egg with the cording meeting each row to cover the egg. Decide on the Daisy design to be used with this egg.
(Click Image to Enlarge)
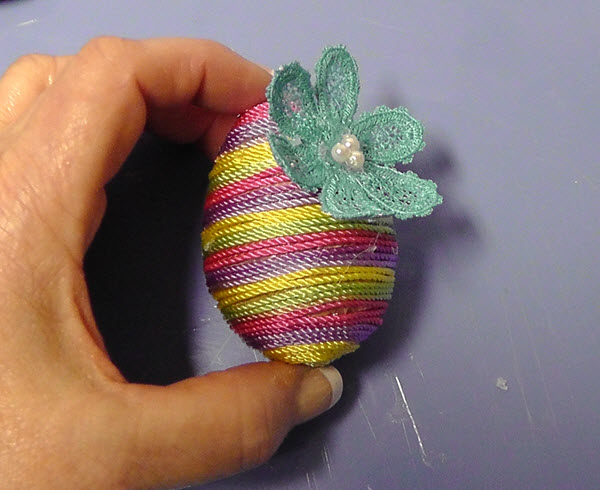
c.)
Affix the Daisy design on the egg with hot glue and then glue pearls in place in the center of the FSL flower.
(Click Image to Enlarge)
Step 8:
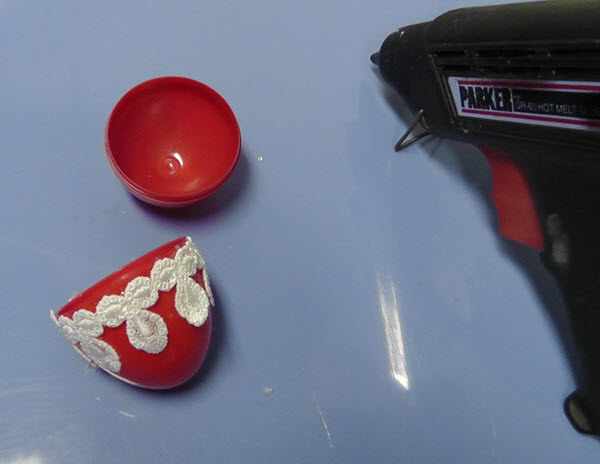
Plastic eggs are easy to decorate as well.
a.)
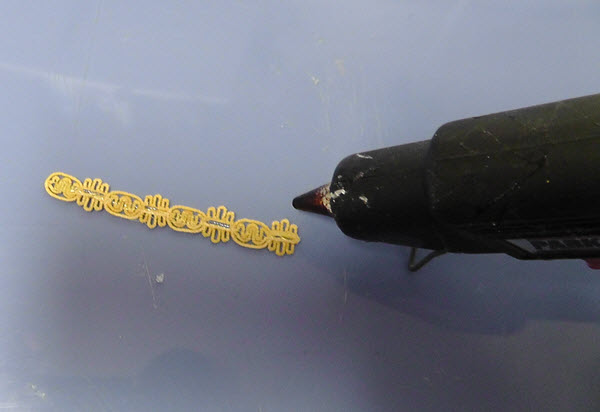
Place a bead of hot glue on the back of the FSL Border.
(Click Image to Enlarge)
b.)
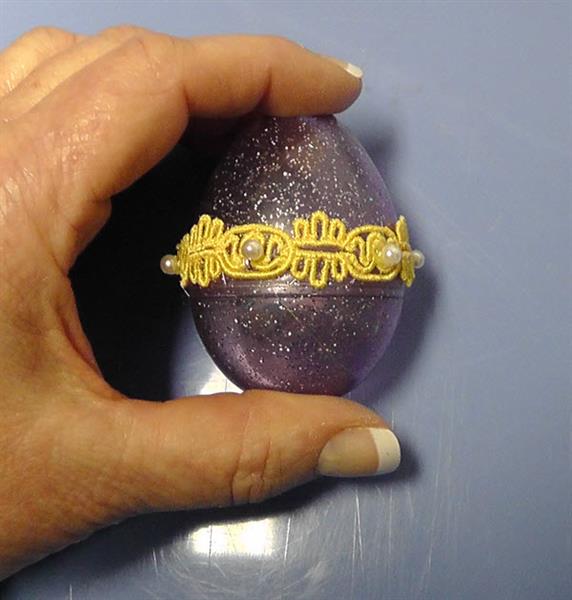
Place the FSL Border on the plastic egg below the seamline so the egg will still open.
(Click Image to Enlarge)
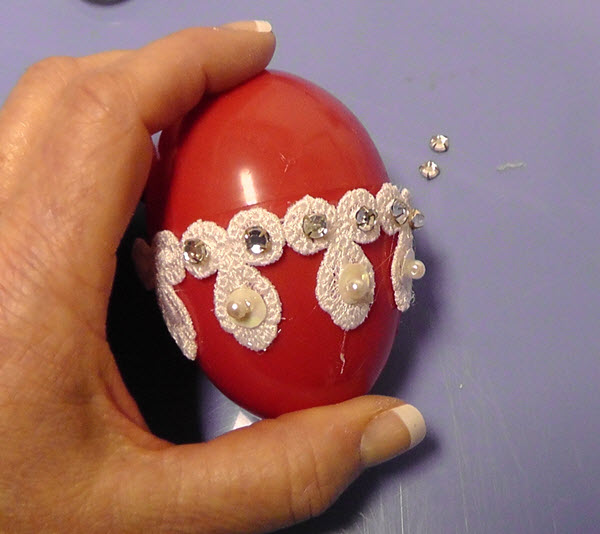
c.)
Glue on pearls as shown.
(Click Image to Enlarge)
Step 9:
Real eggs. Wash, blowout, and dry the eggs thoroughly before decorating. Use the FSL Border like was done with the plastic egg. Glue on colorful seed beads as shown.
(Click Image to Enlarge)
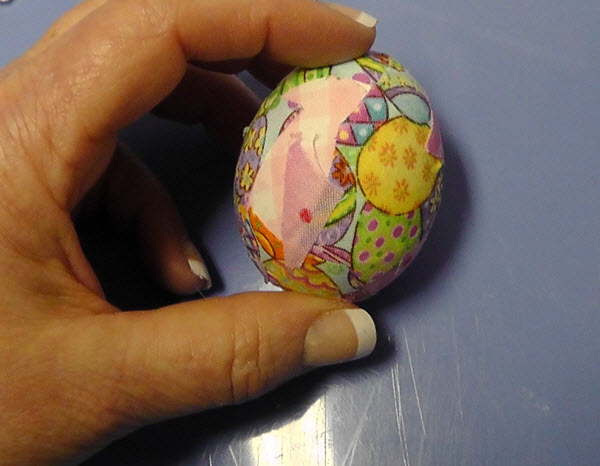
Step 10:
Over either a paper mache’ or real egg shell, glue on patches of colorful spring fabric using a decoupage technique. Let the glue dry thoroughly before completing the decorations of lace and pearls.
(Click Image to Enlarge)
a.)
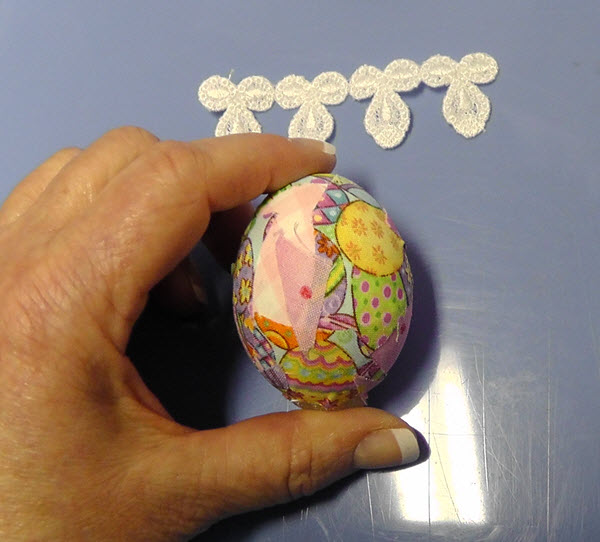
Decide on the FSL lace to be used to decorate the decoupage egg.
(Click Image to Enlarge)
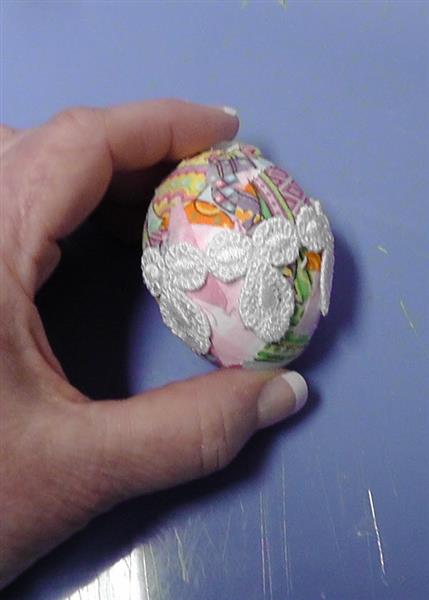
b.)
Glue on the FSL lace and decorate with sequins and pearls.
(Click Image to Enlarge)
Step 11:
Continue selecting and decorating all the eggs you have planned.
(Click Image to Enlarge)
Use beads, sequins, pearls, and rhinestones that you have in your stash to decorate the eggs as you wish.
(Click Image to Enlarge)
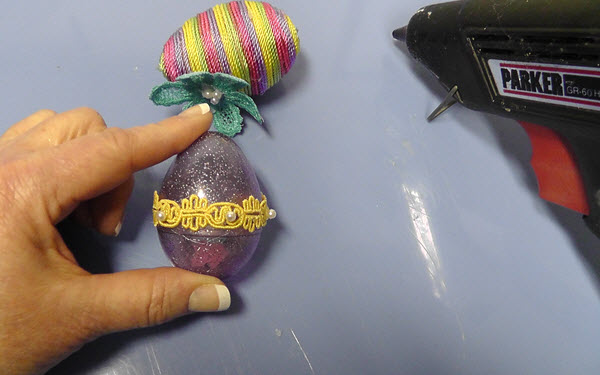
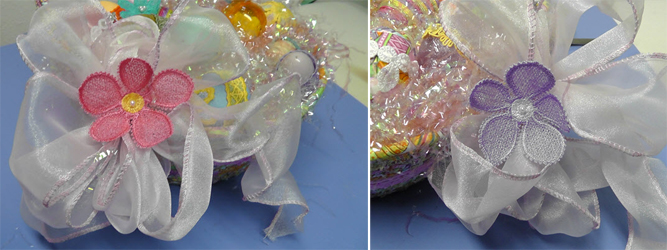
Step 12:
Make or purchase ribbon for the bows at each side of the basket. Hot glue the FSL Rose Blossom to each bow and add pearls to further decorate them.
(Click Image to Enlarge)
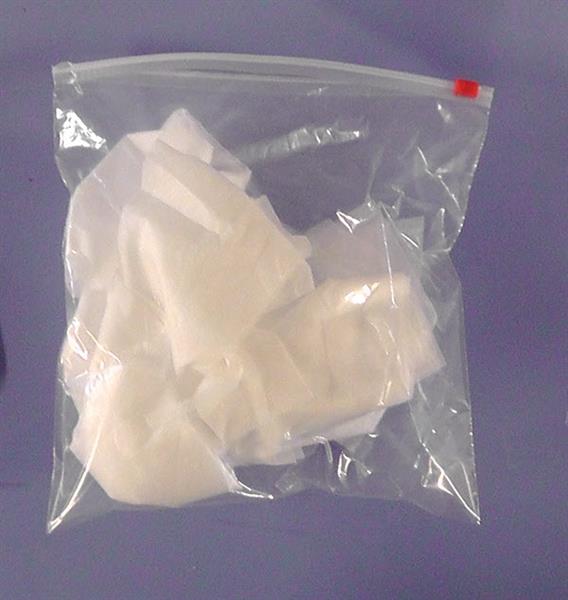
Step 13:
Tip: Save all unused stabilizer from trimming around the embroidery designs.
(Click Image to Enlarge)
It can be stored in a plastic bag and later mixed with water to make a stabilizer paste for other embroidery projects.
Ramona Baird has been in the embroidery industry for over 23 years. She and her husband owned a commercial and retail embroidery store in Arizona for many years. She is an experienced digitizer having been mentored by award-winners Pat Williams and Lindee Goodall. Ramona is a contributor to “Creative Machine Embroidery” magazine having 5 covers to her credit. Ramona has worked for Wilcom America and served many years as Education Director for the American Sewing Guild. With a degree in fashion design, she is able to design and execute patterns which Pat Williams says are “out of the box” in creativity and application. Ramona likes to challenge the boundaries of embroidery and bring new and exciting designs, ideas, and projects to EmbroideryDesigns.com. She wants embroiderers of all levels to increase their skills and enjoyment in using their embroidery machine for gift-making and personal pleasure.