Do you enjoy trying different wines? Have you thought of keeping a journal? A wine journal is a great way to relive events, perhaps with friends and family, by journaling about the event and attaching the wine label(s) of the wine(s) enjoyed at the event.
White cotton fabric (for stitching embroidery design for the journal front cover; enough to fit the hoop being used)
Cutaway stabilizer (for stitching the embroidery design; enough to fit the hoop being used)
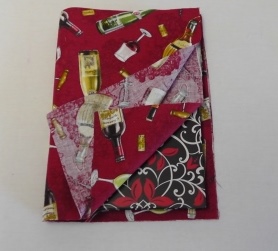
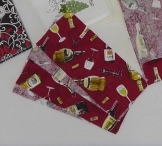
Wine themed cotton fabric (two pieces to wrap around the journal, one for the outside cover and one for the inside cover and also four pieces for the inside pockets)
Cotton batting (one piece for behind the embroidered fabric, and one piece to wrap around the entire journal)
Dimensions will be shown in the photographs, but not given in the project instructions. Each journal will be different in its size, so basic instructions will be given on how to measure and sew the journal cover together, but no actual measurements will be given. Measure the journal to be covered and purchase enough fabric and batting from those measurements. Adjust the instructions to fit the journal you will be covering.
Step 1:
(Click Image to Enlarge)
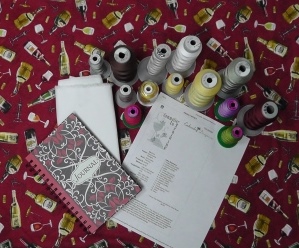
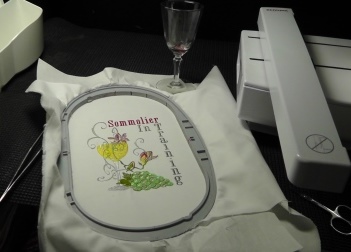
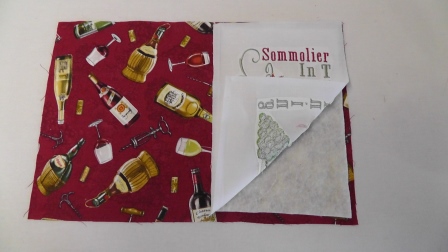
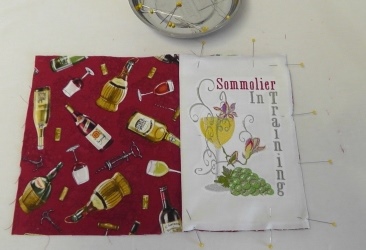
Purchase the journal book and gather the fabrics, stabilizer and threads. Print the embroidery design detail sheet for the color sequence and print the design at actual size to determine if any resizing of the design is needed to fit the journal cover for the chosen book. Read through all the instructions before beginning the project.
Step 2:
(Click Image to Enlarge)
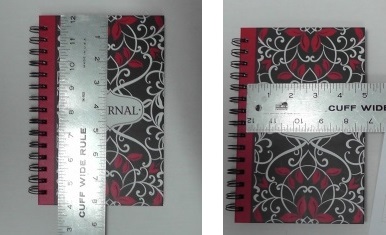
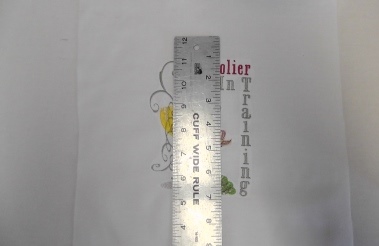
Measure the height and width of the front of the journal cover. Compare the measurements to the embroidery design. Figure out if the design needs to be resized.
Step 3:
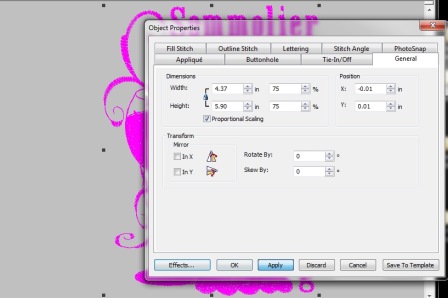
For this project, the design had to be reduced in size to fit within the bounds of the cover.
Step 4:
(Click Image to Enlarge)
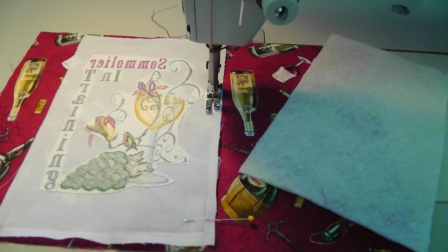
Hoop the white fabric with the cutaway stabilizer and embroider the design following the color sequence. Remove the embroidered fabric from the hoop; trim the stabilizer.
Step 5:
(Click Image to Enlarge)
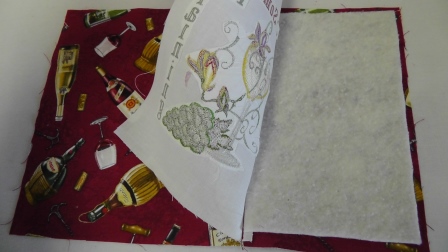
Using the measurements from the front of the journal cut the embroidered fabric those dimensions, plus ¼” seam allowances all around. Cut one piece of batting to fit behind the embroidered fabric, minus seam allowances.
Step 6:
(Click Image to Enlarge)
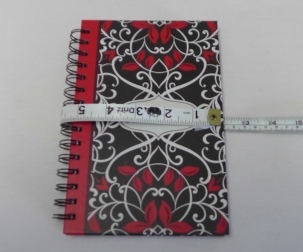
Measure around the journal book while it is closed. Add about ½” of ease so the journal cover, when completed, is not too tight.
Step 7:
(Click Image to Enlarge)
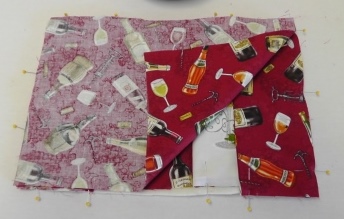
Cut two pieces of the wine themed fabric, the height of the journal plus ½” by the measurement in step 6, plus seam allowances all around. One piece will be for the cover front, and the other piece will be for the cover inside. Also cut one piece of batting the same size.
Step 8:
(Click Image to Enlarge)
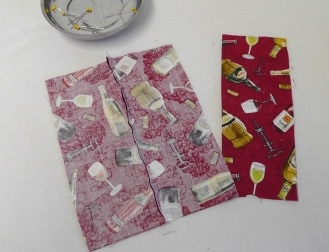
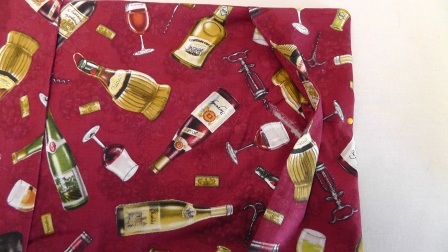
Measure and cut four pieces of the wine themed fabric the height of the journal book, plus ½”, by the depth required to create pockets to hold the journal inside the cover, plus seam allowances all around. In this project, the pocket pieces were cut 3” wide plus seam allowances.
Step 9:
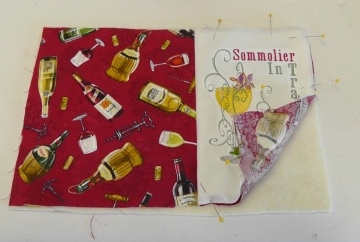
Place the journal front cover fabric right side up. On the right half of the fabric, align the smaller piece of batting on the right side, inside the seam allowances. Fold the left edge of the embroidered fabric along the left seam allowance.
Step 10:
Place the embroidered fabric on the right side of the cover front, aligning the top, bottom and right cut edges.
Step 11:
Keeping the left folded edge of the embroidered fabric in place, fold back the embroidered fabric and pin the seam allowance to the journal front cover as shown.
Step 12:
Stitch along the folded edge securing the embroidered fabric to the cover front fabric.
Step 13:
Tuck the batting behind the embroidery, catching it inside the folded edge of the embroidered fabric.
Step 14:
(Click Image to Enlarge)
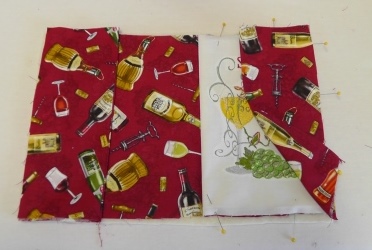
Fold the embroidered fabric back in place over the batting and pin the embroidered fabric to the cover front at the cut edges.
Step 15:
(Click Image to Enlarge)
Create the two inside pockets for the journal cover by placing right sides together. Pin along one long edge; stitch together removing pins as you sew. Press the seam and turn the pocket so right sides are to the outside. Press along the seam line. Repeat for the other pocket.
Step 16:
(Click Image to Enlarge)
To assemble the journal, place the large piece of cotton batting on a flat surface. On top of that, place the front cover with the embroidered fabric right side up.
Step 17:
(Click Image to Enlarge)
Next, place the inside pockets on top of the front cover, meeting cut edges and having the sewn seam lines toward the center.
Step 18:
(Click Image to Enlarge)
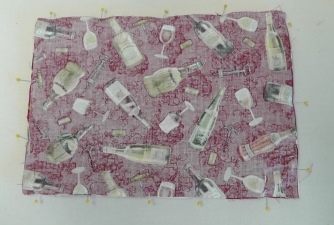
With right sides together, place the remaining inside cover fabric over the front cover and pockets.
Step 19:
(Click Image to Enlarge)
Pin everything together.
Step 20:
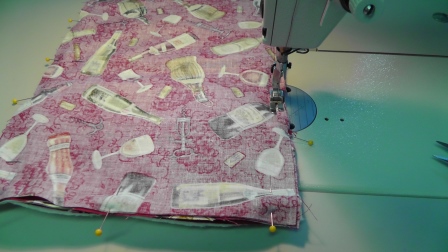
At the machine, sew around all four sides using a ¼” seam allowance.
Step 21:
Clip the corners.
Step 22:
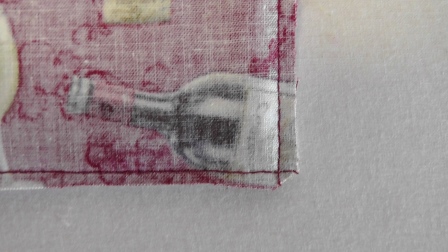
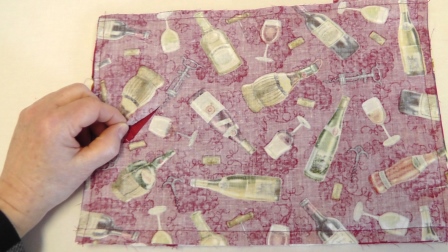
In the inside cover fabric only, cut a small slit on the bias of the fabric near one of the pocket edges.
Step 23:
(Click Image to Enlarge)
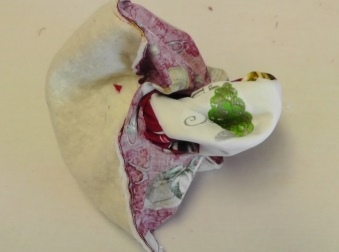
Carefully turn the cover right side out through the slit.
Step 24:
Form the corners and turn the pockets to the inside. Press the cover.
Step 25:
The slit is under one of the pockets. Find the slit.
Step 26:
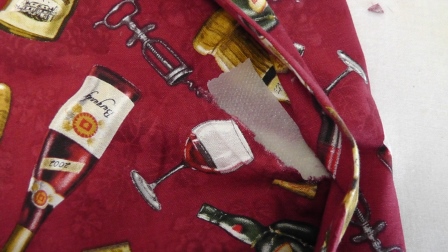
Sew the slit up with some hand stitches, or cut and slide some fusible web underneath the edges of the slit.
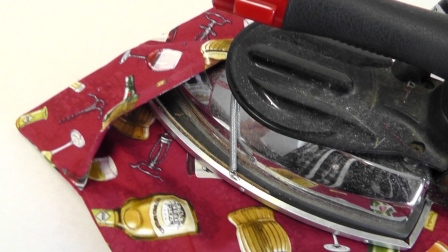
Step 27:
Press to melt the fusible web and fuse the edges of the slit together.
Step 28:
The fusing will hold the edges of the slit and keep them from fraying.
Step 29:
(Click Image to Enlarge)
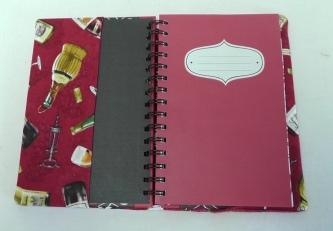
Insert the journal into the cover tucking the front and back covers into their respective pockets.
Step 30:
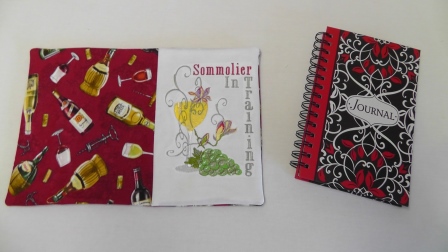
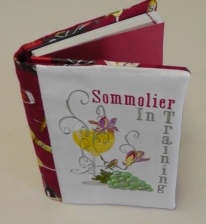
(Click Image to Enlarge)
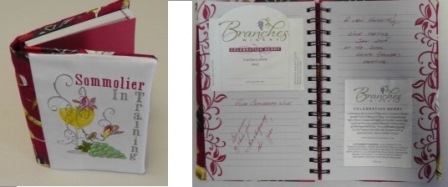
The journal is covered and ready to use.
Step 31:
(Click Image to Enlarge)
The user can remove labels from wine bottles and place them in the journal. Notes can be made about the date and event where the wine was enjoyed and with whom.
Ramona Baird has been in the embroidery industry for over 23 years. She and her husband owned a commercial and retail embroidery store in Arizona for many years. She is an experienced digitizer having been mentored by award-winners Pat Williams and Lindee Goodall. Ramona is a contributor to “Creative Machine Embroidery” magazine having 5 covers to her credit. Ramona has worked for Wilcom America and served many years as Education Director for the American Sewing Guild. With a degree in fashion design, she is able to design and execute patterns which Pat Williams says are “out of the box” in creativity and application. Ramona likes to challenge the boundaries of embroidery and bring new and exciting designs, ideas, and projects to EmbroideryDesigns.com. She wants embroiderers of all levels to increase their skills and enjoyment in using their embroidery machine for gift-making and personal pleasure.