














































PROJECT INSTRUCTIONS


PROJECT INSTRUCTIONS

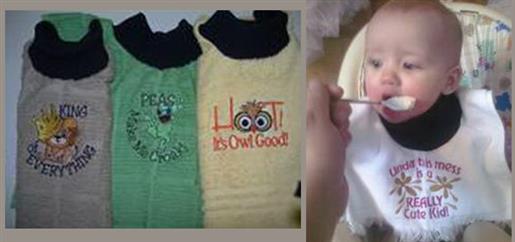
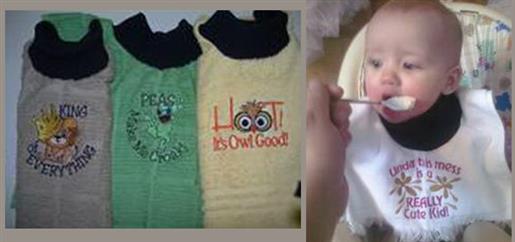
Baby Bibs Embroidery Project
By
Barbara Geer
on
February 11, 2014
Description
Stop the mess with a hand towel!
Step
of
Materials
Project Preview Video

B Is For Baby
$5.49
Circle Price: $1.84

Who Loves You
$7.89
$3.95
Circle Price: $3.80

King Of Everything
$7.39
$3.70
Circle Price: $3.55

Coo & Poo
$6.74
$3.37
Circle Price: $3.22

I Am King
$6.69
$3.35
Circle Price: $3.20

Give A Hoot
$6.69
$3.35
Circle Price: $3.20

Guess Whoooo
$6.69
$3.35
Circle Price: $3.20

This Mess
$6.49
$3.25
Circle Price: $3.10

All I Do
$6.49
$3.25
Circle Price: $3.10

Smile Boy
$6.24
$3.12
Circle Price: $2.97

Food Fight
$5.74
$2.87
Circle Price: $2.72

Eat Your Veggies
$5.49
$2.75
Circle Price: $2.60

Cut Away Stabilizer - 2.5 Oz wt.
$8.94
Circle Price: $8.05

Cut Away Stabilizer - 2 oz wt.
$8.52
Circle Price: $7.67

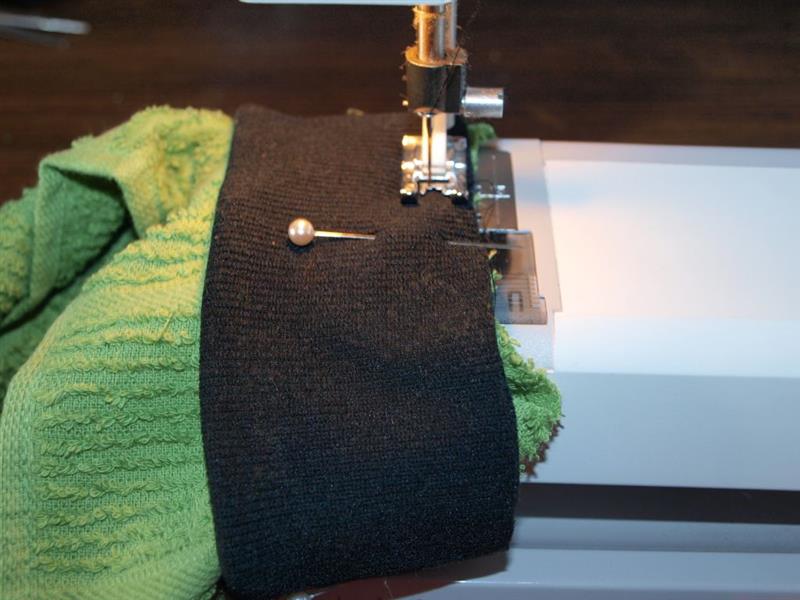
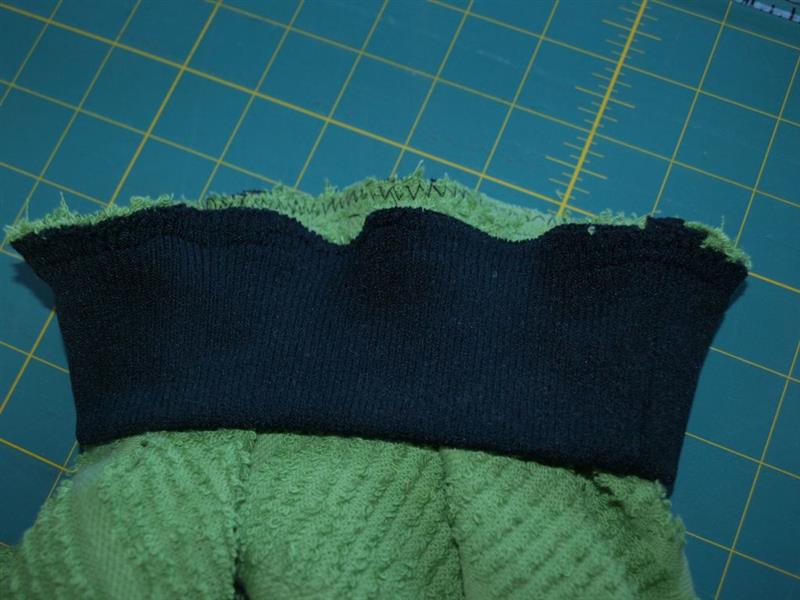
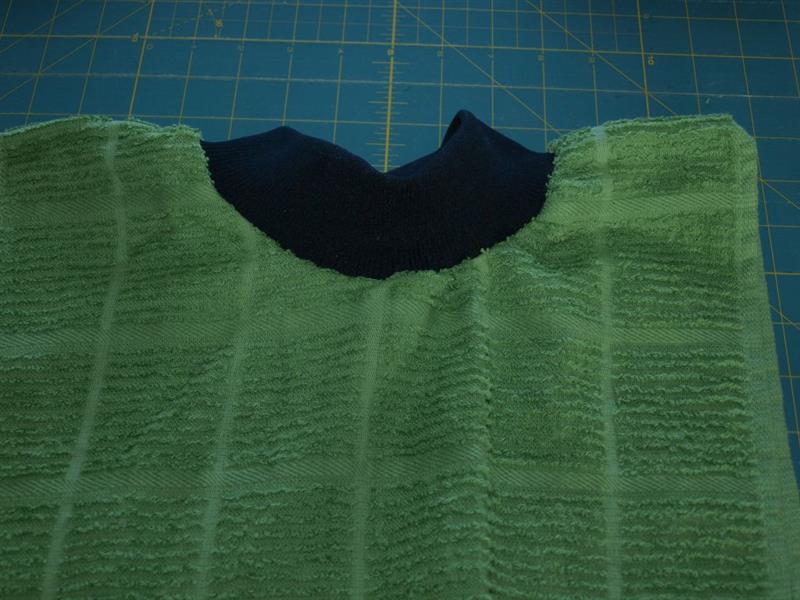
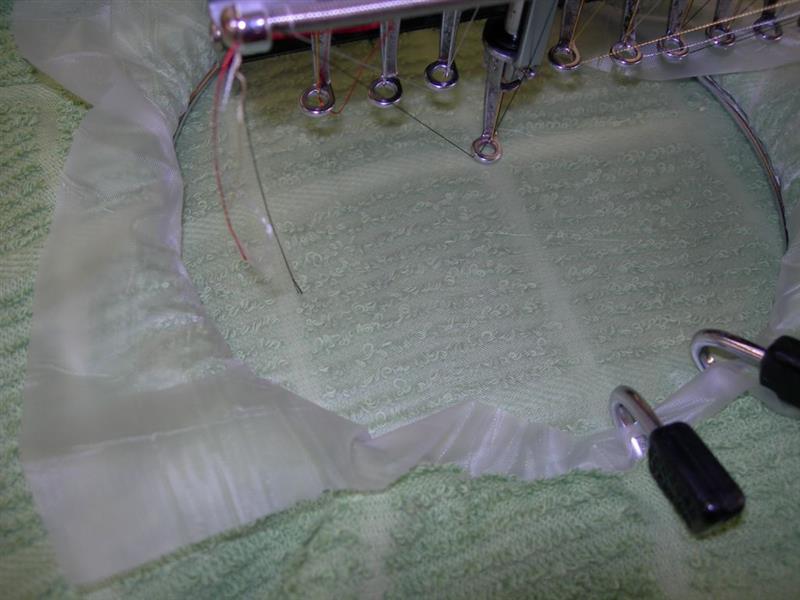
| Materials Bib Design (Choose from CHG366 to CHG429 and corresponding text drops.) Hand towel and 5 inches of T-shirt ribbing E-zee wash-away backing & topping Embroidery thread in colors of choice Matching bobbin thread Embroidery machine Sewing machine Cutting mat, rotary cutter, scissors, iron |
| Designs used in this project |
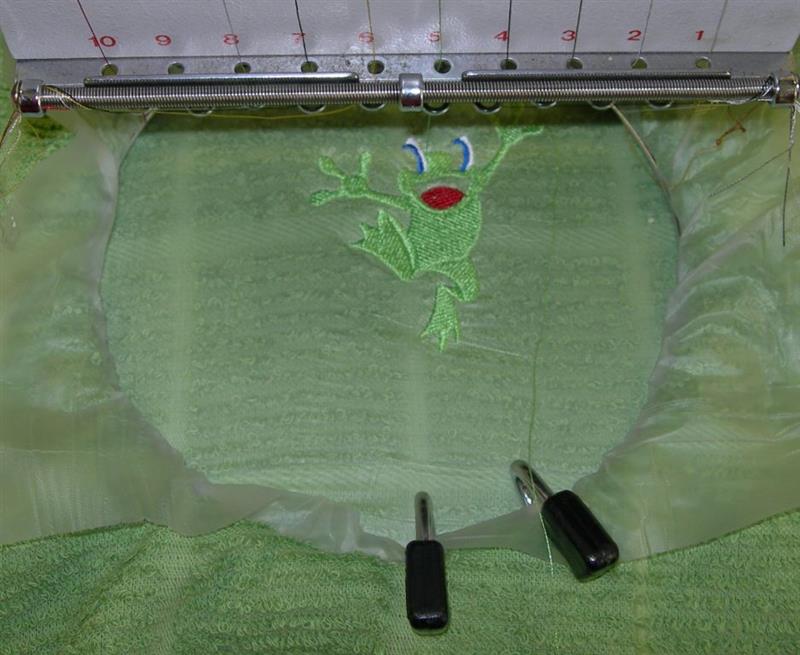
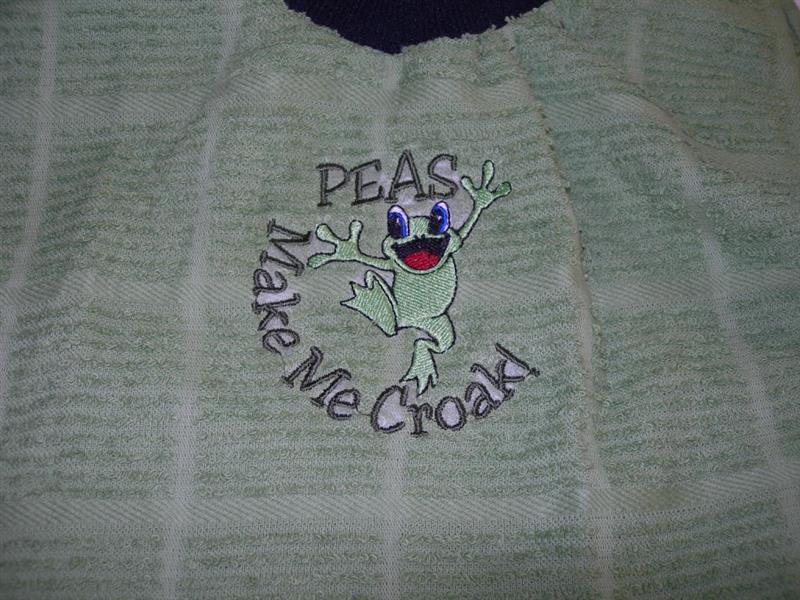
| Final Product: What You Will Create |
 |
|
Projects You May Like
Meet the Author:
Barbara Geer

Barbara Geer, Creative Director/Digitizer, Grand Slam Designs, an embroidery stock design and contract digitizing operation, has been in the decorated apparel industry since 1990. She is a popular speaker at commercial decorated apparel and home embroidery events. She also is a frequent contributor to commercial and home embroidery publications such as EMB, Stitches, and Printwear. You may reach Barbara at 218-222-3501; e-mail [email protected] or visit her Web site at www.grandslamdesigns.com.
Feedback
Characters Remaining
Please Login to Submit a Feedback
Invalid Characters, Please enter a valid Comment
Please enter a valid Comment
Reviewed On
Link is Broken, Please check the URL