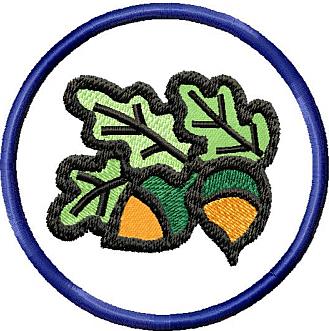
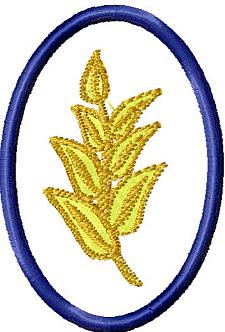
Step 1: |  (Click Image to Enlarge) Appliqué Coaster – Acorn |
Step 2: | Fabric Placement:
Hoop Cut Away Stabilizer
Color 1 – (tan) shows placement of fabric outline. Lay piece of fabric (right side up) over stitching lines - using basting spray, fabric glue stick, or pins to hold in place.
Color 2 – (tan) tacks fabric down. Trim fabric around stitching line.
Color 3 – (tan) shows placement of fabric outline. Lay piece of fabric (right side up) over stitching lines- using basting spray, fabric glue stick, or pins to hold in place.
Color 4 – (tan) tacks fabric down. Trim fabric around stitching line. |
Step 3: | Embroider Design:
Color 5 – Tan or brown
Color 6 – Black After color 6, trim all jump stitches and trim up loose bobbin threads on the back. |
Step 4: | | Do Not Remove Fabric From Hoop |
Step 5: | Applique Backing of Coaster:
Color 7 – (tan or brown) shows placement for applique backing. Place fabric backing onto back of embroidery using basting spray, fabric glue stick, or tape to hold in place. I sometimes use a layer of felt & vinyl (to waterproof) instead of fabric.
Color 8 – (tan or brown) fabric tack down. After color 8, carefully remove hoop from machine Do Not Remove Fabric From Hoop. Turn hoop over and carefully trim backing fabric around stitches. Return hoop to machine
Color 9 – (tan or brown) change bobbin thread to match Satin Stitch Border Remove fabric from hoop and trim around coaster. Enjoy. |
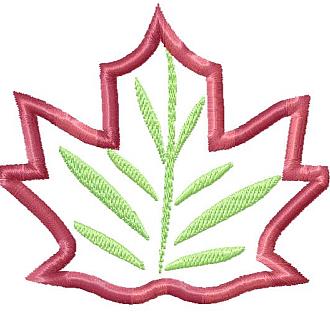
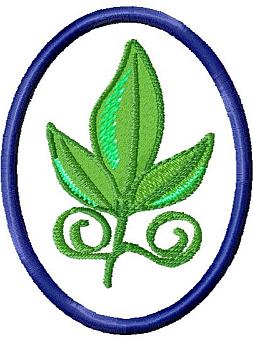
Step 6: | 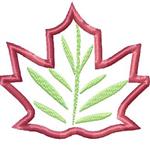 (Click Image to Enlarge) 02 Applique Coaster Leaf: |
Step 7: | Fabric Placement: Hoop Cut Away Stabilizer |
Step 8: | Fabric Placement:
Color 1 – (leaf color) sshows placement of fabric outline. Lay piece of fabric over stitching lines - using basting spray, fabric glue stick, or pins to hold in place.
Color 2 –(leaf color) tacks fabric down. Trim fabric around stitching line. |
Step 9: | Embroider Design:
Colors 3 – dark green
After color 3 -trim all jump stitches and trim up loose bobbin threads on the back. |
Step 10: | | Do Not Remove Fabric From Hoop |
Step 11: | Applique Backing of Coaster: Place appliqué fabric backing onto back of embroidery - using basting spray, fabric glue stick, or tape to hold in place. I sometimes use a layer of felt & vinyl (to waterproof) instead of fabric.
Color 4 - (leaf color) appliqué fabric tack down.
After color 4, carefully remove hoop from machine Do Not Remove Fabric From Hoop. Turn hoop over and carefully trim backing fabric around stitches. Return hoop to machine.
Color 5 – Leaf color - change bobbin thread to match Satin Stitch Border. Remove fabric from hoop and trim around coaster.
|
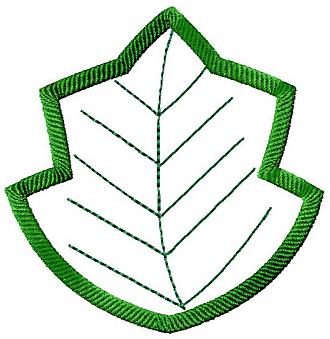
Step 12: | 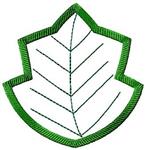 (Click Image to Enlarge) 03 Applique Coaster Large Leaf: |
Step 13: | Fabric Placement: Hoop Cut Away Stabilizer
Color 1 – ( green) shows placement of fabric outline. Lay piece of fabric (right side up) over stitching lines - using basting spray, fabric glue stick, or pins to hold in place.
Color 2 – (green) tacks fabric down. Trim fabric around stitching line. |
Step 14: | Embroider Design:
Color 3 – Dark Green
After color 3, trim all jump stitches and trim up loose bobbin threads on the back. Do Not Remove Fabric From Hoop |
Step 15: | Applique Backing of Coaster:
Color 4 – shows placement for appliqué backing. Place appliqué fabric backing onto back of embroidery (wrong sides together) --- using basting spray, fabric glue stick, or tape to hold in place. I sometimes use a layer of felt & vinyl (to waterproof) instead of fabric.
Color 5 – appliqué fabric tack down. After color 5, carefully remove hoop from machine. Do Not Remove Fabric From Hoop. Turn hoop over and carefully trim backing fabric around stitches. Return hoop to machine
Color 6 – Dark Green -- change bobbin thread to match Satin Stitch Border. Remove fabric from hoop and trim around coaster. |
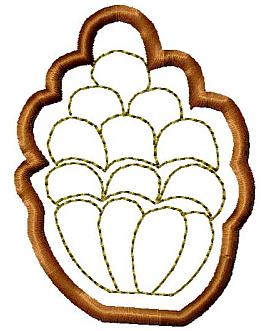
Step 16: | 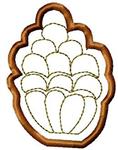 (Click Image to Enlarge) 04 Appliqué Pinecone Coaster: |
Step 17: | Fabric Placement: Hoop Cut Away Stabilizer
Color 1 – shows placement of fabric outline. Lay piece of fabric over stitching lines - using basting spray, fabric glue stick, or pins to hold in place.
Color 2 – tacks fabric down. Trim fabric around stitching line. |
Step 18: | Embroider Design:
Color 3 -- Continue stitching out embroidery design
After color 3, trim all jump stitches and trim up loose bobbin threads on the back. Do Not Remove Fabric From Hoop |
Step 19: | Applique Backing of Coaster:
Color 4 – shows placement for appliqué backing. Place appliqué fabric backing onto back of embroidery --- using basting spray, fabric glue stick, or tape to hold in place. I sometimes use a layer of felt & vinyl (to waterproof) instead of fabric.
Color 5 - fabric tack down. After color 8, carefully remove hoop from machine Do Not Remove Fabric From Hoop. Turn hoop over and carefully trim backing fabric around stitches. Return hoop to machine.
Color 6 – change bobbin thread to match Satin Stitch Border. Remove fabric from hoop and trim around coaster. |
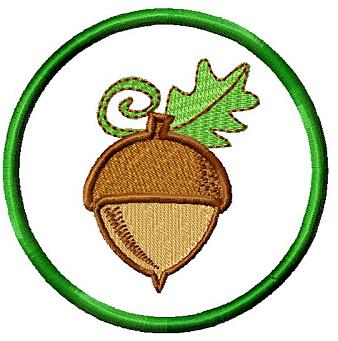
Step 20: | 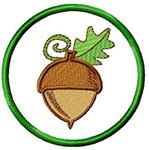 (Click Image to Enlarge) 05 Coaster Acorn Round: |
Step 21: | Fabric Placement:
Color 1 – shows placement of fabric outline. Lay piece of fabric over stitching lines - using basting spray, fabric glue stick, or pins to hold in place.
Color 2 – tacks fabric down. Trim fabric around stitching line. |
Step 22: | Embroider Design:
Colors 3-6 Continue stitching out embroidery design
After color 6, trim all jump stitches and trim up loose bobbin threads on the back. Do Not Remove Fabric From Hoop |
Step 23: | Applique Backing of Coaster:
Color 7 – shows placement for appliqué backing. Place fabric appliqué backing onto back of embroidery --- using basting spray, fabric glue stick, or tape to hold in place. I sometimes use a layer of felt & vinyl (to waterproof) instead of fabric.
Color 8 - fabric tack down. After color 8, carefully remove hoop from machine Do Not Remove Fabric From Hoop. Turn hoop over and carefully trim backing fabric around stitches. Return hoop to machine.
Color 9 – change bobbin thread to match Satin Stitch Border. Remove fabric from hoop and trim around coaster. |
Step 24: | 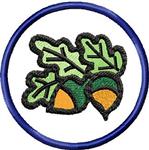 (Click Image to Enlarge) 06 Coaster Leaf Border: |
Step 25: | Fabric Placement:
Color 1 – shows placement of fabric outline. Lay piece of fabric over stitching lines - using basting spray, fabric glue stick, or pins to hold in place.
Color 2 – tacks fabric down. Trim fabric around stitching line. |
Step 26: | Embroider Design:
Colors 3 - 6 Continue stitching out embroidery design
After color 6, trim all jump stitches and trim up loose bobbin threads on the back. Do Not Remove Fabric From Hoop
|
Step 27: | Applique Backing of Coaster:
Color 7 – shows placement for appliqué backing. Place fabric appliqué backing onto back of embroidery --- using basting spray, fabric glue stick, or tape to hold in place. I sometimes use a layer of felt & vinyl (to waterproof) instead of fabric.
Color 8 - fabric tack down. After color 8, carefully remove hoop from machine Do Not Remove Fabric From Hoop. Turn hoop over and carefully trim backing fabric around stitches. Return hoop to machine.
Color 9 – change bobbin thread to match Satin Stitch Border. Remove fabric from hoop and trim around coaster. |
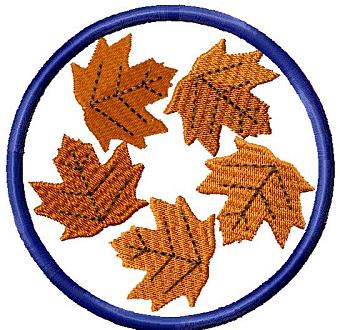
Step 28: |  (Click Image to Enlarge) 07 Coaster Leaf Green: |
Step 29: | Hoop Stabilizer Fabric Placement:
Color 1 – shows placement of fabric outline. Lay piece of fabric over stitching lines - using basting spray, fabric glue stick, or pins to hold in place.
Color 2 – tacks fabric down. Trim fabric around stitching line. |
Step 30: | Embroider Design:
Colors 3-5 Continue stitching out embroidery design
After color 5, trim all jump stitches and trim up loose bobbin threads on the back. Do Not Remove Fabric From Hoop. |
Step 31: | Applique Backing of Coaster:
Color 6 – shows placement for appliqué backing. Place fabric appliqué backing onto back of embroidery --- using basting spray, fabric glue stick, or tape to hold in place. I sometimes use a layer of felt & vinyl (to waterproof) instead of fabric.
Color 7 - fabric tack down. After color 8, carefully remove hoop from machine Do Not Remove Fabric From Hoop. Turn hoop over and carefully trim backing fabric around stitches. Return hoop to machine
Color 8 – change bobbin thread to match Satin Stitch Border. Remove fabric from hoop and trim around coaster. |
Step 32: | 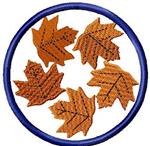 (Click Image to Enlarge) 08 Coaster Leaf Round: |
Step 33: | Fabric Placement:
Color 1 – shows placement of fabric outline. Lay piece of fabric over stitching lines - using basting spray, fabric glue stick, or pins to hold in place.
Color 2 – tacks fabric down. Trim fabric around stitching line. |
Step 34: | Embroider Design:
Colors 3-4 continue stitching out embroidery design.
After color 4, trim all jump stitches and trim up loose bobbin threads on the back. Do Not Remove Fabric From Hoop |
Step 35: | Applique Backing of Coaster:
Color 5 – shows placement for appliqué backing. Place fabric appliqué backing onto back of embroidery --- using basting spray, fabric glue stick, or tape to hold in place. I sometimes use a layer of felt & vinyl (to waterproof) instead of fabric.
Color 6 - fabric tack down. After color 8, carefully remove hoop from machine. Do Not Remove Fabric From Hoop. Turn hoop over and carefully trim backing fabric around stitches. Return hoop to machine
Color 7 – change bobbin thread to match Satin Stitch Border. Remove fabric from hoop and trim around coaster. |
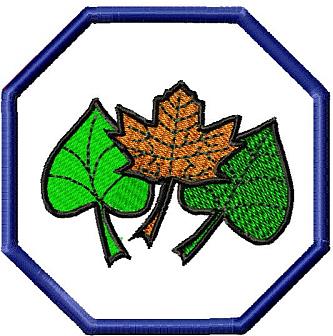
Step 36: | 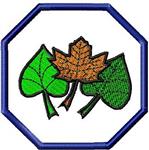 (Click Image to Enlarge) 09 Coaster Leaf Set: |
Step 37: | Fabric Placement: Hoop Cut Away Stabilizer
Color 1 – shows placement of fabric outline. Lay piece of fabric over stitching lines - using basting spray, fabric glue stick, or pins to hold in place.
Color 2 – tacks fabric down. Trim fabric around stitching line. |
Step 38: | Embroider Design:
Color 3 – forest green
Color 4 – dark green
Color 5 – light brown
Color 6 – dark brown
Color 7 – black
After color 7, trim all jump stitches and trim up loose bobbin threads on the back. Do Not Remove Fabric From Hoop.
|
Step 39: | Applique Backing of Coaster:
Color 8 – shows placement for appliqué backing. Place fabric appliqué backing onto back of embroidery --- using basting spray, fabric glue stick, or tape to hold in place. I sometimes use a layer of felt & vinyl (to waterproof) instead of fabric.
Color 9 - fabric tack down. After color 8, carefully remove hoop from machine Do Not Remove Fabric From Hoop. Turn hoop over and carefully trim backing fabric around stitches. Return hoop to machine
Color 10 – Dark brown or any fall color. Change bobbin thread to match Satin Stitch Border. Remove fabric from hoop and trim around coaster. |
Step 40: | 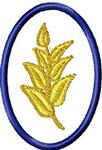 (Click Image to Enlarge) 10 Coaster Yellow Leaf: |
Step 41: | Fabric Placement:
Hoop Cut Away Stabilizer
Color 1 – shows placement of fabric outline. Lay piece of fabric over stitching lines - using basting spray, fabric glue stick, or pins to hold in place.
Color 2 – tacks fabric down. Trim fabric around stitching line. |
Step 42: | Embroider Design:
Color 3 – maize – leaves
Color 4 – light brown – leaf outlines
After color 4, trim all jump stitches and trim up loose bobbin threads on the back. Do Not Remove Fabric From Hoop.
|
Step 43: | Applique Backing of Coaster:
Color 5 – shows placement for appliqué backing. Place fabric appliqué backing onto back of embroidery - using basting spray, fabric glue stick, or tape to hold in place. I sometimes use a layer of felt & vinyl (to waterproof) instead of fabric.
Color 6 - fabric tack down. After color 8, carefully remove hoop from machine Do Not Remove Fabric From Hoop. Turn hoop over and carefully trim backing fabric around stitches. Return hoop to machine.
Color 7 – Choose color that coordinates with your coaster background or embroidery design. Be sure to change bobbin thread to match Satin Stitch Border. Nice choice would be light browns or dark green for Fall Colors. Remove fabric from hoop and trim around coaster. |
|