





PROJECT INSTRUCTIONS


PROJECT INSTRUCTIONS

POTW Beverage Wraps – ITH Embroidery Project
By
Marlene Stewart
on
March 21, 2014
Description
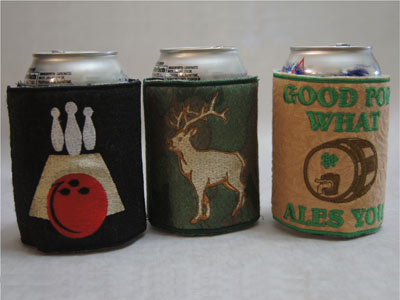
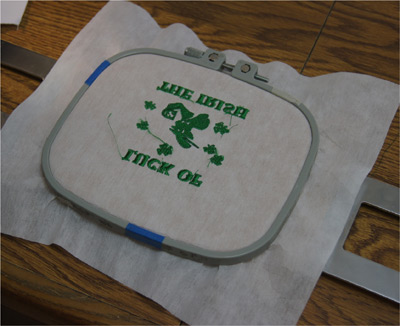
Combine any of the 10 designs with the Wrap pattern itself. These are made in-the-hoop can be made in a hoop: 4×4, 5×7, or a 6×10. The instructions for each hoop is below.
Step
of
Materials
Project Preview Video

QUICK VIEW
Beverage Wraps
$31.84
$19.10
Circle Price: $19.10

QUICK VIEW
Blank Beverage Wrap
$3.89
$1.99
Circle Price: $1.84

Beverage Wrap Ale
$3.89
$1.99
Circle Price: $1.84

Beverage Wrap Batter
$4.39
$1.99
Circle Price: $1.84

Beverage Wrap Bowling
$3.89
$1.99
Circle Price: $1.84

QUICK VIEW
Beverage Wrap Center
$3.89
$1.99
Circle Price: $1.84

Beverage Wrap Deer
$3.89
$1.99
Circle Price: $1.84

Beverage Wrap Fish
$3.89
$1.99
Circle Price: $1.84

Beverage Wrap Grill
$3.89
$1.99
Circle Price: $1.84

Beverage Wrap Horseracing
$3.89
$1.99
Circle Price: $1.84

Beverage Wrap Hunter
$3.89
$1.99
Circle Price: $1.84

Beverage Wrap Left
$3.89
$1.99
Circle Price: $1.84

Beverage Wrap Leprechan
$3.89
$1.99
Circle Price: $1.84

QUICK VIEW
Beverage Wrap Cards
$4.89
$1.99
Circle Price: $1.84

Beverage Wrap Right
$3.89
$1.99
Circle Price: $1.84

QUICK VIEW
Cut Away Stabilizer - 2.5 Oz wt.
$8.94
Circle Price: $8.05
{{ item.name }}
{{ item.listPriceDisplay }}{{ item.salePriceDisplay }}
Circle Price:
{{ item.clubPriceDisplay }}


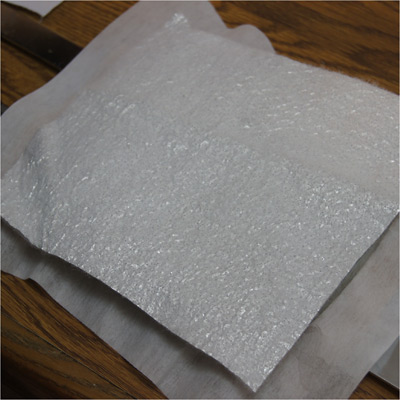
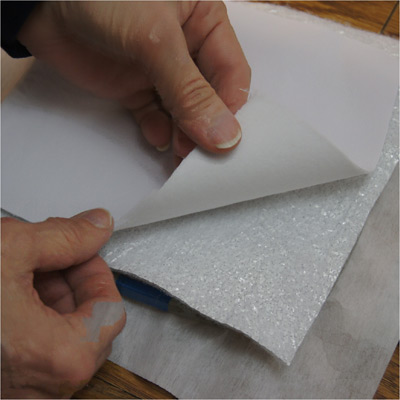
| Materials One Felt or similar fabric – I purchased my variety of felt from Hobby Lobby and Hancock Fabrics in 9×12 squares. One Insul-Brite insulating material – this material that can be used for insulating hot or cold and can be purchased at any fabric store or Hobby Lobby. One Baby Dry material- this is a flexible waterproof material and also can be purchased at any fabric store. One 3/4 inch sew-on Velcro -don’t use the stick-on for this project One it will gum up you needles. One Masking Tape, or fast tacking glue such as Fabri-tac One Tear-away stabilizer – use a good kind, it’s worth it. |
| Designs used in this project |
| Final Product: What You Will Create |
 |
|
Projects You May Like
Meet the Author:
Marlene Stewart

Hi, my name is Marlene Stewart. I was born in Indiana and really have a strange career path of - secretary at a brokerage firm in Chicago. In 1972 I moved to Arkansas and became owner of a TV/VCR sales and repair, then school insurance coordinator, Realtor, bakery owner, arts & crafts, now digitize.
I began teaching myself to digitize in 1992 after I purchased my first embroidery software and Brother PE150 embroidery machine since then I have upgraded software and machines.
My husband is retired from the U.S. Air Force and I have a 36 year old son. My favorite part of the day is evening when my husband and I cuddle with a blanket and watch science fiction movies. I love digitizing, my husband calls it a love affair and admire the works of Thomas Kinkade.
Feedback
Characters Remaining
Please Login to Submit a Feedback
Invalid Characters, Please enter a valid Comment
Please enter a valid Comment
Reviewed On
Link is Broken, Please check the URL