





PROJECT INSTRUCTIONS


PROJECT INSTRUCTIONS

POTW - 3D Fairies Embroidery Project
By
Marlene Stewart
on
April 17, 2014
Description
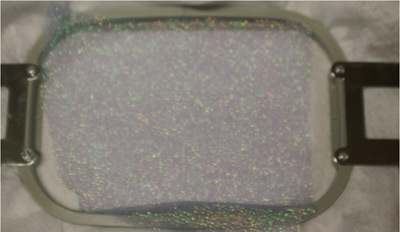
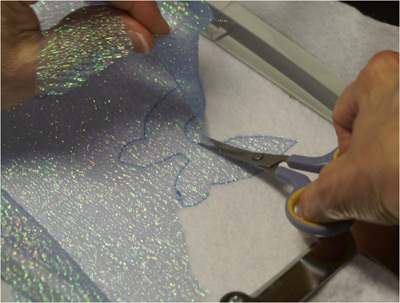
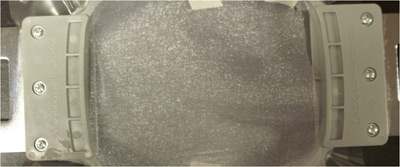
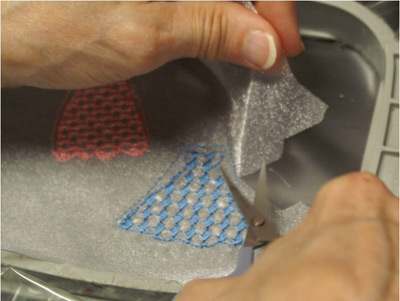
These cute-as-a-button fairies can be stitched – as a normal design or you can take it one step further and a little embroidered dress for a 3D effect.
Step
of
Materials
Project Preview Video

QUICK VIEW
Redwork Fairy & Wings Embroidery Designs Bundle – Fairy with Flower, Decorative Wing Pattern 1 & More (20 Designs)
$33.20
$19.92
Circle Price: $19.92

3D Fairy Dress
$3.89
$1.99
Circle Price: $1.84

QUICK VIEW
3D Fairy
$3.89
$1.99
Circle Price: $1.84

QUICK VIEW
3D Flower Fairy
$3.89
$1.99
Circle Price: $1.84

3D Fairy Girl
$3.89
$1.99
Circle Price: $1.84

3D Girl Fairy
$3.89
$1.99
Circle Price: $1.84

3D Fairy Dress
$3.89
$1.99
Circle Price: $1.84

QUICK VIEW
Fairy Girl
$3.89
$1.99
Circle Price: $0.00

QUICK VIEW
Fairie Girl
$3.89
$1.99
Circle Price: $1.84

Fairy Girl
$3.89
$1.99
Circle Price: $1.84

QUICK VIEW
Fairy Flower
$4.39
$1.99
Circle Price: $0.00

QUICK VIEW
Fairy Flower
$4.39
$1.99
Circle Price: $1.84

QUICK VIEW
3D Fairy Dress
$3.89
$1.95
Circle Price: $1.80

QUICK VIEW
Fairy Clothing
$3.89
$1.95
Circle Price: $1.80

QUICK VIEW
Applique Fairy
$3.89
$1.95
Circle Price: $1.80

QUICK VIEW
Applique Wing
$3.89
$1.95
Circle Price: $1.80

QUICK VIEW
Applique Wing
$3.89
$1.95
Circle Price: $1.80

QUICK VIEW
Applique Fairy Wing
$3.89
$1.95
Circle Price: $1.80

Fairy 3D Dress
free
Circle Price: $0.00

3D Fairy Heart Dress
free
Circle Price: $0.00

Applique Fairy Dress
free
Circle Price: $0.00

Tear Away Stabilizer
$7.98
Circle Price: $7.18

| Materials Wings and Fairies with and without 3-D dresses Stabilizer |
| Designs used in this project |
| Final Product: What You Will Create |
 |
|
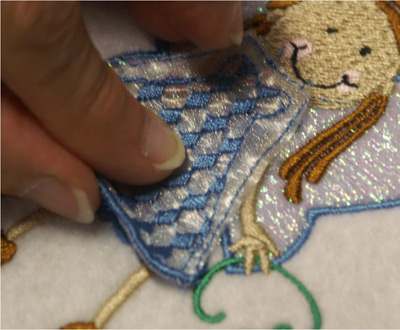
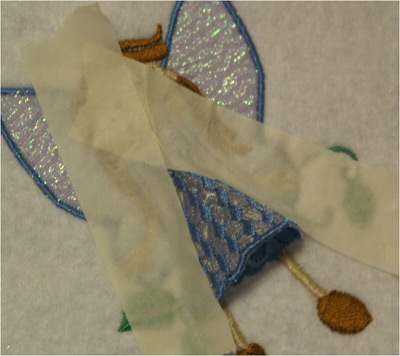
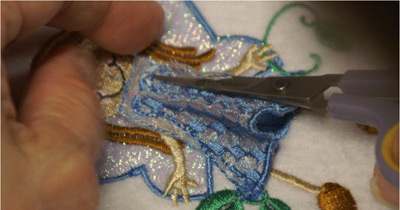
Projects You May Like
Meet the Author:
Marlene Stewart

Hi, my name is Marlene Stewart. I was born in Indiana and really have a strange career path of - secretary at a brokerage firm in Chicago. In 1972 I moved to Arkansas and became owner of a TV/VCR sales and repair, then school insurance coordinator, Realtor, bakery owner, arts & crafts, now digitize.
I began teaching myself to digitize in 1992 after I purchased my first embroidery software and Brother PE150 embroidery machine since then I have upgraded software and machines.
My husband is retired from the U.S. Air Force and I have a 36 year old son. My favorite part of the day is evening when my husband and I cuddle with a blanket and watch science fiction movies. I love digitizing, my husband calls it a love affair and admire the works of Thomas Kinkade.
Feedback
Characters Remaining
Please Login to Submit a Feedback
Invalid Characters, Please enter a valid Comment
Please enter a valid Comment
Reviewed On
Link is Broken, Please check the URL