






PROJECT INSTRUCTIONS


PROJECT INSTRUCTIONS

ITH Cord Wraps Embroidery Project
By
Anonymous
on
April 10, 2014
Description
Finished sizes 3 1/2" x 3/4" (4x4 hoop) 4 7/8" x 1" (5x5 or 5x7 hoop)
Step
of
Materials
Project Preview Video
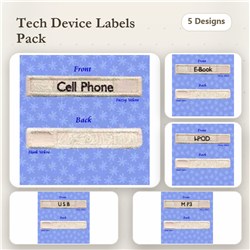
ITH Cord Wraps
$19.90
Circle Price: $14.93

Cell Phone Cord Wrap
$2.39
Circle Price: $1.79

E-Book Cord Wrap
$2.39
Circle Price: $1.79

iPod Cord Wrap
$2.39
Circle Price: $1.79

USB Cord Wrap
$2.39
Circle Price: $1.79

MP3 Cord Wrap
$2.39
Circle Price: $1.79

Cut Away Stabilizer - 2.5 Oz wt.
$8.94
$7.15
Circle Price: $7.15
{{ item.name }}
{{ item.listPriceDisplay }}{{ item.salePriceDisplay }}
Circle Price:
{{ item.clubPriceDisplay }}


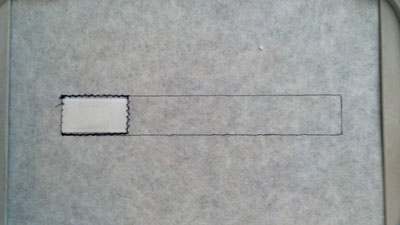
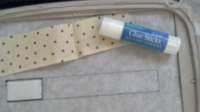
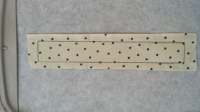
| Materials Tear-away stabilizer Fabric of choice (these will be trimmed the same as applique) Small = 4" x 1" and 3" x 1" Large = 5" x 1 1/4" and 4" x 1 1/4" Velcro Small Size = 3/4" x 1" Velcro Large Size = 3/4" x 1 1/2" Clear Tape Washable Glue Stick Hoop Tear-away stabilizer |
| Designs used in this project |
| Final Product: What You Will Create |
 |
|
Projects You May Like
Meet the Author:
Anonymous

Feedback
Characters Remaining
Please Login to Submit a Feedback
Invalid Characters, Please enter a valid Comment
Please enter a valid Comment
Reviewed On
Link is Broken, Please check the URL