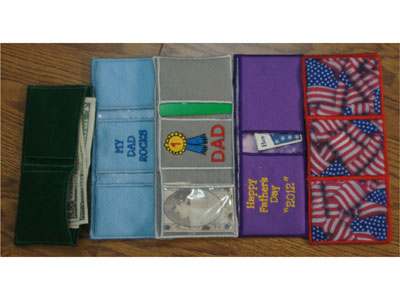
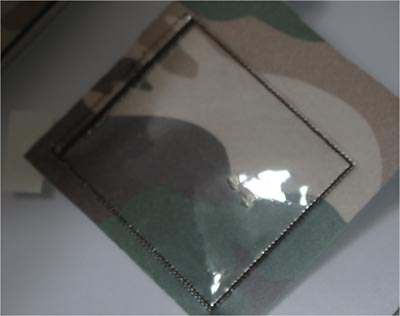
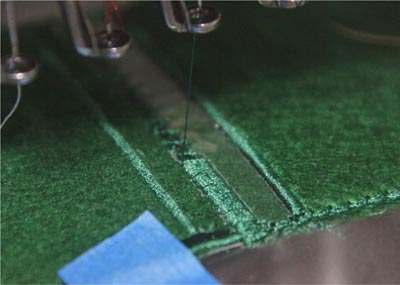
Front Left: Sew the Pink placement stitch. If you want to use clear vinyl for this part, secure a 4 x 4 piece of vinyl instead of fabric - the vinyl is to be blank without a picture. Although, felt worked best for me. Next stitch out the Light Blue tack down and trim closely, being careful not to cut the thread. Place back in the machine and sew the satin. Next sew the Pink placement stitch. Secure a 4 x 4 fabric piece under the hoop. The good side of the material should be facing the hoop.
Step 2:
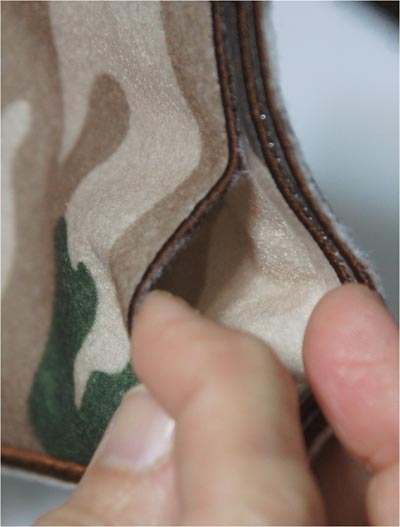
Continue with the tackdown stitch, trim and complete with the satin. Unhoop and put aside. The area between the rows of satin stitches will be able to be separated into pockets forming a small one for cards and the long for money. Carefully tear off the stabilizer. You can use a pin or sharp scissors to start.
(Click Image to Enlarge)
Step 3:
Front Right:
Sew the Pink placement stitch. Place fabric, stitch out the blue tackdown and trim. Sew the satin stitch and next the Pink placement. Secure a 4 x 4 fabric piece under the hoop. The good side of the material should be facing the hoop. Continue with the tackdown stitch, trim. Place back in the machine and sew the zipper stitch or e-stitch, I have it marked as orange thread. Do not unhoop.
Place the completed Front Left piece side-to-side to the one in the hoop. Match the e-stitch edges and corners slightly overlapping. I secured them with a piece of masking tape. (Don't sew through masking tape, it'll make your needles sticky). Stitch out the last satin stitch that will join the two together. Unhoop and put aside.
Step 4:
Back Left: Hoop or place 2 pieces of fabric back to back with the top face side up and the bottom face side down, inside the Pink placement stitch. Sew the Blue tackdown. Trim around the stitches and sew the remainder of this piece. Unhoop and put aside.
Step 5:
Back Right:
Take the 2 pieces of fabric back to back as in #3. Stitch the Pink and Blue stitches. Trim and place back in the machine. Sew the zipper stitch or e-stitch, I have it marked as orange thread. Do not unhoop.
Place the completed Back Left piece side-to-side to the one in the hoop. Match the e-stitch edges and corners slightly overlapping. I secured them with a piece of masking tape. (Don't sew through masking tape, it'll make your needles sticky). Stitch out the last satin stitch that will join the two together.
Step 6:
The trifold Front Left and Front Right trifold pieces are the be stitch out exactly as in #1. (This time the center trifold Front Center is the joining piece and will be done last.) When the Left and Right piece are completed, unhoop and put aside.
Step 7:
4 x 4 hoop Trifold (Total of 6 hoopings).
The trifold Front Left and Front Right trifold pieces are the be stitch out exactly as in #1. (This time the center trifold Front Center is the joining piece and will be done last.) When the Left and Right piece are completed, unhoop and put aside.
Step 8:
Trifold Front Center:
Hoop (or secure fabric in pink placement stitch) sew the stitches that I show as Pink and Blue. Trim, stitch the satin stitch and next the Pink Placement. Secure a 4x4 piece of fabric under the hoop. Stitch out the blue then trim close to the stitching. Sew the e-stitch or zipper stitch (shown as orange thread) - stop and with fabric still hooped, secure the edge of the Front Left piece to the e-stitch, matching corners and slightly overlapping. Do the same to the Front Right. Secure it to the right edge, slightly overlapping the e-stitches, and matching corner to corner. Stitch out the last satin stitch and all three will be joined.
Step 9:
The trifold Back Left and Backright are to be stitched out as instruction 3, with the fabric hooped back to back. Pink and Blue single stitches sewn, trim close to the stitching, then sew the satin. Unhoop and put aside.
Step 10:
Trifold Back Center:
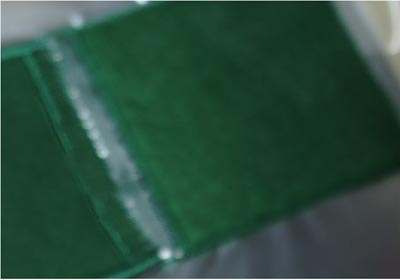
Take the 2 pieces of fabric back to back as in #3. Stitch the Pink and Blue stitches. Trim and place back in the machine. Sew the zipper stitch or e-stitch, I have it marked as orange thread. Do not unhoop. Place the completed trifold Back Left piece side to side on the left of the center hooped piece and the Back Right on the right side. Match the e-stitch edges and corners slightly overlapping. I secured them with a piece of masking tape. (Don't sew through masking tape, it'll make your needles sticky). Stitch out the last satin stitch that will join the two together. (Pic #3 & #4)
Step 11:
Putting back & front together:
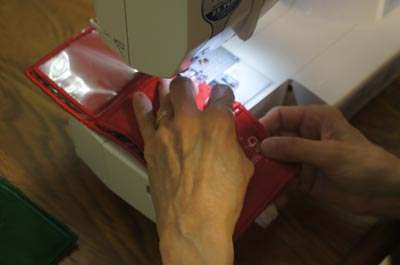
Biford & Trifold: On a sewing machine join the back and the front pieces with a zigzag or loose satin. Match the edges together and start sewing along the bottom. Be sure you start at the center bottom edge and go outward and up the sides, leaving the center seam of the wallet alone.
Step 12:
4 x 9 Hoop or Larger Bifold & Trifold
Cut 4 pieces of fabric 4" x 10". All the designs included are sized to fit the centers of any of the larger spaces. Center and secure one piece of your fabric. You have an option of stitching out the included designs first or just sewing a blank wallet. Sew out the Pink placement stitch , the blue tack down, trim and continue as above. The entire wallet is stitched out in the hoop with no additional sewing.
Hi, my name is Marlene Stewart. I was born in Indiana and really have a strange career path of - secretary at a brokerage firm in Chicago. In 1972 I moved to Arkansas and became owner of a TV/VCR sales and repair, then school insurance coordinator, Realtor, bakery owner, arts & crafts, now digitize.
I began teaching myself to digitize in 1992 after I purchased my first embroidery software and Brother PE150 embroidery machine since then I have upgraded software and machines.
My husband is retired from the U.S. Air Force and I have a 36 year old son. My favorite part of the day is evening when my husband and I cuddle with a blanket and watch science fiction movies. I love digitizing, my husband calls it a love affair and admire the works of Thomas Kinkade.