





PROJECT INSTRUCTIONS


PROJECT INSTRUCTIONS

Pencil Cases Embroidery Project
By
Anonymous
on
April 16, 2014
Description
Please read the instructions before you start.
Step
of
Materials
Project Preview Video

QUICK VIEW
School Supplies Embroidery Designs Bundle – ABC Letters, Red Backpack, Pencil & More (10 Designs)
$19.90
$11.94
Circle Price: $11.94

Sock Monkey
$4.99
Circle Price: $3.74

ABC Sock Monkey
$4.39
Circle Price: $0.00

QUICK VIEW
Book & Pen Bag
$4.99
$1.99
Circle Price: $1.84

QUICK VIEW
Paint Can Case
$4.89
$1.99
Circle Price: $1.84

QUICK VIEW
School Tools Bag
$4.99
$1.99
Circle Price: $1.84

QUICK VIEW
My Bag
$4.99
$1.99
Circle Price: $1.84

QUICK VIEW
Pens Bag
$4.99
$1.99
Circle Price: $1.84

QUICK VIEW
Pencil Case
$4.99
$1.99
Circle Price: $1.84

QUICK VIEW
Sock Monkey Bag
$4.89
$1.99
Circle Price: $1.84

Girl Sock Monkey
free
Circle Price: $0.00

Cut Away Stabilizer - 2.5 Oz wt.
$8.94
Circle Price: $8.05

Cut Away Stabilizer - 2 oz wt.
$8.52
Circle Price: $7.67

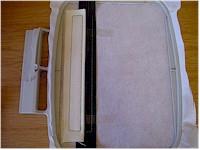
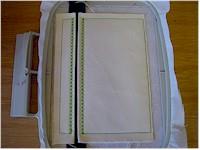
| Materials Tear-away stabilizer Fabric of choice (cut pieces as follows) Top (left side) - 3 x 7.5”, fold in half to 1.5 x 7.5” wrong sides together Bottom (right side) - 10 x 7.5”, fold in half to 5 x 7.5 wrong sides together Make sure you press the fabric so it has a nice crisp fold in it. Also prepare fabric before starting bags. Back Piece - 5 x 7 |
| Designs used in this project |
|
Projects You May Like
Meet the Author:
Anonymous

Feedback
Characters Remaining
Please Login to Submit a Feedback
Invalid Characters, Please enter a valid Comment
Please enter a valid Comment
Reviewed On
Link is Broken, Please check the URL