Embroidering on a onesie is a quick and simple way to make a cherished gift for a baby shower or anytime you want to just have fun with your embroidery machine.
Embroidering on an onesie is a quick and simple way to make a cherished
gift for a baby shower or anytime you want to just have fun with your
embroidery machine.
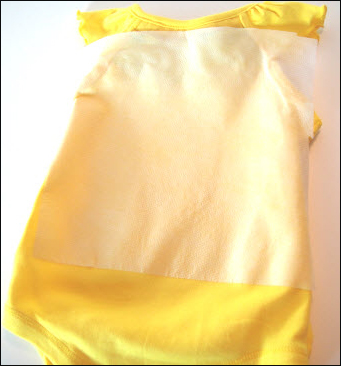
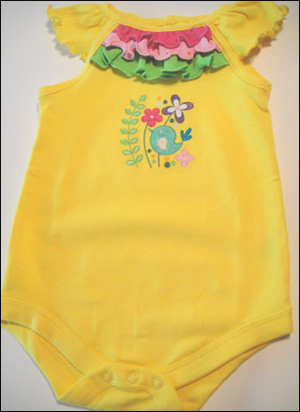
This little onesie will be even cuter with embroidery added. This design from Ann The Gran is
great for this project at its size 3.20 x 3.10. Is not too large for
the garment and it has many bright colors that will look great with the
little ruffles at the top of the garment. Choosing the right design for
the right project is always an important part of any embroidery project.
Step 1:
(Purchase your design and print out the color chart.
Step 2:
(Click Image to Enlarge)
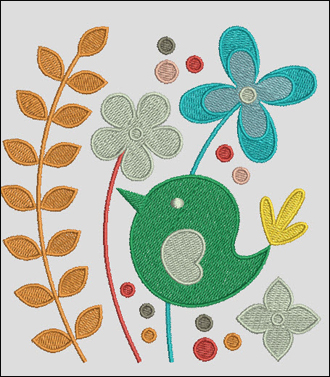
Open the design in your embroidery software. It will probably look like something like this.
None of the colors match what is supposed to be in the embroidery. This
happens as most of the machine formats record the fact that the machine
stops at a given point in the embroidery for a color change, but it
does not give an actual color.
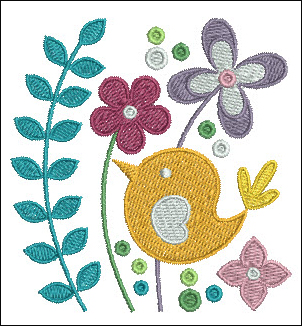
It is worth your time to open your
color editor in your embroidery software and change all the colors to
those that are listed in the color chart. If you are not using the same
type of embroidery thread list the closest numbers that you have make
the design on screen look like the file that you purchased. Print the
Production Sheet from your software. It should have a picture of the
design, size of the design, a color sequence, number of stitches in the
design, etc. Save the file.
Step 3:
(Click Image to Enlarge)
Now is the time to decide if you want
to use any different colors to match with your garment. In this design
the color of two of the flowers was changed to Madeira 1109 and 1116, so
the pinks would match the ruffles. Print out your new color sheet.
Step 4:
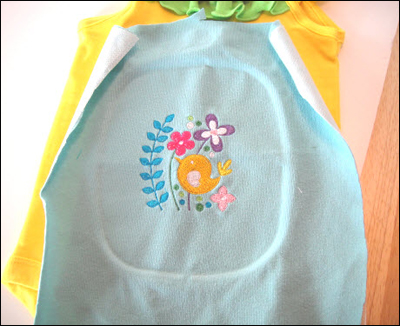
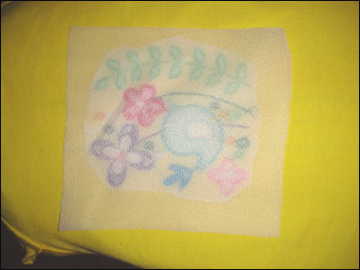
Running a sample of the design is always a good idea. Use a fabric
weight and type similar to the fabric of your project. Use the same type
of backing. This will let you know if you have the right combination of
backing and fabric and let you know that you have the color sequence
adjusted to your liking. The blue fabric in this picture is from an old knit shirt and it is baked with a fusible soft mesh cut-a-way backing.
Step 5:
(Click Image to Enlarge)
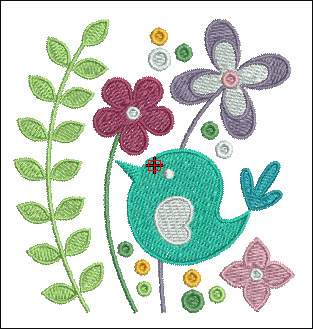
The sample is done and looks really cute, but the yellow thread in the
bird looks like it will get lost on your yellow garment. In this case
switching the bird to two blue threads and the big fern to green might
be a good idea. Changing some of the dots to yellow brought some of that
color back into the design. Print the color sheet out again so you
won't get confused as to what color sews in what sequence.
Step 6:
(Click Image to Enlarge)
We are ready now to actually sew on the onesie. Iron the fusible soft mesh backing to the wrong side on the garment.
Step 7:
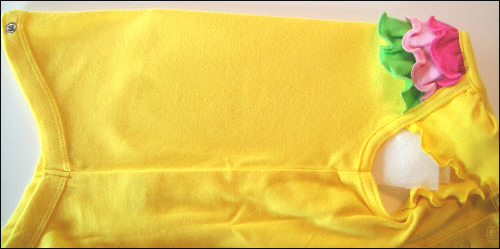
Fold your garment in half vertically and finger press the fold to give you center of the garment. Mark this line with the Frixion pen. Don't worry the lines will disappear when we iron the garment after embroidering.
Step 8:
(Click Image to Enlarge)
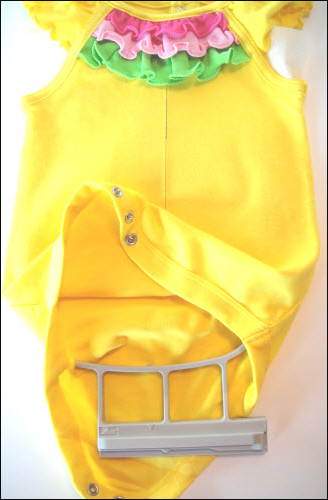
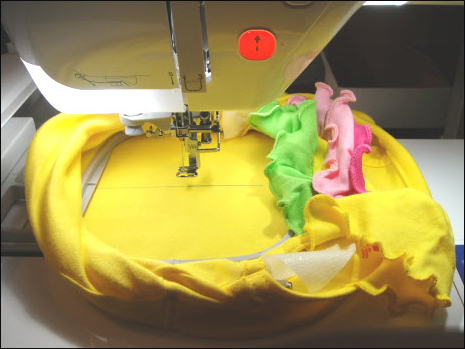
The easiest way to get inside a small garment link this is to go through
the bottom of the onesie. Open up the snaps and slide your bottom hoop
into the onesie as high as you can place it without hooping the ruffles. Place the inner hoop in lining up the Frixion line with the side marks on your embroidery hoop on both sides.
Step 9:
Check your bobbin to make sure it is full enough to do the design.
Step 10:
Carefully place the embroidery hoop in the machine making sure that none of the garment is under the hoop.
As the garment is small and the edges of the garment will curl up
around hoop - Do Not Leave the machine embroidering unattended.
Step 11:
(Click Image to Enlarge)
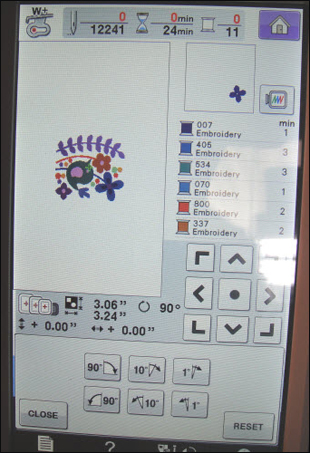
As the garment is now sideways in the machine we want to rotate the design 90 degrees to the right at the machine.
If your machine does not rotate designs, you can rotate it in your
embroidery software and send it to the machine already rotated.
Step 12:
Lower the needle to make sure the design is centered on the garment.
If it is not exactly centered, make minor adjustments at the machine to
center the needle. Then trace your design to ensure that the design
will sew horizontally in the desired position.
Step 13:
Commence embroidering the design following your new color chart.
Step 14:
(Click Image to Enlarge)
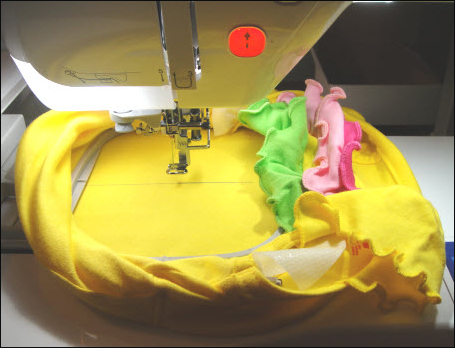
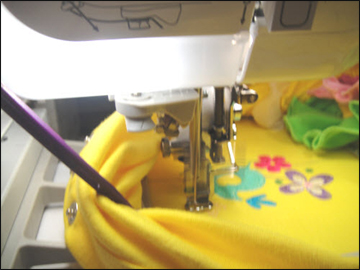
Use your Purple Thang or chop stick to hold back excess fabric that may
roll into the embroidery area. Do not use your fingers in the embroidery
area on a movie machine. Ouch!
Step 15:
After embroidering remove the garment from the hoop and turn inside-out.
Step 16:
(Click Image to Enlarge)
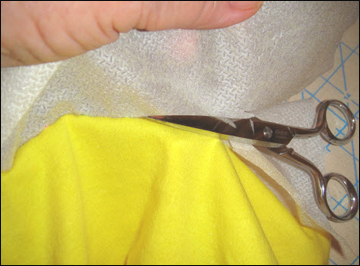
Peel up the cut-away fusible backing and trim within 1/4 of the design.
Note: when trimming always pick up the backing and have the garment
facing you. You won't nick the garment as you slide the scissors around
to trim off the backing.
Step 17:
(Click Image to Enlarge)
Cut a square of a soft knit fusible interfacing slightly larger than the
design. Slide the garment onto the ironing board inside-out. Following
the manufacturer's directions press the interfacing over the back of the
embroidery. This will keep the knots and embroidery thread from irritating the baby's skin.
Step 18:
(Click Image to Enlarge)
Turn the garment right side out. You are Done! Did you notice that when you ironed the interfacing on the inside the center mark from the Frixion pen disappeared?
Take
a moment and be good to yourself. Cut the sample you sewed out down to
about a 4" square and staple it to the original Production Sheet. Place
it, as well as the Production Sheet you printed after you changed any
colors, into a plastic page protector and place in a three ring binder.
You will love how having these sample sew-outs and the various color
ways handy the next time you want to sew this design. (Color ways are
the same design shown with different colors placed for the separate
elements.)
Award winning Digitizer, Embroidery Educator, Author and a Consultant to the Industry, Pat Williams has 30 years of experience in the embroidery industry. Pat has won multiple awards for her digitizing expertise including the 2007 Impressions Awards Grand Championship, Best of Show as well as the 1st and 2nd Place Awards. Pat’s love of digitizing has afforded her the opportunity to write numerous articles for Impressions magazine in the United States and Images Magazine in Europe. In 2001 Pat was named “Embroidery Educator of the Year.” For many years Pat taught digitizing seminars at the ISS Shows in Long Beach, CA and for Compucon software. She now resides in Tucson, AZ.