














































PROJECT INSTRUCTIONS


PROJECT INSTRUCTIONS

3-Panel Framed Embroidery Embroidery Project
By
Bonnie Landsberger
on
May 13, 2013
Description
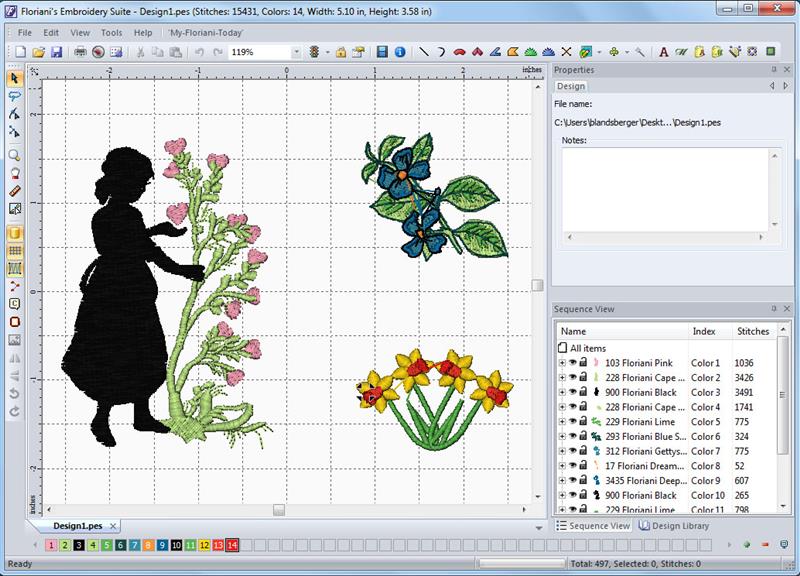
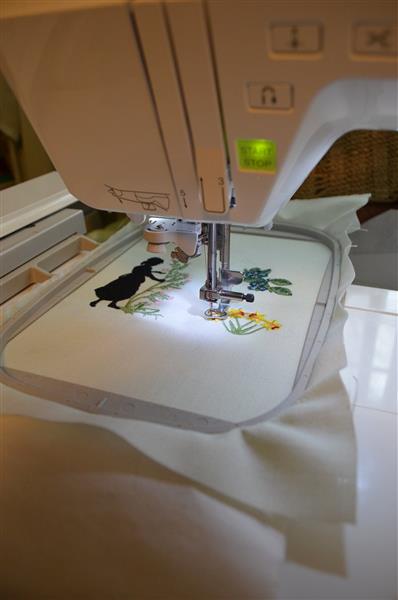
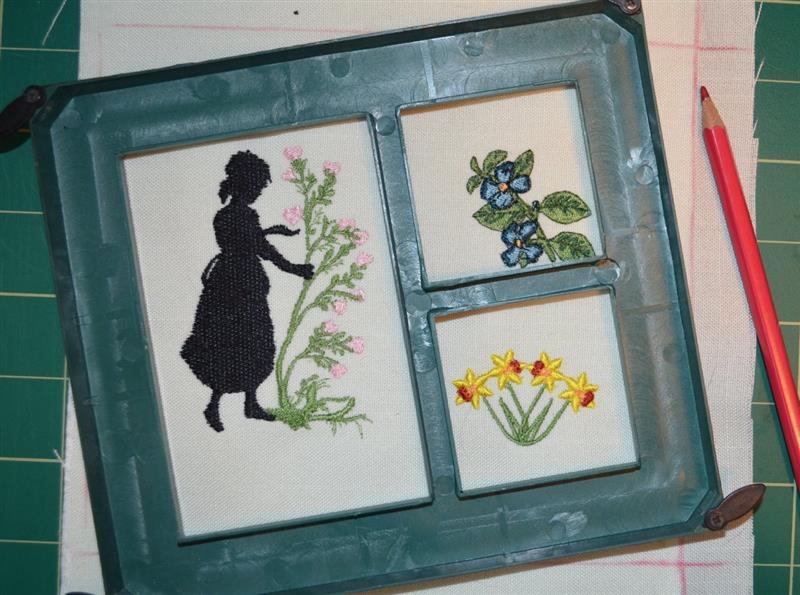
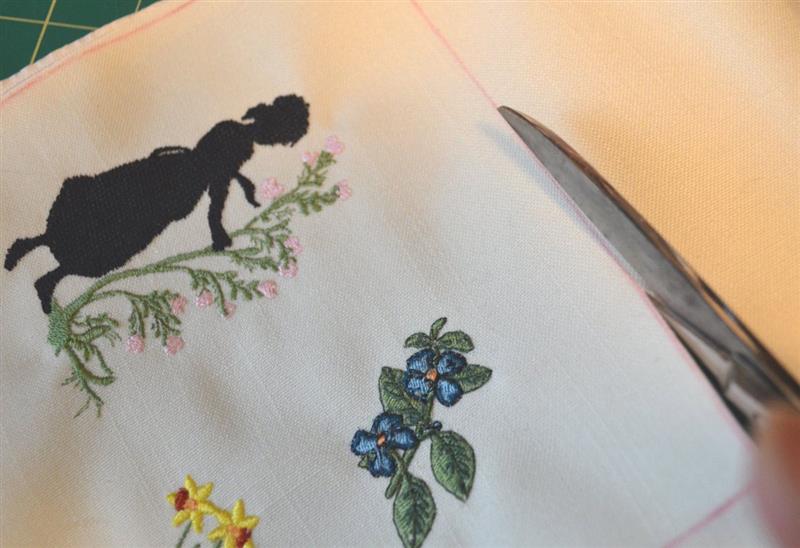
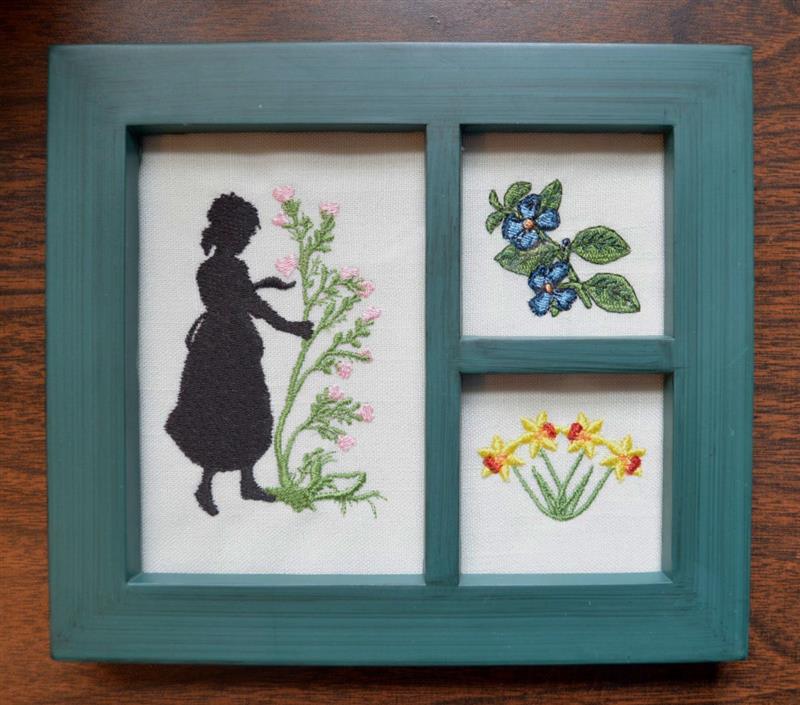
Create a one hoop sew-out for a 3-panel frame.
Step
of
Materials
Project Preview Video

Yellow Flower
free
Circle Price: $0.00

TROPICAL FLOWER
free
Circle Price: $0.00

GIRL & HEART FLOWERS
free
Circle Price: $0.00

Cut Away Stabilizer - 2.5 Oz wt.
$8.94
Circle Price: $8.05

Cut Away Stabilizer - 2 oz wt.
$8.52
Circle Price: $7.67

| Materials 1 7 x 6.25" 3-panel frame: 1 panel 3 x 4" and 2 panels 2 x 2". 1 piece of medium weight cotton to fit a 5 x 7" hoop. 1 sheet of cut-away or 2 sheets of tear-away stabilizer. 40 WT thread: 3 greens, 1 pink, 2 blues, 1 orange, 1 yellow, 1 red. |
| Designs used in this project |
|
Projects You May Like
Meet the Author:
Bonnie Landsberger

Bonnie Landsberger has been a crafter and hand embroiderer since childhood and a machine embroiderer and digitizer since 1986. She was the in-house head digitizer for a 50-head embroidery shop for 11 years and later offered custom digitizing services and stock design sales through her web site for Moonlight Design since 1993. She currently also holds a position as a customer service representative at EmbroideryDesigns.com.
Bonnie has won several awards for digitizing, including a gold medal in the 2002 Digitizing Olympics and grand prize in all categories & first place for Winter Holidays category in the Stitches Magazine Great Greeting Card Contest 2003.
Her embroidery and digitizing technical articles can be found in various trade magazines and she is currently a contributing writer and Editorial Advisory Board Member for Stitches Magazine. You can also find more of her articles online at EmbroideryDesigns.com and will continue to contribute articles to our Learning Center.
Feedback
Characters Remaining
Please Login to Submit a Feedback
Invalid Characters, Please enter a valid Comment
Please enter a valid Comment
Reviewed On
Link is Broken, Please check the URL