2026 Flash Sale
Live Chat
Embroidery Designs
Welcome, Embroiderer
Login
Pillow Shams
{{mainImageAlt || (productInfo._source && productInfo._source.name) || ''}}

Pillow Shams Embroidery Project

By   Barbara Geer   on   September 05, 2012
  • SKILL LEVELExperienced
  • TIME REQUIRED03:00
Description

A Great Graduation Gift!

Step of

Materials

Project Preview Video

Materials
  • 2 yards of 44" fabric (for 1 pair of Standard Cases)
  • 2.25 yards of 44" fabric (for 1 pair of Queen Cases)
  • 2.5 yards of 44" fabric (for 1 pair of King Cases)
  • 1 yard of contrasting fabric for the trim
  • Embroidery Designs (in 1 of the 3 sizes to match your project)
  • Fabric listed above
  • Tear-away and cut-away backing of choice
  • Embroidery thread in colors of choice
  • Embroidery machine
  • Sewing machine
  • Sewing thread to match trim
  • Cutting mat, rotary cutter, scissors, iron

  • Designs used in this project

    Final Product: What You Will Create

    Preface:
    The following is a guideline for fabric purchase:
    Finished size: Standard case: 21" x 32"; Queen: 21" x 36"; King Case: 21" x 42". These will cover pillows nicely, with plenty of room. We are assuming the following pillow measurements: Standard: 21" x 26"; Queen: 20" x 30"; King Case: 20" x 36".

    Before you start: Cut one side of the pillow sham one inch larger on each side that the size of the pillow that you are covering. This will be the top side of the pillow sham. For the back side of the sham, cut two pieces of fabric, the same width and a length of four inches more than half the sizes of the top, to allow for the overlap.


    Step 1:
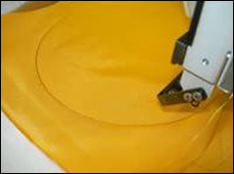
    (Click Image to Enlarge)
    Hoop the top sham fabric and stitch the design. Here the outline has been stitched, and the applique fabric has been placed over the outline. The tackdown stitch is being sewn. If you have a cutter you can separate the outline to use as a pattern to cut.


    Step 2:
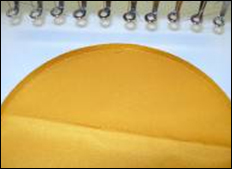
    (Click Image to Enlarge)
    At the color stop, cut away the excess fabric by sliding a scissors around the stitches. The next step in the process is the border.


    Step 3:
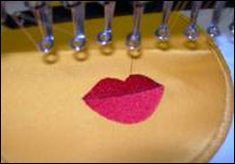
    (Click Image to Enlarge)
    Continue to stitch the design.


    Step 4:
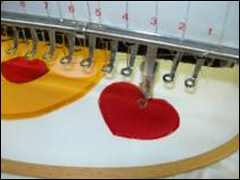
    (Click Image to Enlarge)
    When the machine gets through the colors to the next outline, follow the same steps to do the applique heart. Allow the design to finish stitching.


    Step 5:
    (Click Image to Enlarge)
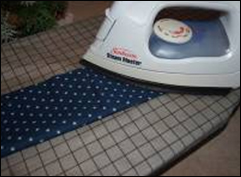
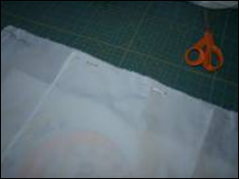
    Now we begin sewing our sham together. For the trim, cut the contrasting fabric in seven inch widths. You will need four pieces. I leave the pieces the width of the fabric and cut the excess away later. Fold each of the four pieces wrong sides together and press.


    Step 6:
    (Click Image to Enlarge)
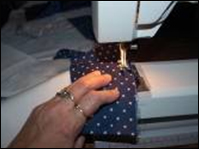
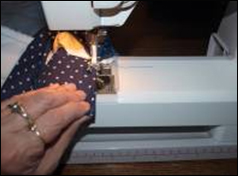
    Stitch the contrasting fabric to the sham top with a 5/8" seam. Center the fabric so the overlap on each end is the same. Start stitching the seam 5/8" from the first corner and stop 5/8" before the second corner.


    Step 7:
    (Click Image to Enlarge)
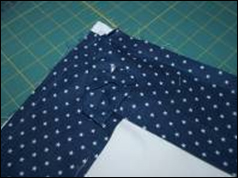
    Repeat the process for all four sides. Fold the fabric out of the way and pin in place to avoid catching it in the upcoming seams.


    Step 8:
    (Click Image to Enlarge)
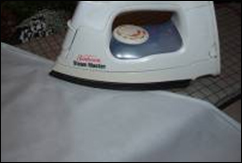
    Press a narrow hem on each of the two back pieces of the sham and stitch the hem in place.


    Step 9:
    (Click Image to Enlarge)
    Beginning at the corners, place the two pieces of the sham back against the top, right sides together. The overlap on the sham will prevent the pillow from bulging through the back.


    Step 10:
    (Click Image to Enlarge)
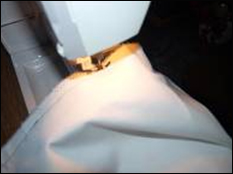
    Stitch all the way around the sham. If the fabric ravels, go around a second time with a zigzag stitch or use a serger to finish the edges.

    Turn the sham right side out. Remove the pins from the corners and pull them square.


    Step 11:
    (Click Image to Enlarge)
    Tuck the end of the contrasting fabric from the short side into the contrasting fabric from the long side. Turn the fabric under 5/8", press and topstitch in place.

    Insert the pillow. The finished project.
    Meet the Author: Barbara Geer
    Barbara Geer
    Barbara Geer, Creative Director/Digitizer, Grand Slam Designs, an embroidery stock design and contract digitizing operation, has been in the decorated apparel industry since 1990. She is a popular speaker at commercial decorated apparel and home embroidery events. She also is a frequent contributor to commercial and home embroidery publications such as EMB, Stitches, and Printwear. You may reach Barbara at 218-222-3501; e-mail [email protected] or visit her Web site at www.grandslamdesigns.com.
    More From This Author
    Link is Broken, Please check the URL
    Exclusive Embroidery Offers!
    Copyright © {{ currentDate | date:'yyyy'}} - EmbroideryDesigns.com
    GET 50% OFF! ×