2026 Flash Sale
Live Chat
Embroidery Designs
Welcome, Embroiderer
Login
Applique T-Shirts
{{mainImageAlt || (productInfo._source && productInfo._source.name) || ''}}

Applique T-Shirts Embroidery Project

By   Barbara Geer   on   March 30, 2012
  • SKILL LEVELIntermediate
  • TIME REQUIRED00:30
Description

Celebrate the Holiday of Your Choice With Shirts that Match the Occasion!

Step of

Materials

Project Preview Video

Materials
  • Selected letters from the Plain Applique Alphabet or Revised Plain Alphabet (depending on the size of the T-shirt)
  • T-shirt
  • Applique twill or fabric plus iron-on adhesive
  • Tear-away or cut-away backing
  • Embroidery thread in color of choice and bobbin thread
  • Embroidery machine
  • Scissors
  • Spray adhesive

  • Designs used in this project

    Final Product: What You Will Create


    Step 1:
    (Click Image to Enlarge)
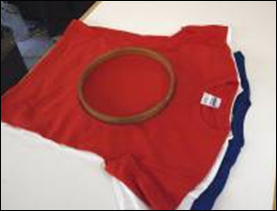
    Choose T-shirts in the appropriate colors. We are working on the Fourth of July, so for the three kids, we've chosen red, white and blue. Very patriotic!


    Step 2:
    (Click Image to Enlarge)
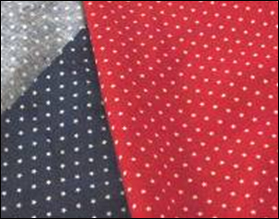
    Select fabric for the applique that will complement the holiday in both color and design. We have a printed cotton fabric in red and blue with stars.


    Step 3:
    (Click Image to Enlarge)
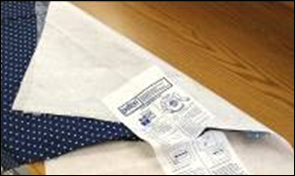
    Applique twill comes with adhesive pre-applied to the wrong side of fabric. If using fabric other than applique twill, apply an iron-on adhesive to the wrong side of the fabric according to the manufacturer's instructions.


    Step 4:
    (Click Image to Enlarge)
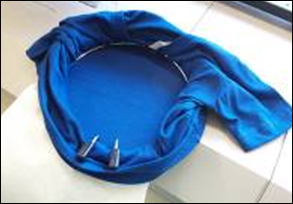
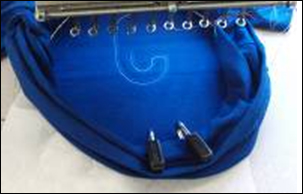
    Hoop the T-shirt either cut-away or tear-away backing. I personally prefer cut-away.


    Step 5:
    (Click Image to Enlarge)
    Embroider the outline. The machine will stop at the color change.


    Step 6:
    (Click Image to Enlarge)
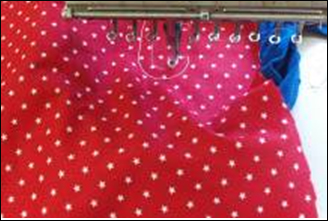
    Embroiderers with cutting machines may have already cut the letters, using the outline of the design as a guide. Lay the letter within the outline. If the letter is not pre-cut, at this point lay the fabric over the outline on the T-shirt and embroider the tackdown stitches.


    Step 7:
    (Click Image to Enlarge)
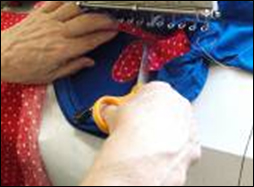
    When the machine stops for a color change, cut away excess fabric, cutting as close as possible to the tackdown stitches. For those using pre-cut letters, this step is eliminated.


    Step 8:
    (Click Image to Enlarge)
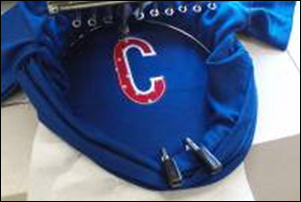
    Start the embroidery machine again to stitch the border that finishes the edges of the letter. Add a name that is centered below the letter.


    Step 9:
    (Click Image to Enlarge)
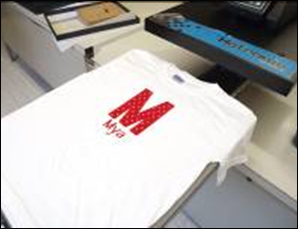
    Using either a heat press or an iron, press the letter. It will adhere the fabric to the shirt and prevent wrinkling and fraying of the edges, allowing the embroidery to remain new-looking and beautiful for the life of the shirt.
    Meet the Author: Barbara Geer
    Barbara Geer
    Barbara Geer, Creative Director/Digitizer, Grand Slam Designs, an embroidery stock design and contract digitizing operation, has been in the decorated apparel industry since 1990. She is a popular speaker at commercial decorated apparel and home embroidery events. She also is a frequent contributor to commercial and home embroidery publications such as EMB, Stitches, and Printwear. You may reach Barbara at 218-222-3501; e-mail [email protected] or visit her Web site at www.grandslamdesigns.com.
    More From This Author
    Link is Broken, Please check the URL
    Exclusive Embroidery Offers!
    Copyright © {{ currentDate | date:'yyyy'}} - EmbroideryDesigns.com
    GET 50% OFF! ×