2026 Flash Sale
Live Chat
Embroidery Designs
Welcome, Embroiderer
Login
Teddy Bear Quilt
{{mainImageAlt || (productInfo._source && productInfo._source.name) || ''}}

Teddy Bear Quilt Embroidery Project

By   Barbara Geer   on   October 04, 2011
  • SKILL LEVELExperienced
  • TIME REQUIRED12:00
Description

“Teddy Bear Mania” Quilt. As American as…..well, the Teddy Bear!

Step of

Materials

Project Preview Video

Materials
  • Teddy Bear Redwork Embroidery Design Pack
  • 1 1/2 yards white quilt fabric
  • 1 Yard of contrasting fabric
  • Batting for crib size baby quilt
  • Tear-away backing
  • Matching embroidery thread
  • Embroidery machine and sewing machine
  • Cutting mat, rotary cutter, scissors, iron

  • Designs used in this project

    Final Product: What You Will Create


    Step 1:
    (Click Image to Enlarge)
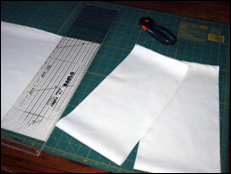
    Cut white fabric into 6 1/2 inch strips.


    Step 2:
    (Click Image to Enlarge)
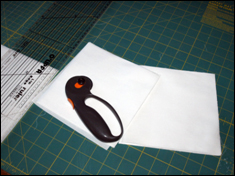
    Turn the strips and cut across, making 6 1/2 inch squares.


    Step 3:
    (Click Image to Enlarge)
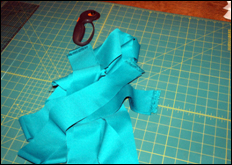
    Cut the contrasting fabric into 2 1/2 inch strips.


    Step 4:
    (Click Image to Enlarge)
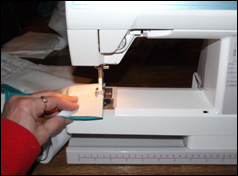
    For each row on the quilt, use five squares. Stitch a strip of fabric between each square and at the end of each row, using 1/4" seams.


    Step 5:
    (Click Image to Enlarge)
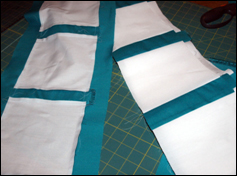
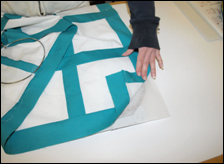
    When all 6 rows are finished, stitch strips between each row, sewing the rows together with a contrasting strip of fabric between. I like to do this step before the embroidery because the substrate is more stable than the squares would be alone. It's also easier to line up the embroidery design with strong lines to look at.


    Step 6:
    (Click Image to Enlarge)
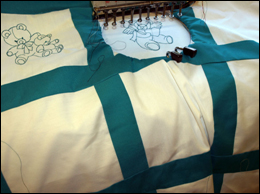
    Use tear-away backing, layered between the hoop and the fabric.


    Step 7:
    (Click Image to Enlarge)
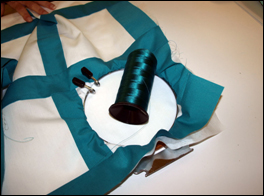
    Select a matching thread. It is not necessary to have matching bobbin thread since the back of the quilt will be covered with batting and fabric.


    Step 8:
    (Click Image to Enlarge)
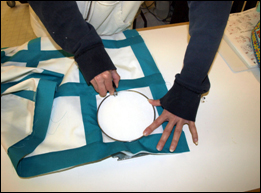
    Hoop each square independently and place on embroidery machine.


    Step 9:
    (Click Image to Enlarge)
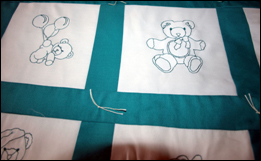
    Determine the order in which you would like to use the designs. There are 30 white squares and 30 designs in the package. Place one design in each square.


    Step 10:
    (Click Image to Enlarge)
    When all the squares have been embroidered, tear away excess backing from all of the designs.

    You are ready to finish your quilt.


    Step 11:
    Place the back fabric right side down. Next, layer the batting, spreading evenly to cover most of the back fabric. Place the quilt top on the other two layers, right side up. Check the edges to align the top with an equal distance from each edge of the back.

    Depending on how much time you have, you can either quilt the project by hand, or tie it, as I have. The batting needs the support of stitches, though, so quilting is an important part of the process.

    The final step is turning up the edges of the back fabric. Turn and pin. Top stitch the entire edge of the quilt.
    Meet the Author: Barbara Geer
    Barbara Geer
    Barbara Geer, Creative Director/Digitizer, Grand Slam Designs, an embroidery stock design and contract digitizing operation, has been in the decorated apparel industry since 1990. She is a popular speaker at commercial decorated apparel and home embroidery events. She also is a frequent contributor to commercial and home embroidery publications such as EMB, Stitches, and Printwear. You may reach Barbara at 218-222-3501; e-mail [email protected] or visit her Web site at www.grandslamdesigns.com.
    More From This Author
    Link is Broken, Please check the URL
    Exclusive Embroidery Offers!
    Copyright © {{ currentDate | date:'yyyy'}} - EmbroideryDesigns.com
    GET 50% OFF! ×