


PROJECT INSTRUCTIONS


PROJECT INSTRUCTIONS

Embroidered Cards Embroidery Project
By
Starbird Inc.
on
December 14, 2010
PROJECT DETAILS
SKILL LEVEL
Beginner
TIME REQUIRED
00:30
Description
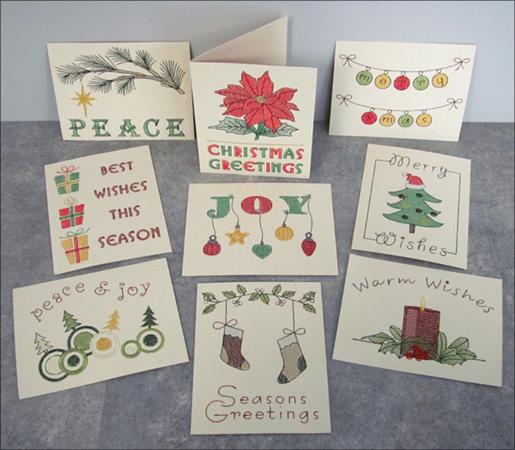
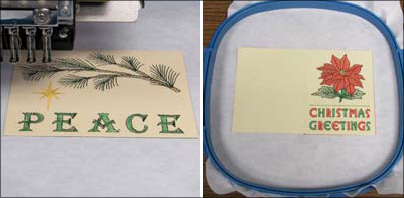
Create any of the Embroidered Cards and personalize them with your own holiday message.
Project Preview Video

QUICK VIEW
Christmas Greetings Card
$6.95
$3.48
Circle Price: $3.48

QUICK VIEW
Peace Card
$6.95
$3.48
Circle Price: $3.48

QUICK VIEW
Best Wishes Card
$6.95
$3.48
Circle Price: $3.48

QUICK VIEW
Christmas Cards Design Pack
$28.95
$20.27
Circle Price: $20.27

QUICK VIEW
Holiday Cards Design Pack
$34.95
$24.47
Circle Price: $24.47

QUICK VIEW
Milestone Cards
$28.95
$20.27
Circle Price: $20.27

QUICK VIEW
Christmas Cards 2
$26.95
$18.87
Circle Price: $18.87

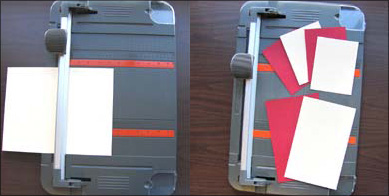
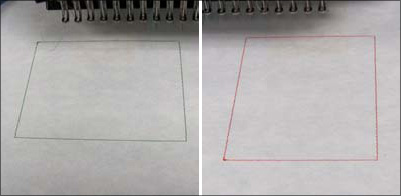
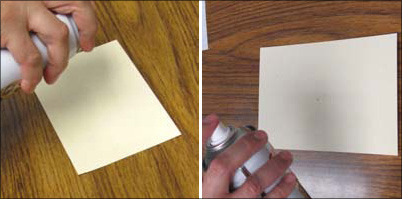
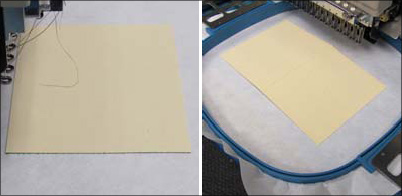
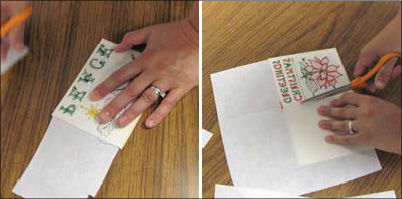
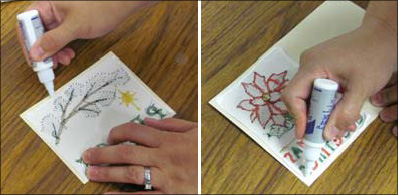
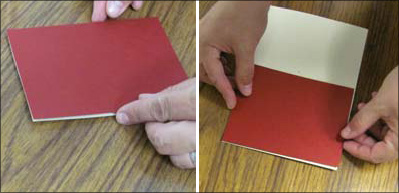
| Materials Designs from the Christmas Cards Design Pack Card stock 10/70 sharp needle or 11 sharp or smaller Paper cutting board or ruler and pen Spray adhesive Cutaway backing Full bobbin Scissors Glue Tips: Use a high quality cardstock to embroider on. Do not use cardstock that has decorative elements inside like leaves or small flowers. If your cardstock is tearing when you embroider it, use a thicker weight of cardstock with longer fibers. Needles: make sure to use a size 11 or smaller sharp needle. If you use a universal or ballpoint needle the holes will be much larger in the card and tearing might occur. Horizontal Christmas Card: when spraying adhesive to the inside cover on the horizontal cards, you will spray the bottom inside cover. Click here for an example. |
| Designs used in this project |
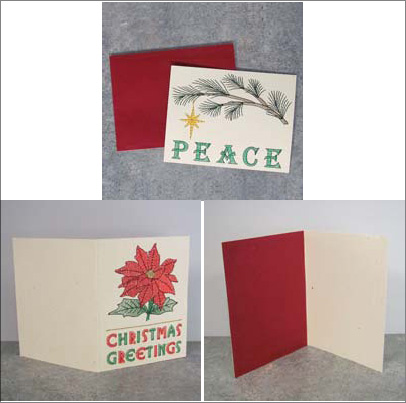
| Final Product: What You Will Create |
 |
|

Projects You May Like
Meet the Author:
Starbird Inc.
Starbird Inc. has been digitizing custom embroidery designs for over 25 years. They have seen so many wonderful and creative designs over the years that Starbird decided to create some of their own embroidery stock designs. Starbird Inc. is having a great time creating new and imaginative ideas and would like you to be able to enjoy them also.
Feedback
Characters Remaining
Please Login to Submit a Feedback
Invalid Characters, Please enter a valid Comment
Please enter a valid Comment
Reviewed On
Link is Broken, Please check the URL