Puff embroidery is where you
use craft/embroidery foam when sewing to raise the satins stitches in
the design to give it a 3D look. It is a simple process that has only a
few more steps involved, but the end result is well worth the effort.
Only use designs specifically digitized for puff embroidery. Regular
designs will not work and designs digitized with puff will not work
without puff.
We recommend the following: 3mm embroidery or craft
foam in colors to match the thread colors for each puff area, craft
strength heat wand, sharp needles, tweezers and small craft scissors.
The craft/embroidery foam can be purchased from most craft stores or
embroidery supply companies.
Hoop the fabric and stabilizer the
same as you would do for regular embroidery. Then embroider the design
until you see a color stop that says "Stop lay down puff", you will then
lay down the appropriate color of foam to cover the area to be
embroidered next. For the best results cut the foam to fit inside of the
hoop, but the foam should not extend outside of the hoop.
Most
of our designs have the puff sewing last so you can remove the foam
after the entire design has sewn. If you need to remove the foam during
the sewing process you will see a color stop that reads: "Stop remove
puff" that way you can remove the excess foam and then continue sewing.
When
the design is completed, use a tweezers to remove any excess foam that
is sticking out of the satin stitches. For smaller pieces you can gently
push the foam back in between the satin stitches with the tweezers or
the end of a small scissor. You can also use a small craft heat wand to
melt the little bits of foam that are hard to get at. I have also used a
hair dryer, but I have noticed that it takes longer and the results are
not as good as with a craft strength heat wand.
Designs
embroidered using embroidery/craft foam can usually be machine washed
and dried, but they can not be dry-cleaned. The foam will disintegrate
when it comes in contact with dry-cleaning solvents.
Step 1:
(Click Image to Enlarge)
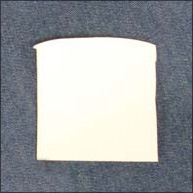
Cut a piece of the foam and set aside. Approximate size: 2 1/4" x 2 1/4", 57mm x 57mm.
Step 2:
(Click Image to Enlarge)
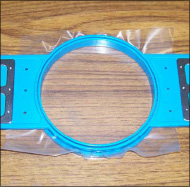
Hoop one piece of ultra solvy. If you use a thinner piece of solvy the
design will separate from the solvy before you complete it.
Step 3:
(Click Image to Enlarge)
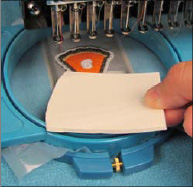
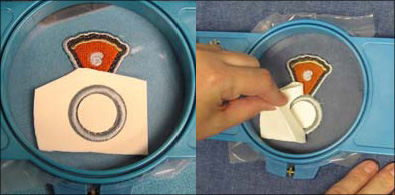
Embroider the design until you come to the
color stop that states "stop lay down puff". Stop the machine. Place the
piece of foam below the design with about 1/4" overlapping the bottom
of the design.
Step 4:
(Click Image to Enlarge)
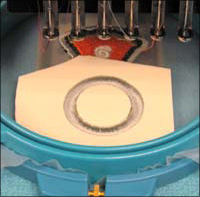
Embroider the last color stop and the ring will appear.
Step 5:
(Click Image to Enlarge)
Remove the hoop from your machine and then gently pull the excess foam away from the design.
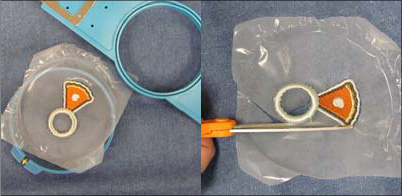
Step 6:
Remove the design from the hoop. Then cut around the excess solvy, but
not too close to the design. Make sure you do not cut any of the
stitches.
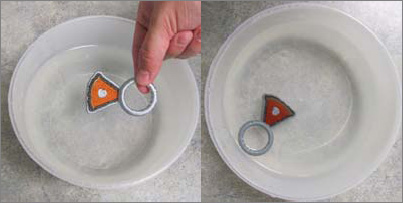
Step 7:
Read the instructions on the ultra solvy for dissolving the solvy in water. We placed it in hot water for about 15 minutes.
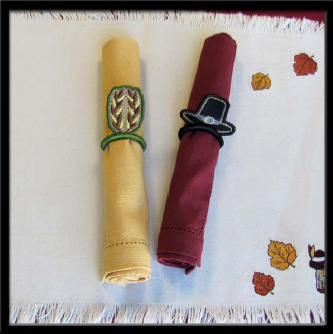
Step 8:
(Click Image to Enlarge)
Let the design dry and then gently place the ring around your rolled up napkins.
Decorate your Thanksgiving table with your new napkin rings. You could also use designs from the Thanksgiving Decor combined design pack to decorate the rest of your table and kitchen. Read on for more information on puff/foam embroidery.
Starbird Inc. has been digitizing custom embroidery designs for over 25 years. They have seen so many wonderful and creative designs over the years that Starbird decided to create some of their own embroidery stock designs. Starbird Inc. is having a great time creating new and imaginative ideas and would like you to be able to enjoy them also.